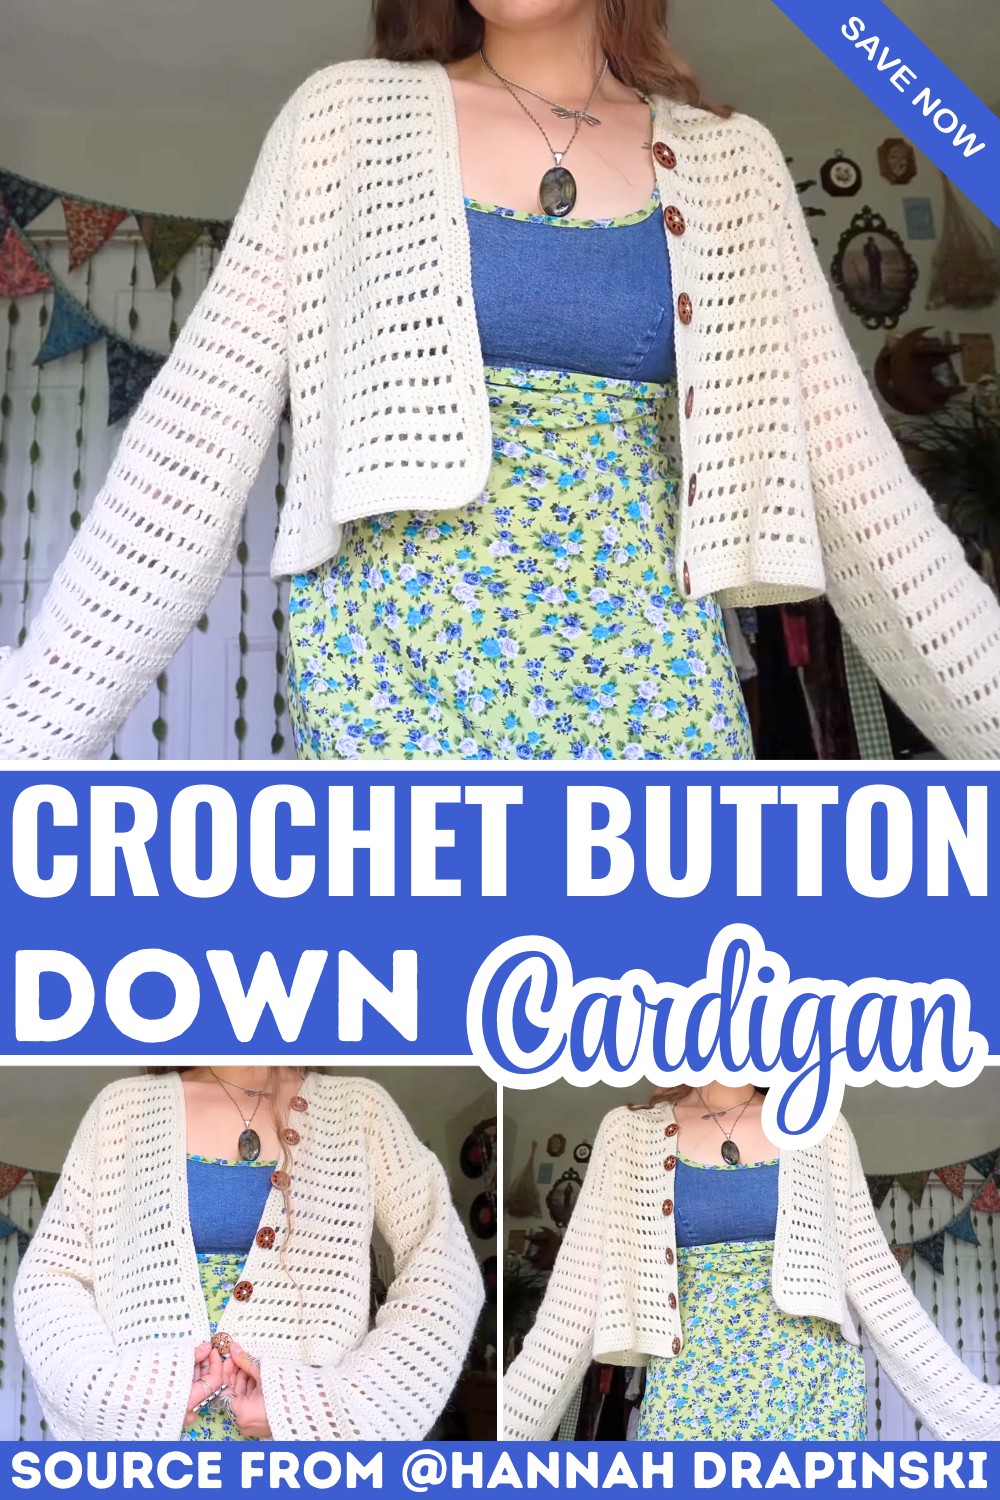
Crochet a Button-Down Cardigan with Adjustable Oversized Fit
A timeless handmade piece can instantly transform an everyday wardrobe with very little effort. This button-down crochet cardigan combines a clean design with practical button details that make it both stylish and comfortable.
Its flexible construction allows you to create a fitted or relaxed shape that suits your personal style. Every finished crochet piece feels unique while remaining easy to wear throughout the year.

Beautiful details become even more rewarding when they also add everyday function. Mesh rows and simple crochet stitches create a light texture that looks elegant without feeling complicated. This versatile item layers comfortably over casual outfits, works well in cooler weather, and also makes a thoughtful handmade gift. Adjustable sizing and customizable colors make it easy to create a crochet cardigan that truly reflects your own taste.
Credit Hannah Drapinski
Materials & Tools Needed
- Yarn: DK weight yarn
- Approximately 1,200 yards or as needed for your size (the yarn used in the tutorial is comparable to Highland wool from Hobie).
- Hook sizes:
- 5.5mm hook (main body)
- 5.0mm hook (border)
- Buttons: Approximately 5 buttons (~1 inch each)
- Other supplies:
- Stitch markers
- Measuring tape
- Tapestry needle

Finished Size & Customization Ideas
- Size: Fully customizable based on your body measurements.
- Chain a starting width that matches your favorite oversized cardigan or measure shoulder-to-shoulder width.
- For oversized cardigans, chain slightly longer than shoulder width.
- The tutorial used 97 foundation chains for a medium-sized cardigan, slightly reducing the chain later to account for stretch when blocking.
- Customization Ideas:
- Adjust sleeve length (short, elbow, or long).
- Use different stitch patterns for texture.
- Add custom buttons or color-block sections for flair.
Pattern Note
- Stitch Count: Always ensure mesh (lattice-like) rows end up with an odd number of stitches (important for the pattern repeat).
- Blocking: Account for yarn stretch after blocking by creating a swatch beforehand.

Pattern Abbreviations & Terminology
- ch: Chain
- dc: Double crochet
- st(s): Stitch(es)
- sl st: Slip stitch
- hdc: Half double crochet
- rep: Repeat
- RS: Right side
- WS: Wrong side
Term definitions are based on US terminology.
Tips Before You Start
- Use a favorite cardigan (oversized or form-fitting) as a guide for measurements to ensure the perfect fit.
- For precise sizing, create a swatch and wet block it to understand how your chosen yarn behaves after blocking.
- Use stitch markers to mark key positions for armholes, buttonholes, and panels to evenly space stitches.
Step-by-Step Detailed Crochet Instructions
1. Back Panel
- Foundation row:
- Start with a slip knot and chain an odd number of stitches that matches your desired width.
- Tutorial example: Start with 97 chains + 3 extra (100 total). Later adjust chain count for blocking correction.
- In the 4th chain from the hook, work your first dc.
- Dc in each chain across.
- Row count: 97 dc.
- Start with a slip knot and chain an odd number of stitches that matches your desired width.
- Row 2 (Mesh row):
- Chain 3 (does NOT count as a dc). Turn. Dc in the same stitch.
- Chain 1, skip the next stitch, and work dc in the following stitch.
- Repeat the sequence: (ch 1, skip, dc) across the row.
- Row 3 (Solid row):
- Chain 3. Turn. Dc into the same stitch.
- Dc in each dc and chain space across (work “solid” stitches into each gap).
- Repeat Rows 2-3:
- Continue alternating mesh and solid rows until the back panel reaches your desired length.
- End on a “solid” (Row 3) row.
- Tutorial Length: 41 rows.

2. Shoulder Panels
- Mark 39 sts from each side of the back panel using stitch markers (or adjust based on your size).
- Follow the established alternation of mesh and solid rows.
- Tutorial Length: 5 rows for shoulder panels (end on a mesh row).
3. Front Panels
- Number of Stitches: Begin at 39 stitches for each front panel.
- Increase for Neckline:
- Begin increasing in every 1st and 2nd stitch (inner edge only) during non-mesh rows until desired front panel width matches half the back panel (+10 stitches).
- Tutorial: Increase from 39 to 49 stitches (takes 5 increase rows).
- Repeat Final Rows: After ending with 49 sts, continue straight rows (mesh and solid alternation) to match the total back panel length (41 rows).
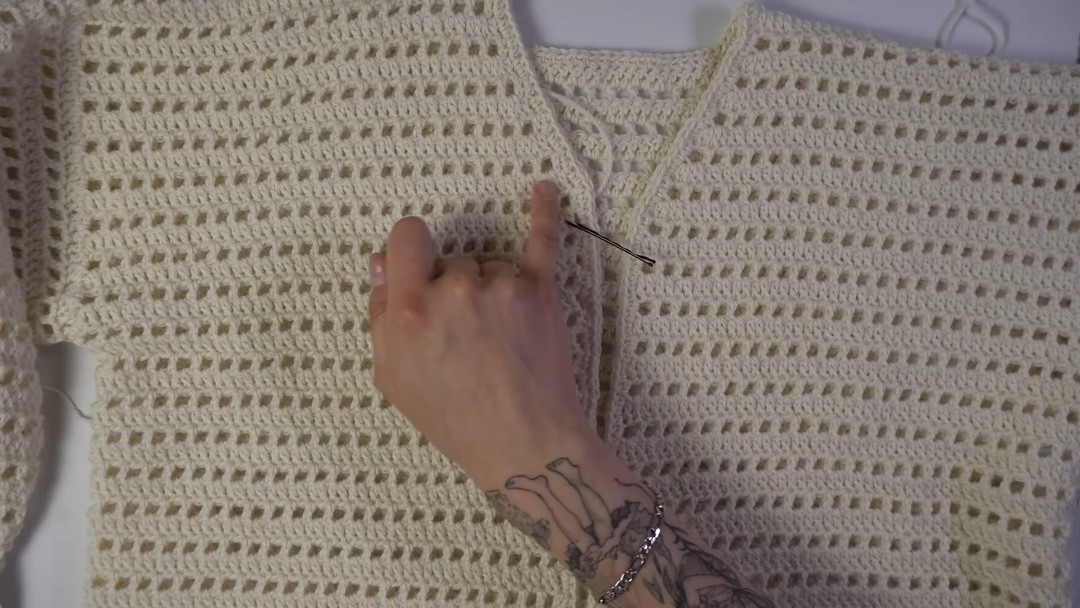
4. Seaming
- Lay the cardigan evenly with RS facing inward.
- Use stitch markers to mark armhole measurements.
- Tutorial Example: 7 inches for an oversized armhole.
- Sew or whipstitch side seams and shoulder joins together while aligning rows for a clean finish.
- Turn the cardigan RS out.
5. Sleeves
- Rejoin yarn near the underarm seam and crochet evenly around the armhole.
- Chain 76 stitches (even number).
- Work mesh and solid rows in the round.
- Turn your work at the end of each row to ensure stitch texture consistency.
- Sleeve Length:
- Continue until sleeves reach your desired length (e.g., short, elbow-length, or full-length).
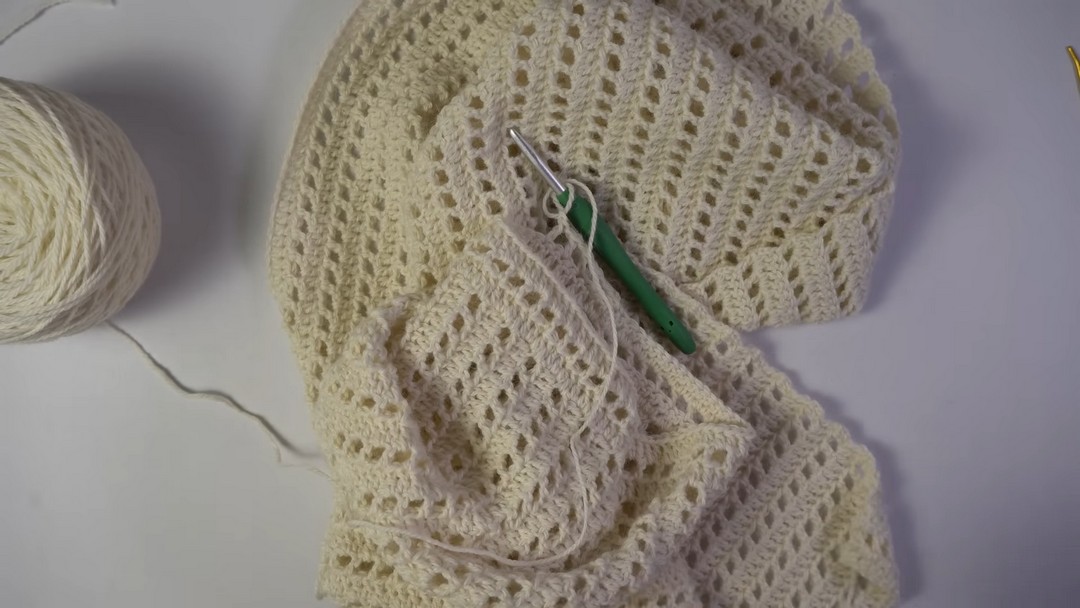
6. Borders and Buttonholes
- Row 1: Attach yarn near the bottom edge. Work 1 hdc into every stitch around the cardigan, including along the neckline.
- Row 2 (Add Buttonholes):
- Start at the bottom of the right panel (front side for buttonholes).
- Work 1 hdc in all sts.
- At stitch marker points, chain 2 for buttonholes and skip 2 sts (ensure holes match your button size). Continue hdc across.
- Row 3: Work 1 hdc in every stitch and chain across to finalize the border.

Final Assembly
- Sew buttons onto the left panel, aligning them with buttonholes.
- Weave in all ends.
- Block the cardigan to finalize the size and shape.
Conclusion
This button-down cardigan is stylish, customizable, and full of useful design tips. Whether it’s your first time adding buttons or you want to perfect your garment fit, this approachable pattern empowers crocheters to confidently construct a timeless crochet piece perfect for fall or winter.