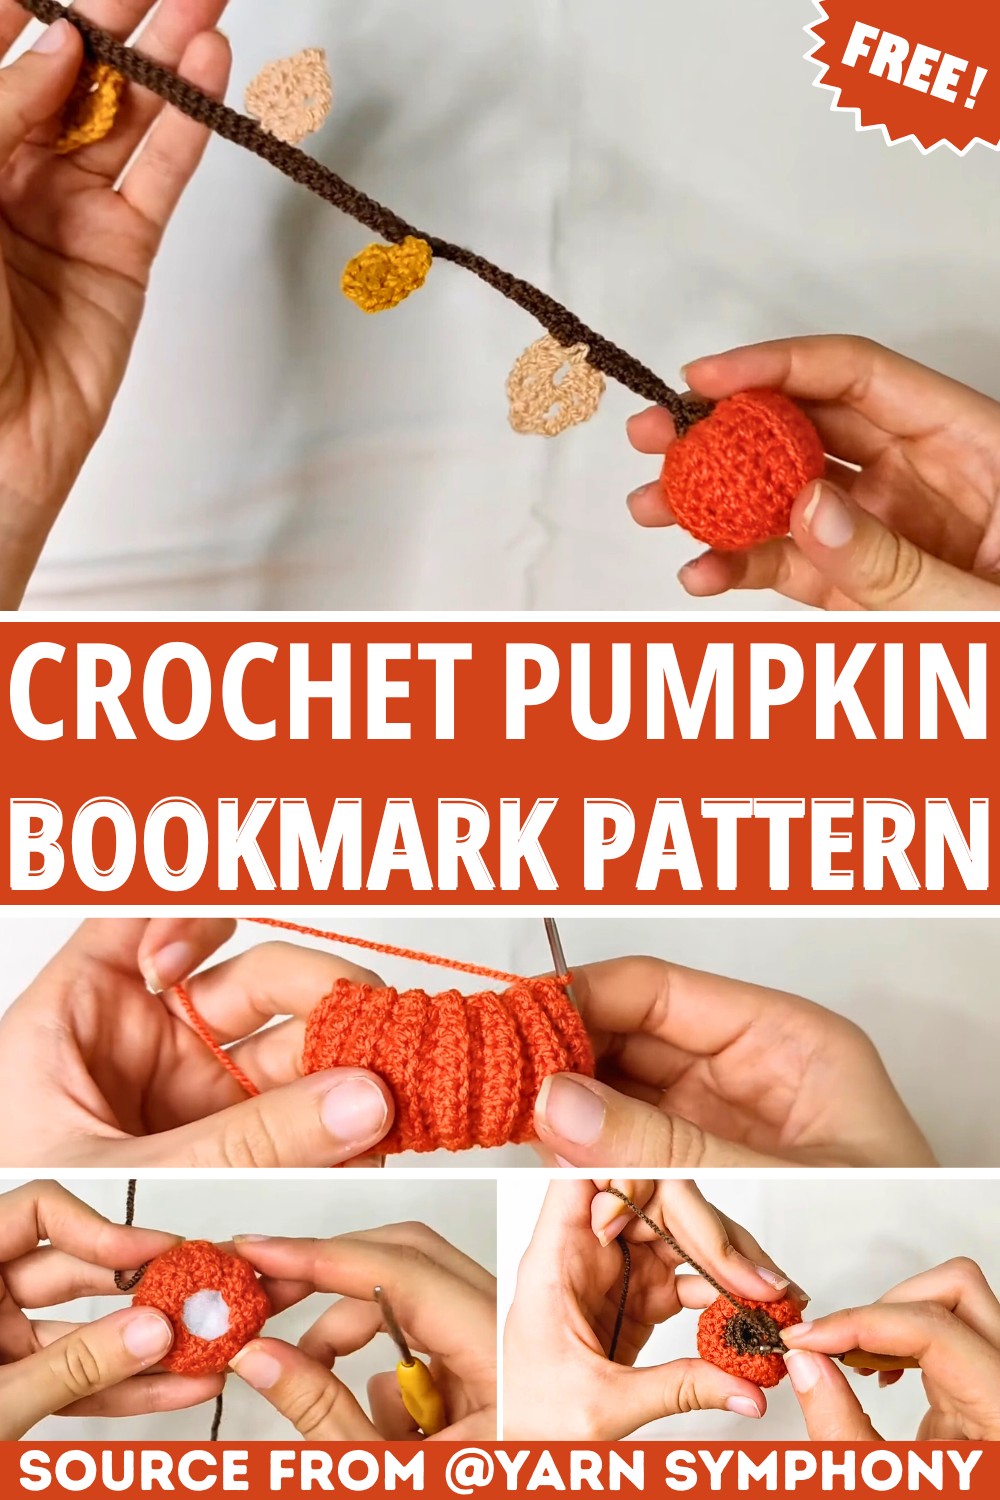
Crochet Pumpkin Bookmark Tutorial – Easy and Cute Autumn decor
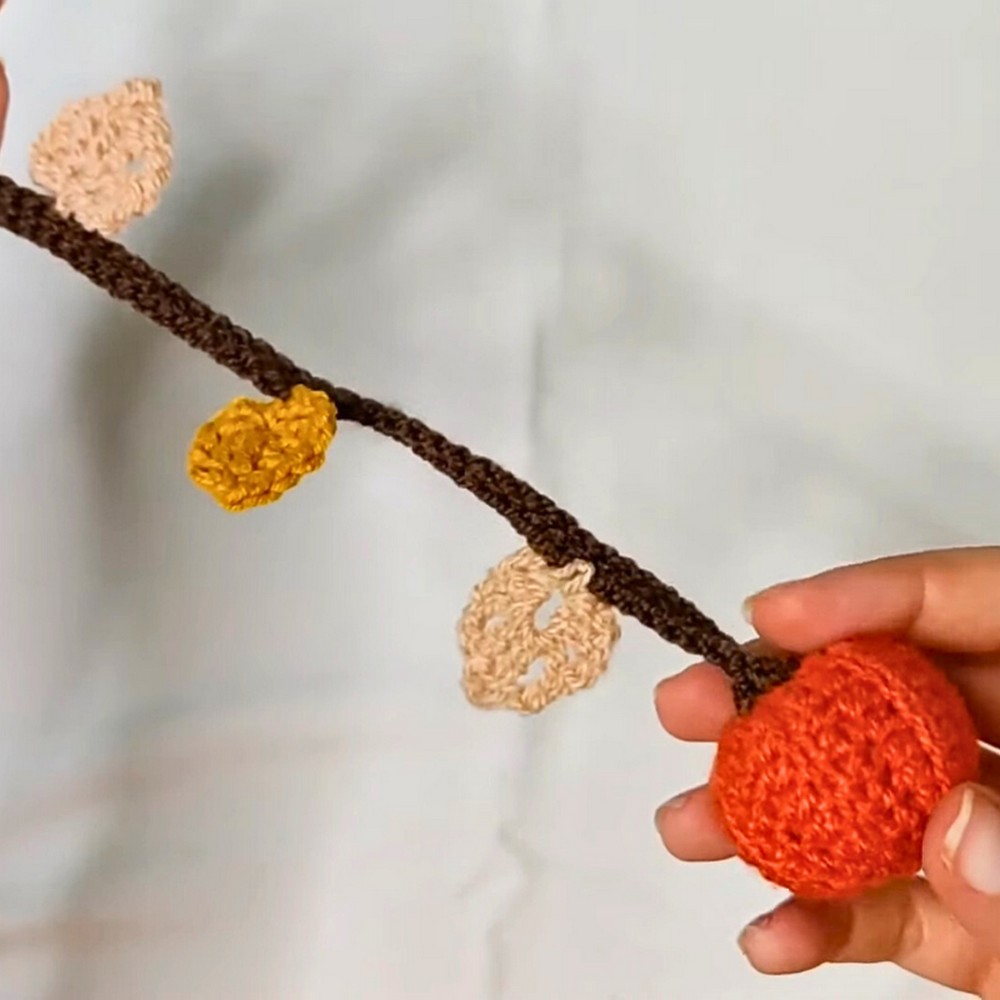
A tiny pumpkin can bring a surprising amount of charm to every page you read. This adorable crochet bookmark combines a textured pumpkin, a delicate leaf, and a long stem to create a practical piece with a cozy autumn feel.
Its compact crochet design is quick to make while adding a handmade touch to books, journals, and planners. Whether you keep it for yourself or share it as a thoughtful gift, it’s a delightful item for the fall season.
Crochet Pumpkin Bookmark Tutorial
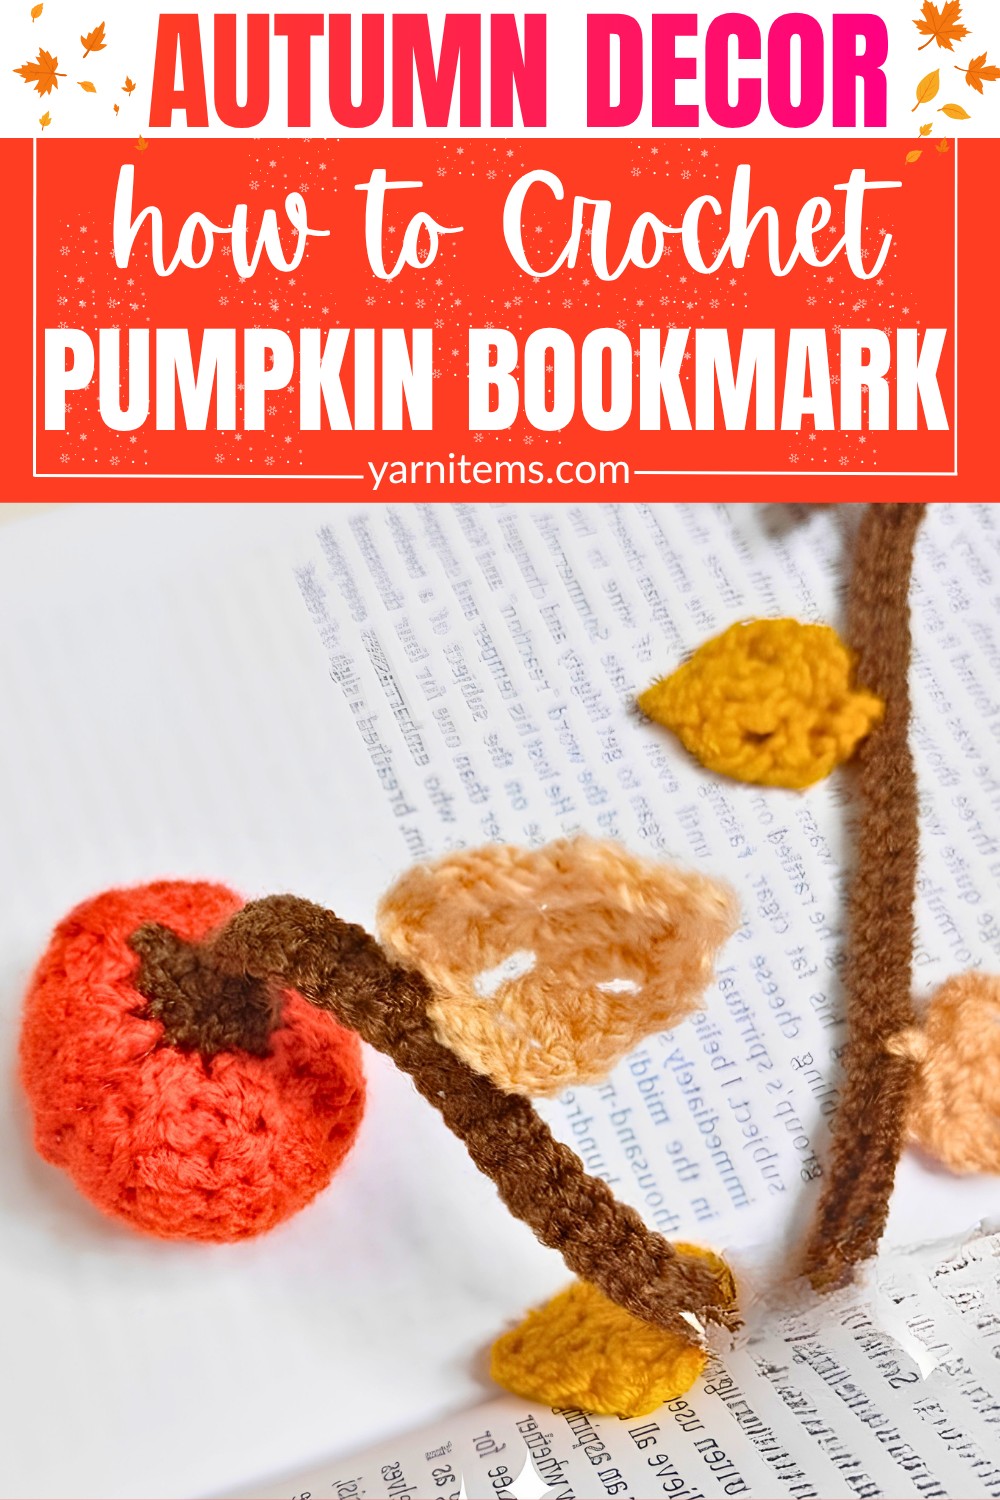
Simple crochet stitches and carefully shaped details come together to create a bookmark that’s both decorative and functional. The guide below includes the materials, stitch abbreviations, customization ideas, and step-by-step instructions needed to complete each part with confidence. You can easily adjust the crochet bookmark length or personalize the pumpkin with creative details to make every piece unique. The finished design is lightweight, easy to use, and perfect for adding seasonal warmth to your reading routine.
Credit Yarn Symphony
Why You’ll Love This Bookmark:
- Minimal Resource Requirement
- Only a small amount of yarn is needed, making it ideal for leftover yarn and small-budget patterns.
- Quick and Satisfying
- The pattern can be completed quickly, providing instant gratification for crochet enthusiasts.
- Beginner-Friendly
- Accessible to all skill levels, including beginners, ensuring a wider audience can participate.
- Functional and Lightweight
- It serves a dual purpose: decorative yet practical for daily use as a bookmark.
- Creative Outlet
- Offers a way to turn scrap yarn into a charming handmade pattern.
Why It Works
This appeals to both practical and emotional motivations:
- It saves resources and time.
- Every point highlights a positive result (usefulness, creativity, enjoyment).
- It aligns with the values of sustainability and making good use of leftovers.
Everything You Need in One Place
- Crochet hook: 2 mm
- Yarn:
- Orange yarn for the pumpkin body
- Brown yarn for the stem
- Green yarn for the leaf
- Scissors
- Yarn needle (for weaving in ends)
Pattern Notes Every Beginner Must Know
- The bookmark is worked in rows for the pumpkin body and in chains to create the stem and leaf.
- The pumpkin is crocheted using back loops to create a textured, ribbed look.
- The stem and leaf are worked separately and attached to the completed bookmark.
- Pay close attention to stitch counts for each component to ensure accuracy.
Size Secrets Every Buyer Should Know
- Size: Approximately 1.5 inches tall (pumpkin) with bookmark length customizable (chain length for the bookmark stem can be adjusted).
- Customization Ideas:
- Use different yarn weights and hook sizes for larger or smaller pumpkins.
- Add a face to the pumpkin with embroidery to make it resemble a jack-o’-lantern.
- Attach charms or beads to the bookmark for added flair.
The Secret Language Every Professional Uses
- ch: Chain
- slst: Slip Stitch
- sc: Single Crochet
- hdc: Half Double Crochet
- dc: Double Crochet
- tr: Treble Crochet
- blo: Back Loop Only
- inc: Increase (2 single crochets in one stitch)
- dec: Decrease (single crochet 2 together)
- st(s): Stitch(es)
Note: This pattern is written in US terminology.
The Secret Language Every Professional Uses
STEPS
Pumpkin Body
- Foundation Chain:
- Begin with a slip knot.
- Chain 10.
- Row 1 (Pumpkin Ribbing):
- Chain 1, turn.
- Slst into the second chain from the hook.
- Sc into the next chain.
- Hdc into the next 6 chains.
- Sc, slst, then chain 1.
- Row 2:
- Turn, and work in back loops only.
- Slst, sc, 6 hdc, sc, slst, chain 1.
- Repeat Rows 1 and 2 for 10 rows total, to create a textured panel.
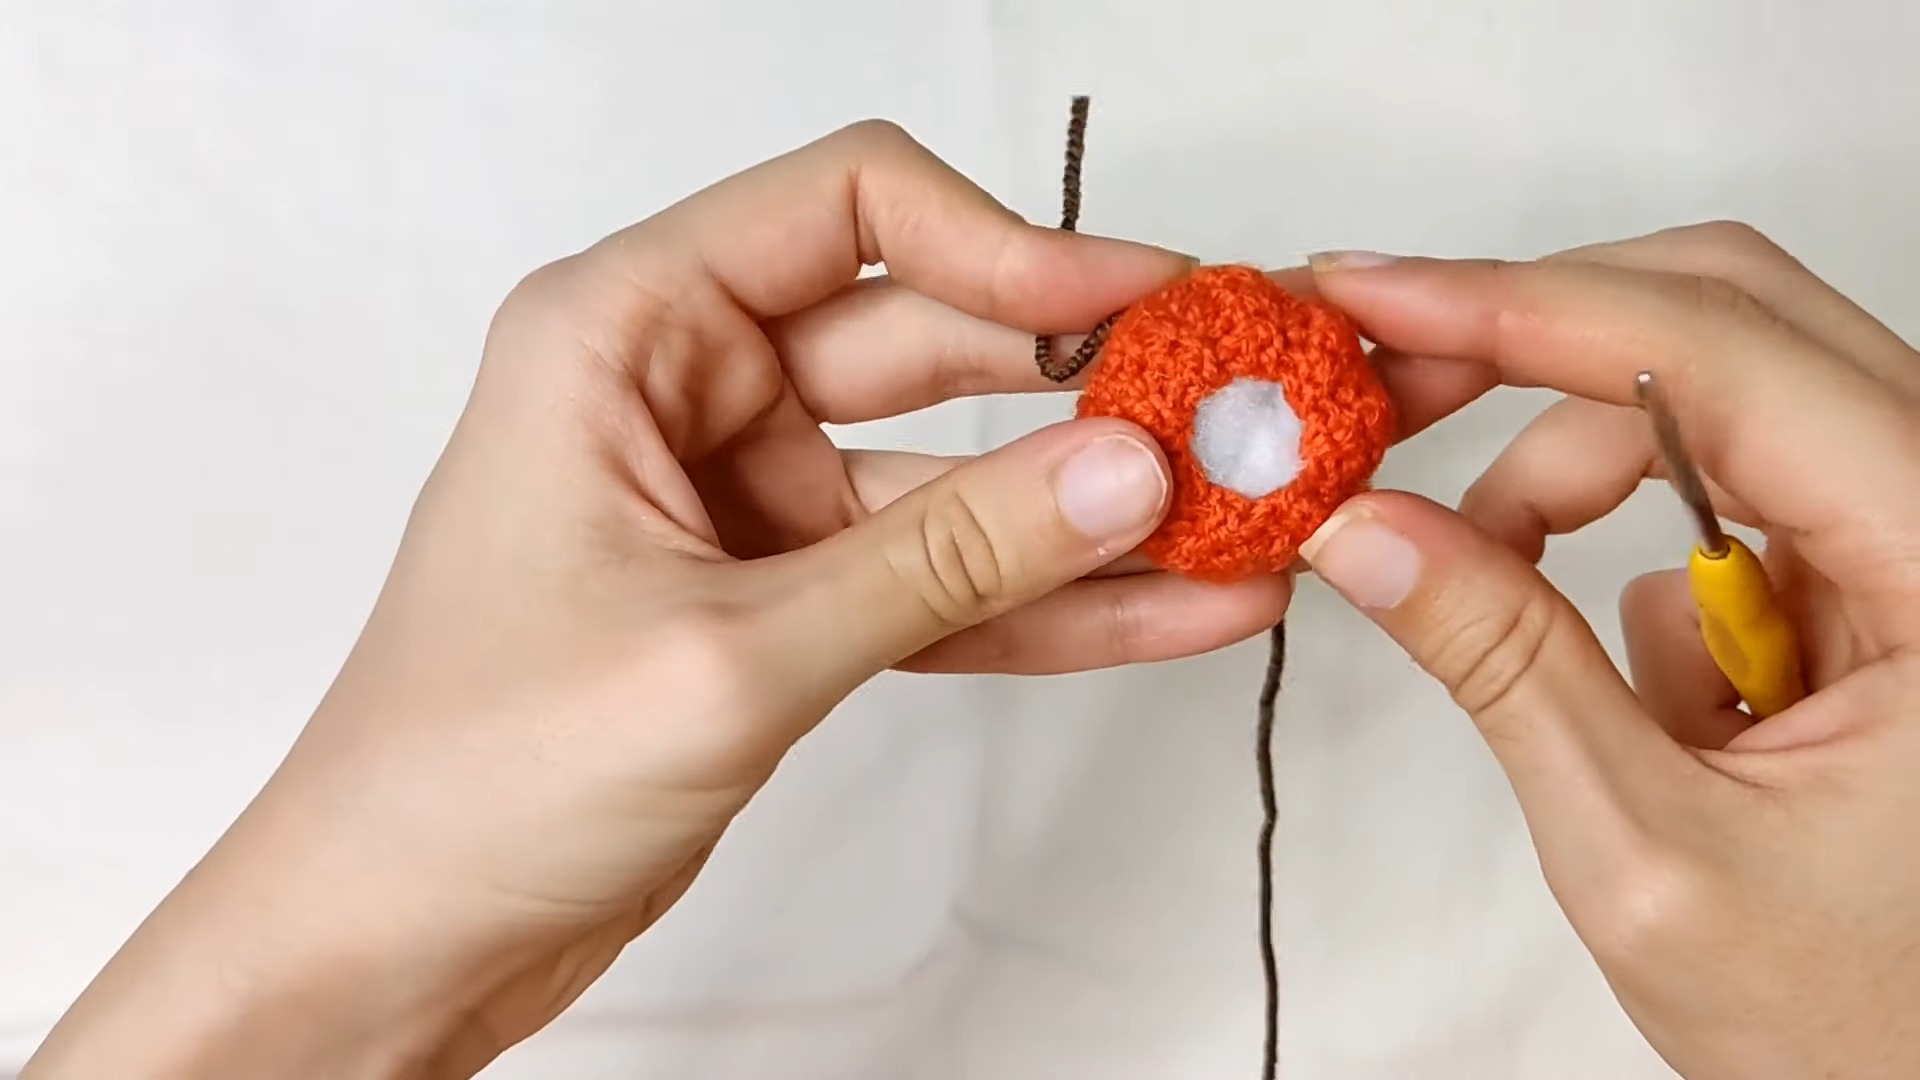
- Joining:
- Slip stitch the short ends of the panel together to form a tube.
- Fasten off and hide the yarn ends using a yarn needle.
Pumpkin Stem
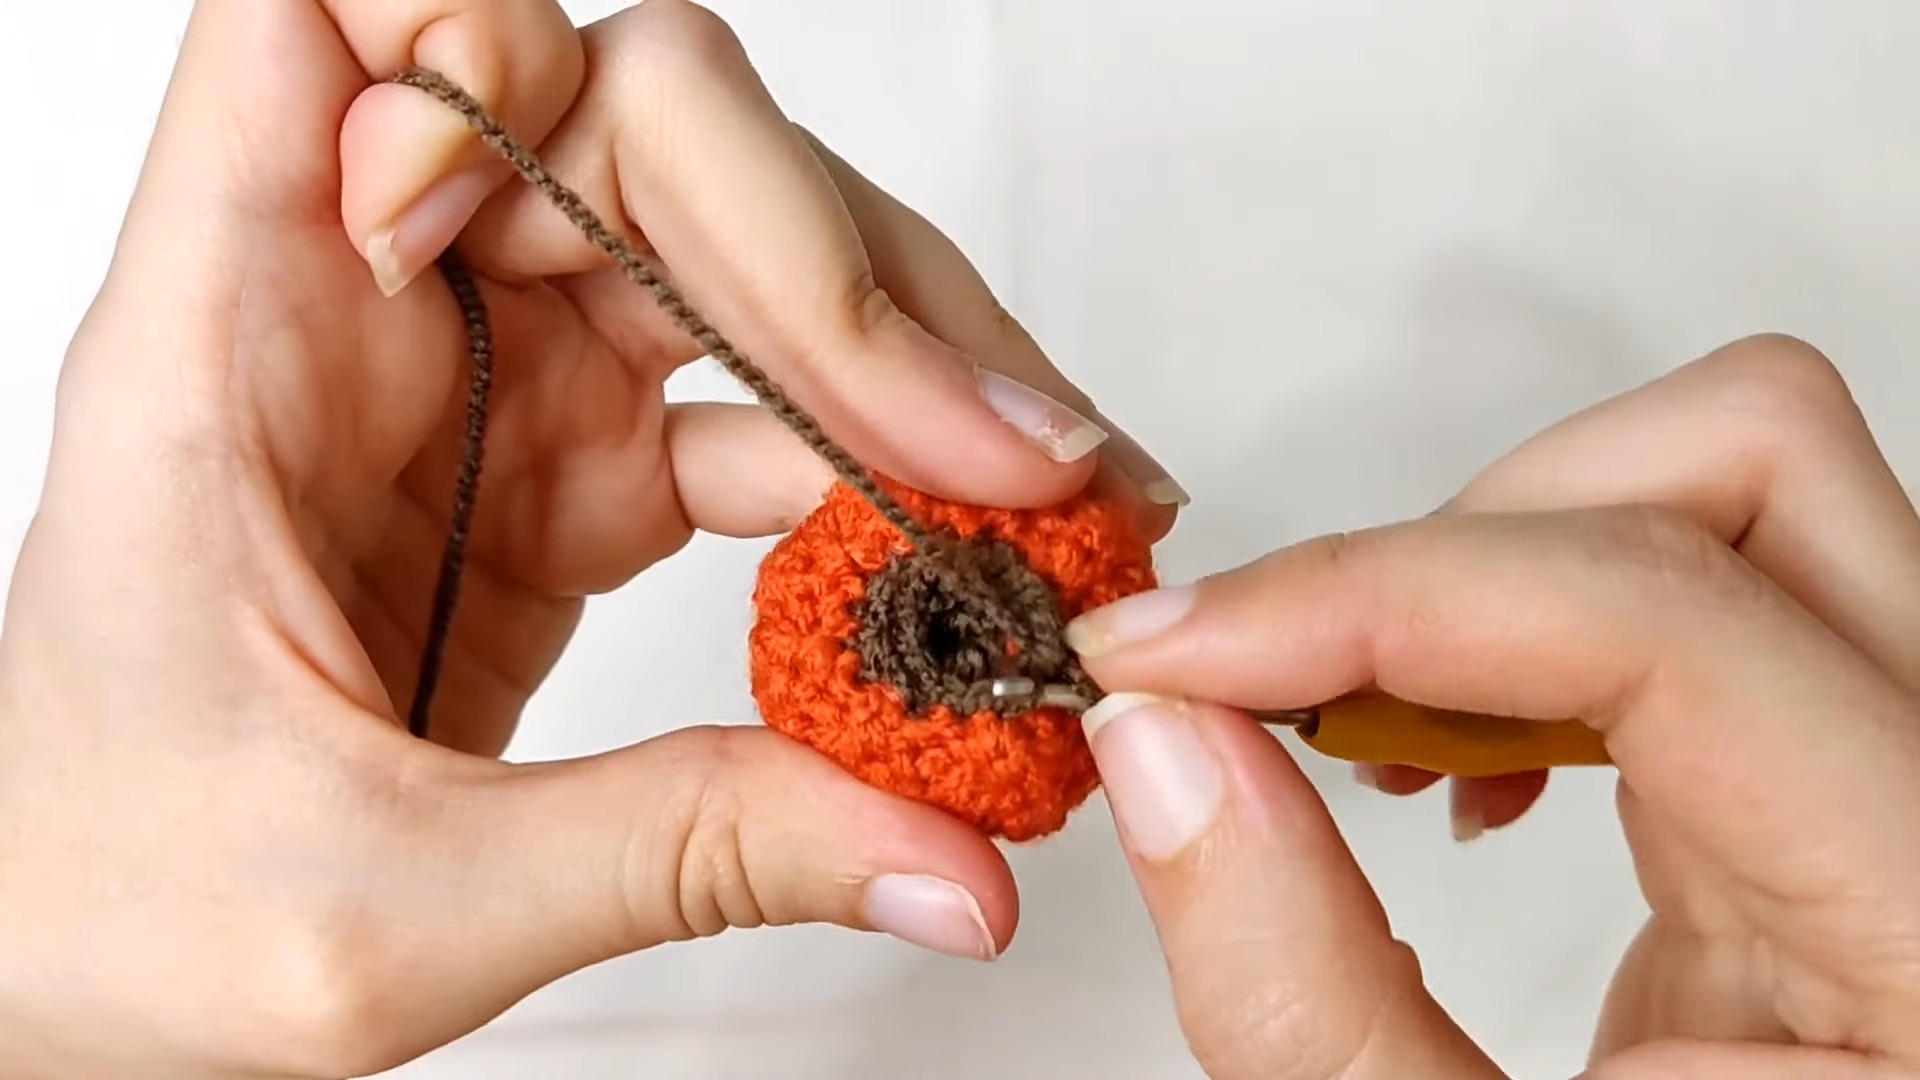
- Attach Brown Yarn:
- Insert your hook into the top edge of the pumpkin tube.
- Pull up brown yarn to join with a slst.
- Stem Base:
- Work sc decreases around the top edge of the pumpkin tube to cinch it closed.
- Slip stitch at the front stitch for a clean finish.
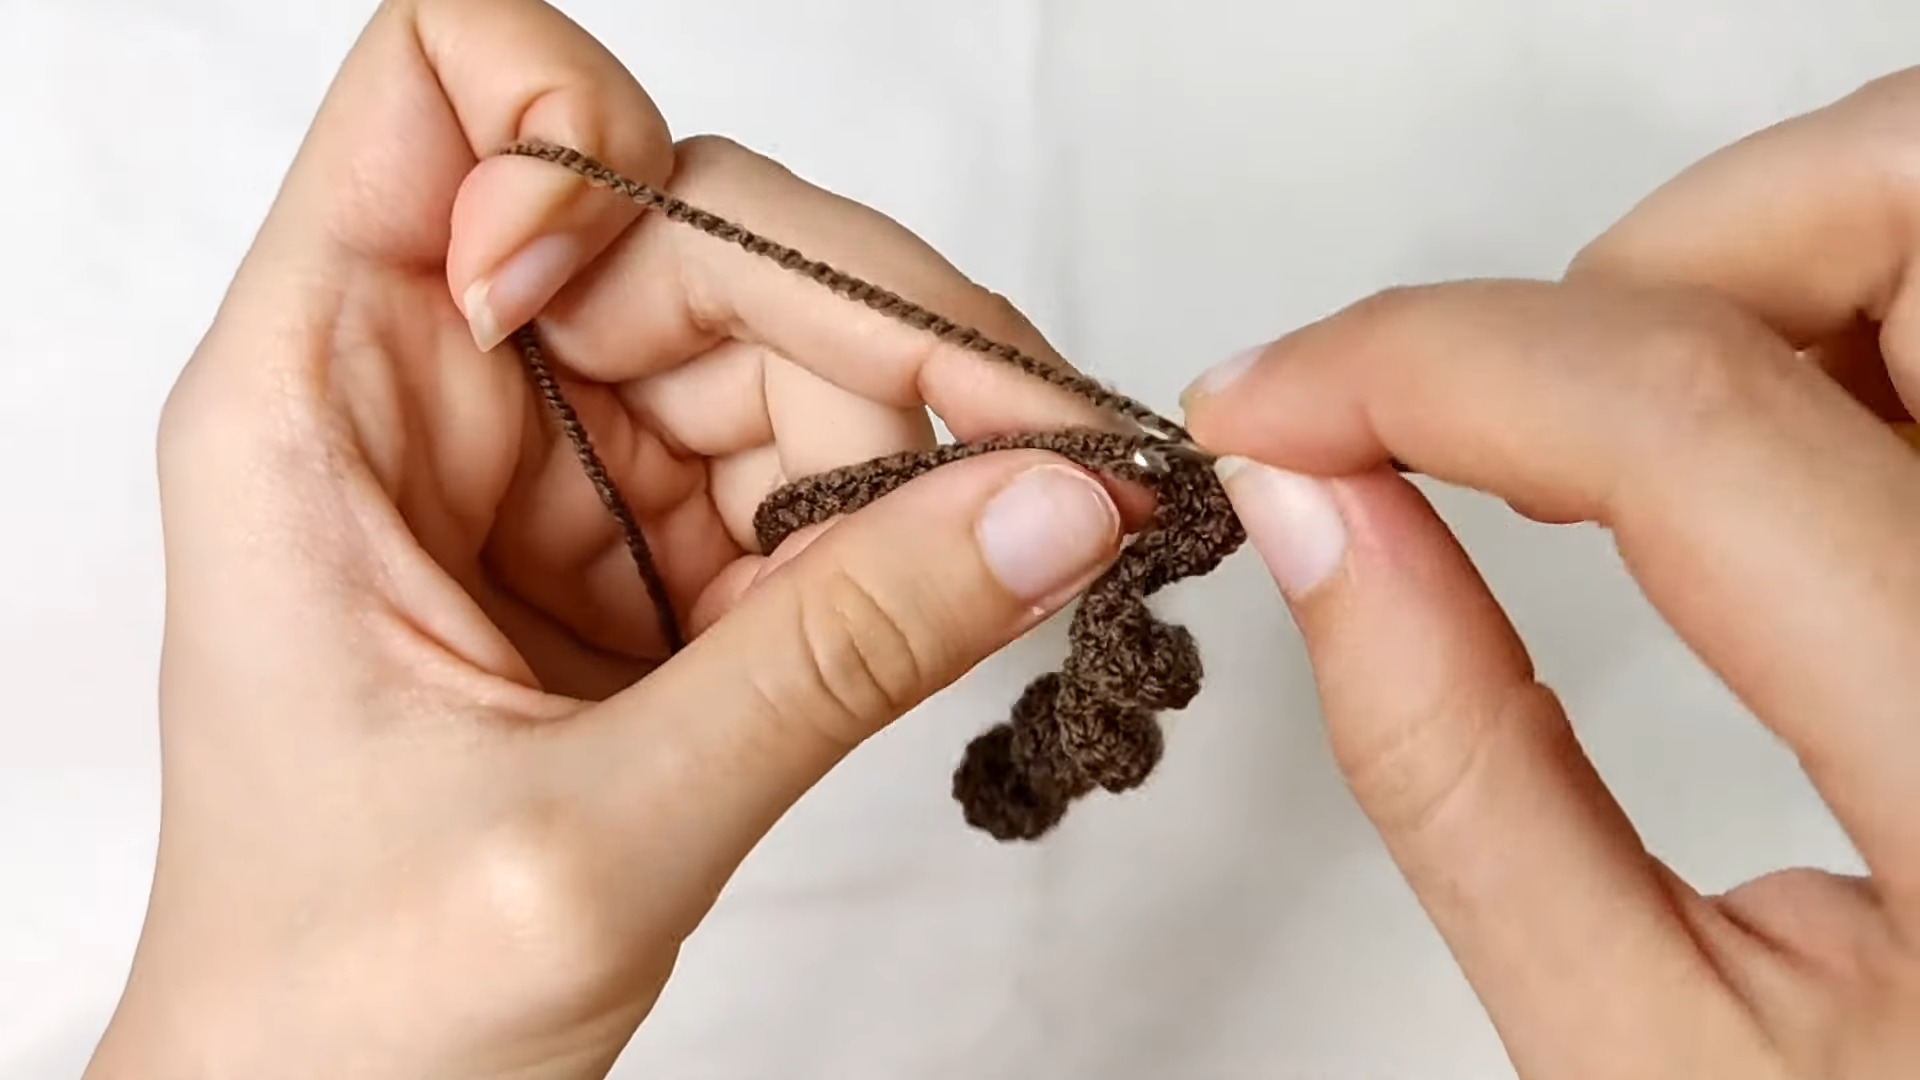
- Bookmark Stem:
- Chain 80 to form the long strand for the bookmark.
Leaf
- Leaf Base:
- Join green yarn with a slip knot. Chain 5.
- Leaf Design:
- Dc in the first chain, then chain 2.
- Dc in the same chain again, then chain 2.
- Tr in the same chain, then chain 2.
- Slst into the space around the stitches.
- Tr in the first chain again, dc twice in the same chain.
- Chain 4, then slst.
- Finishing:
- Cut the yarn, leaving a long tail for sewing.
- Sew the leaf to the top of the pumpkin stem securely.
Small Touches, Massive Impact
- Weave in all yarn ends neatly using a yarn needle.
- Adjust the shape of the pumpkin and the leaf for a tidy appearance.
- Block the finished piece (optional) for a polished look.
Creative Personalization Ideas
- Embroider a Smiling Jack-o’-Lantern Face
- Add a touch of Halloween charm to your design by stitching a cheerful jack-o’-lantern face onto your crochet. Perfect for fall enthusiasts!
- Add a Tiny Wooden Bead to the Bookmark Cord
- String a small, natural wooden bead to the cord for a rustic, textured look. Bonus: you can even paint it to match the theme!
- Use Variegated Orange Yarn for a Unique Pumpkin Effect
- A multicolored yarn with subtle shades of orange and yellow can create an eye-catching, textured pumpkin design.
- Stitch the Recipient’s Initials onto the Leaf
- Personalize your creation by adding the recipient’s initials to a small leaf design, giving it a meaningful, custom touch.
- Make Matching Bookmarks in Different Autumn Colors
- Expand the theme by creating a series of bookmarks in various fall hues like red, gold, brown, and green to create a cohesive but versatile set.
Why It Works:
Readers love customizing their bookmarks to reflect their unique style. These small, creative tweaks not only make the bookmarks more meaningful but also increase engagement and emotional connection to the gift or crochet.