Crochet Cardigan Pattern with Ribbing and Adjustable Sizing
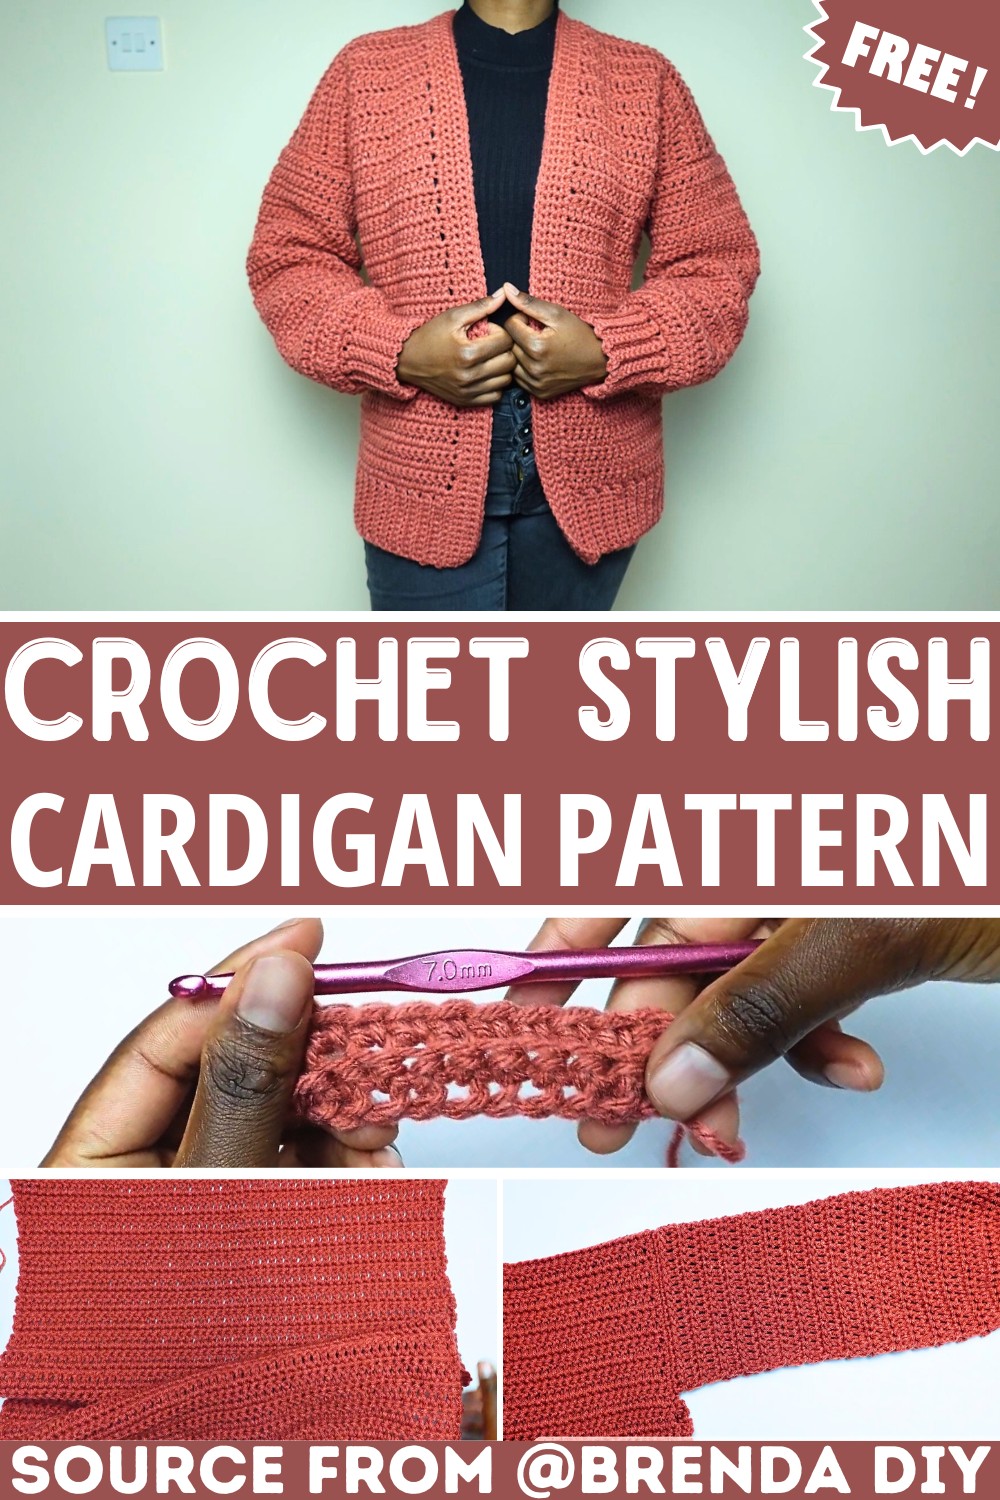
Need a relaxed crochet cardigan takes shape from ribbed edges, simple alternating rows, and separate panels that can be adjusted for a comfortable everyday fit.
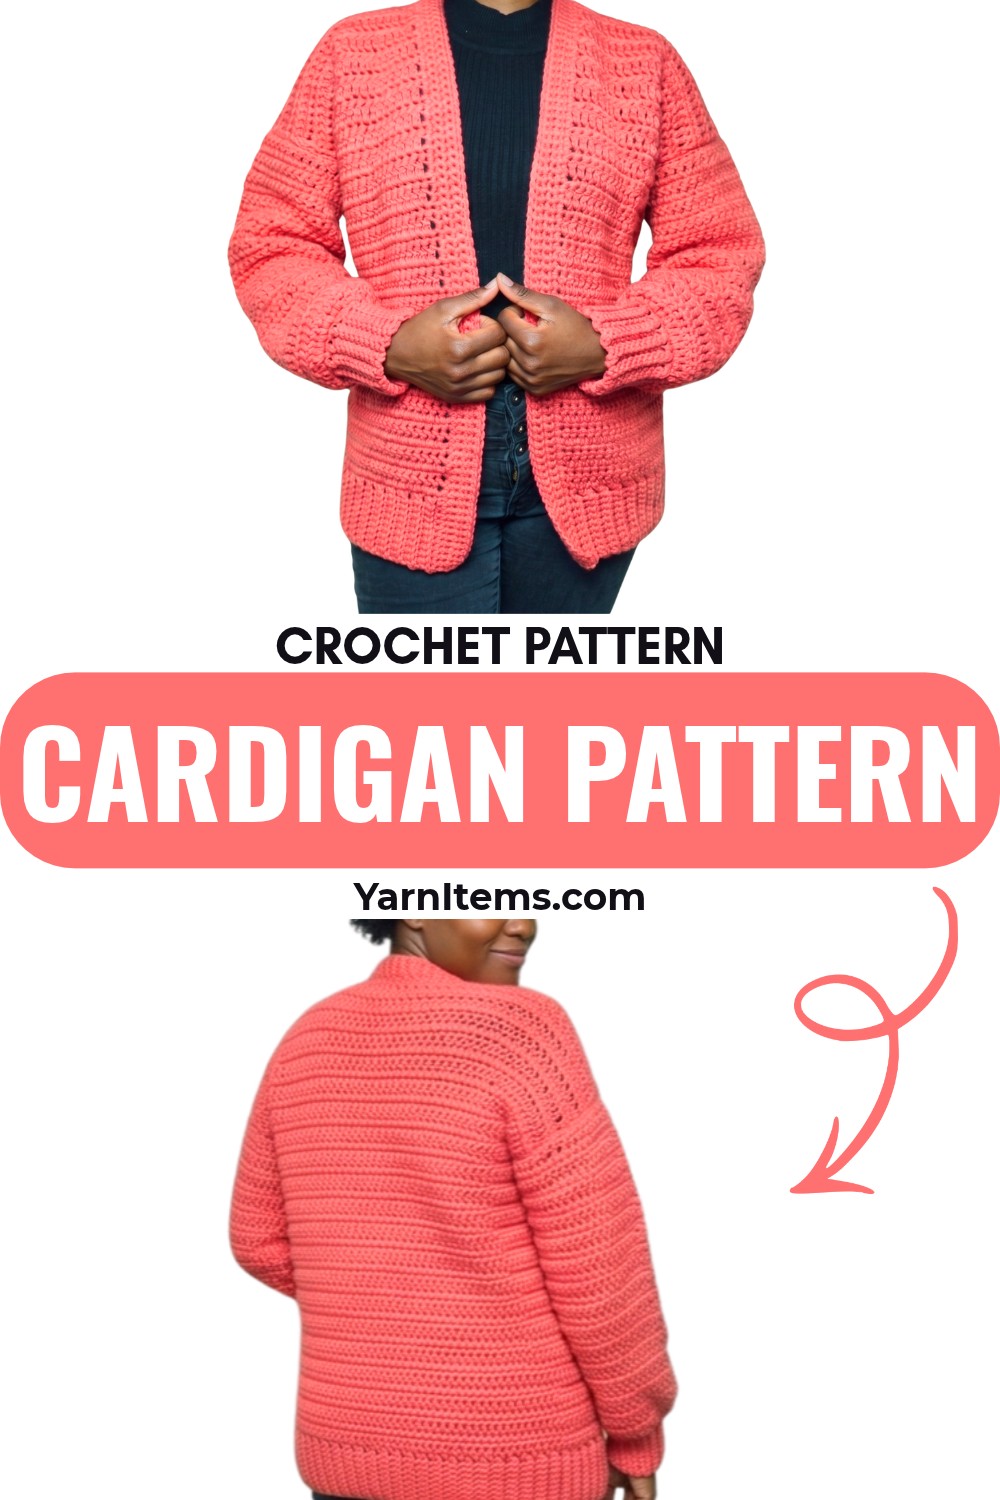
A crochet cardigan like this comes together by building the ribbing first and then working the larger body fabric from its edge. The crochet back panel establishes the overall width and length, while the two front panels create the opening at the center before the sleeves are added.
Getting the proportions right is especially important when you are adjusting the size. The ribbing determines the starting edge, while the number of body rows controls the finished length, so checking each section against your measurements before joining the crochet pieces can prevent an oversized or shortened fit.
Credit Brenda DIY
Materials & Tools Needed
- Medium-weight yarn: The tutorial uses size 5 thin yarn, but size 4 medium-weight yarn can also be used.
- 7 mm crochet hook: Used for the ribbing and beginning sections.
- 9 mm crochet hook: Used for the main body and other panels.
- Yarn needle: For sewing the pieces together and weaving in ends.
- Stitch markers: Helpful for marking sleeve centers and alignment points.
Finished Size & Customization Ideas
The tutorial example is worked around a Medium size:
- Back panel: Approximately 20″ wide × 24″ high
- Front panels: Approximately 8.5″ wide each × the same length as the back panel
- Sleeve ribbing: Approximately 12″ circumference
- Front opening: Approximately 3″ between the two front panels
You can adjust the cardigan by changing the number of ribbing chains, adding or removing body rows, and increasing the width of the panels.
For a larger size, add stitches and rows as needed while keeping the front panels proportionate to the back. Always measure the pieces as you work rather than relying only on the sample dimensions.
Pattern Abbreviations & Terminology
- sc – Single Crochet
- dc – Double Crochet
- BLO – Back Loop Only
- st(s) – Stitch(es)
US crochet terminology is used throughout.
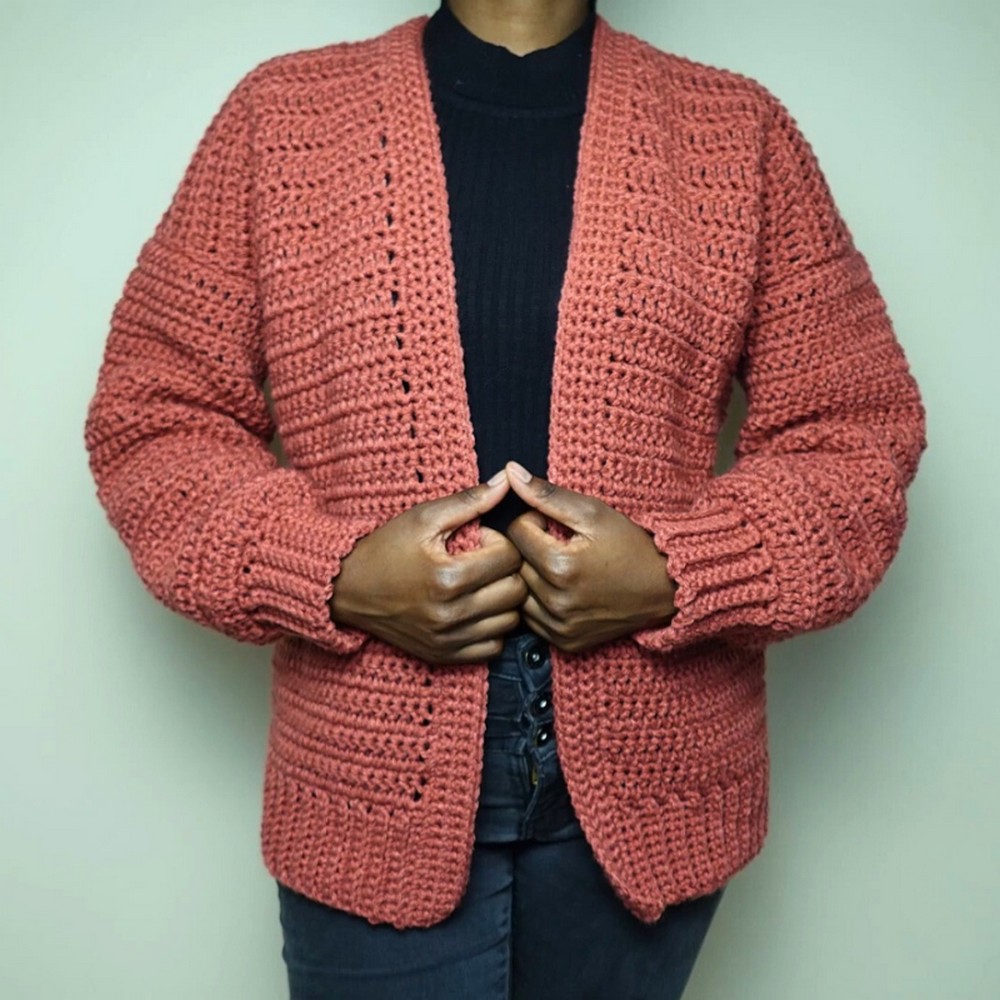
Easy Crochet Cardigan Pattern
Crochet the Back Panel
The back panel begins with narrow ribbing worked with the 7 mm hook. The ribbing is then turned so that the longer edge becomes the foundation for the main body.
Back Panel Ribbing
Foundation: Ch 11.
Row 1: Sc in the second ch from the hook and in each chain across. (10 sc) Ch 1 and turn.
Row 2: Sc in the BLO across. (10 sc) Ch 1 and turn.
Rows 3–54: Repeat Row 2 until the ribbing reaches the desired width, approximately 20″ for the Medium example.
Fasten off if required by the tutorial and change to the 9 mm hook for the body.
Back Panel Body
Work sc evenly across the long edge of the ribbing, aiming for approximately 54 sc in the Medium example.
Row 1: Ch 2, turn, and work dc across all stitches.
Row 2: Ch 1, turn, and work sc across all stitches.
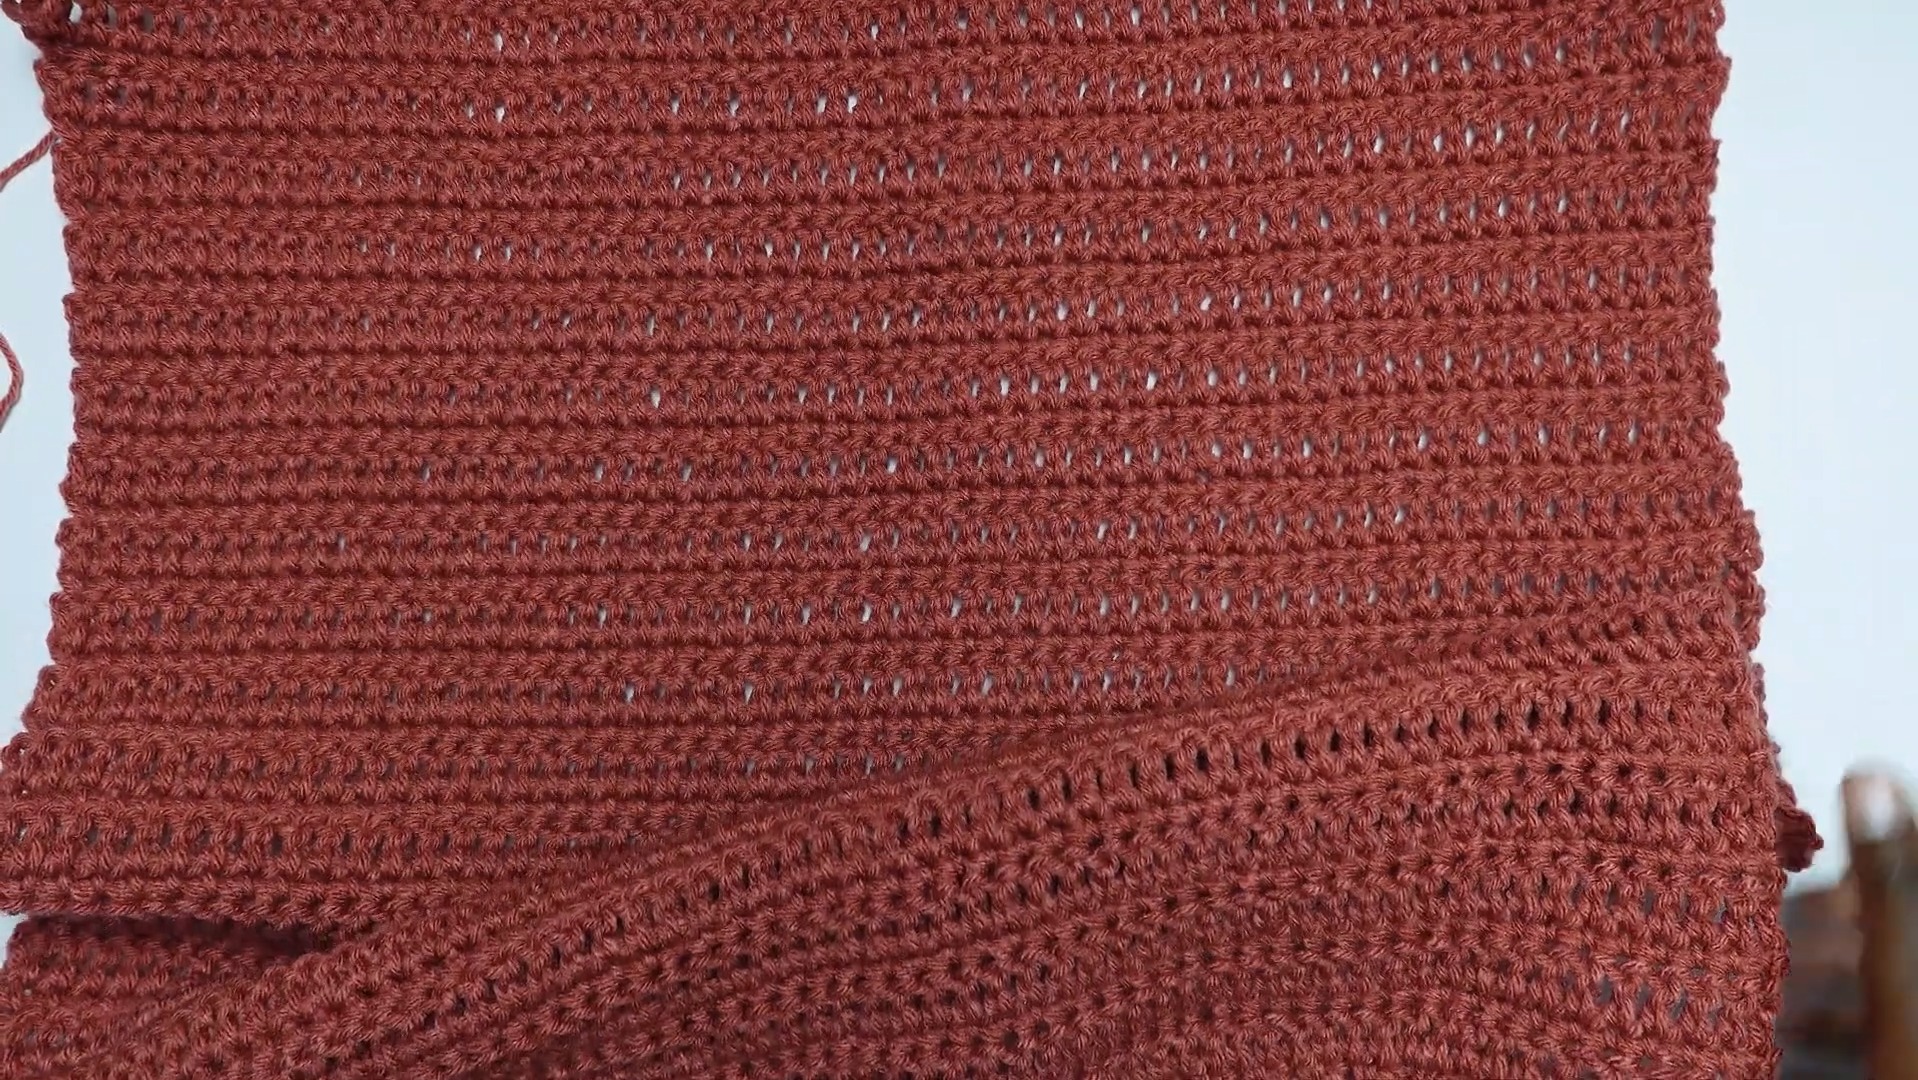
Following Rows: Continue alternating one dc row with one sc row until the back panel reaches the desired length. The example uses approximately 45 rows to reach about 24″ in height.
Keep the side edges as even as possible because these edges will later meet the front panels and sleeves.
Check the Back Panel Before Continuing
Lay the completed back panel flat and measure both its width and height.
This is the best point to make a size correction. If the panel is already too narrow or too short, changing the measurements now is easier than trying to compensate after the front panels and sleeves have been joined.
For the Medium example, aim for approximately 20″ × 24″ before moving on.
Crochet the Front Panels
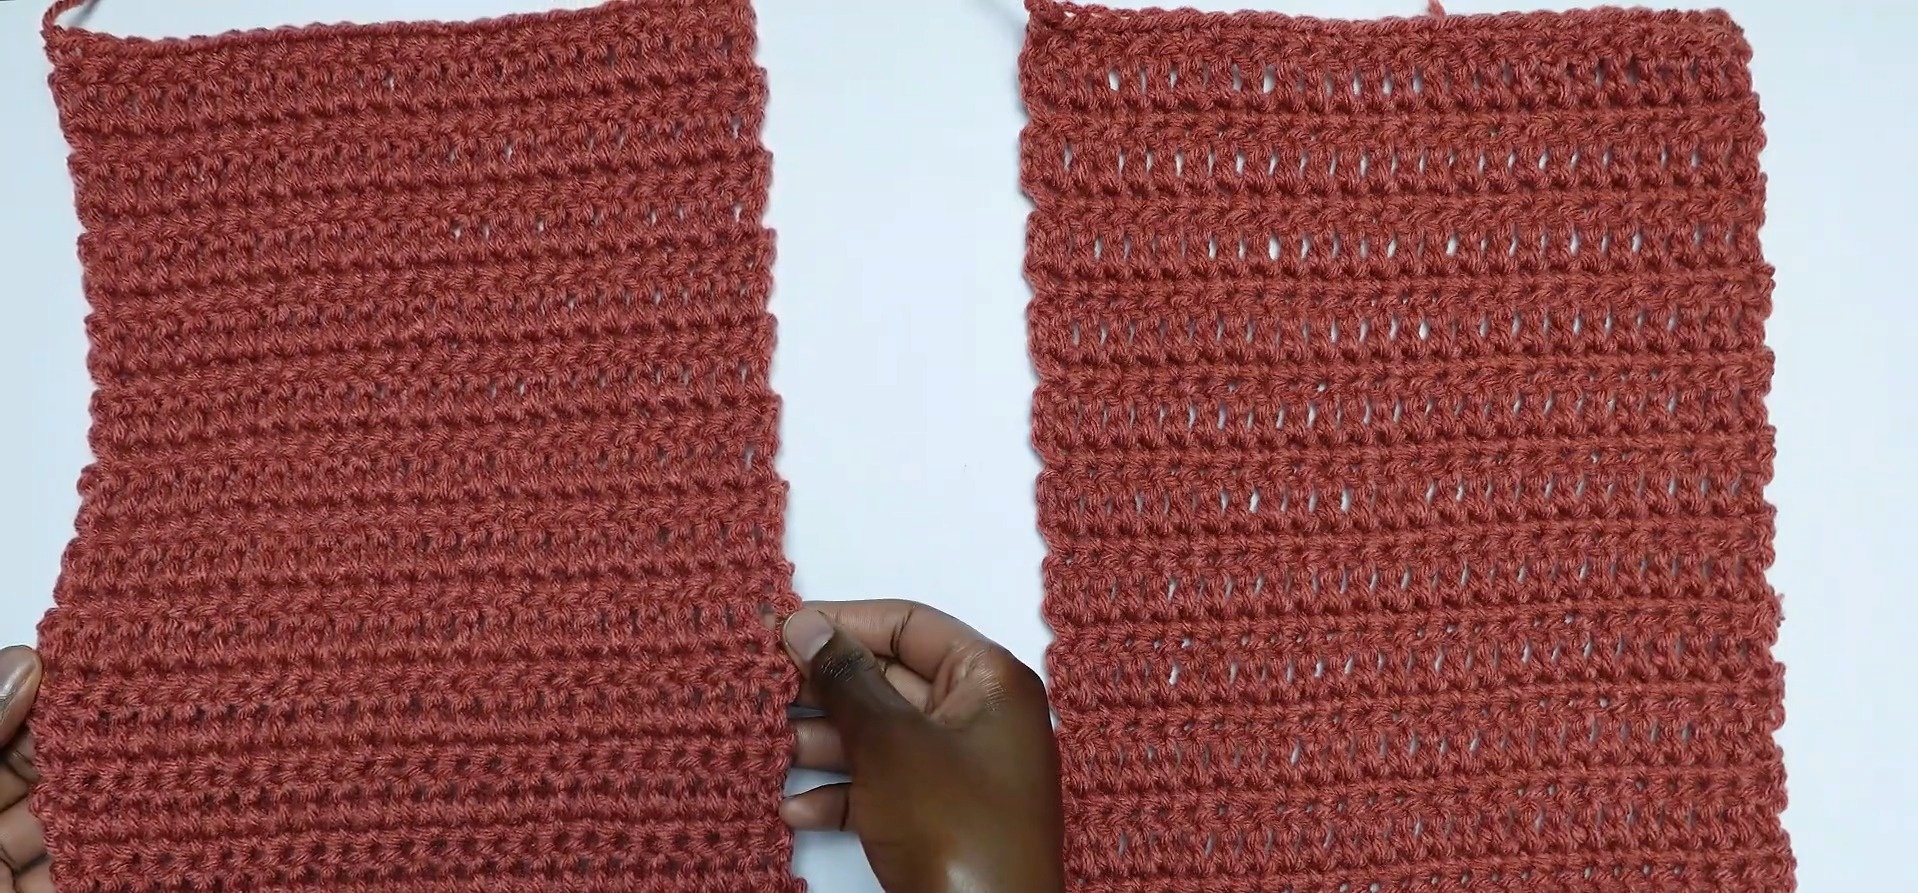
The two front panels use the same basic ribbing and body method as the back panel, but each panel is approximately half the back-panel width.
Front Panel Ribbing
Foundation: Ch 11.
Row 1: Sc in the second ch from the hook and across. (10 sc) Ch 1 and turn.
Row 2: Sc in BLO across. (10 sc) Ch 1 and turn.
Following Ribbing Rows: Repeat Row 2 until the ribbing reaches the required width.
Front Panel Body
Change to the 9 mm hook.
Work sc evenly across the ribbing edge.
Row 1: Ch 2, turn, and work dc across.
Row 2: Ch 1, turn, and work sc across.
Following Rows: Continue alternating dc and sc rows until the panel reaches the same height as the back panel.
Repeat the complete process to make the second front panel.
For the Medium example, each front panel measures approximately 8.5″ wide and matches the back panel in length.
Crochet the Sleeves
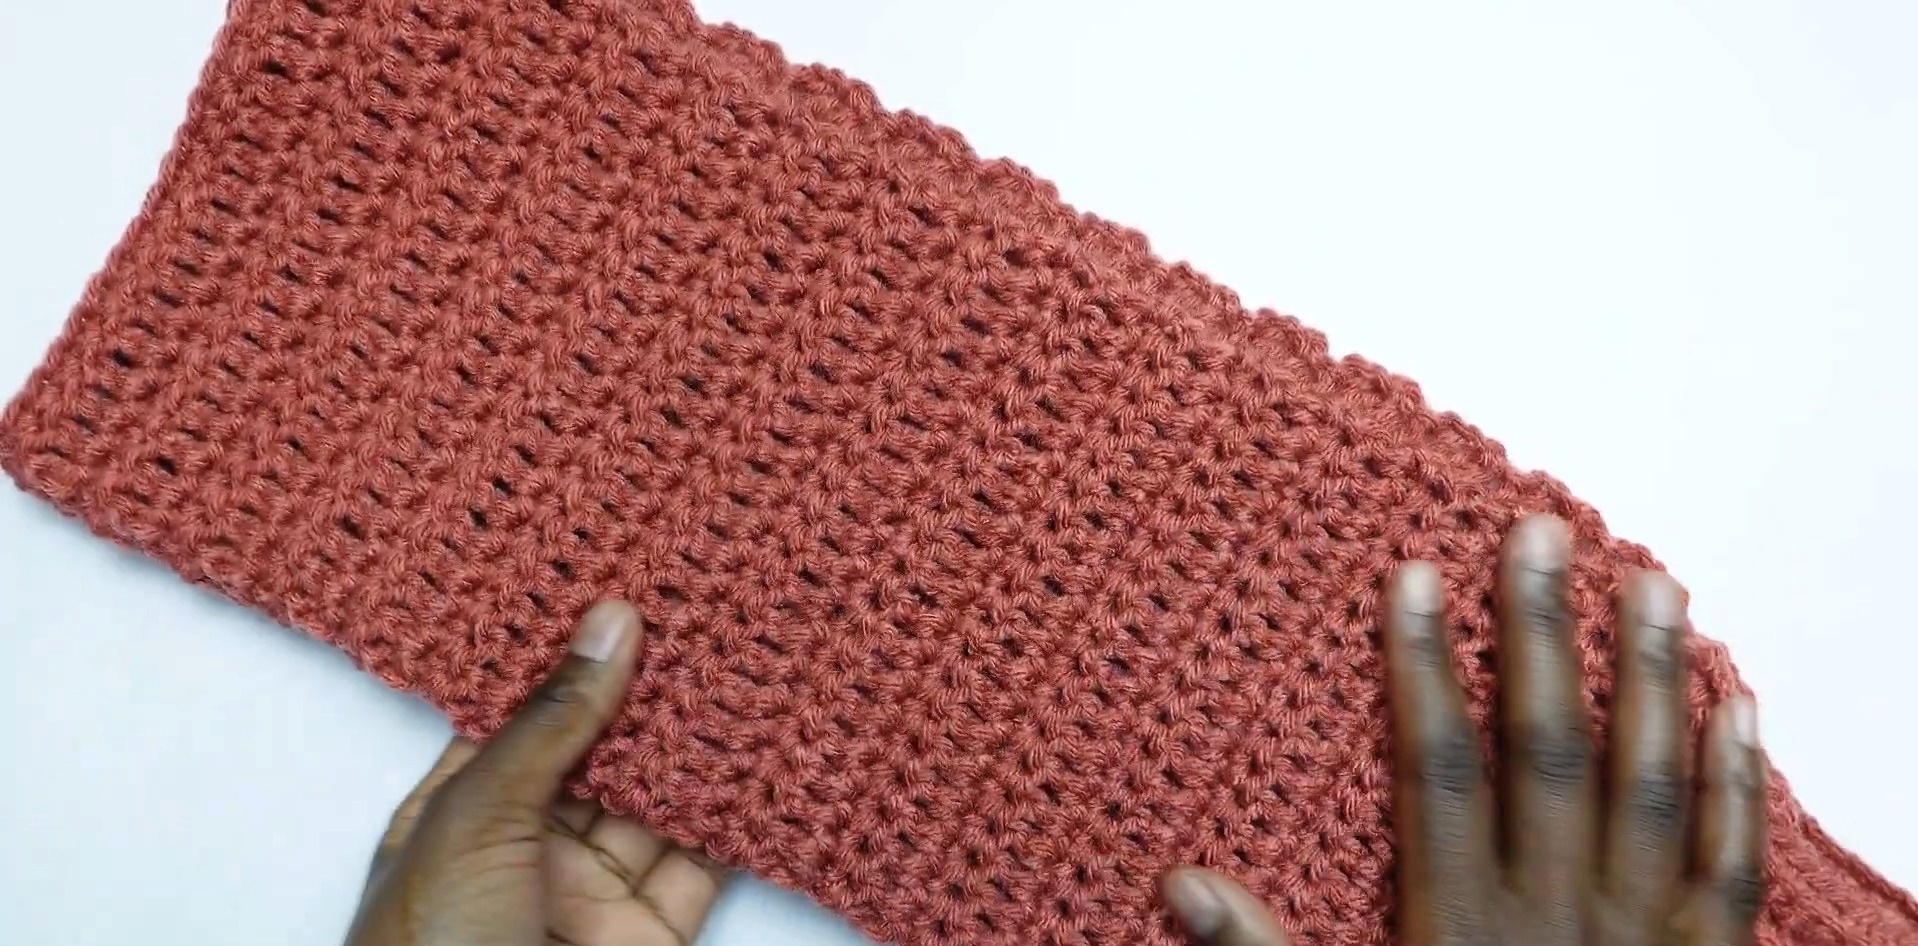
Each sleeve begins with its own ribbed section before the main sleeve fabric is added.
Sleeve Ribbing
Create the foundation chain long enough to produce approximately 12″ of ribbing circumference for the Medium example.
Work sc through the back loops to create the ribbed texture.
Ribbing Rows: Continue working one sc in the BLO of each stitch until the ribbing reaches the required length, approximately 22 rows for the sample.
Sleeve Body
Work sc evenly across the long edge of the ribbing.
Row 1: Work 1 dc in the first stitch, 2 dc in the next stitch, then repeat 1 dc, 2 dc across the row.
Row 2: Work sc across.
Following Rows: Continue alternating dc and sc rows, maintaining the gradual increase pattern until the sleeve reaches the desired length and width.
The increases help the sleeve expand from the narrower ribbed cuff toward the upper arm.
Assemble the Cardigan
Once the panels and sleeves are complete, the position of each piece becomes important.
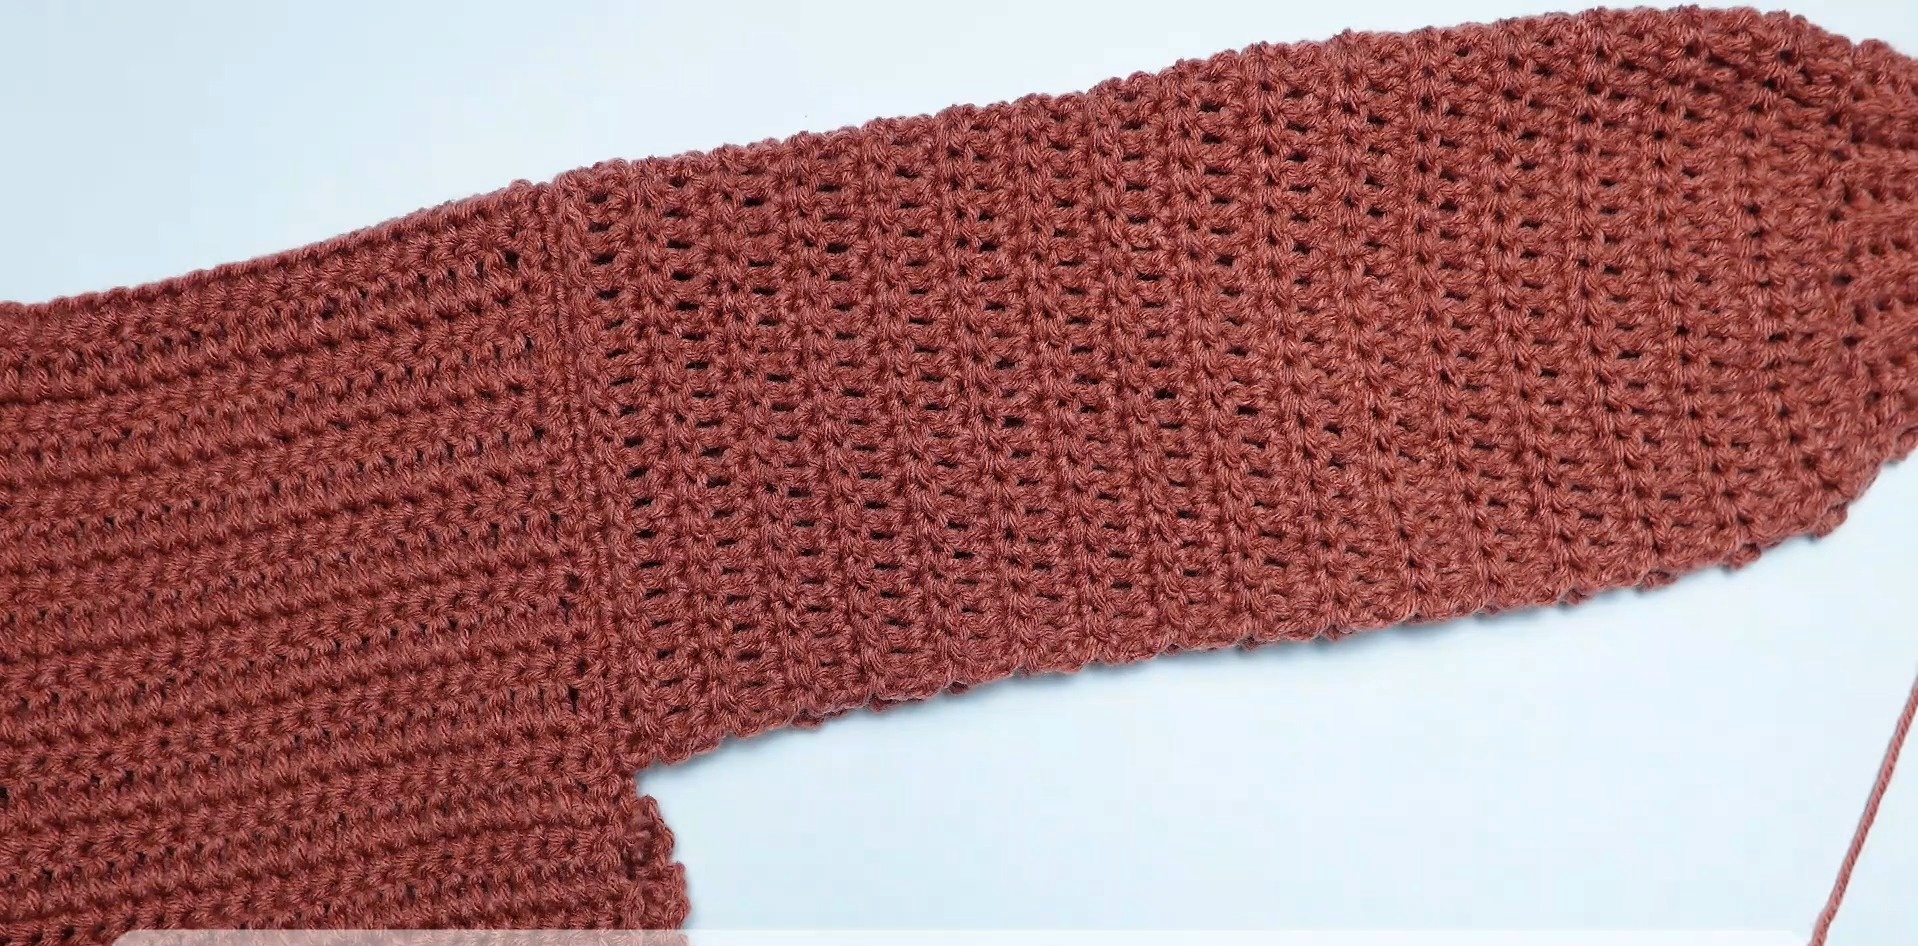
Join the Shoulders
Lay the back panel flat with the wrong side facing up.
Place the two front panels on top with their wrong sides touching the back panel.
Using a yarn needle and the long tails from the front panels, sew the shoulders to the top edge of the back panel.
Leave the required opening between the front panels for the neckline.
Attach the Sleeves
Fold each sleeve in half to locate its center.
Place a stitch marker at the midpoint of the sleeve ribbing.
Align this center point with the shoulder seam of the cardigan.
Distribute the sleeve evenly along the shoulder opening and sew it securely to the body.
Sew the Sides and Sleeves
Fold the cardigan in half lengthwise, matching the body sides and sleeve edges.
Using the yarn needle, sew from the bottom edge upward along the side of the cardigan.
Continue the same seam along the underside of the sleeve until you reach the cuff.
Repeat on the opposite side.
Finish the Neckline
Attach yarn around the neckline opening.
Neckline Round: Ch 1, then work sc evenly around the entire neckline.
Join with a sl st and fasten off.
Use the tapestry needle to weave all remaining yarn tails securely into the wrong side of the cardigan.
Final Fit Check
Before weaving in every remaining end, put the cardigan flat and check the main joining points:
- The two front panels should hang evenly.
- The shoulder seams should sit at the same height.
- Both sleeve centers should align with the shoulder seams.
- The side seams should meet without pulling.
- The neckline should remain open and comfortable.
- The sleeve length should match on both sides.
If the cardigan has a slightly different fit on each side, check the panel measurements and sleeve alignment before trimming the yarn tails.
Optional Blocking
Lightly wet block or steam block the finished cardigan if needed.
Blocking can help even out the stitches and improve the drape of the larger fabric sections. Allow the cardigan to settle into its intended shape before wearing it.
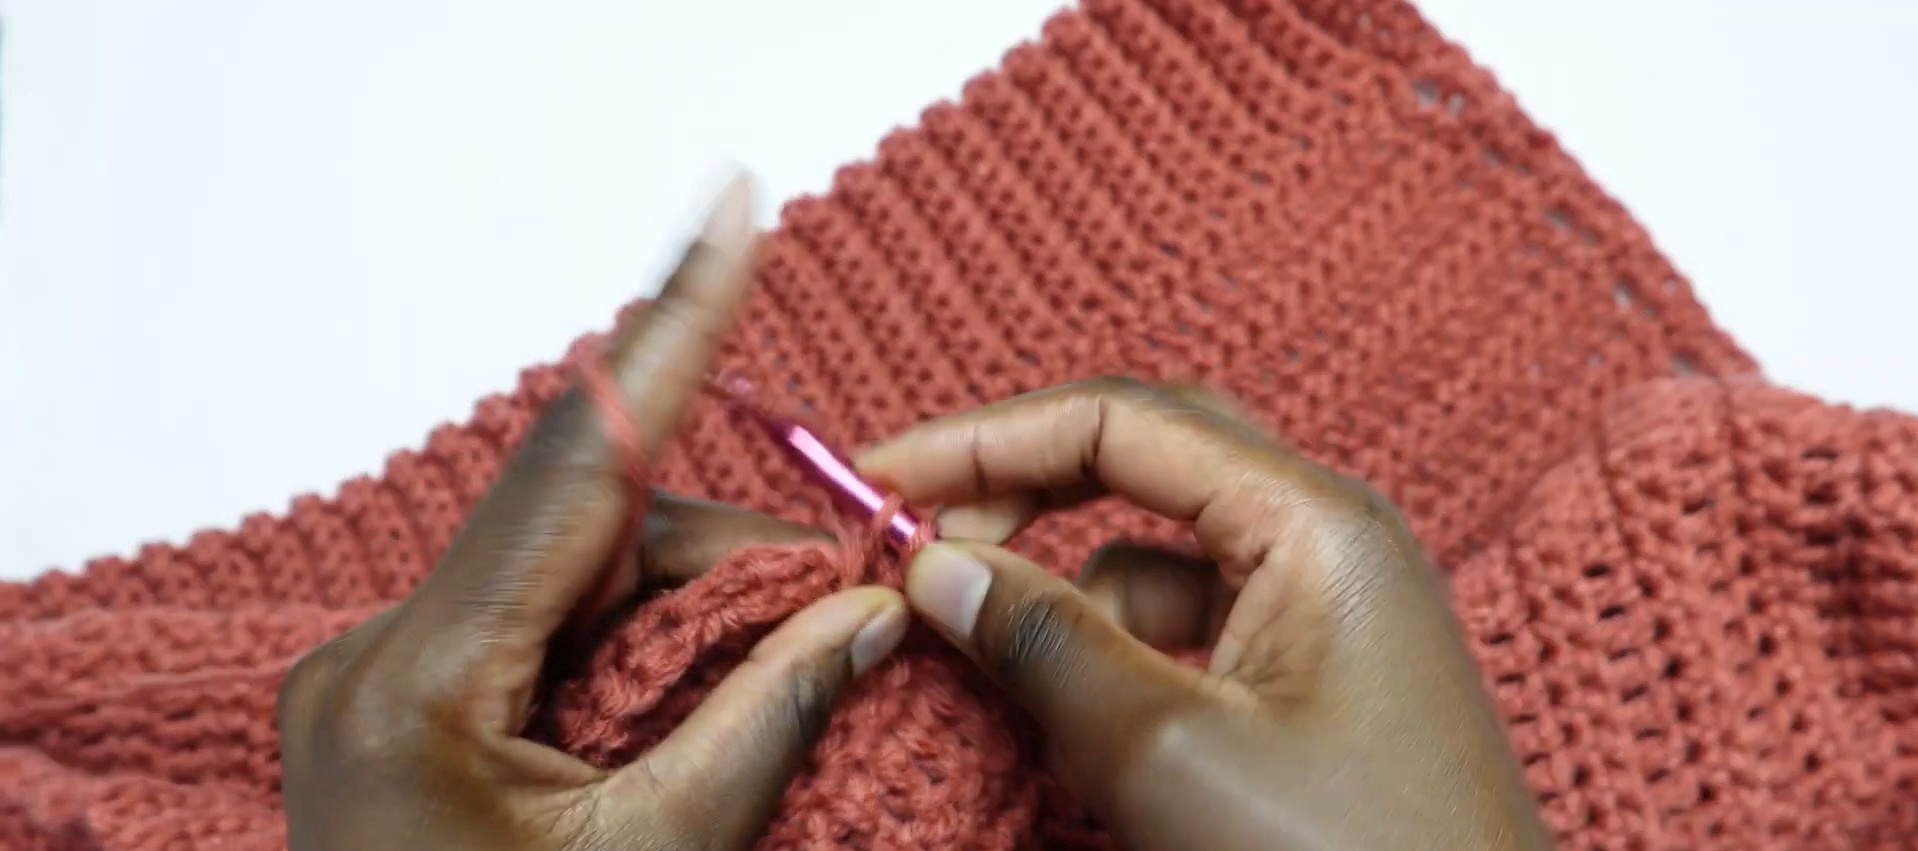
Customize the Finished Cardigan
The basic shape can be adapted without changing the overall method.
For more length, add additional body rows before assembly. For a wider fit, increase the foundation or ribbing dimensions and adjust the corresponding panel width. The sleeve length can also be extended by continuing the alternating rows.
Buttons, decorative edging, or other finishing details can be added after the main cardigan is assembled.
A Simple Cardigan with Flexible Sizing
The combination of ribbed edges and alternating single- and double-crochet rows gives this cardigan a straightforward rhythm from the first panel to the final seam. The most important sizing checks happen before assembly, when the width and length of each piece can still be adjusted easily.
Once the shoulders, sleeves, and side seams are aligned, the remaining finishing is simple, leaving you with a relaxed handmade cardigan that can be adapted to different lengths and widths.
Video Tutorial