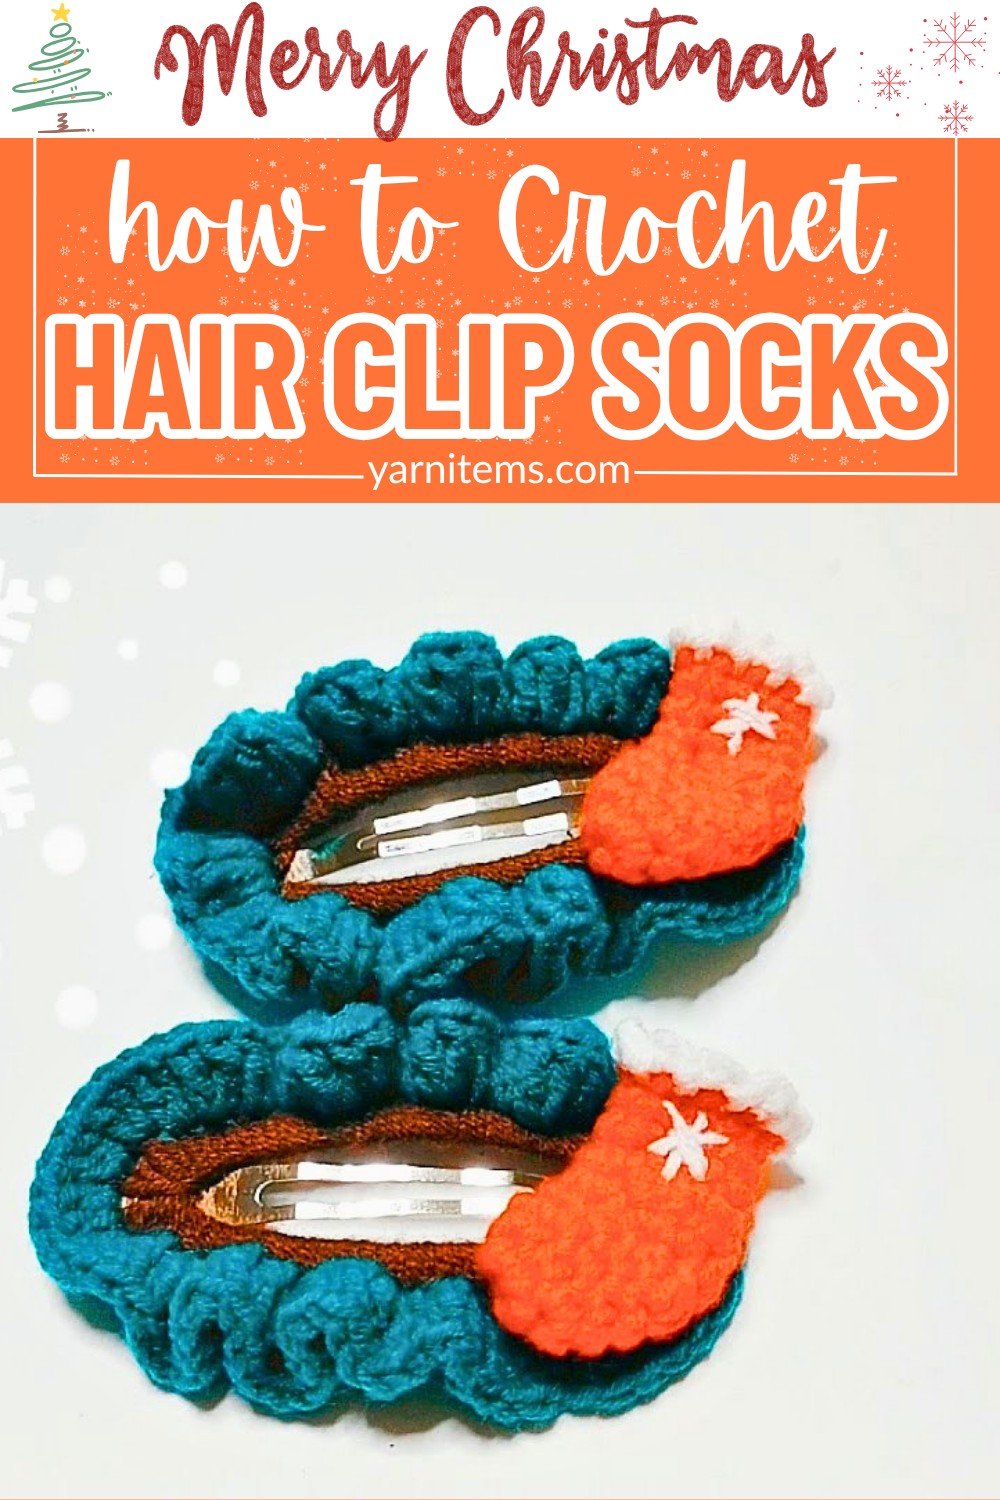
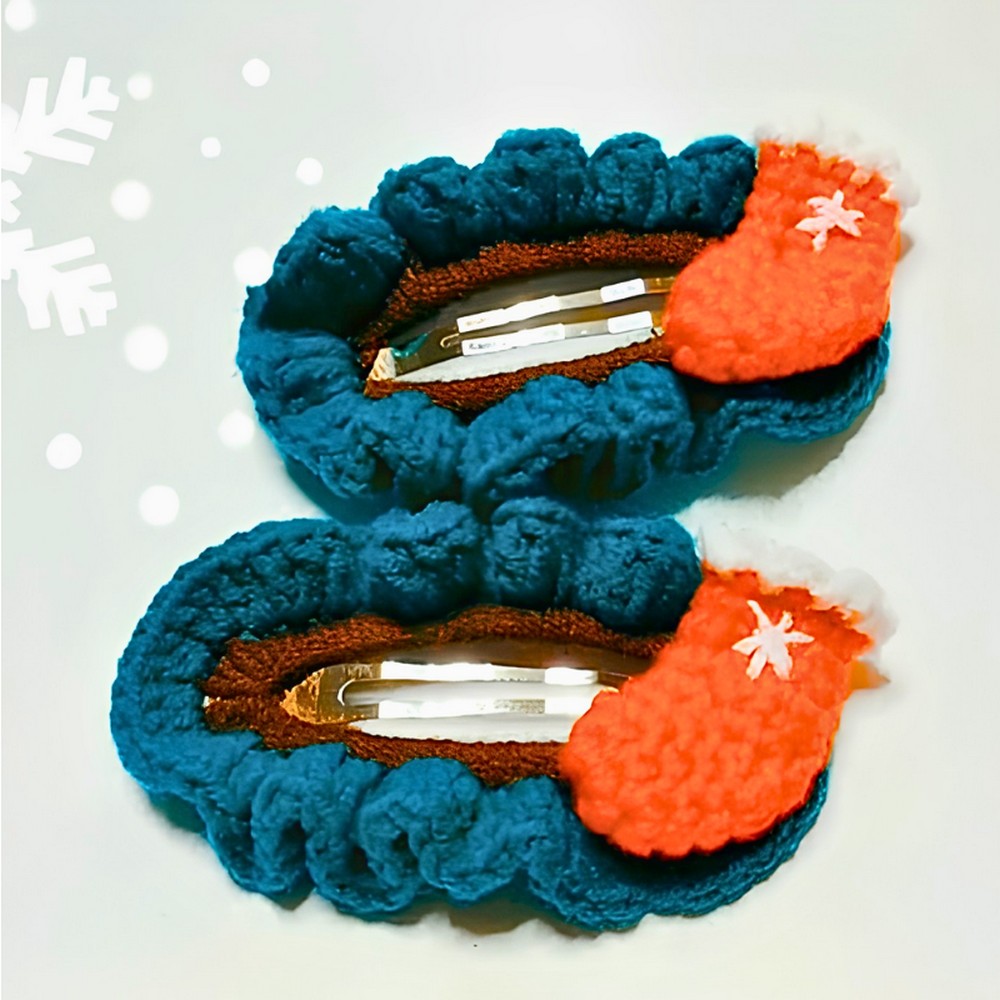
Tiny Christmas stockings aren’t just for the fireplace; they also make the sweetest festive hair accessories. These crochet Christmas sock hair clips add a playful holiday accent without taking much time or yarn to create.
They also look adorable clipped onto gift bags, backpacks, or holiday displays, giving one small piece plenty of ways to shine. Just ahead, you’ll find the crochet pattern that brings these cheerful little socks to life.
Crochet Mini Hair Clip Christmas Socks

This crochet piece is a great choice when you’re looking for something quick, creative, and seasonal. The instructions break each step into an easy-to-follow process, making it simple to shape. The miniature socks are easy to attach to a crochet hair clip. Whether you’re making one for yourself or a handful for holiday gifts, you’ll have a festive handmade accessory ready to enjoy in no time.
Credit Let’s crochet
Crochet Materials & Tools Needed
- Yarn: Soft cotton yarn (approx. 1mm to 1.5mm in diameter) in Dark Brown, Teal Green, Red, and White.
- Crochet Hook: 2.0 mm
- Hair Clips: 6 cm snap hair clips
- Other Tools: Tapestry needle, scissors, hot melt glue sticks (or fabric glue)
Pattern Abbreviations & Terminology (US Terms)
- ch: Chain
- sl st: Slip Stitch
- sc: Single Crochet
- hdc: Half Double Crochet
- dc: Double Crochet
- inc: Increase (2 stitches worked into the same stitch)
- incDC: Double Crochet Increase (2 double crochets worked into the same stitch)
Step-by-Step Crochet Instructions
1. Hair Clip Base Cover (Brown & Teal)
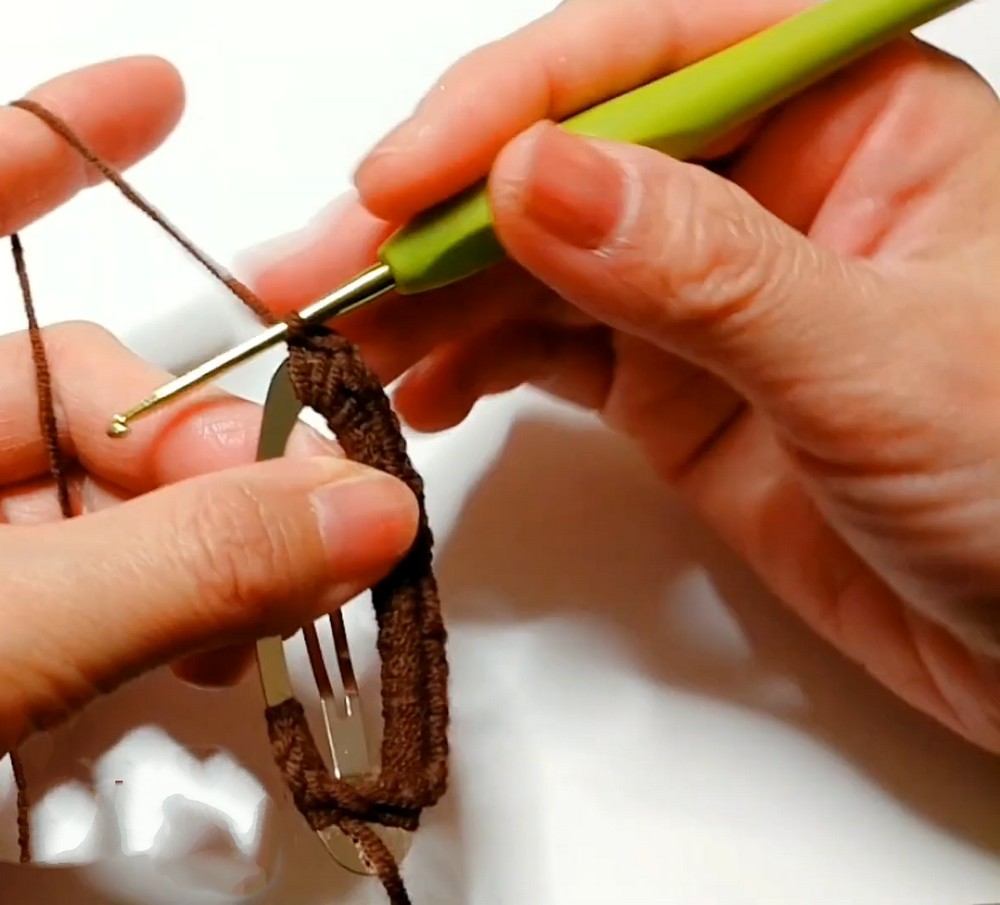
Round 1 (Brown Yarn):
- Tie your brown yarn securely around the center bar near the pivot end of the 6 cm snap clip.
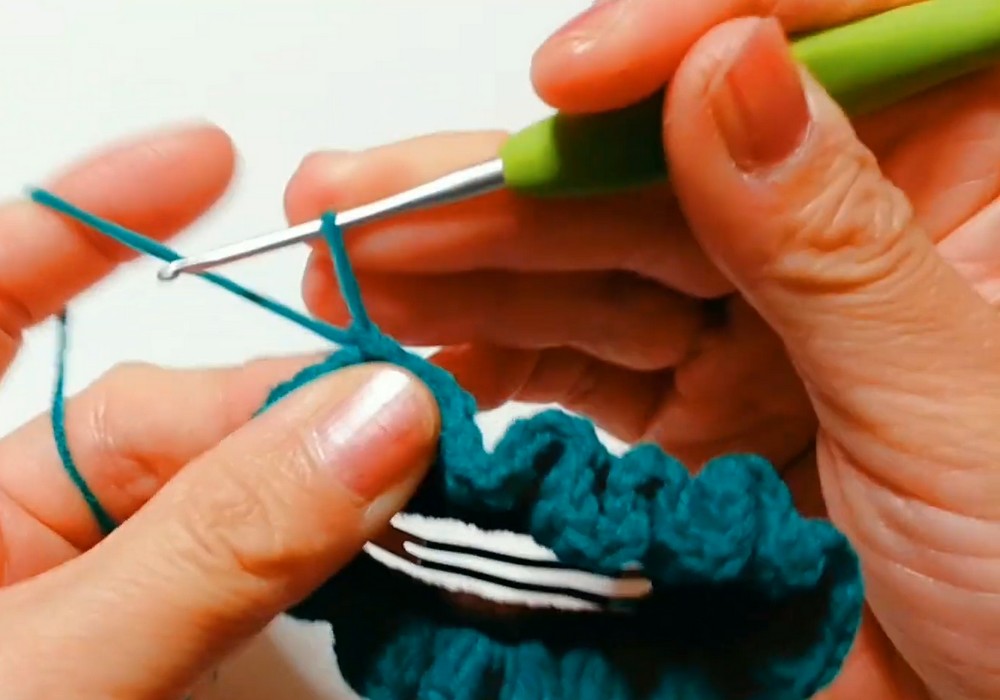
- Work single crochets (sc) all the way around the outside frame of the hair clip, wrapping the yarn cleanly over the metal clip.
- Tip: Work approximately 55 sc to fully cover the metal frame.
- When you reach the end, join with a sl st to the first sc.
- Fasten off and cut the brown yarn.
Round 2 (Teal Green Yarn):
- Attach the teal green yarn with a slip knot into any single crochet stitch from Round 1.
- Ch 3 (counts as your first double crochet).
- Work incDC (2 dc in each stitch) completely around the clip frame to create a wavy, ruffled border.
- Once you reach the end, join with a sl st to the 3rd chain of your initial ch-3.
- Fasten off, cut the yarn, and weave in all loose ends on the back of the clip cover using a tapestry needle.
2. Mini Christmas Sock (Red & White)
Round 1 (Red Yarn – Starting with a Magic Ring):
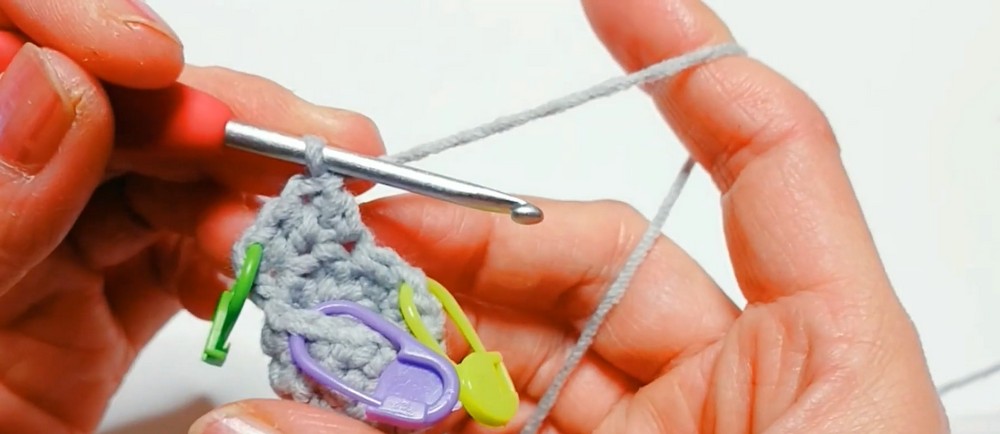
- Make a magic ring, ch 1, and work 6 sc into the ring. (6 sts)
- Pull the ring tight. Use a stitch marker to mark your first stitch.
Round 2:
- Work (1 sc, 1 inc) repeated 3 times around. (9 sts)
Round 3 & Round 4:
- Work 9 sc evenly around for both rounds. (9 sts)
Round 5 (The Heel – Turning Row):
- Work 1 sc, 1 hdc, 1 dc, 1 hdc, 1 sc across the next 5 stitches.
- Turn your work around (do not chain), and repeat the same sequence: 1 sc, 1 hdc, 1 dc, 1 hdc, 1 sc back across the same 5 stitches.
- This forms the shaped heel pocket.
Round 6:
- Turn your work back to continue working in rounds.
- Work 5 sc across the heel section and 4 sc across the top foot section. (9 sts)
Round 7, Round 8 & Round 9 (The Sock Leg):
- Work 9 sc evenly around for each of these three rounds. (9 sts)
- At the end of Round 9, fasten off the red yarn and weave in the loose ends inside the sock.
Round 10 (White Cuff Ruffle):
- Attach the white yarn to any stitch on the top rim of the sock leg.
- Work a recurring sequence: (ch 2, sl st into the next stitch) to create a fluffy, snow-like ruffle trim around the rim.
- Fasten off and use your tapestry needle to cleanly pull the yarn tail inside the sock to hide it.
3. Assembly & Finishing
Step A: Embellishment
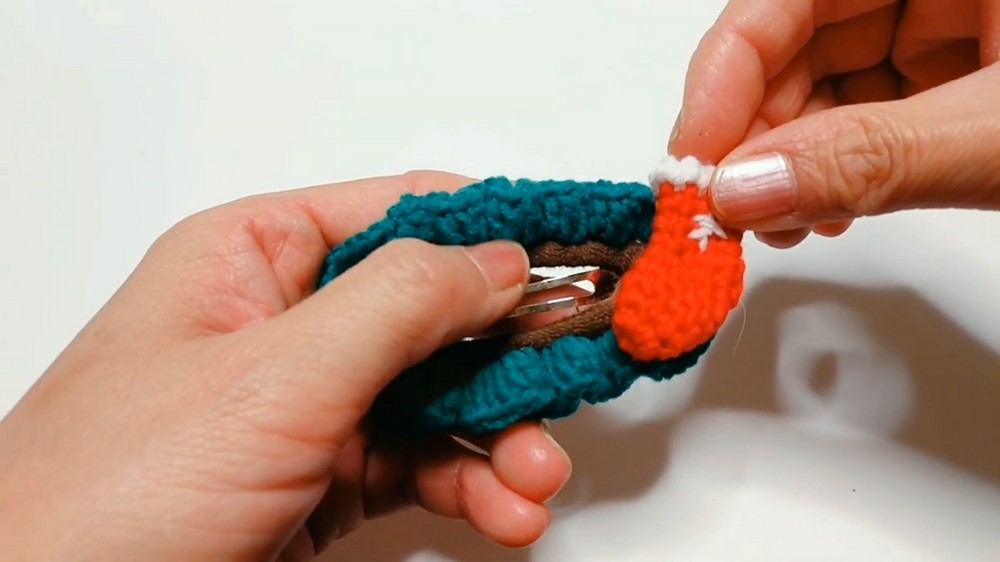
- Use a small strand of white yarn and a tapestry needle to stitch a simple snowflake or star icon on the front ankle area of the red sock.
Step B: Gluing
- Heat your hot melt glue stick or prepare your fabric glue.
- Apply a line of glue carefully along the back of the mini sock.
- Press the sock firmly onto the side of the teal ruffled hair clip base.
Step C: Final Securing
- Hold the sock and clip together securely for a few seconds until the glue cools and sets completely.