Crochet Halloween Headband With Witch Hat and Pumpkin
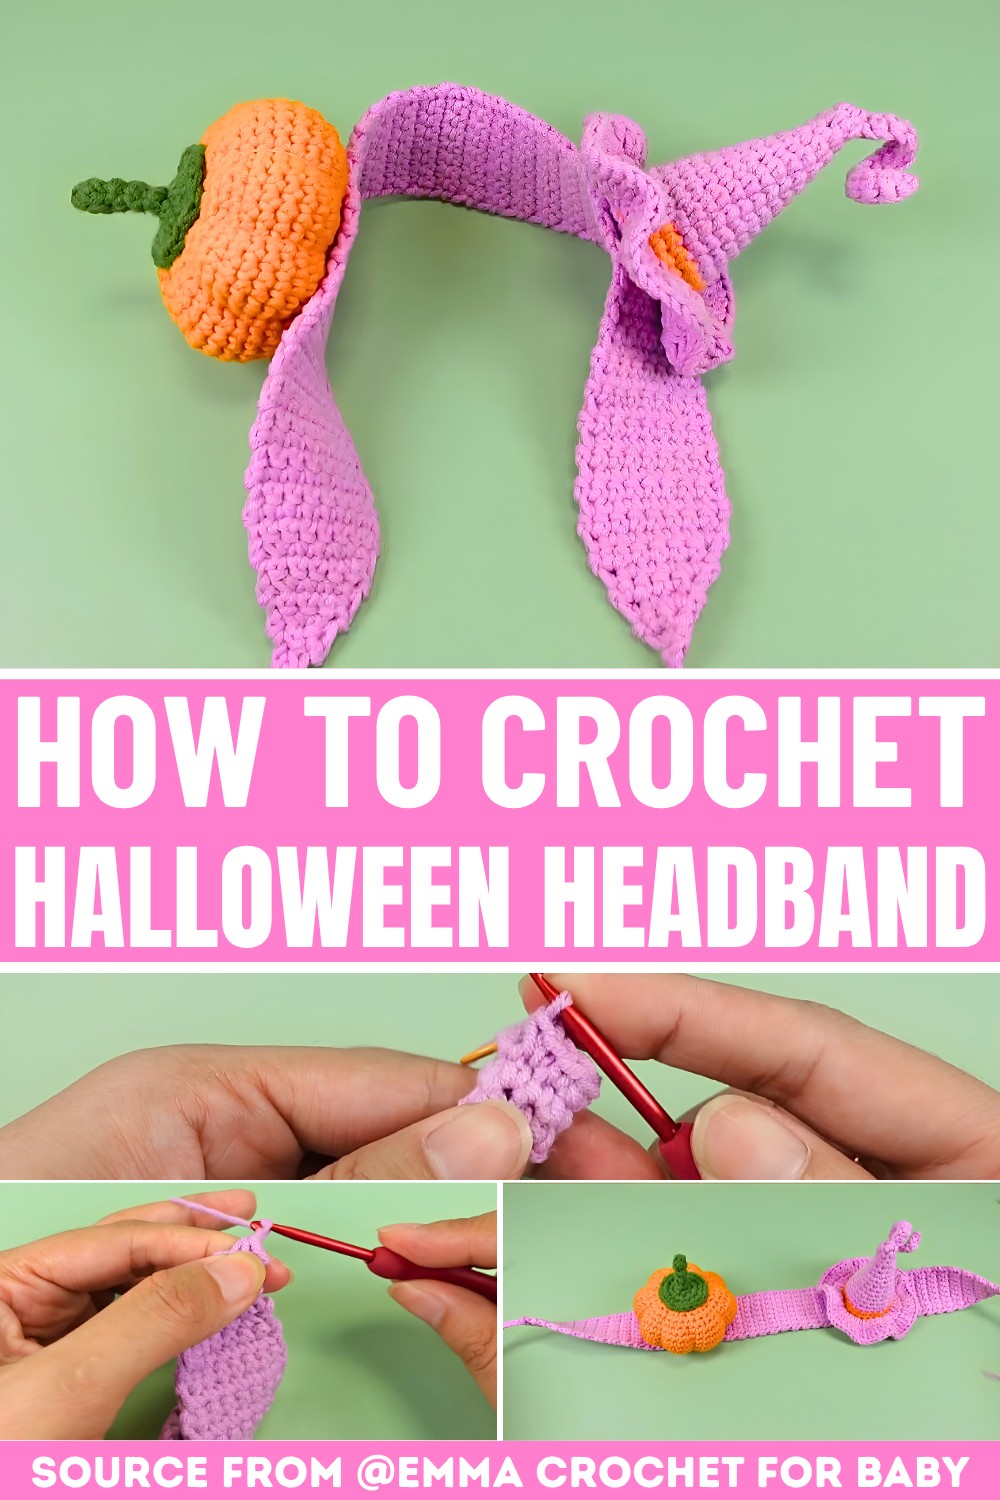
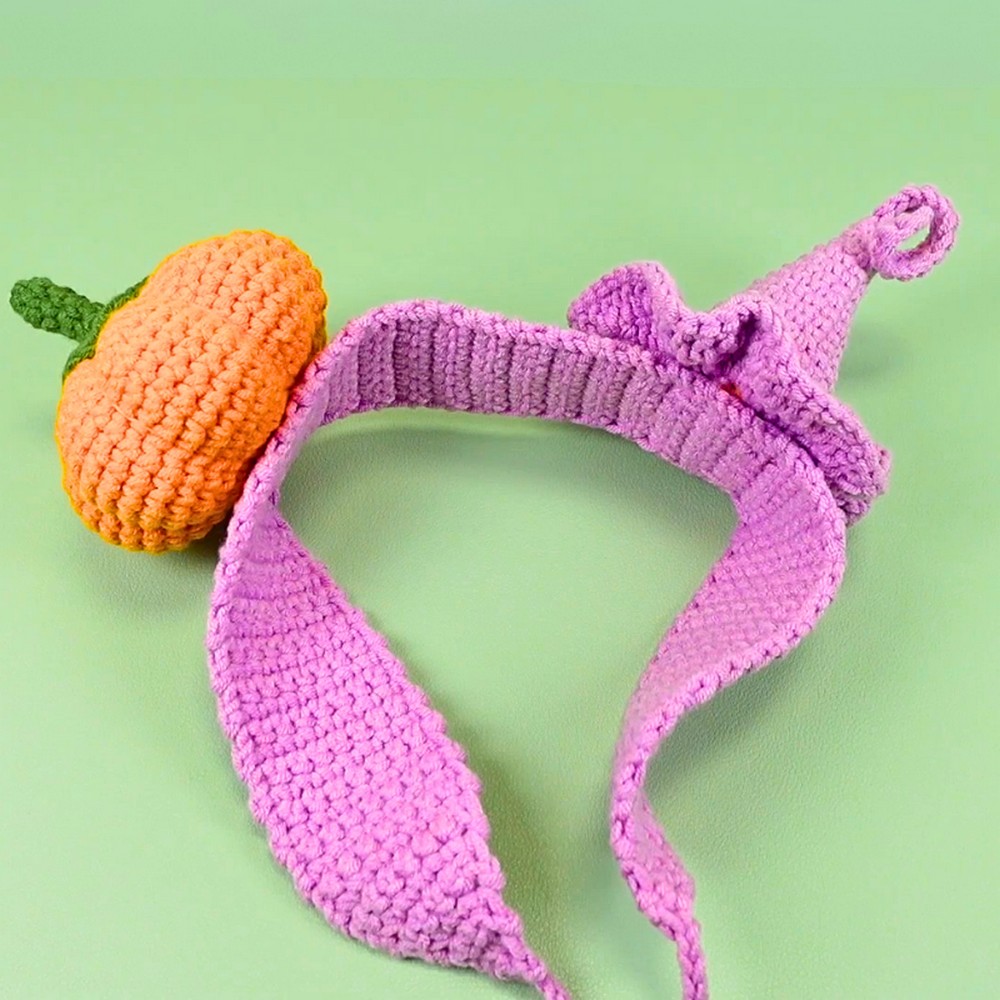
This adorable crochet pattern brings together two favorite autumn symbols: a little spooky witch hat and a smiling pumpkin, all sitting perfectly on a comfortable headband. The bright orange pumpkin serves as a sturdy, cheerful base that keeps the pointy black hat standing tall while you wear it.
By joining these two elements onto a flexible band, you get a fun costume accessory that stays securely on your head whether you are playing, trick-or-treating, or just dressing up for fun. It is designed to be lightweight and cozy, so it will not slide off or feel too heavy during your holiday adventures.
Crochet Headband for Halloween

One of the best things about this crochet design is how easy it is to change the sizing, so anyone can wear it, from tiny toddlers to grown-ups. If you often worry about headbands being too tight or too loose, you can easily adjust the band length or choose a plastic base that fits just right before sewing your pieces on. You can make this look extra special by changing the yarn colors to match your favorite outfit. For example, you can try a purple or bright green hat for a magical look, or give your pumpkin different facial expressions like a silly grin, a spooky stare, or a sweet smile using simple black yarn.
Creating this fun accessory is a wonderful way to practice basic crochet stitches while making something truly unique. You will learn how to shape a smooth, round pumpkin and how to decrease stitches to make the perfect pointed top for the witch hat. To give your creation even more character, you can sew a shiny gold buckle onto the hat or add a tiny green leaf next to the pumpkin stem. This simple combination of shapes and colors makes it an exciting and rewarding piece to make, letting your creativity shine through every single stitch.
Credit Emma Crochet for Baby
Materials & Tools Needed
-
Yarn: 4-ply or 5-ply Milk Cotton yarn (or a sports/fingering weight equivalent) in three primary seasonal shades: Color A (Black or Dark Purple for the hat cone/base), Color B (Bright Orange for the pumpkin and hatband), and Color C (Green or Beige for the pumpkin stem/tendrils).
-
Crochet Hook: Size 3.5 mm (US E/4) to keep your stitches tight enough so the stuffing stays hidden inside.
-
Hardware: A plain plastic or metal headband (preferably without teeth so your crochet sleeve slides on easily).
-
Notions: Polyester fiberfill stuffing, a tapestry needle, scissors, and optionally a hot glue gun for extra sturdy assembly.

Construction & Key Features
-
Worked in the Round: The witch hat is constructed top-down in continuous or joined rounds, gradually expanding to create that iconic cone shape before flaring out beautifully for the brim.
-
Textured Accents: The miniature pumpkin is typically worked flat in rows using Back Loop Only (BLO) single crochet to create a ribbed, authentic texture before being gathered into a plump sphere.
-
Smart Assembly: Rather than crocheting everything in one complex piece, the elements (hat, hatband, pumpkin, and stem) are made separately and seamlessly joined with a yarn needle or hot glue gun.
-
Easy Customization: The fabric cover slips right over a standard, toothless plastic headband base for a secure fit that stays comfortable all evening.
Step-by-Step Pattern
Part 1: The Witch Hat (Worked in Rounds)
Round 1: Using Color A, start by creating a foundation chain of 16 chains. Join with a slip stitch to the very first chain to form a ring, making sure the chain is not twisted.
Round 2: Chain 1. Work 15 single crochets (sc) evenly into the ring. Join with a slip stitch to the first sc to close the round. (15 stitches)
Round 3: Chain 1. Work 1 sc in each of the next 6 stitches around, leaving the remaining stitches unworked for now to start shaping the narrow tip of the hat. Join with a slip stitch to the first sc. (6 stitches)

Round 4: Chain 1. Work 1 sc in each of the 6 stitches around. Join with a slip stitch to the first sc. (6 stitches)
Round 5: Chain 1. Work 1 sc in the next stitch, then work 2 sc into the following stitch (an increase). Repeat from * to * 2 more times around. Join with a slip stitch to the first sc. (9 stitches)
Round 6: Chain 1. Work 1 sc in each of the 9 stitches around. Join with a slip stitch to the first sc. (9 stitches)
Round 7: Chain 1. Work 1 sc in the next stitch, 2 sc in the following stitch, then 1 sc in the next stitch. Repeat from * to * 2 more times around. Join with a slip stitch to the first sc. (12 stitches)
Round 8: Chain 1. Work 1 sc in each of the 12 stitches around. Join with a slip stitch to the first sc. (12 stitches)
Round 9: Chain 1. Work 1 sc in each of the next 3 stitches, then work 2 sc into the following stitch. Repeat from * to * 2 more times around. Join with a slip stitch to the first sc. (15 stitches)
Round 10: Chain 1. Work 1 sc in each of the 15 stitches around. Join with a slip stitch to the first sc. (15 stitches)
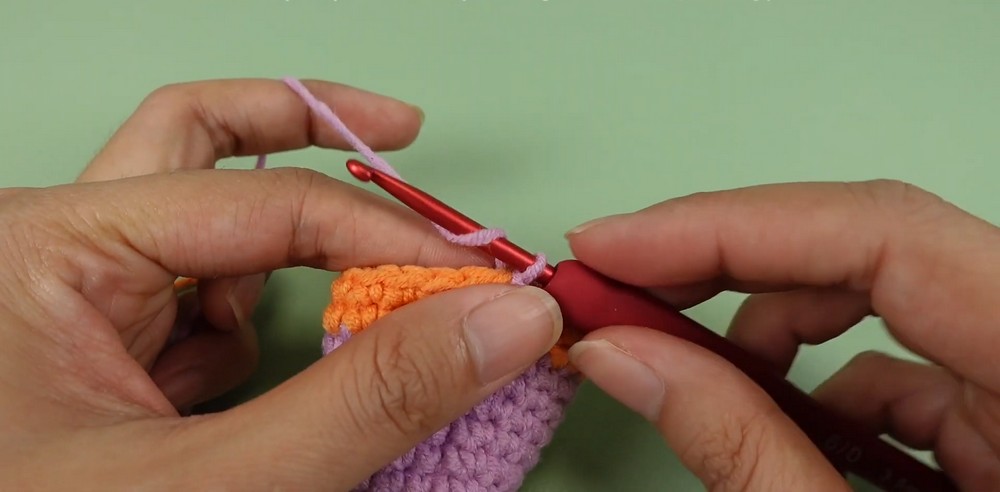
Round 11: Chain 1. Work 1 sc in each of the next 2 stitches, 2 sc in the following stitch, then 1 sc in each of the next 2 stitches. Repeat from * to * 2 more times around. Join with a slip stitch to the first sc. (18 stitches)
Round 12: Chain 1. Work 1 sc in each of the 18 stitches around. Join with a slip stitch to the first sc. (18 stitches)
Round 13: Chain 1. Work 1 sc in each of the next 5 stitches, then work 2 sc into the following stitch. Repeat from * to * 2 more times around. Join with a slip stitch to the first sc. (21 stitches)
Round 14: Chain 1. Work 1 sc in each of the 21 stitches around. Join with a slip stitch to the first sc. (21 stitches)
Round 15: Chain 1. Work 1 sc in each of the next 3 stitches, 2 sc in the following stitch, then 1 sc in each of the next 3 stitches. Repeat from * to * 2 more times around. On the very last pull-through of the final stitch, drop Color A and pull through with Color B to change colors cleanly. Join with a slip stitch to the first sc. (24 stitches)
Round 16: Using Color B, chain 1. Work 1 sc in each of the 24 stitches around to begin the contrasting hatband. Join with a slip stitch to the first sc. (24 stitches)
Round 17: Chain 1. Work 1 sc in each of the 24 stitches around to complete the hatband. Fasten off Color B, leaving a tail for weaving. (24 stitches)
Round 18 (The Brim): Attach Color A to any stitch. Chain 1. Work 1 sc in the next stitch, then 2 sc in the following stitch. Repeat from * to * all the way around to flare the stitches out into a beautiful brim. Join with a slip stitch, fasten off, and weave in all ends. (36 stitches)

Part 2: The Mini Pumpkin
-
Leaving a long tail for gathering later, use Color B to chain 13.

-
Row 1: Single crochet into the second chain from your hook and into each remaining chain across (12 sc). Chain 1 and turn.
-
Rows 2–25: Work entirely in the Back Loop Only (BLO) to create a ribbed texture. Single crochet in each stitch across, chain 1, and turn.

-
Assembly: Fold your ribbed rectangle in half so the short ends meet, and use a tapestry needle to sew them together, forming a tube. Weave your yarn needle through the long bottom edge, pull tight to gather it completely, and knot it securely. Stuff the pumpkin firmly with fiberfill, then weave the needle through the top opening, pull to gather, and close it up.

Part 3: The Headband Cover & Assembly
-
Using Color A, make a magic circle and place 6 sc inside. Work in continuous, unjoined spirals of 1 sc in each stitch around until your tube matches the length of your plastic headband.
-
Slide the sleeve over the headband and sew both ends closed.

-
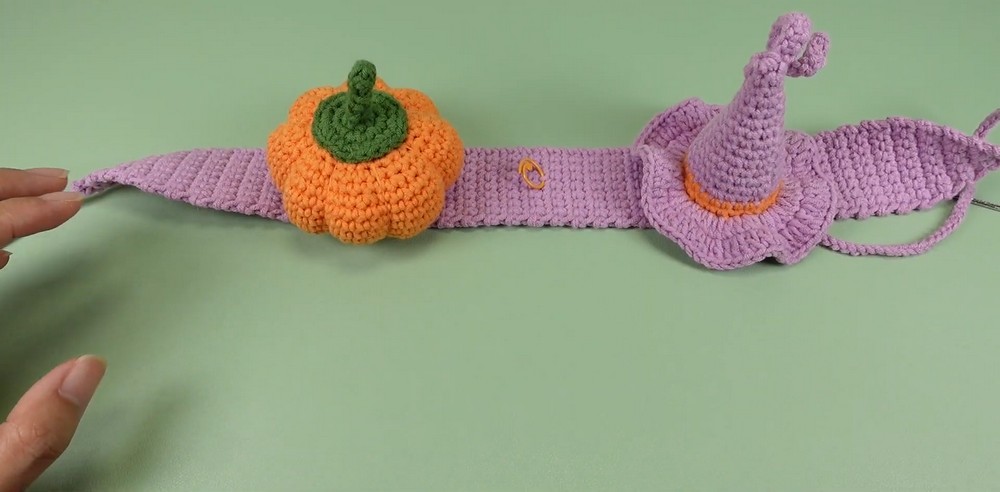
Stuff the witch hat lightly so it retains its shape, then sew or hot-glue the flat base of the hat off-center onto the headband. Attach the little pumpkin right onto the hat’s brim, and finish by embroidering a tiny brown or green stem onto the top of your pumpkin using Color C.
Troubleshooting & Suggestions
-
Fixing a Floppy Hat Tip: If the point of your witch hat is collapsing rather than standing upright, your tension might be a bit too loose. Try dropping down half a hook size (e.g., to a 3.0 mm hook) for the first few rounds to give it a rigid, structural finish.
-
Seamless Color Transitions: When switching from the hat body to the orange hatband at Round 15, execute the color change on the final pull-through of the last single crochet. This prevents the old color from bleeding into your new round.
-
Creative Modifications: Don’t feel limited to traditional black and orange! Try a pastel “pastel-goth” palette with mint green and lavender, or add some festive sparkle by using yarn threaded with metallic tinsel. You can also skip the headband entirely and attach a hair clip or a safety pin to the bottom to turn this into a versatile brooch or spooky hair fascinator.