Crochet Turkey Coaster Pattern for Thanksgiving Table Décor
Thanksgiving decorations don’t have to stay on shelves when they can be part of the table itself. This crochet turkey coaster turns an everyday essential into a cheerful holiday accent.
Bringing playful autumn colors to every cup you set down. Small enough to finish without a huge time commitment, it adds a festive touch that guests are sure to notice.
Crochet Turkey Coaster Pattern
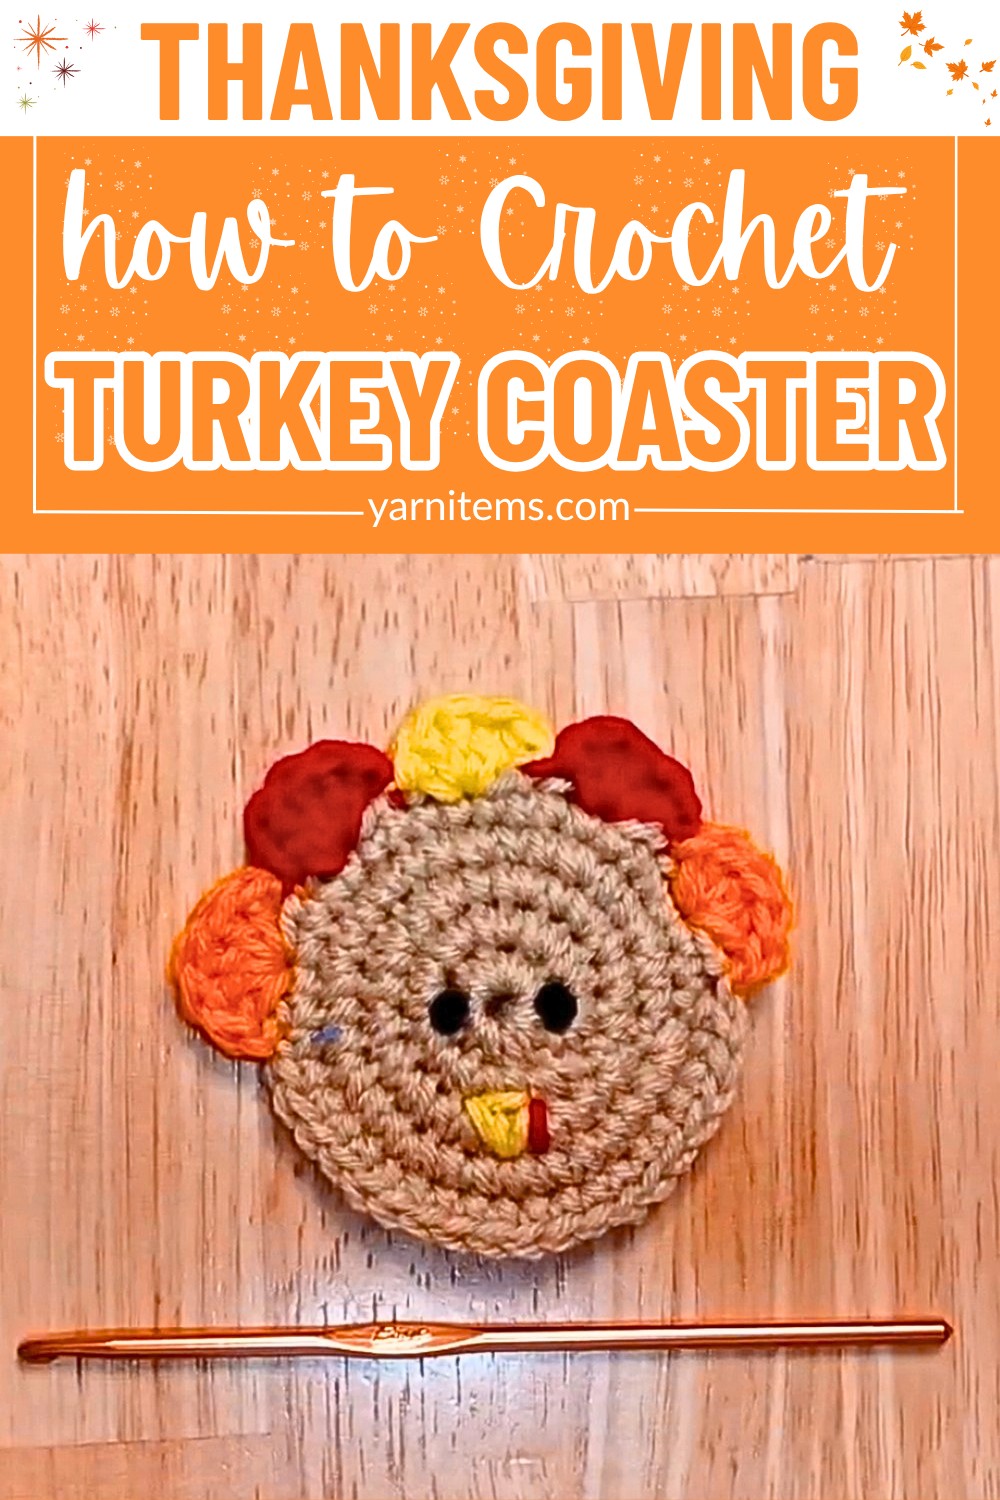
The pattern builds the coaster from a simple circular base before adding the turkey’s signature. Feathers and charming details one crochet coaster step at a time. Warm seasonal shades help the design stand out, but you can easily personalize the colors to match your holiday décor. Keep reading to see how each section comes together into a Thanksgiving coaster that’s as fun to crochet as it is to display.
Credit 2C Easy crochet
Materials & Tools Needed
- Yarn: Medium worsted weight (cotton preferred) in:
- Main Body Color: Tan or light brown
- Feather Colors: Orange, red, and yellow
- Face Details: Small scraps of yellow, red, and black
- Crochet Hook: 3.5 mm (US E/4) or 4.0 mm (US G/6)
- Yarn Needle: For embroidery and weaving in ends
- Scissors
Finished Size & Customization
- Approximate Diameter: 4 to 4.5 inches (10–11 cm) (perfect for standard mugs).
- Customization Ideas:
- Use warm autumn tones, such as mustard yellow, burgundy, and burnt orange.
- Add a hanging loop by chaining 10 stitches at the top to create wine-bottle tags or ornaments.
US Pattern Abbreviations
- MR: Magic Ring
- Ch: Chain
- Sl St: Slip Stitch
- Sc: Single Crochet
- Inc: Increase (2 sc in a single stitch)
- Dc: Double Crochet
- St(s): Stitch(es)
- Rnd: Round
Step-by-Step Pattern Instructions
Part 1: The Main Coaster Body (Tan Yarn)
Worked in continuous joined rounds. Each round is closed with a slip stitch.
- Round 1:
- Make a MR. Work 10 sc into the ring.
- Pull the tail tight to close the center.
- Join with a sl st to the first sc. (10 stitches)
- Round 2:
- Ch 1. Work 1 inc in each stitch around.
- Join with a sl st to the first sc. (20 stitches)
- Round 3:
- Ch 1. [Work 1 sc in the next stitch, then 1 inc in the next] × 10.
- Join with a sl st to the first sc. (30 stitches)
- Round 4:
- Ch 1. [Work 1 sc in each of the next 2 stitches, then 1 inc in the next] × 10.
- Join with a sl st to the first sc. (40 stitches)
- Round 5:
- Ch 1. Work 1 sc in each of the 40 stitches.
- Join with a sl st to the first sc.
- Fasten off tan yarn and weave in the ends. (40 stitches in total)

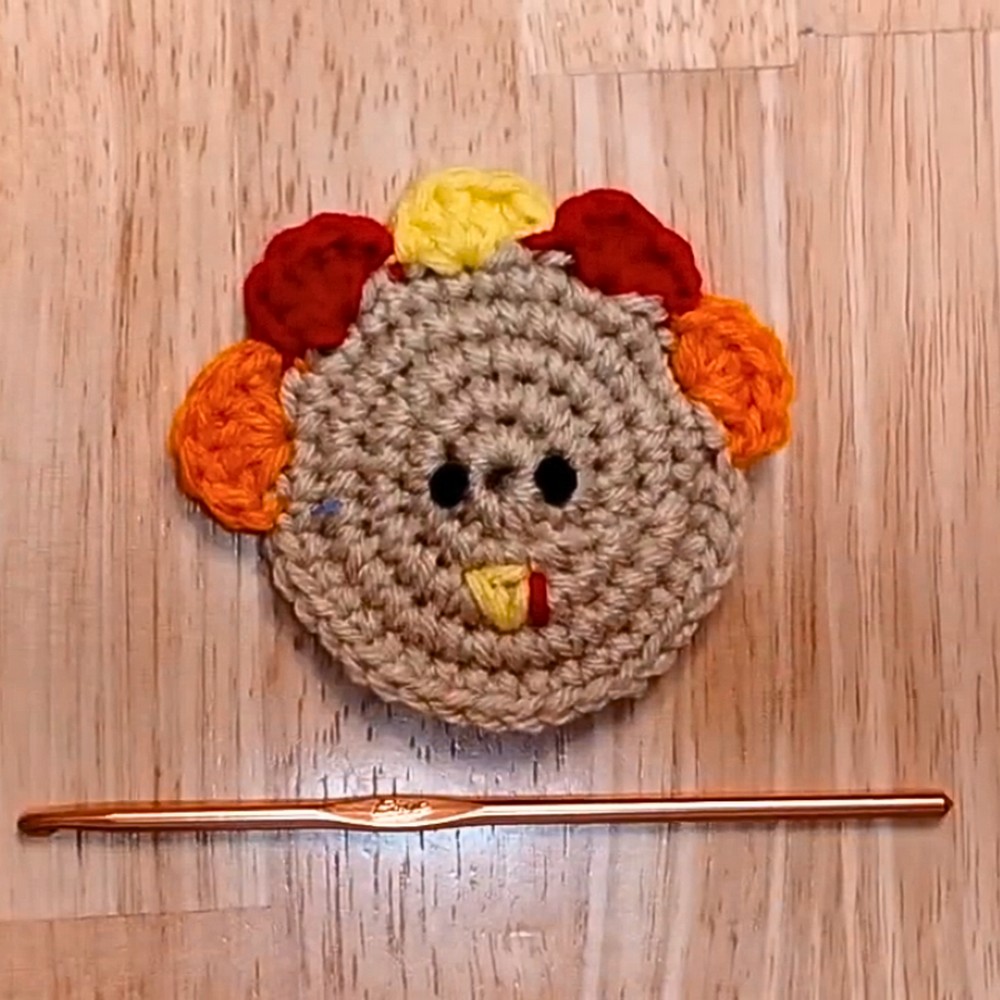
Part 2: The Scalloped Feathers (Orange, Red, & Yellow)
Note: The feathers are worked along the top rim of the finished body using a scallop/shell stitch technique.
- Feather 1 (Orange):
- Insert hook into any stitch on Round 5.
- Pull up orange yarn, ch 1.
- Skip 1 stitch, then work 5 dc into the next stitch.
- Skip 1 stitch, then sl st into the next stitch.
- Feather 2 (Red):
- Pull up red yarn through the previous sl st. Ch 1.
- Skip 1 stitch, work 5 dc into the next stitch, skip 1 stitch, then sl st into the next stitch.
- Feather 3 (Yellow):
- Pull up yellow yarn through the sl st. Ch 1.
- Skip 1 stitch, work 5 dc into the next stitch, skip 1 stitch, then sl st into the next stitch.
- Feather 4 (Red): Same steps as Feather 2.
- Feather 5 (Orange): Same steps as Feather 1.
- Finishing:
- Fasten off feather colors, weaving in loose ends securely at the back.
- Use small, secure knots for each color to prevent unraveling.
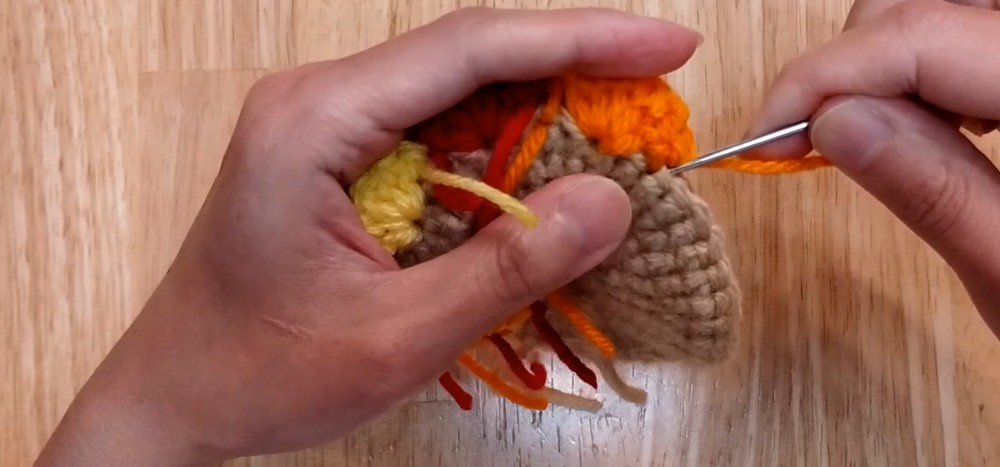
Part 3: Adding the Face Features
Use a yarn needle and scraps of yarn to embroider the face:
- The Beak (Yellow Yarn):
- Identify the center (Round 1) of the coaster.
- Sew a small downward-pointing triangle “V” shape using satin stitches to fill in the beak area.
- The Wattle (Red Yarn):
- Stitch 2–3 small vertical loops starting from the top sides of the yellow beak.
- Allow the loops to dangle slightly lower than the beak.
- The Eyes (Black Yarn):
- Position eyes slightly wider than the beak.
- Sew small French knots (wrap yarn 2–3 times around your needle) or two overlapping vertical stitches for each eye.
- Finishing Touches: Tie off and trim all yarn ends on the back of the coaster.