How to Crochet a Bat For Halloween Decor
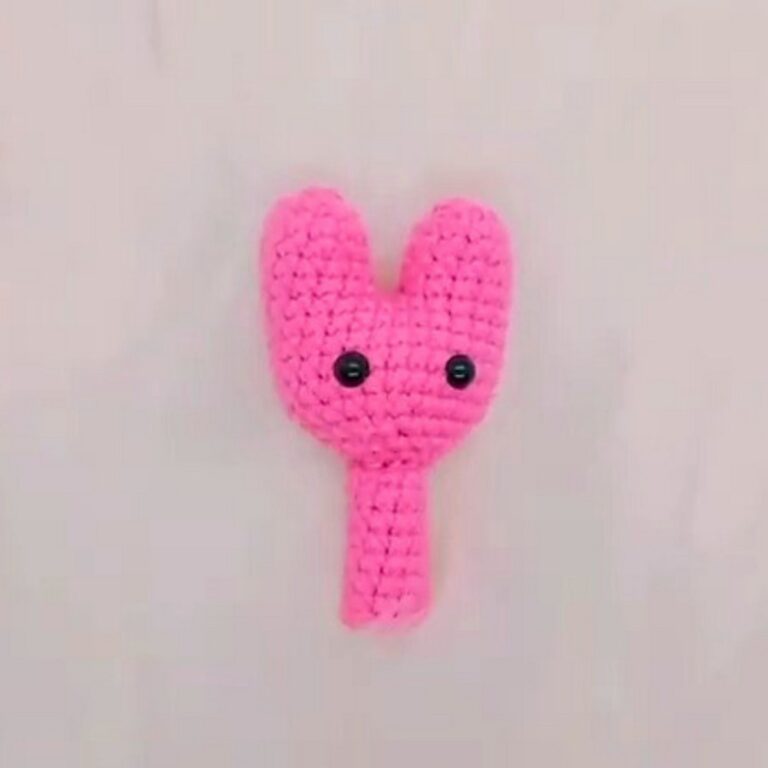
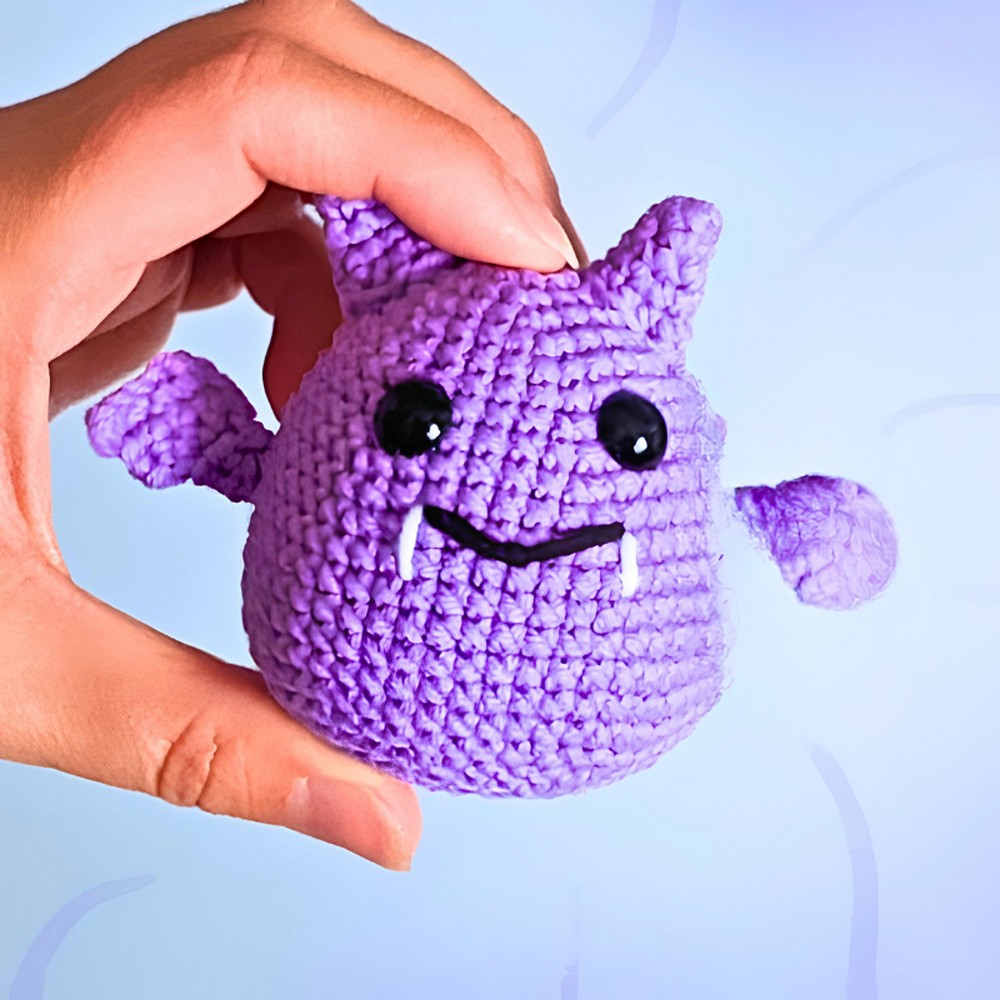
A few simple pieces are all it takes for a crochet bat to come to life. This pattern shows how the rounded body, tiny ears, and wide wings slowly come together.
Creating a recognizable bat shape with every crochet step. Perfect for Halloween décor or a handmade gift, this piece is a fun way to turn basic crochet pieces into a playful little creature. Keep reading to see how each section transforms into the finished design.
Free Crochet Bat Pattern

The tutorial breaks the pieces into clear, manageable stages instead of complicated construction. You’ll crochet the main parts separately and then join them together to create the bat’s complete shape. By the final steps, you’ll have a charming handmade bat ready to add a spooky touch to your space, decorate for Halloween, or share with someone special.
Credit Hello Amigurumi
Materials & Tools Needed
- Yarn:
- Main color: Purple yarn (medium/DK weight)
- Accent colors: Small amounts of Black and White yarn for embroidery
- Crochet Hook: 2.5 mm or 3.0 mm crochet hook
- Safety Eyes: One pair of black safety eyes (approx. 8–10 mm)
- Other Tools:
- Polyester fiberfill (stuffing)
- Tapestry needle
- Scissors
- Stitch marker
Finished Size & Customization Ideas
- Finished Size: Approximately 3–4 inches tall (depending on your yarn tension and hook size).
- Customization:
- Spooky Colors: Use charcoal gray, jet black, or neon green yarn for a Halloween theme.
- Alternative Faces: Try pink yarn for rosy cheeks or embroider a closed-eye sleeping expression instead of a mischievous grin.
Pattern Abbreviations & Terminology
- MR: Magic Ring
- ch: Chain
- sc: Single Crochet
- inc: Increase (2 single crochets in the same stitch)
- dec: Decrease (recommended: invisible decrease – insert hook into front loops of the next 2 stitches, yarn over, pull through, yarn over, pull through both loops)
- cc: Color Change
Note: This pattern is worked in continuous spiral rounds. Use a stitch marker to mark the beginning of each round.
Step-by-Step Instructions
1. Main Body
The body is worked in continuous spiral rounds. Do not join at the end of each round.
Rounds:
- Round 1: 6 sc in a magic ring. (6 sts)
- Round 2: 6 inc. (12 sts)
- Round 3: [1 sc, inc] x 6. (18 sts)
- Round 4: [2 sc, inc] x 6. (24 sts)
- Round 5: [3 sc, inc] x 6. (30 sts)
- Round 6–7: 30 sc. (30 sts over 2 rounds)
- Round 8: [4 sc, inc] x 6. (36 sts)
- Round 9: 36 sc. (36 sts)
- Round 10: [5 sc, inc] x 6. (42 sts)
- Round 11: 42 sc. (42 sts)
- Round 12: [6 sc, inc] x 6. (48 sts)
- Rounds 13–18: 48 sc. (48 sts over 6 rounds)

Stop here to assemble the face before decreasing:
- Eyes: Insert the safety eyes between Rounds 8 and 9, leaving 6 open stitches between them. Secure the backings tightly.
- Mouth: Using black yarn, embroider a wide, curved smile between the eyes using a tapestry needle.
- Fangs: With white yarn, embroider two small triangular fangs hanging from the smile (roughly 2 rounds high). Tie off ends inside the body.

Continue Decreasing:
- Round 19: [6 sc, dec] x 6. (42 sts)
- Round 20: [4 sc, dec] x 7. (35 sts)
- Round 21: [3 sc, dec] x 7. (28 sts)
- Round 22: [2 sc, dec] x 7. (21 sts)
- Round 23: [1 sc, dec] x 7. (14 sts)
Stuffing:
Firmly fill the body with polyester fiberfill, making sure it’s plump and round.
- Round 24: 7 dec. (7 sts)
- Finish: Cut the yarn, leaving a short tail. Use the tapestry needle to thread through the remaining front loops, pull tight to close the hole, and tuck the end inside.

2. Ears (Make 2)
Rounds:
- Round 1: 6 sc in a magic ring. (6 sts)
- Rounds 2–3: 6 sc. (6 sts per round)
- Round 4: [1 sc, inc] x 3. (9 sts)
- Round 5: 9 sc. (9 sts)
Finish:
Fasten off, leaving a long tail for sewing. Flatten the ears slightly (do not stuff).

3. Wings (Make 2)
The wings are worked back and forth in rows.
Rows:
- Row 1: ch 6. Starting in the 2nd chain from the hook, work 5 sc. (5 sts)
- Row 2: ch 1, turn. 4 sc. (4 sts)
- Row 3: ch 1, turn. Starting in the 2nd sc from the previous row, work 3 sc. (3 sts)
- Row 4: ch 1, turn. 2 sc. (2 sts)
- Row 5: ch 1, turn. Starting in the 2nd sc, work 1 sc. (1 st)

Finish:
- ch 1, cut the yarn, leaving a long tail for sewing. Use the tapestry needle to cleanly route the thread back toward the base of the wing where it will attach to the body.
Assembly
- Ears: Attach the ears symmetrically to the top of the head (around Rounds 3–5). Stitch securely around the ear base to ensure they stand upright.
- Wings: Position the wings on either side of the body, aligned horizontally with the eyes. Use the yarn tails to sew the wide base of each wing firmly to the body. Carefully secure and weave in the excess thread.