Crochet Christmas Deer Granny Square For Festive Holiday Pattern
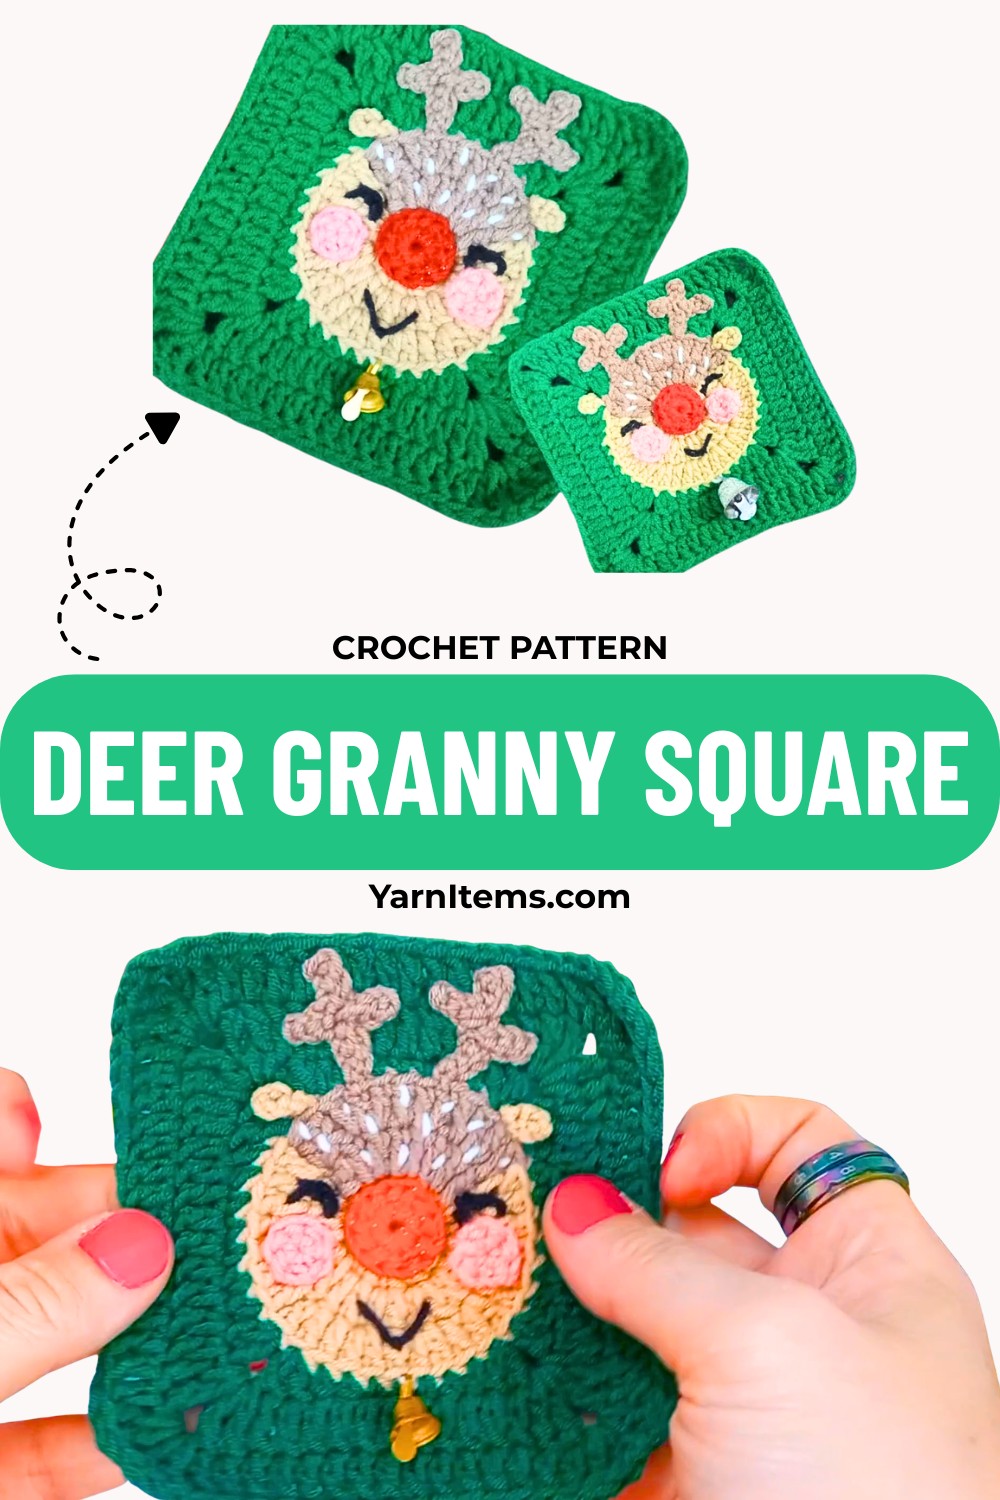
A crochet Christmas deer granny square brings a cheerful woodland touch to holiday pieces without needing a complicated design. The sweet deer face, complete with tiny antlers and charming facial details.
Turns an ordinary granny square into a festive piece you’ll want to use again and again. Whether you’re following the pattern for a blanket, cushion, stocking, or seasonal accessory. Each round gradually reveals a delightful crochet Christmas character worth seeing through to the end.
Crochet Christmas Deer Granny Square Pattern
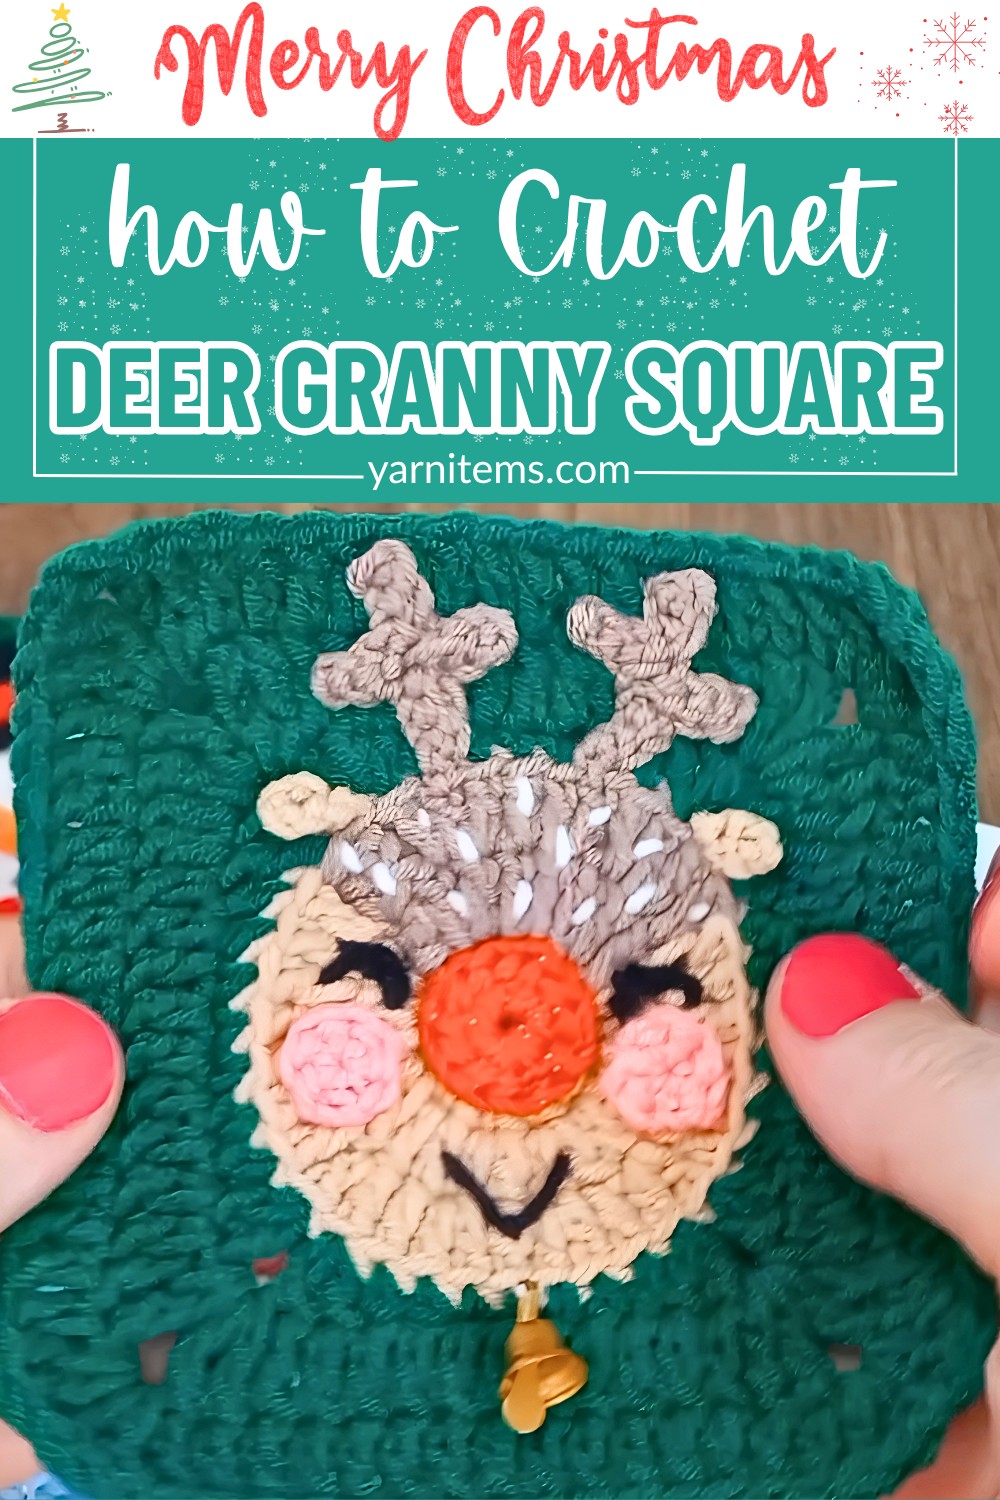
This piece is beginner-friendly and grows step by step using familiar crochet stitches, making it easy to enjoy the process. As each feature is added, the deer starts to come to life, giving the square its playful holiday personality. By the final round, you’ll have a versatile block that’s ready to become part of countless crochet Christmas creations.
Credit Simple Crochet
Materials & Tools Needed
- Yarn:
- Light brown (for the deer’s face)
- Dark brown (for accents like antlers and base)
- Pink (for cheeks)
- White (for decorative accents)
- Black (for eyes and lip line)
- Optional: Bells or embellishments for extra details
- Hook: Suitable crochet hook for chosen yarn weight (commonly size 4mm or 5mm for worsted-weight yarn).
- Needle: For sewing and weaving in ends.
- Scissors
- Optional glue for attaching embellishments.
Finished Size & Customization Ideas
The final size of your square will depend on the yarn and hook you use, as well as the number of rows added.
- Suggested Size: Approximately 6–8 inches with three rounds of the square.
- Customization Ideas:
- Make the deer larger or smaller by adjusting the number of rows in the square.
- Use buttons or safety eyes instead of yarn for the deer’s facial features.
- Add a festive ribbon or small bells near the antlers for extra Christmas cheer.
Pattern Abbreviations & Terminology
- ch: Chain
- sl st: Slip stitch
- sc: Single crochet
- hdc: Half double crochet
- dc: Double crochet
- tr: Treble (triple) crochet
- MR: Magic ring
Note: Pattern uses US crochet terminology.
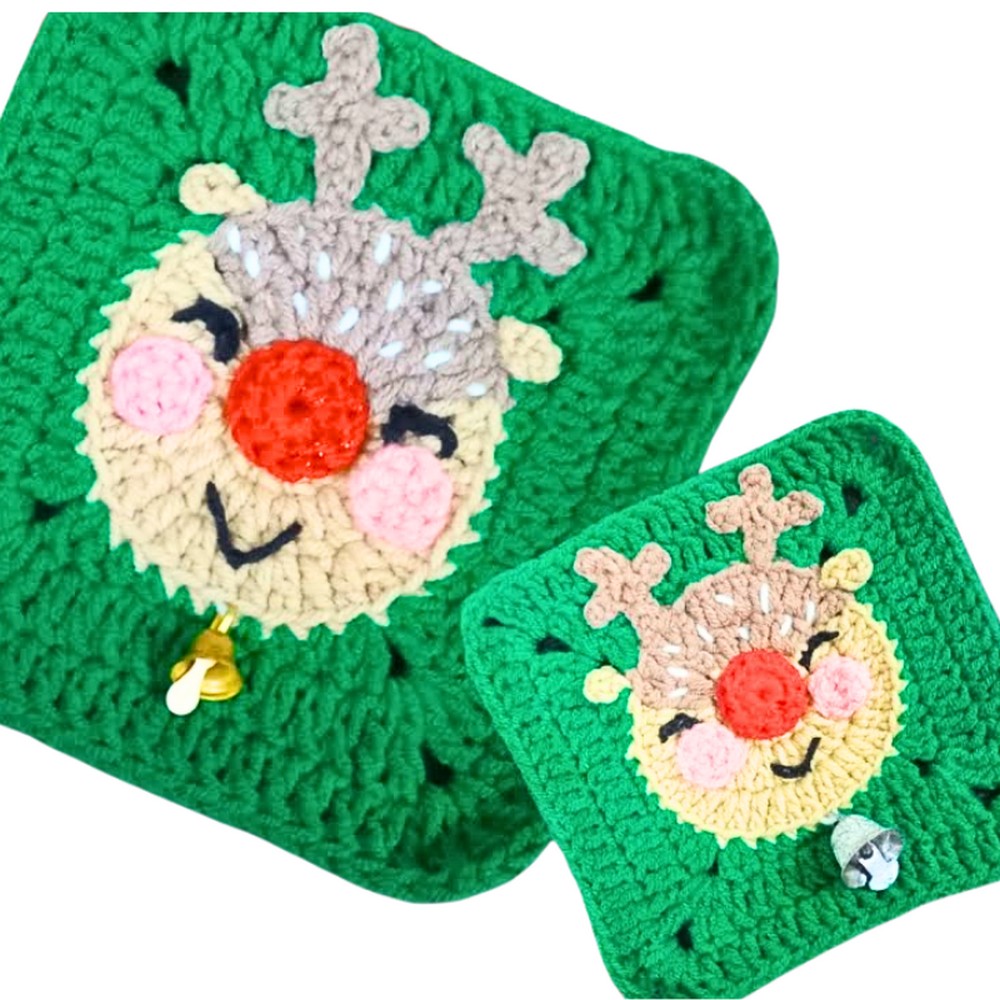
Step-by-Step Detailed Crochet Instructions
Part 1: Deer’s Face
Round 1:
- Create a magic ring (make a loop, insert the hook, pull up a loop, and ch 1 to secure the ring).
- Ch 3 (counts as 1 dc).
- Switch to brown yarn and make 1 incomplete dc (leave the last loop on the hook).
- Switch back to light brown and complete the stitch.
- Make 10 dc in light brown into the magic ring. (Total 12 stitches, including the starting ch.)
- Pull the tail to close the magic ring tightly.
- Sl st into the third ch of the first stitch to join the round.
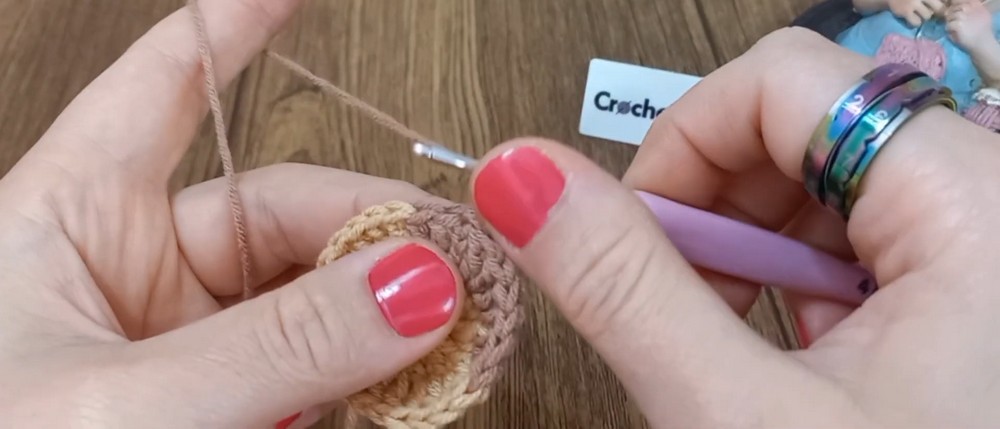
Round 2:
- Join dark brown yarn.
- Ch 3 (counts as 1 dc).
- In the same stitch, make 1 incomplete dc with dark brown, then switch back to light brown and complete the stitch.
- Continue alternating 2 dc in each stitch with light and dark brown.
- Alternate colors while carrying the unused yarn between stitches.
- Finish the round with a sl st into the third ch of the starting stitch.
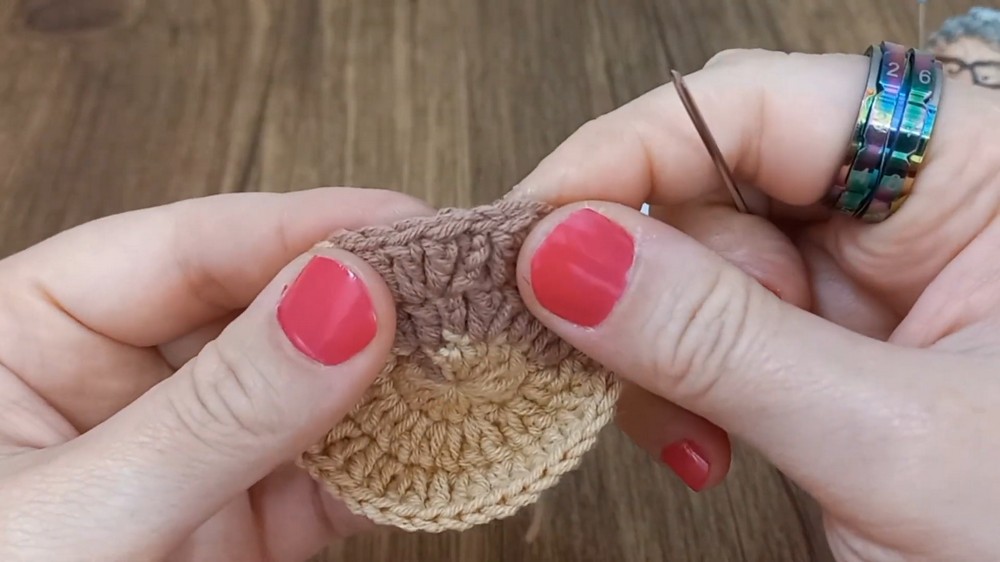
Round 3:
- Continue with dark brown.
- Ch 3 (as 1 dc).
- Make 2 dc into the same stitch.
- For light brown, alternate 1 dc, 2 dc in each stitch.
- Carry the dark brown yarn between stitches again.
- For the last light brown stitch, switch back to dark brown to complete the round.
- Sl st into the third ch of the starting dc.
Part 2: Adding Facial Features
Nose:
- Start with a magic ring.
- Ch 1.
- Make 12 hdc into the ring.
- Pull tight to close the ring, cut the yarn, and weave in the end.
- Sew the nose to the center of the face using a needle.
Cheeks:
- With pink yarn, make a magic ring.
- Ch 1.
- Create 6 sc into the ring.
- Close the ring tightly, cut the yarn, and weave it in.
- Sew one cheek to each side of the face using the needle.
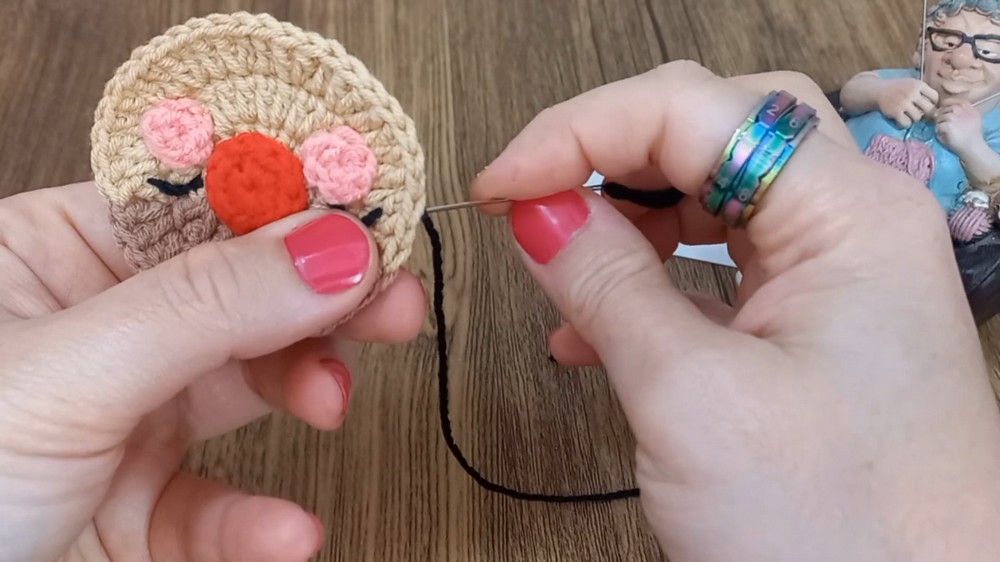
Eyes & Lip Line:
- Use black yarn to embroider small eyes and a simple mouth line directly onto the face.
- Alternatively, attach buttons or safety eyes.
Part 3: Antlers
Antler:
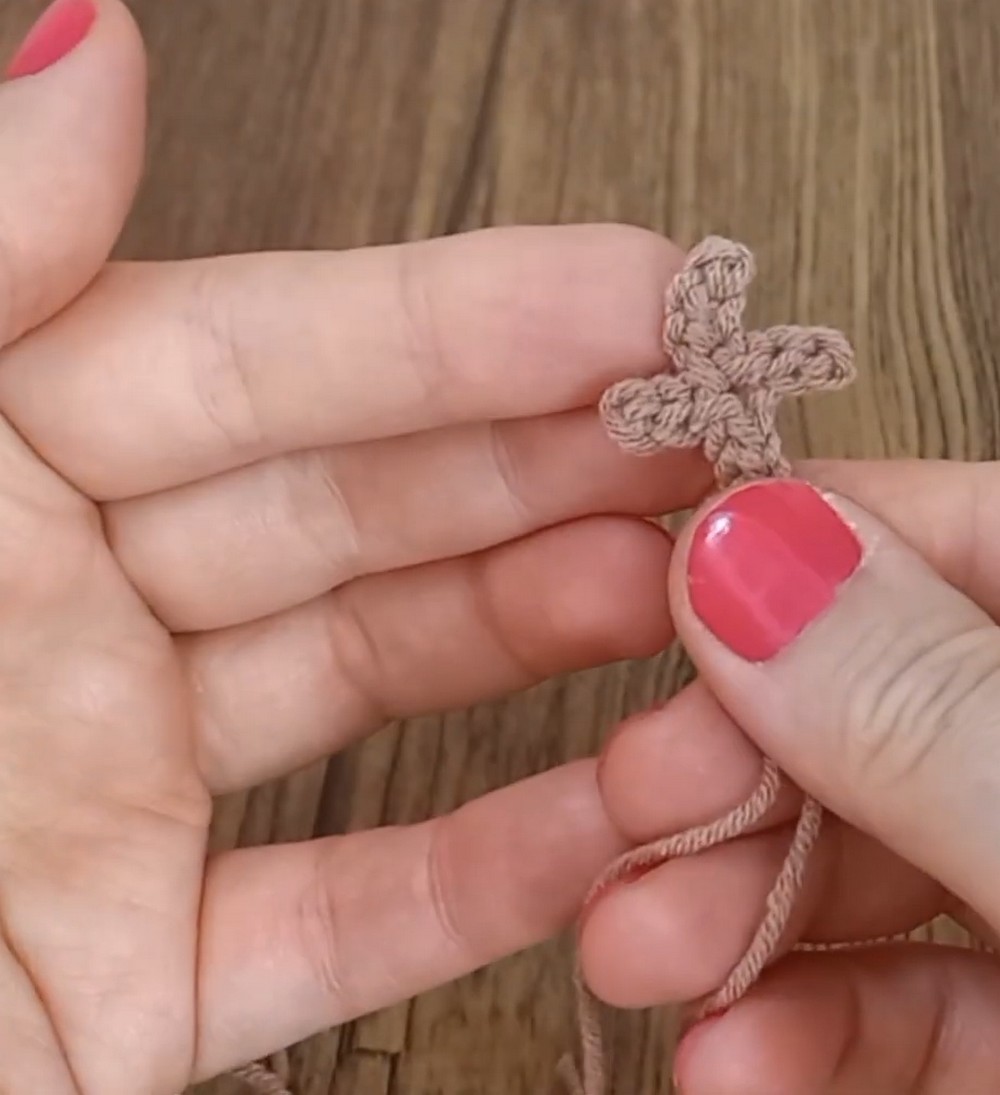
- Make a slip knot.
- Ch 5 and sl st into the first chain to form a ring.
- Work 2 slip stitches.
- Ch 3, then make 4 slip stitches into the same stitch as the previous sl st.
- Repeat with another branch (ch 3, then make 3 slip stitches).
- Sl st back to the starting chain, cut the yarn, and sew the antler to the top of the deer’s face.
- Repeat for the second antler.
Part 4: Granny Square Base
Round 1 (Square Start):
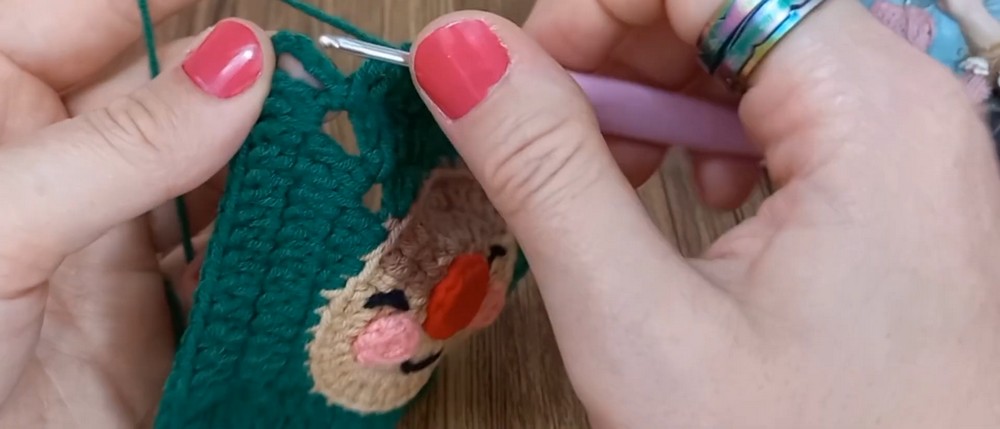
- With dark brown yarn, join to the back loop and third loop of one of the sts from Round 3.
- Ch 5 (counts as 1 tr + 2 ch for first corner).
- Place 2 dc into the next stitch.
- Work the following pattern:
- 2 hdc, 3 sc, 2 hdc into the next few stitches.
- In the corners: 2 dc, 2 ch, 2 dc.
- Repeat the pattern around.
- Sl st to the third ch of the starting chain to join the round.
Round 2 (Expanding Square):
- Ch 6 (counts as 1 tr + 2 ch).
- Into the corner space: Make 2 tr, 2 ch, 2 tr.
- Work 1 dc into each stitch across the sides.
- Repeat the corner motif (2 tr, 2 ch, 2 tr).
- Sl st into the fourth ch of the starting chain to finish the round.
- You can add more rounds as desired, increasing the side stitches in each row.
Part 5: Ears
Ears:
- Make a slip knot and ch 5–6.
- Sl st into the first ch to form a loop.
- Cut the yarn, fasten off, and sew the ears to the sides of the deer’s head.
Part 6: Decorative Embellishments
- Use white yarn to make small lines above the deer’s face (Christmas decorative accents).
- Optional: Add small bells, ribbons, or other embellishments.
Finishing
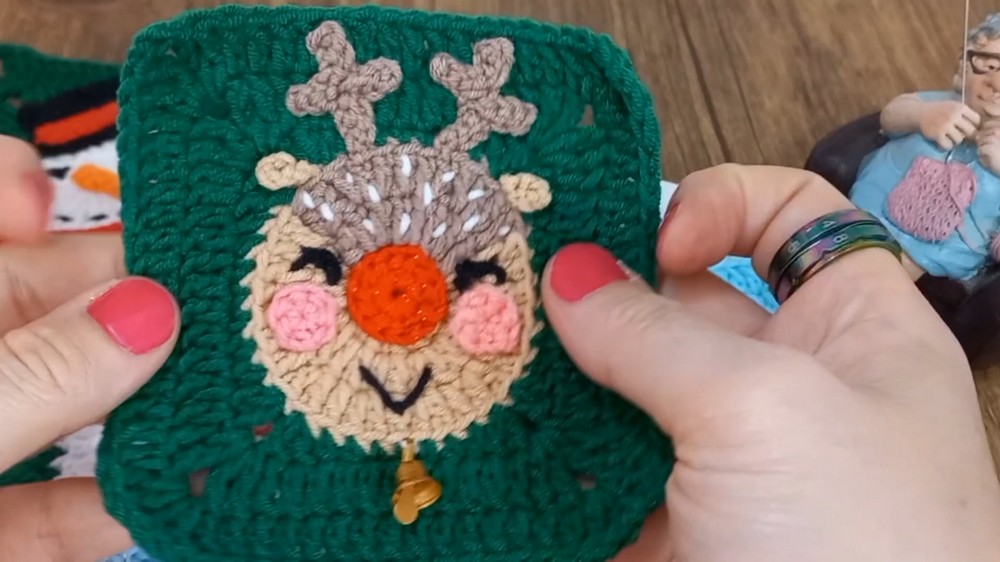
- Once you’ve completed the granny square, weave in all ends using a needle.
- Check to ensure all features are securely sewn and no loose threads are visible.