Free Crochet Pumpkin Coaster Tutorial For Fall Decor
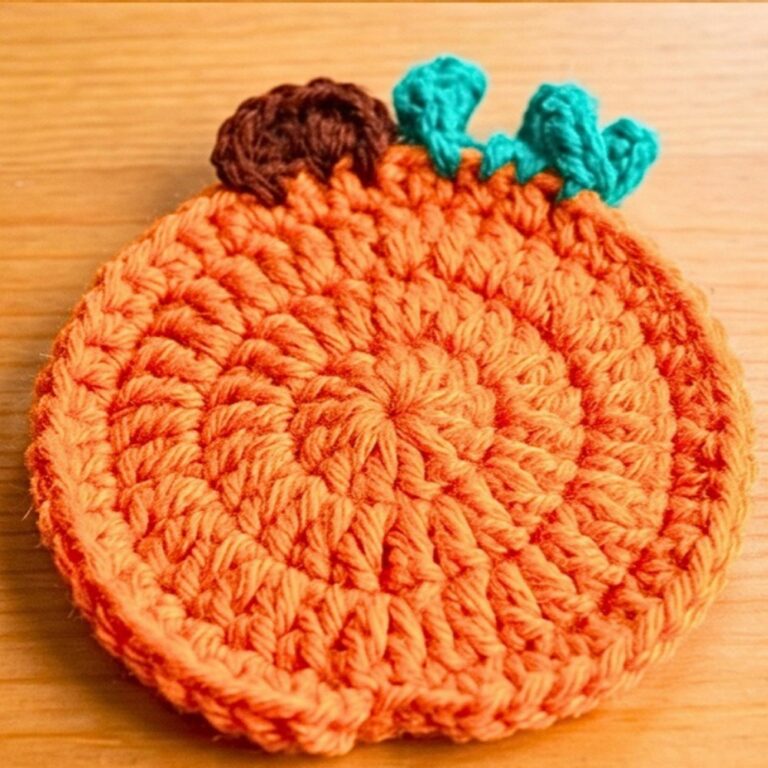
A simple pumpkin-shaped coaster can instantly bring the colors of fall to your table without changing your entire décor. Whether it’s sitting beneath a warm mug, decorating a seasonal coffee bar, or adding a festive touch to Thanksgiving gatherings. This little crochet piece offers plenty of charm in just a small amount of yarn. This pattern is designed to create a coaster that’s both decorative and useful, making it an enjoyable piece for any autumn crochet collection.
Crochet Pumpkin Coaster Pattern

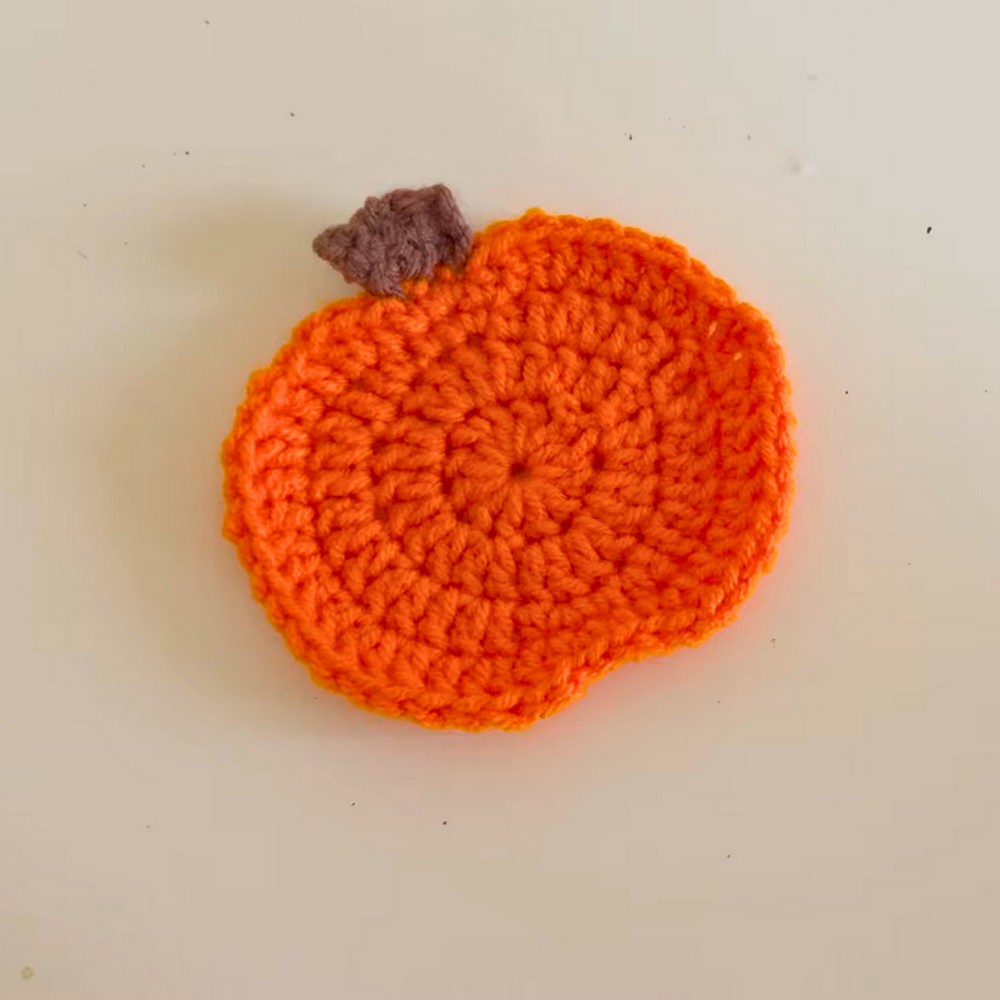
The design comes together with easy stitches that gradually shape the pumpkin. Before finishing with a small stem for the final seasonal crochet pumpkin detail. Each step is straightforward, making it easy to follow while still producing a polished result. Keep reading to see how this cheerful fall crochet coaster takes shape and create one for every mug in your home.
Credit kayti krochets
Materials & Tools Needed
- Yarn: Two colors of weight-4 yarn (Main color for body and contrasting color for stem)
The tutorial suggests purchasing yarn from Michaels. - Hook: 5mm crochet hook
- Scissors: For cutting loose ends
- Darning needle: To weave in loose ends
Finished Size & Customization Ideas
- Finished Size: The pumpkin coaster is roughly palm-sized once completed. The exact size can vary slightly based on your tension and yarn choice.
- Customization Ideas:
- Use different autumnal colors (e.g., burnt orange, mustard yellow, or deep green) for unique variations.
- Adjust the stem size for different aesthetics.
- Add a border in contrasting colors for a more decorative look.
Pattern Abbreviations & Terminology
-
ch: Chain
- dc: Double crochet
- hdc: Half double crochet
- sc: Single crochet
- inc: Increase (two stitches into the same stitch)
- sl st: Slip stitch
- magic circle: A method to create a tight circle at the starting point
- fasten off: Finish by cutting the yarn and pulling it through the last loop
Step-by-Step Detailed Crochet Instructions
Round 1: Creating the Base Circle
- Start with the main color yarn and create a magic circle:
- Take the yarn over three fingers and make an “X.”
- Flip your hand so the “X” faces down.
- With the hook facing downward, insert it under the first bar.
- Pick up the second bar, twist, and pull through to form a loop.
- Chain 3. This functions as the first double crochet (dc).
- Work 11 more double crochets into the magic circle, covering the circle’s tail as you crochet.
- You should have 12 stitches total (including the chain 3).
- Tug on the tail to tighten the circle.
- Locate the first chain-3 made.
- Slip stitch (sl st) into the top of this chain to join the round.
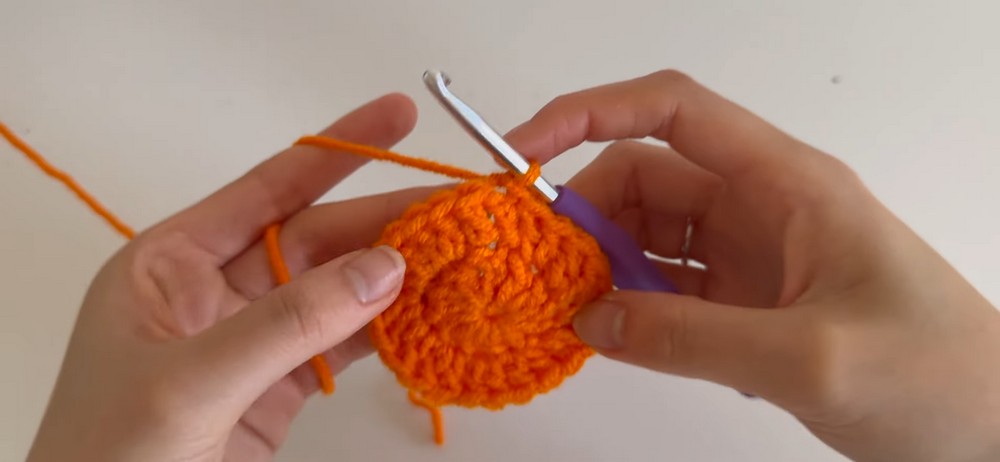
Round 2: Increasing the Size
- Chain 3 (counts as 1 stitch).
- Do two dc increases in every stitch:
- Place 2 dc stitches into the same stitch.
- Continue the increases for all 12 original stitches.
- At the end of this round, you should have 24 stitches total.
- Find the top of the starting chain-3. Slip stitch into it to join the circle.
Round 3: Beginning Pumpkin Shaping
- Start with a chain 3.
- Follow the stitch pattern below to modify the shape:
- Increase dc (2 dc in one stitch).
- 1 dc in next stitch.
- Increase dc in next stitch.
- 1 hdc in next stitch.
- Increase sc (2 sc in one stitch).
- 1 sc in next stitch.
- Increase hdc (2 hdc in one stitch).
- In the following 8 stitches: alternate between dc increases and single dcs (e.g., dc inc, dc, dc inc, dc, etc.).
- At the end of this round, count 36 stitches total.
- Once again, slip stitch into the top of the chain-3 to join the round.

Round 4: Adding Width to the Pumpkin Shape
- Chain 3 (starting point).
- Follow the stitch pattern below:
- 1 dc in next stitch.
- Increase dc in next stitch.
- 1 dc into each of the next two stitches.
- Increase dc into the third stitch.
- 1 dc in next stitch, followed by 1 hdc.
- Increase sc (2 sc in one stitch).
- 1 sc in next stitch.
- 1 hdc in next stitch, followed by Increase dc.
- In the next 10 stitches, alternate: 2 dc, inc dc, 2 dc, inc dc, etc.
- Join the round with a slip stitch into the chain-3.
- Fasten off.
Stem: Adding the Stem with Contrasting Color
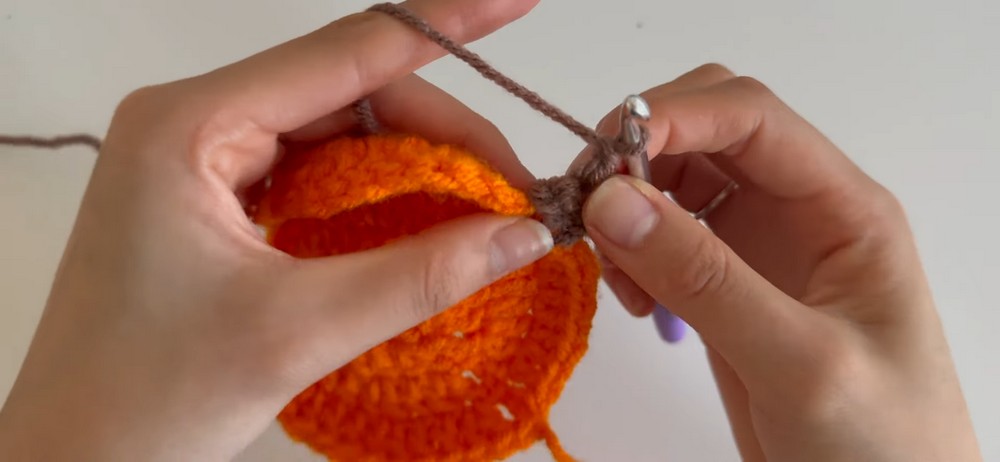
- Find the single crochet increase stitches at the top of the coaster (these are smaller stitches doubled in one slot).
- Insert the hook slightly toward the right from the middle of the coaster.
- Attach the contrasting stem color using a slip knot:
- Pull the slip knot through the chosen stitch and chain 3.
- Into the second chain from the hook:
- Do a single crochet (sc). Repeat this for the next chain.
- Slip stitch into the next stitch on the main pumpkin coaster.
- Turn your work:
- Single crochet into the first two stitches (this creates the second row of the stem).
- Chain 1 and turn again. Repeat 1 row of sc into the first two stitches, and slip stitch into the next stitch of the coaster.
- After the final row, shape the stem by gently pulling/stretching it. Fasten off.
Finishing Touches
- Use your darning needle to weave in all loose ends securely to the back of the coaster.
- Trim off excess yarn. Your pumpkin coaster is now ready!