Fast & Easy Crochet Christmas Star Pattern
A crochet Christmas star has a way of turning even the smallest corner into a festive scene. Its crisp points and simple shape catch the eye on a tree, in a window, or tied to a wrapped gift. This little crochet piece proves that a handful of stitches can create a decoration that feels bright and celebratory.
Crochet Christmas Star
These instructions focus on a quick, beginner-friendly star that comes together in a short sitting. The crochet pattern is easy to follow and repeats the same motions without becoming complicated. By the time you reach the final round, you’ll see how this flat piece of yarn transforms into a neat holiday crochet star worth making again and again.
Credit Crochet Mili
Materials & Tools Needed
- Yarn: Medium-weight yarn in 3 colors: White, Red, and Black.
- Crochet Hook: 4.0 mm (U.S. G/6).
- Other Tools & Notions:
- Tapestry needle
- Scissors
- Googly eyes
- Fabric glue or a hot glue gun
Finished Size & Customization Ideas
- Size: Approximately 3 to 4 inches, depending on tension and yarn weight.
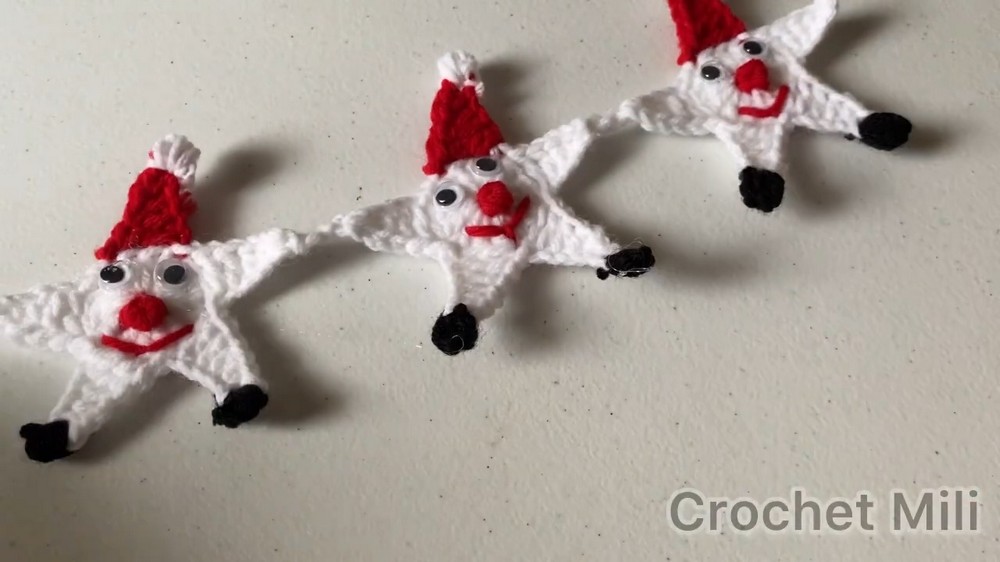
- Garland Variant:
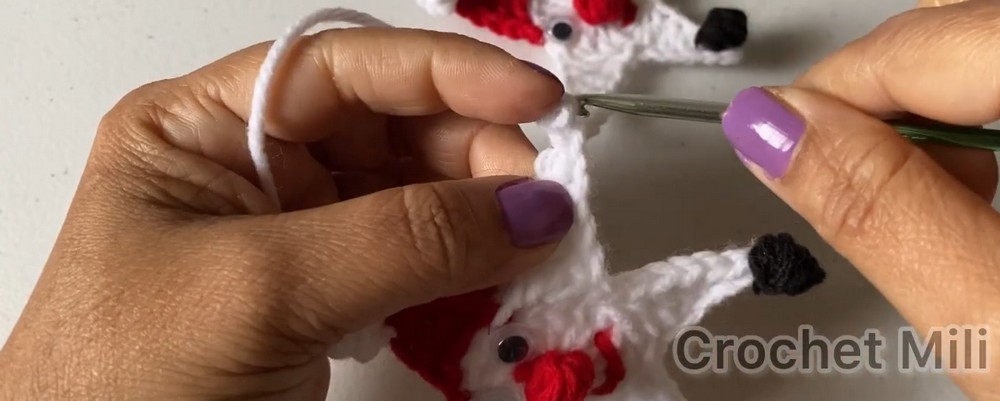
Crochet multiple stars, leave them plain or decorated, and join them by pulling up a loop at the top point of one star, chaining 3, and slip-stitching into the top point of the next star. - Ornaments:
Add a simple loop of white yarn or ribbon to the top of the Santa hat to hang them on your Christmas tree.
Pattern Abbreviations & Terminology
- MR: Magic Ring (Magic Loop)
- ch: Chain
- sl st: Slip stitch
- sc: Single crochet
- hdc: Half double crochet
- dc: Double crochet
- st(s): Stitch(es)
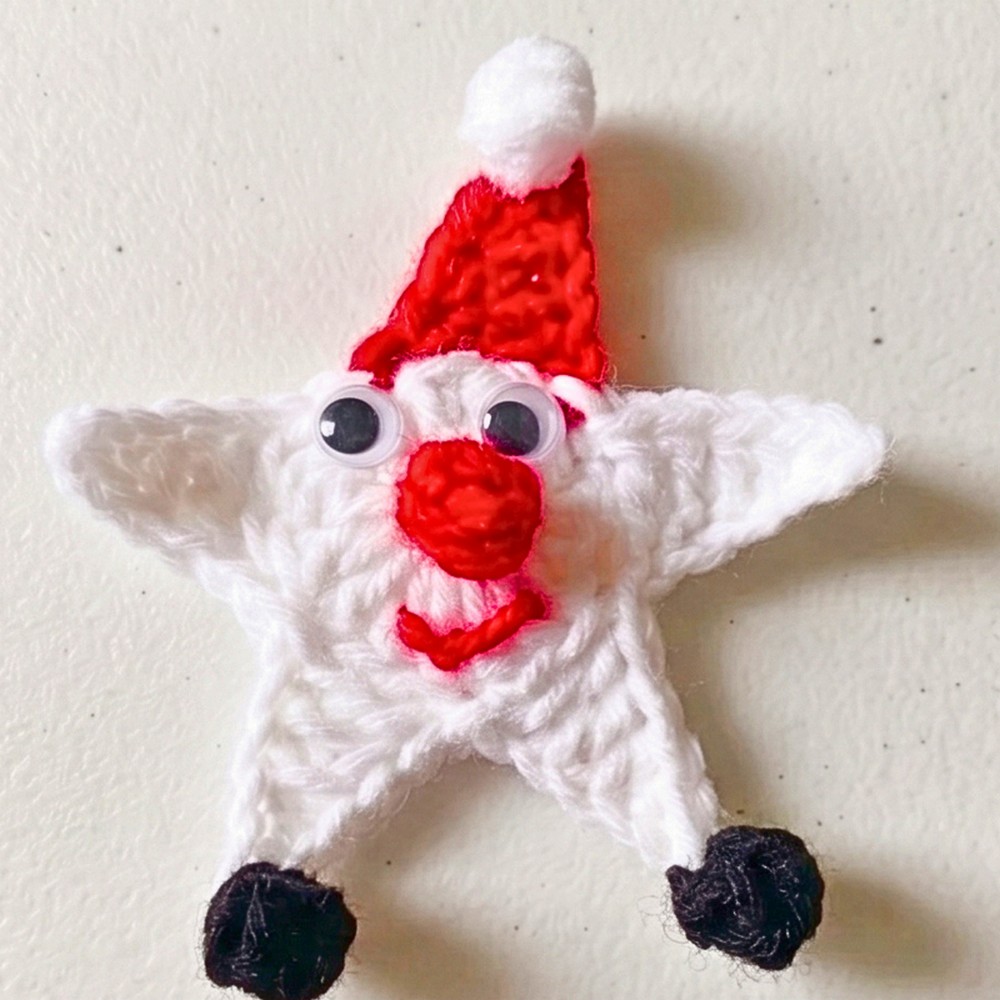
Step-by-Step Detailed Crochet Instructions
1. The Star Base (White Yarn)
The star is worked in two rounds: a circular base, followed by 5 pointed star tips.
Round 1: The Center Circle (White Yarn)
- Start with a Magic Ring.
- Chain 3 (this counts as your first double crochet).
- Work 15 double crochets (dc) into the ring (16 total stitches, including the starting chain-3).
- Pull the magic ring tail to close the center hole tightly.
- Join with a slip stitch (sl st) into the 3rd chain of the starting chain-3.
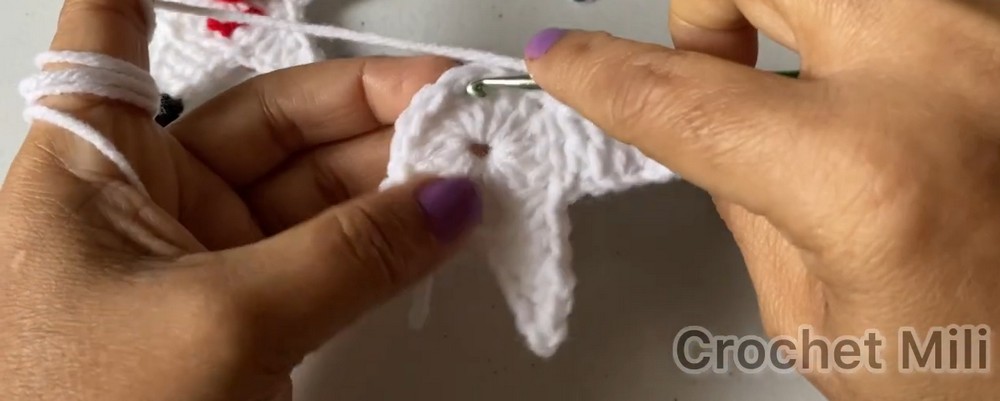
Round 2: The Star Points (White Yarn)
To create the 5 star points:
- Chain 6.
- Working back down the chain starting in the 2nd chain from the hook:
- Slip stitch (sl st) into the 2nd chain.
- Half double crochet (hdc) in the next chain.
- Double crochet (dc) into the next 2 chains.
- Skip 2 stitches on the Round 1 circle.
- Slip stitch (sl st) into the next stitch of the circle.
- Repeat the sequence (Chain 6, sl st, hdc, dc, dc, skip 2 sts, sl st) 4 more times.
This creates 5 points. Fasten off and weave in all ends.
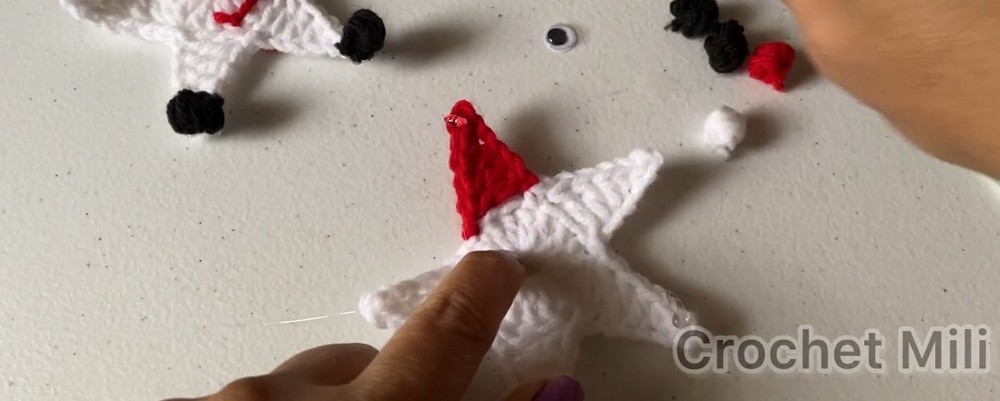
2. Santa’s Hat (Red Yarn)
The hat is worked directly onto one of the star’s points to create the look of Santa’s hat.
Attach & Build the Hat Base (Red Yarn)
- Insert your hook into the top point of the star, draw up a loop of red yarn, and chain 6.
- Working back down the chain:
- Slip stitch (sl st) into the 2nd chain from the hook.
- Single crochet (sc) into the next chain.
- Half double crochet (hdc) into the next chain.
- Double crochet (dc) into the next 2 chains.
- Skip 2 stitches along the star point edge.
- Slip stitch (sl st) into the next stitch on the star to anchor the hat.
- Cut your yarn, fasten off, and weave in all yarn tails.
3. Pom Poms & Facial Features
You will make 4 small puff stitches:
- (1 White, 2 Black, 1 Red)
Crochet the Puffs:
- Chain 2.
- Work a 3 half-double-crochet puff stitch:
- Yarn over, insert hook into the 2nd chain from the hook, pull up a loop.
- Repeat 2 more times (same chain stitch), until you have 7 loops on your hook.
- Yarn over and pull through all 7 loops.
- Chain 1 to lock the puff stitch.
- Cut the yarn, leaving a short tail, and tie the two ends together to form a tiny ball.
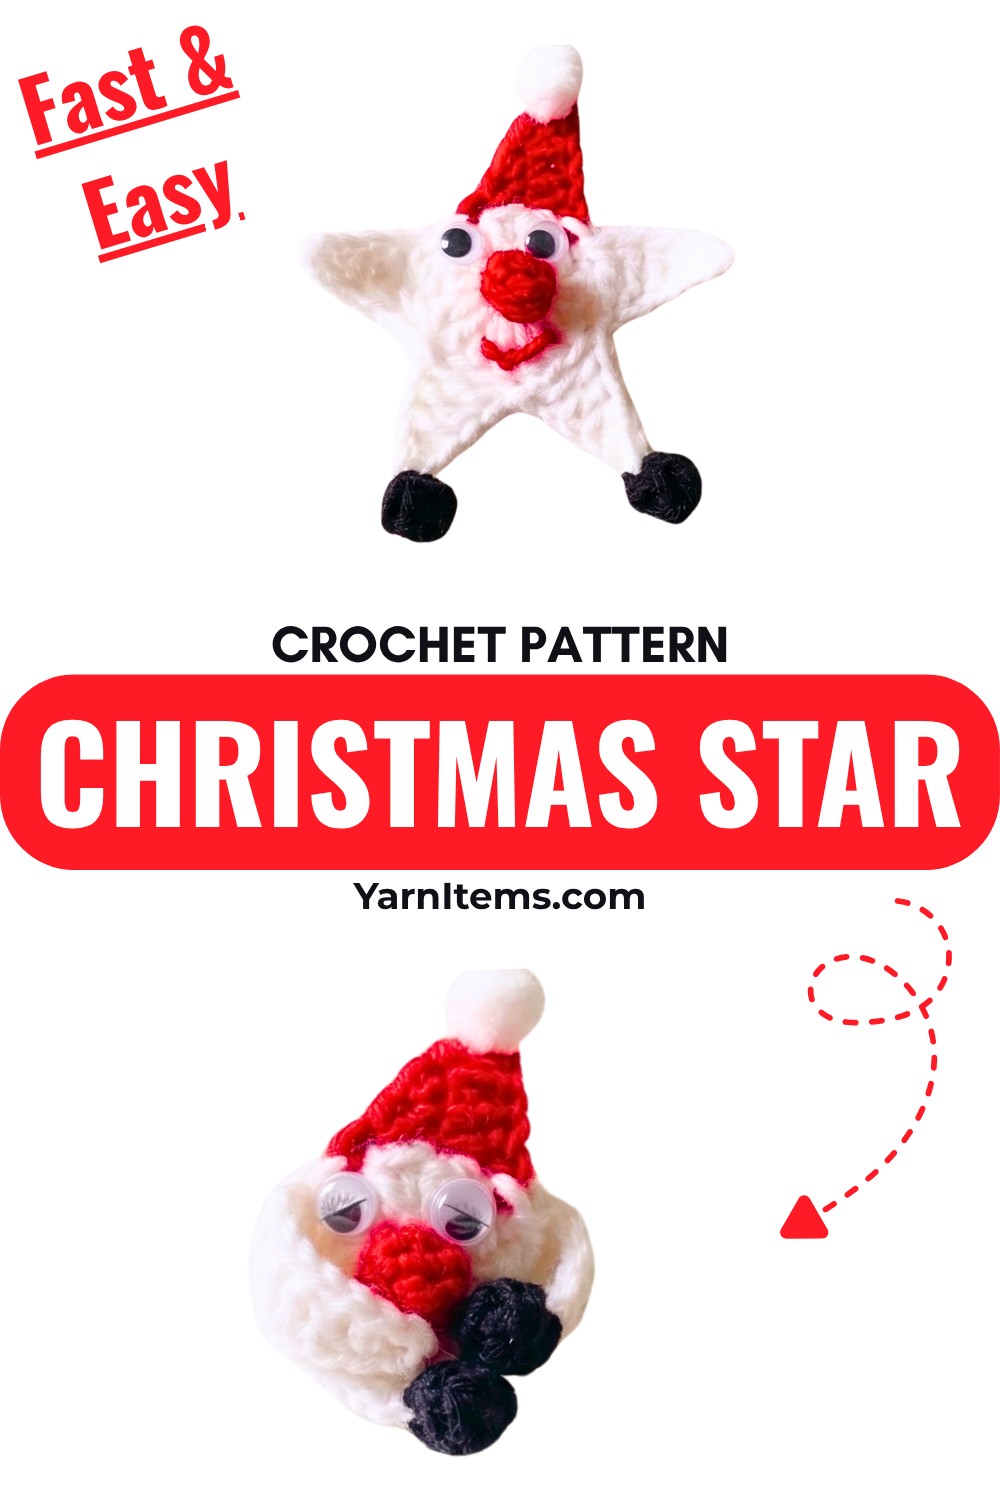
Assembling the Star Character (Finishing & Glue):
- Hat Pom Pom:
Glue the white puff stitch to the tip of the red Santa hat. - Feet:
Glue the two black puff stitches onto the tips of the bottom two star points. - Nose:
Glue the red puff stitch in the center of the white circle. - Eyes:
Glue the googly eyes on either side of the red nose. - Mouth:
Thread a tapestry needle with red yarn. Stitch a curved happy mouth underneath the red nose. Tie off and cut excess yarn at the back.