Crochet Christmas Star For Easy Holiday Decor
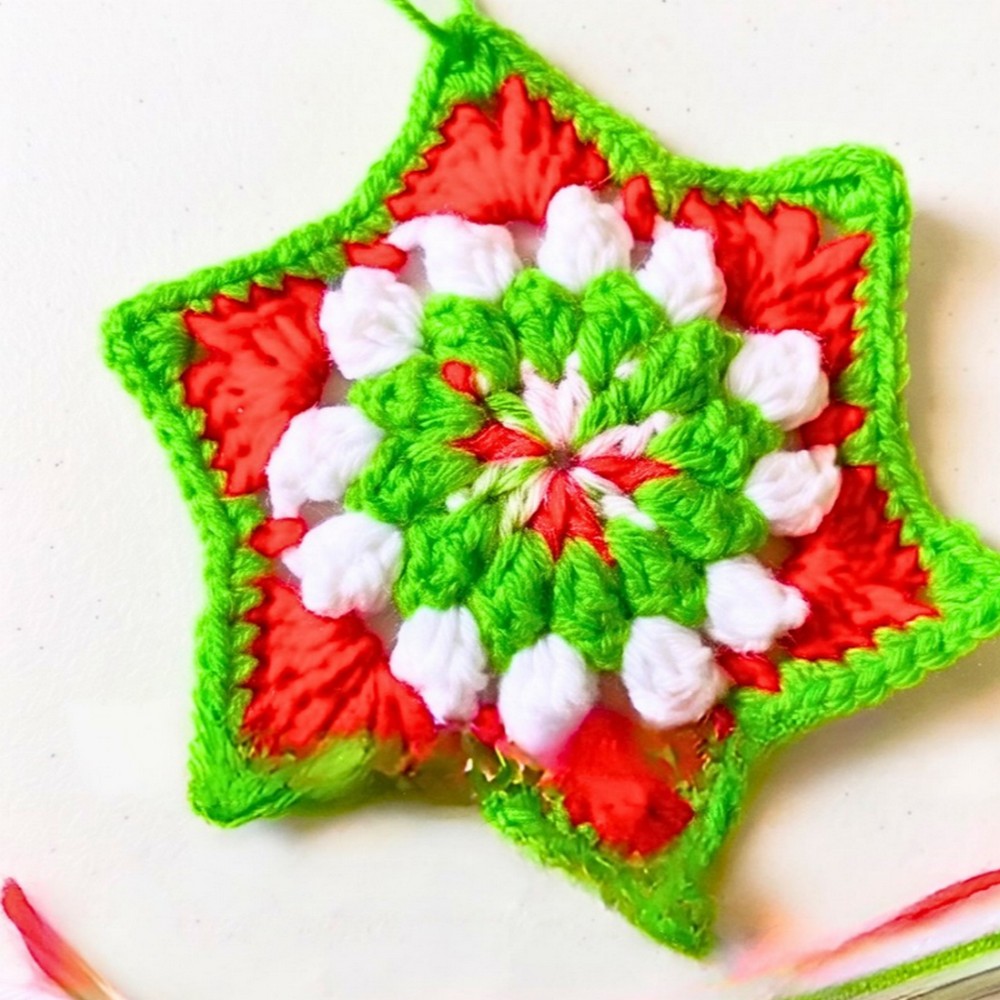
A Festive Crochet Christmas Star is one of those small handmade details that instantly brings the holiday season to life. Its timeless shape looks beautiful almost anywhere, from Christmas trees and wreaths to gift wrapping, garlands, and table displays.
With just a little yarn, you can create decorations that return year after year, adding a personal touch to every celebration. This crochet pattern turns a simple star into a keepsake you’ll be excited to make more than once.
Crochet Christmas Star Pattern
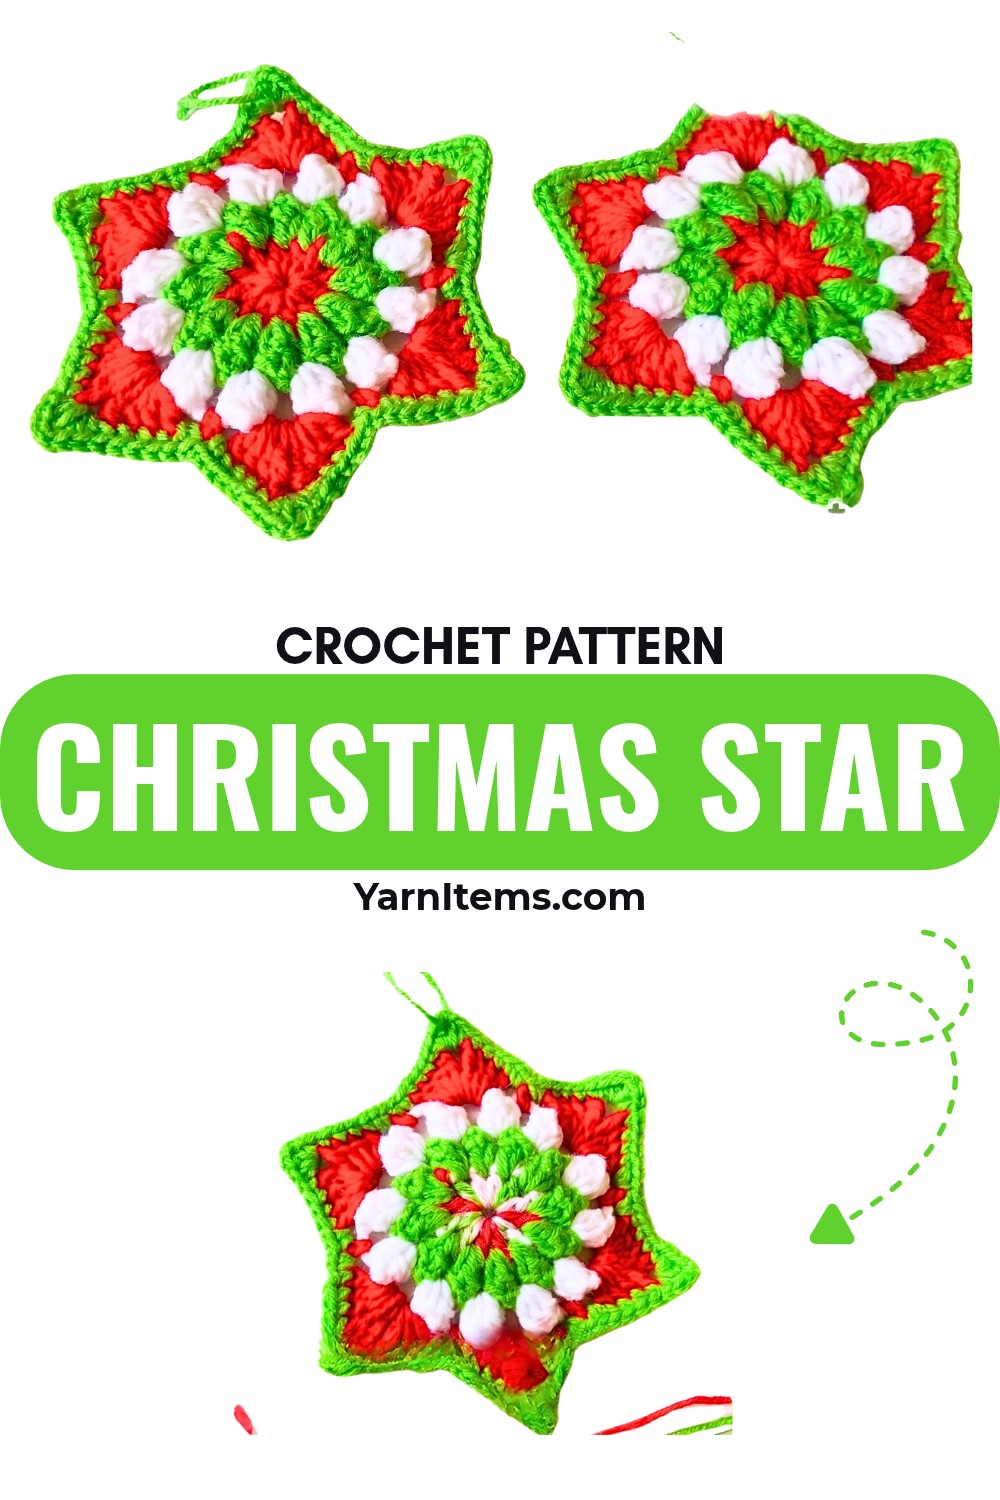
The design is easy to follow, making it enjoyable whether you’re creating your first holiday decoration or adding another favorite to your festive collection. The step-by-step crochet pattern walks you through each stage without making the piece feel overwhelming. Try classic Christmas shades or experiment with colors that match your own holiday style. Before long, you’ll have a finished star ready to brighten your home and inspire your next festive crochet piece.
Credit Crochet Mili
Materials & Tools Needed
- Yarn: Medium-weight yarn in three colors (Red, Green, White)
- Crochet Hook: 4.0 mm
- Other Tools: Scissors, Yarn Needle
Finished Size & Customization Ideas
- Size: Approximately 5–6 inches across (perfect for tree ornaments or garlands).
- Customization Suggestions:
- Add a second star piece for a plush 3D effect by lightly stuffing before joining.
- Incorporate glitter or metallic threads for a sparkling finish.
Pattern Abbreviations & Terminology (US Terms
- ch: Chain
- sc: Single crochet
- hdc: Half double crochet
- dc: Double crochet
- tc: Treble (Triple) crochet
- sl st: Slip stitch
- st(s): Stitch(es)
- sp: Space
- 3 dc popcorn stitch: Work 3 dc into the same space, drop the loop from the hook, insert the hook into the first dc, pick up the dropped loop, and pull through.
- 4 dc popcorn stitch: Work 4 dc into the same space, drop the loop from the hook, insert the hook into the first dc, pick up the dropped loop and pull through.
Step-by-Step Crochet Instructions
Row 1 (Red)
- Create a magic ring.
- Ch 4 (counts as 1 dc + ch 1).
- Work 1 dc into the ring, then ch 1.
- Repeat [1 dc, ch 1] until you have a total of 12 dc inside the ring (including the starting ch 4 space).
- Pull the tail to close the magic ring.
- Sl st into the 3rd chain of the starting ch-4 to join. Fasten off.
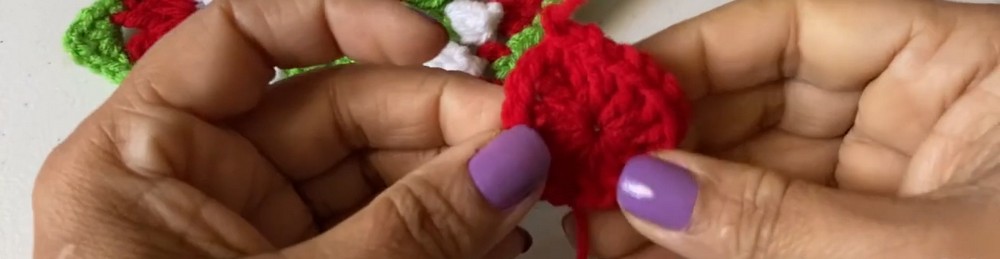
Stitch Count: 12 dc, 12 ch-1 spaces.
Row 2 (Green)
- Join green yarn with a sl knot into any ch-1 sp from Row 1.
- Work a 3 dc popcorn stitch into the space, then ch 2.
- Work a 3 dc popcorn stitch into each of the remaining ch-1 spaces, then ch 2 after each.
- Sl st into the top of the first popcorn stitch to join. Fasten off.
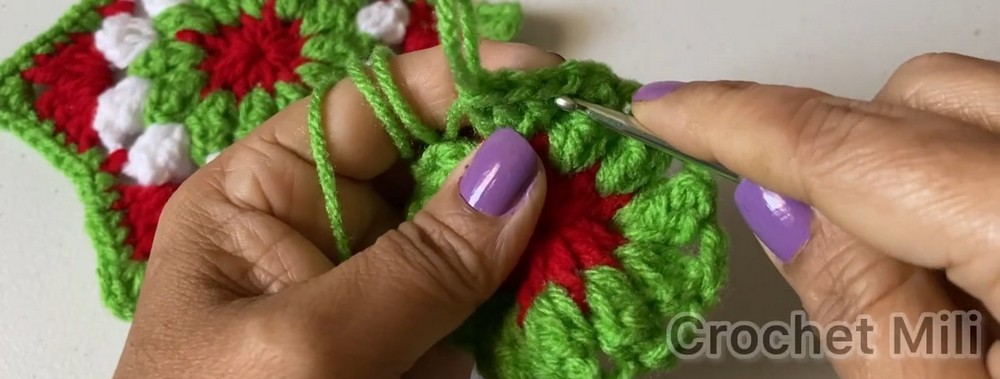
Stitch Count: 12 popcorn stitches, 12 ch-2 spaces.
Row 3 (White)
- Join white yarn into any ch-2 sp from Row 2.
- Work a 4 dc popcorn stitch into the space, then ch 3.
- Work a 4 dc popcorn stitch into each ch-2 sp around, then ch 3 after each.
- Sl st into the top of the first popcorn stitch to join. Fasten off.
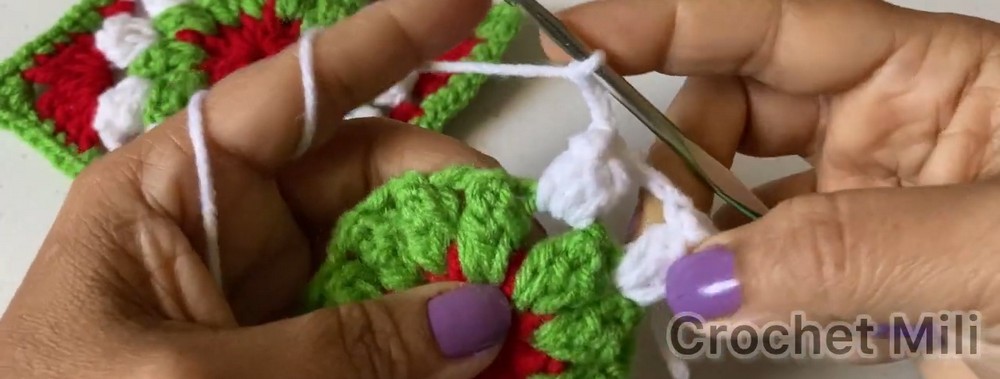
Stitch Count: 12 popcorn stitches, 12 ch-3 spaces.
Row 4 (Red)
- Join the red yarn into any ch-3 sp from Row 3.
- In the ch-3 sp, work: [3 dc, 1 tc, ch 2, 1 tc, 3 dc] (first star point).
- Ch 1, then sc into the next ch-3 sp.
- Ch 1, then repeat [3 dc, 1 tc, ch 2, 1 tc, 3 dc] in the next ch-3 sp.
- Repeat steps 3–4 around for a total of 6 star points.
- Sl st into the top of the initial dc to join. Fasten off.
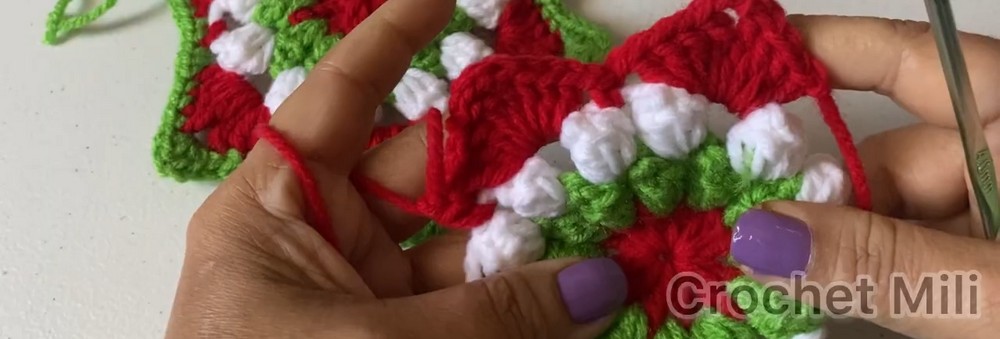
Row 5 (Green)
- Join green yarn in the first sc space between star points.
- Work 1 sc into the next 4 stitches along the first side of the star point.
- Into the ch-2 sp at the peak, work: [1 sc, 1 hdc, ch 2, 1 hdc, 1 sc].
- Work 1 sc into the next 4 stitches along the other side of the star point.
- Work 2 sc into the next ch-1 sp, 1 sc into the sc stitch, and 2 sc into the next ch-1 sp.
- Repeat the border process for all star points.
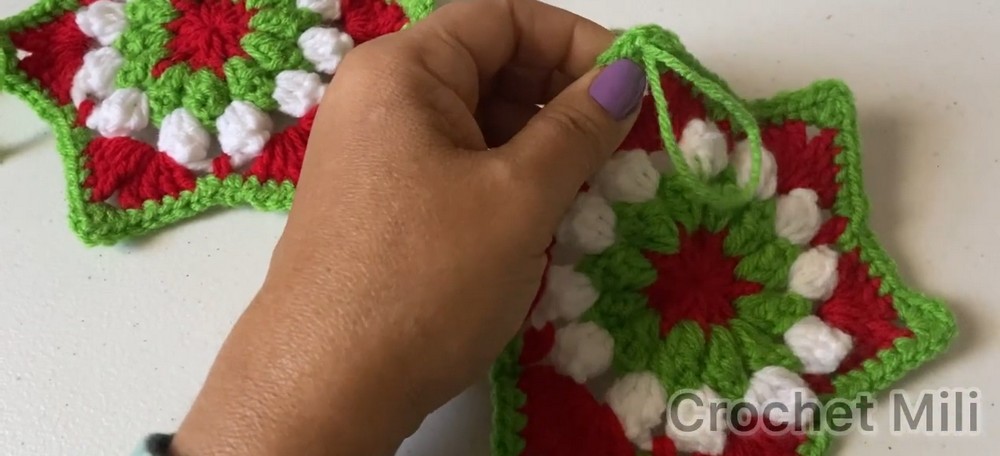
- Sl st into the first sc stitch to join. Leave a long tail if creating a hanging loop.
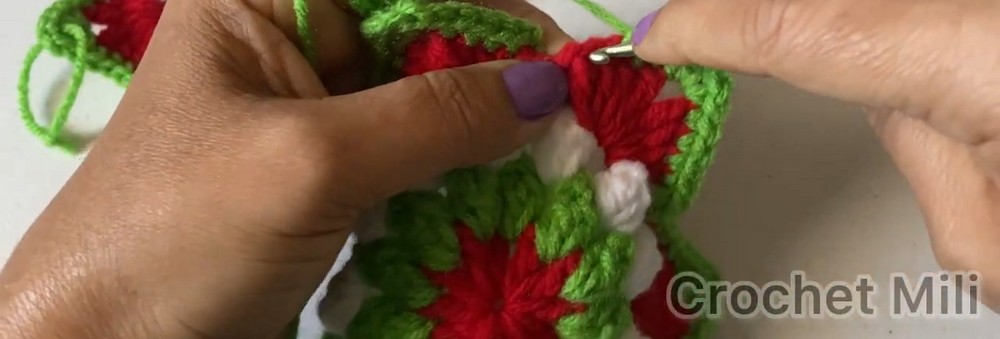
Finishing Techniques & Hanging Loop
- Hanging Loop:
- Thread green yarn onto a yarn needle.
- Draw the needle through the top peak of one star point, loop it back to form your desired hanging length, and knot securely.
- Weaving Ends:
- Weave loose yarn ends from color changes into the corresponding stitches using yarn needle.
- Trim excess for a neat finish.