Crochet Christmas Wreath Granny Square Pouch Pattern
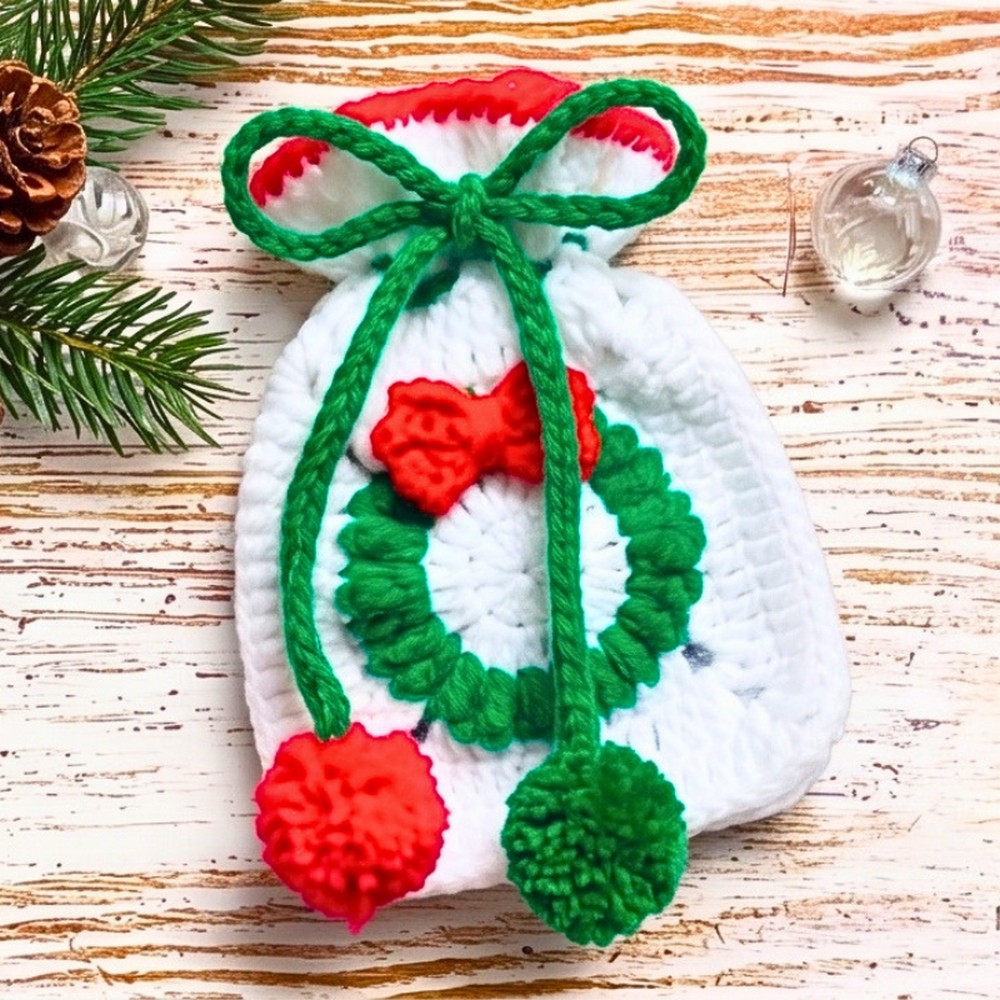
A Christmas wreath granny square pouch brings festive charm to an everyday handmade crochet piece. The wreath motif turns simple granny squares into something eye-catching. While the finished pouch is just the right size for holiday treats, gift cards, ornaments, or other small surprises. It’s a cheerful crochet design that looks just as lovely tucked under the tree as it does hanging from a gift bag.
Crochet Christmas Wreath Granny Square Pouch
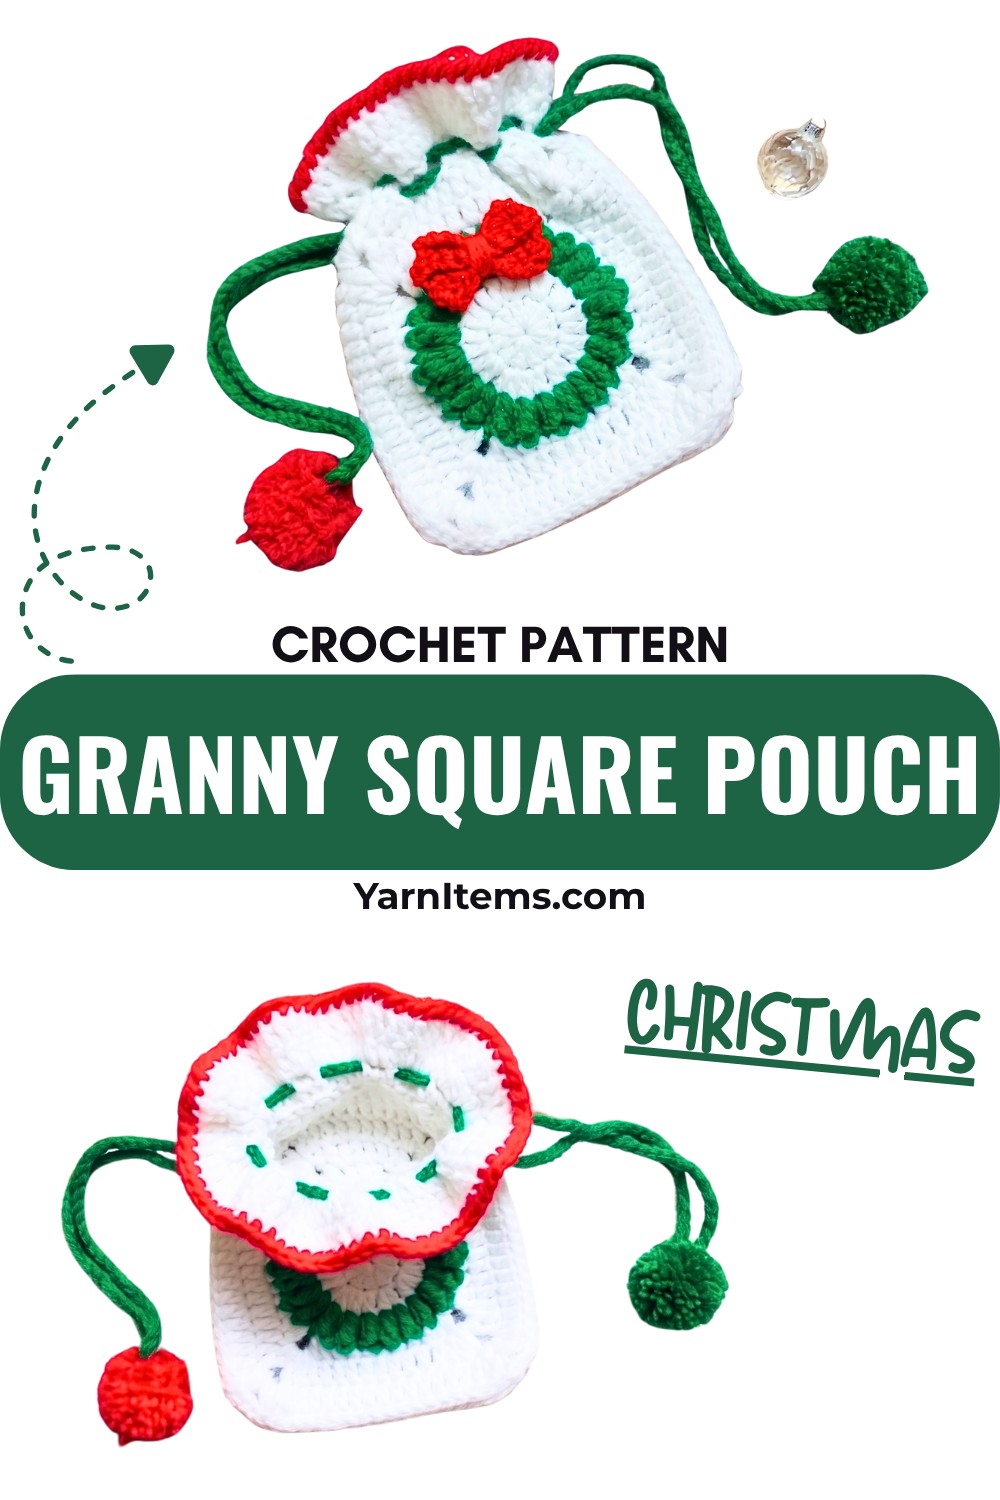
This crochet pattern walks you through making the wreath granny squares, joining them into a pouch. And adding the drawstring with playful pom-poms for the finishing touch. You can easily switch yarn colors or add your favorite festive details to make each pouch one of a kind. As the pieces come together, you’ll see how a few simple crochet techniques create a holiday accessory that’s both practical and full of Christmas spirit.
Credit Simple Crochet
Materials & Tools Needed
- Yarn: Any yarn of choice (preferably in festive colors, such as red, green, and white)
- Crochet hook: Size suitable for your chosen yarn (e.g., 4 mm- 5 mm for medium-weight yarn)
- Needle: For weaving in ends and sewing
- Scissors: For trimming yarn
- Pom-pom maker (optional; can use a fork to make pom-poms instead)
Finished Size & Customization Ideas
Finished Size:
The pouch size depends on the dimensions of the granny square pattern you choose.
Typically, when using medium-weight yarn with a 4mm hook, the pouch will be approximately 5″-7″ wide and 7″-10″ tall once completed.
Customization Ideas:
- Use traditional Christmas colors like red, green, and white for a festive look.
- Modify granny square patterns — you can use wreath-inspired granny motifs, traditional granny squares, or other holiday-themed motifs.
- Add embellishments such as beads, buttons, or appliqués for more decoration.
- Make longer straps if you’d like to use the pouch as a crossbody bag.
Pattern Abbreviations & Terminology
Here are common crochet abbreviations used in this tutorial:
- ch: Chain
- sl st: Slip stitch
- sc: Single crochet
- dc: Double crochet
- rev sc: Reverse single crochet (crab stitch)
- st(s): Stitch(es)
- yo: Yarn over
Note: The pattern follows US crochet terminology.
Step-by-Step Detailed Crochet Instructions
1. Prepare Granny Squares
- Choose any granny square motif that appeals to you for the pouch. If you’d like recommendations, the creator has tutorials for various square patterns.
- Crochet 4 granny squares of the same size.
- If using a wreath-inspired granny square, follow her instructions from the next video for the motif.
2. Join Granny Squares
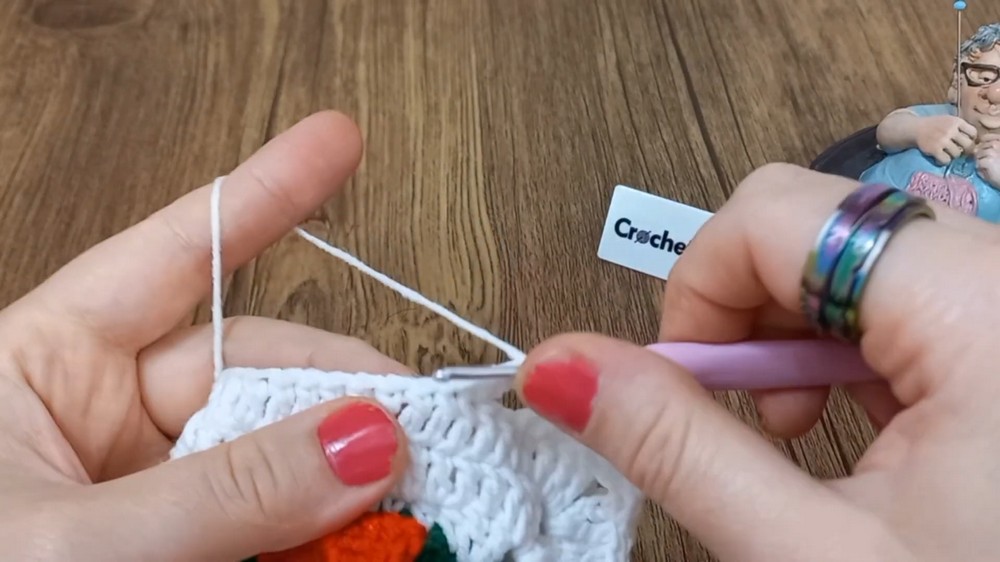
Using slip stitches, join all 4 squares together into a tube:
- Place two squares back-to-back with wrong sides facing each other.
- Begin by knotting the yarn onto your hook.
- Insert your hook into the second chain of one square’s corner (chain-2 space) and pull the yarn through.
- Insert the hook into the second chain of the corner from the other square and pull through.
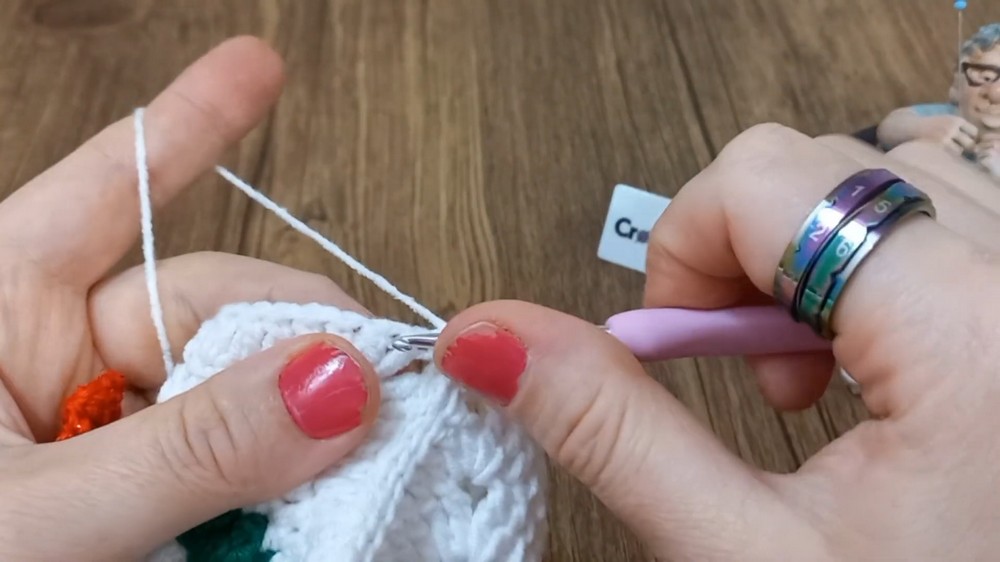
- Work slip stitches into the back loops only of both squares, ensuring they are connected evenly.
- Repeat this process to join the other two sides into a tube.
- Once finished, fasten off and weave in ends.
3. Create Base for the Pouch
- Start stitching around the bottom edge of the tube.
- Work double crochet stitches into every chain space all along the bottom, leaving about 2 stitches in each corner space to keep rounded edges.
- Continue stitching for additional rounds (2-3 rounds recommended for stability).
- Fasten off and weave in ends.
4. Add Top Edging
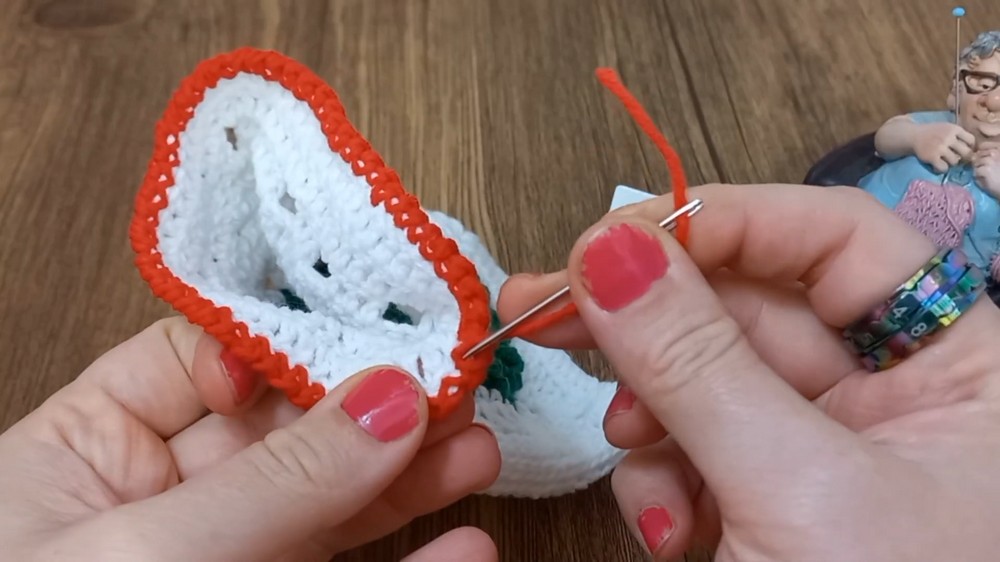
To decorate the top edge, use reverse single crochet (rev sc):
- Attach the yarn to any stitch along the top edge of the pouch.
- Work one sc into the stitch.
- Insert your hook into the previous stitch and yo, pull through, then finish the sc (this creates the reverse direction).
- Repeat around the edge until you complete the round.
- Fasten off, weave in ends, and trim excess yarn.
5. Make Drawstring Straps
- Begin with a slip knot and crochet 100 chains for one strap.
- Fasten off and leave a long tail for attaching the pom-poms later.
- Repeat to create the second strap.
Attach Straps:
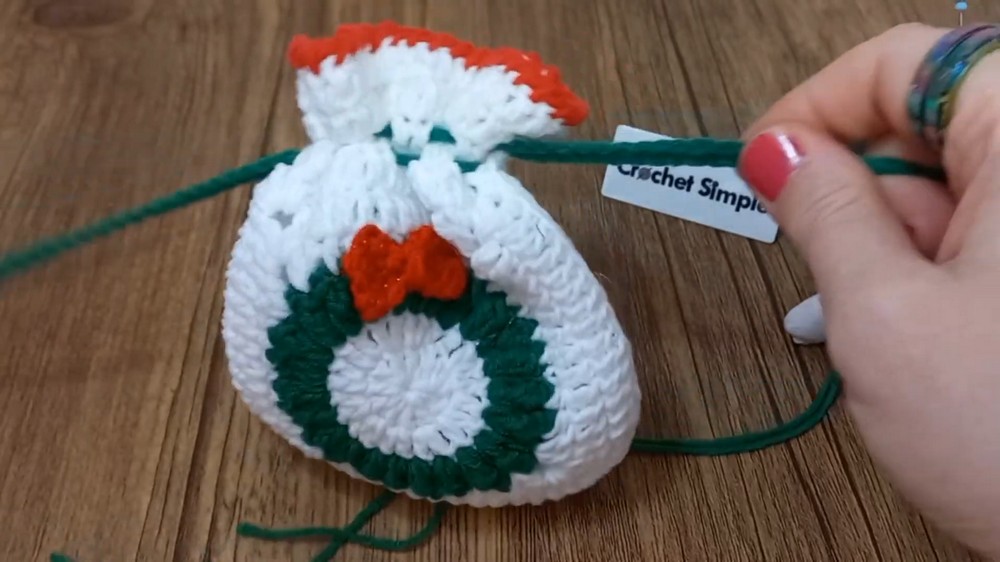
- Using a needle, weave each strap through the chain spaces around the top edge of the pouch.
- Weave the second strap through in the opposite direction to create a drawstring closure.
- Tie knots at the end of both straps, leaving extra tail yarn to attach pom-poms.
6. Make Pom-Poms
You can either use a pom-pom maker (or a fork as shown in the video):
- Wrap yarn around the middle tines of a fork several times (the more wraps, the fuller the pom-pom).
- Cut a longer piece of yarn and tie it tightly through the middle of your wrapped yarn on the fork.
- Remove the yarn from the fork and pull the knot tightly.
- Trim the loops on both sides to create a fluffy ball.
- Use scissors to shape it into a round pom-pom.
Attach Pom-Poms:
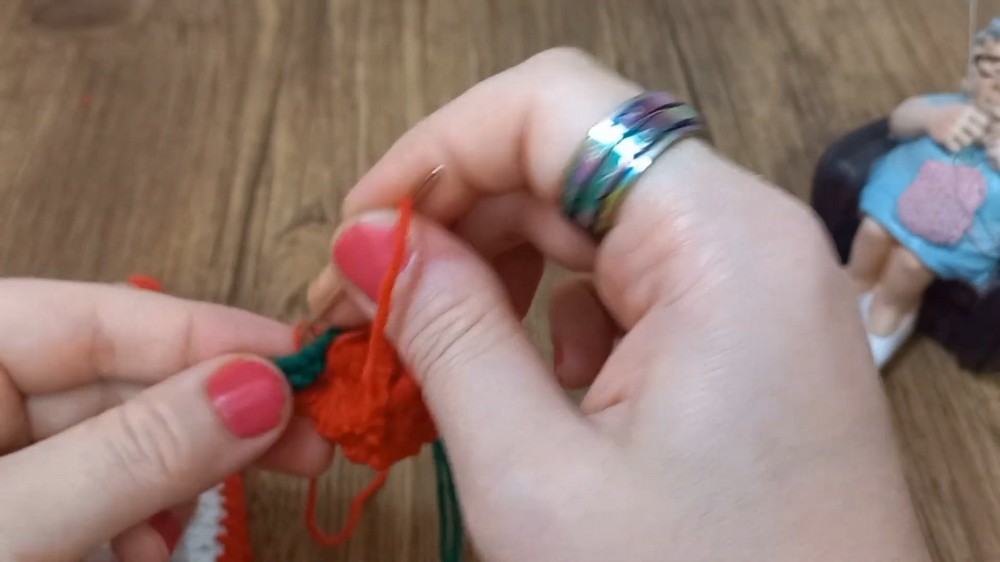
- Use the yarn tail from the pom-poms and sew them onto the ends of the drawstring straps using a needle.
- Secure with a knot and weave in ends.
7. Finishing Touches
- Check and trim any loose threads.
- Shape the pouch and test the drawstring closure. The straps will tighten or loosen the bag when pulled.