Easy Crochet Mesh Top Pattern with Sleeve Bows
Here, a lightweight crochet top comes together with an open triple-crochet mesh, an adjustable neckline, simple sleeves, and small bows that add a delicate finishing detail.
Crochet Mesh Top Pattern
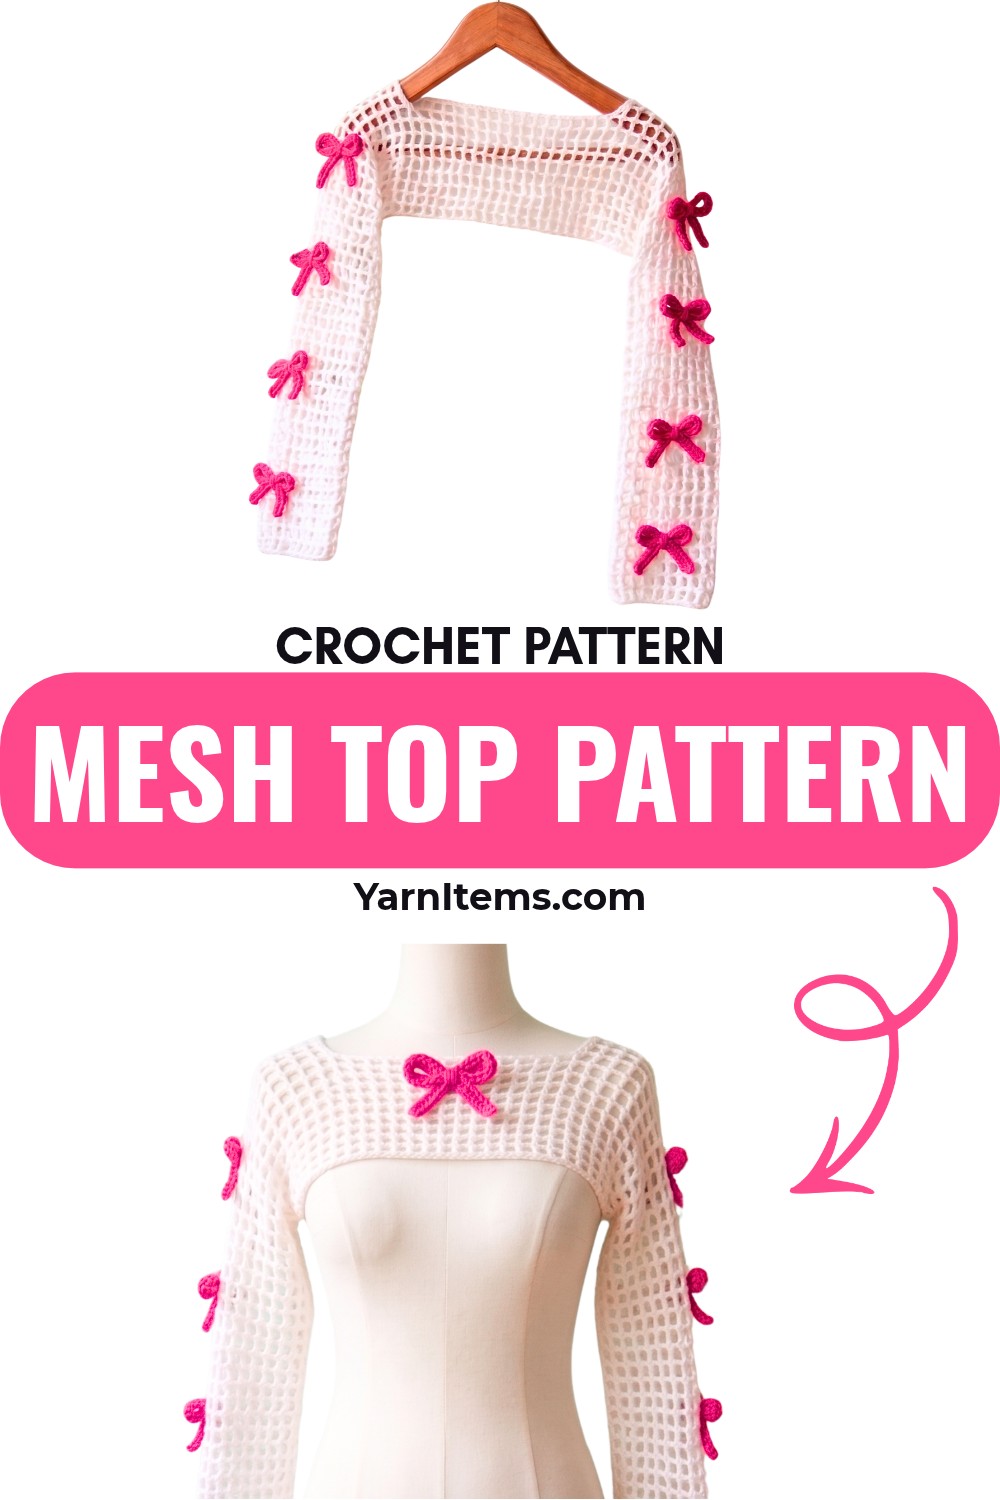
An airy mesh fabric gives this crochet top its relaxed shape while keeping the stitch pattern simple enough to repeat across the front and back. The crocheted front panel begins with a foundation chain based on multiples of three, then the neckline opens between two short shoulder sections.
Once the main panels are complete, the sleeves can either be worked directly from the existing fabric or crocheted separately and attached afterward. This gives you two ways to approach the same design while keeping the overall shape easy to adjust for length, width, and sleeve size.
Credit Crochet & knitting
Materials & Tools Needed
- Thin yarn suitable for the open mesh stitch pattern
- Crochet hook appropriate for your chosen yarn
- Tapestry needle for sewing and weaving in ends
The tutorial uses thin yarn to create an open, lightweight fabric. If you substitute yarn, choose a hook that works comfortably with the yarn while preserving the airy quality of the mesh.
Finished Size & Customization Ideas
The size can be adjusted directly from the foundation chain and the number of rows.
- Width: Choose a foundation chain that is a multiple of 3.
- Neck opening: Adjust the skipped stitches using the formula (number of skipped stitches × 3) + 2.
- Sleeves: Work them directly from the main panels without cutting the yarn, or make them separately and sew them on afterward.
- Sleeve decoration: Make 8 bows total, with 4 bows for each sleeve.
- Making time: The tutorial indicates that the top can be completed in 4 days or less, depending on your pace.
For the tutorial sample, the initial foundation uses 81 chains, followed by 9 additional chains, bringing the starting chain count to 90.
Pattern Abbreviations & Terminology
US crochet terminology is used throughout.
- ch — Chain
- tr — Triple Crochet / Treble Crochet
- hdc — Half Double Crochet
- st / sts — Stitch / Stitches
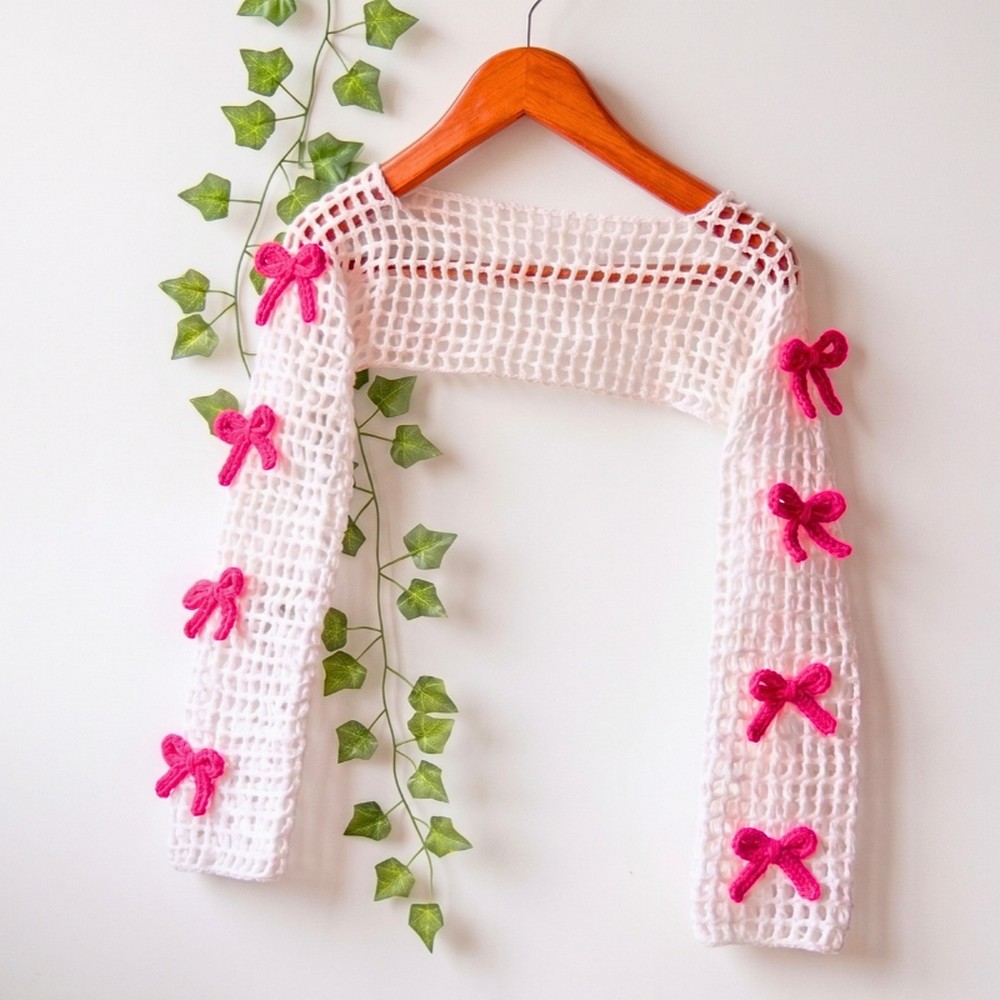
Crochet Mesh Top with Decorative Sleeve Bows
Crochet the Front Panel
The front panel uses an open mesh made from triple crochet stitches separated by two-chain spaces. Keeping the foundation chain in the correct multiple is important because it establishes the repeating mesh pattern.
Foundation: Make a slip knot and ch 81, or another number that is a multiple of 3 according to your desired width. Then ch 9 additional chains for the first row, bringing the tutorial sample to 90 chains.
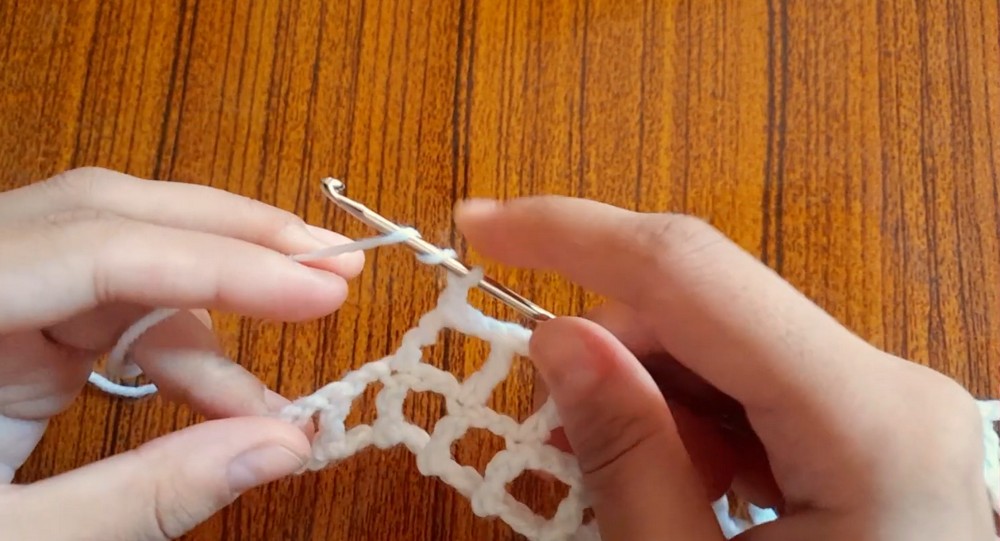
Work Front Panel Row 1. The first row establishes the repeating mesh spaces.
Row 1: Count 9 chains from the hook, then work 1 tr into the 9th chain. Ch 2, skip 2 chains, and work 1 tr into the next chain. Repeat ch 2, skip 2 chains, tr in the next chain across the row. Work the final tr into the very last chain. The skipped starting chains count as the first stitch. (28 sts)
The first triple crochet needs to land in the correct chain because this placement determines how the remaining mesh spaces line up across the panel.
Continue the Front Panel
Rows 2 through 10 repeat the same open mesh structure.
Rows 2–10: Ch 6, then work 1 tr on top of the previous row’s stitch. Ch 2, work 1 tr on top of the next stitch, and repeat across. For the final stitch, ch 2, count 3 chains upward from the base, and work 1 tr into the 3rd chain.
Continue until you have completed 10 rows for the front panel.
Shape the Front Neckline
After the 10 mesh rows, the front panel divides into two shoulder sections with the neckline opening between them.
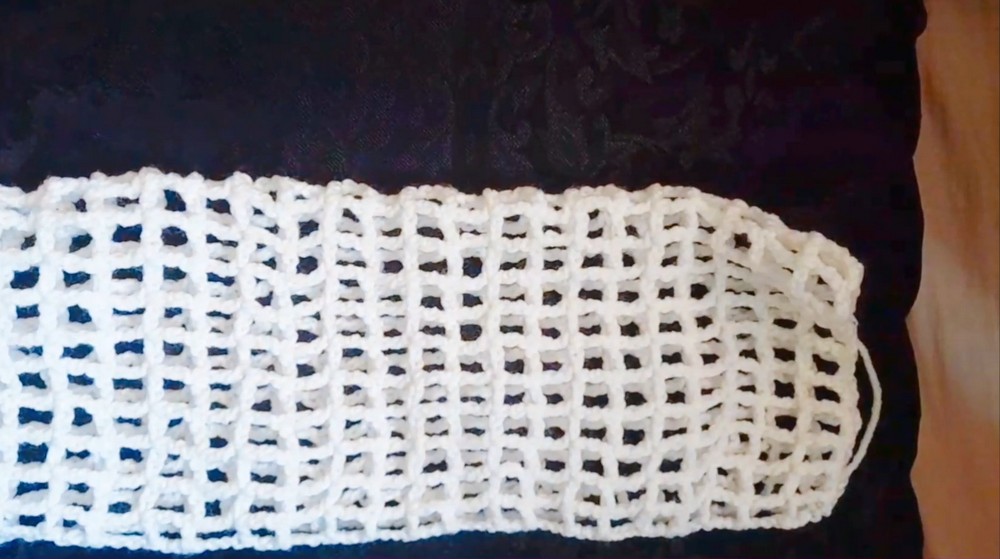
Neckline Row: Work 6 tr for the first shoulder, then ch 50 to create the neckline opening. Complete the row by working tr stitches across the 6 shoulder stitches on the opposite side.
For a different neckline size, use the tutorial’s formula:
Number of skipped stitches × 3 + 2 = neckline chain count. The tutorial sample uses 50 chains.
Neckline Check
Before moving on to the back panel, compare the neckline opening with the intended head and neck width.
A larger opening can be created by increasing the skipped-stitch calculation, while a smaller opening requires fewer skipped stitches. Keeping this adjustment at the neckline stage is easier than trying to change the opening after the panels and sleeves have been joined.
Crochet the Back Panel
The back panel uses the same open mesh pattern as the front.
Back Panel: Work 10 additional rows following the same mesh instructions used for the front panel.
Check the length before beginning the sleeves. The finished back section should extend far enough to sit comfortably around the arm and sleeve area.
Add the Sleeves
The tutorial provides two sleeve options, so choose the method that best suits how you want to work the garment.
Option 1: Work the Sleeves Directly
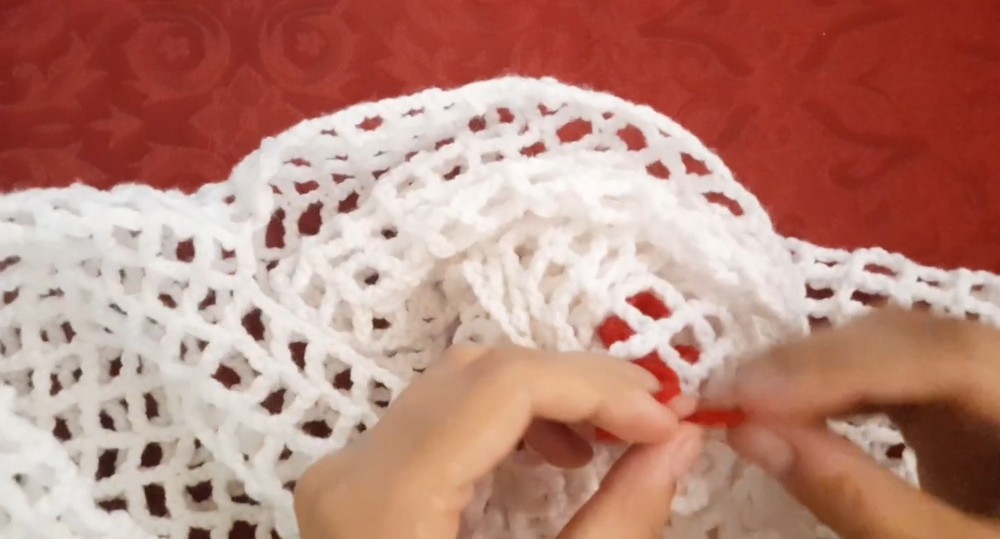
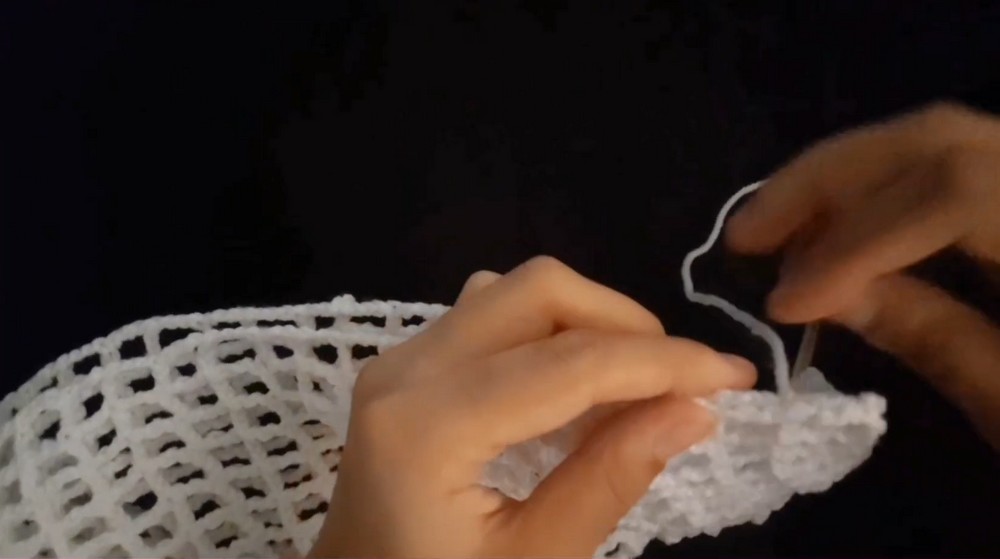
Without cutting the yarn from the main panel, rotate your work and continue crocheting directly from the panel edges.
Work the same mesh pattern into the edge to form the sleeve.
In the tutorial demonstration, the sleeve is completed after 33 rows.
Option 2: Make Separate Sleeves
If you prefer to work the sleeves separately, chain a length that matches your desired shoulder-to-wrist measurement.
Work 21 rows of the same mesh pattern, then attach the finished sleeve to the main panels.
This option allows the sleeve to be adjusted independently before sewing it into place.
Seam the Sleeves
Once the sleeves are ready, turn the garment so the wrong side is facing outward.
Align the corresponding sleeve rows carefully.
Use the yarn and a tapestry needle to sew the sleeve edges together, keeping the row alignment consistent from the top toward the cuff.
Weave in the Yarn Ends
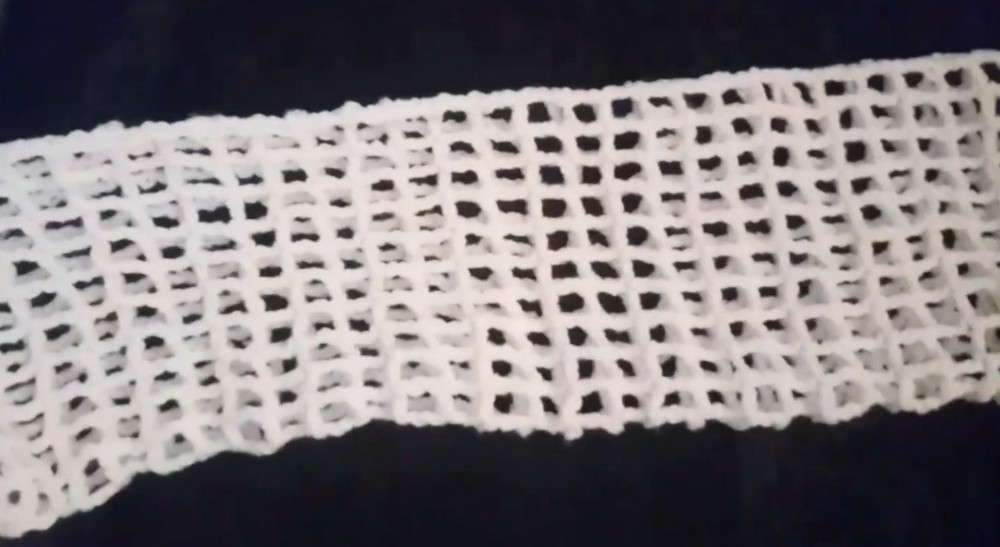
Secure every remaining yarn tail with a tapestry needle.
Thread each end back and forth between the stitches, rather than cutting it immediately beside the knot. This helps keep the yarn secure and reduces the chance of the finished fabric coming undone.
After the ends are firmly woven in, trim the excess yarn.
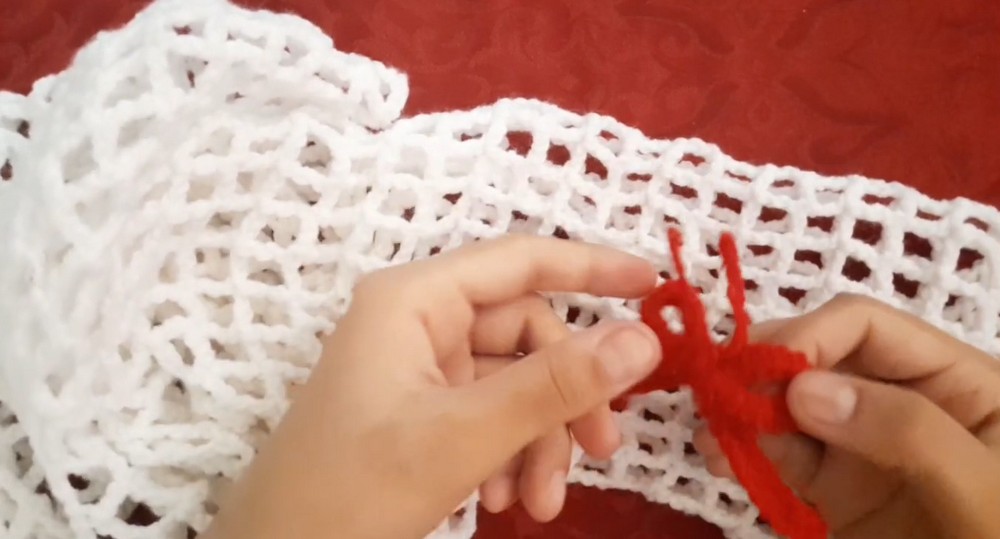
Make the Decorative Sleeve Bows
The small bows are optional accents and can be positioned evenly along each sleeve.
Make 8 bows total, with 4 for each sleeve.
Bow Foundation: Ch 45.
Bow Row: Starting in the second chain from the hook, work hdc across the entire chain.
To make each hdc, yarn over, insert the hook into the stitch, yarn over and pull through, then yarn over and pull through all 3 loops on the hook.
Tie two secure knots at the ends and weave in the tails.
Shape the strip into a bow.
Repeat until you have 8 bows.
Attach the bows with a yarn needle, or leave them tied loosely if you want them to be removable.
Finish the Crochet Top
Once the sleeves are joined and the yarn ends are secured, check the neckline, sleeve length, and overall width.
The open mesh makes the garment naturally flexible, while the foundation chain and row count give you the main control over its finished proportions.
The bows can be spaced evenly along each sleeve for the look shown in the tutorial, or positioned according to your preferred style.
A Lightweight Crochet Top with a Delicate Finish
The finished top combines an airy triple-crochet mesh with a wide adjustable neckline and simple sleeve shaping. Because the foundation chain, neckline opening, and sleeve method can all be adjusted, the same basic instructions can be adapted to different measurements.
The eight small bows provide the final decorative detail, giving the sleeves a softer and more distinctive finish without changing the underlying mesh pattern.