The waffle stitch gives this crochet beanie a bold, raised pattern that stands out without relying on complicated techniques. Its thick design adds warmth while creating a classic look that pairs easily with everyday outfits.
If you’ve been looking for a hat with eye-catching texture, this crochet pattern is a great place to start.

This pattern breaks the beanie into simple, easy-to-follow steps, making each section straightforward to crochet. As the stitches build, the signature waffle texture quickly begins to take shape. Keep reading to see how this timeless crochet design comes together and create a beanie you’ll enjoy wearing throughout the colder months.
Credit anxin_crochet
Materials & Tools Needed
- Yarn:
Squirrel Wool (also known as Bright Velvet yarn or soft plush winter yarn).- Standard hat: ~1 ball/roll (recommended to buy 3 rolls if making a larger set or thick pompons).
- Crochet Hook: 4.5 mm to 5.0 mm
- Tools:
- Stitch markers
- Safety pins
- Yarn needle
- Scissors
- Fuzz ball/pompon maker (optional for the top)
Finished Size & Customization
- Crown/Top Diameter: ~16.5 cm to 17 cm (Standard adult size).
- Tip: Stop expanding when the top measures 16.5 cm for smaller sizes.
- Total Hat Height: ~18 cm to 19 cm before adding the brim.
- Customization Options:
- Add a large, fluffy yarn pompon for children or middle-aged adults.
- Skip the pompon for a traditional look, suitable for the elderly.
Pattern Abbreviations & Terminology
- ch: Chain
- sl st: Slip stitch
- dc: Double crochet
- fpdc: Front Post double crochet
- bpdc: Back Post double crochet
- R: Round / Row

Step-by-Step Crochet Instructions
Part 1: The Crown (Hat Top Expansion)
Create a flat disk by working in circular rounds. Place a stitch marker on the turning chains.
Instructions:
- Round 1:
Start with a magic ring.- Ch 3 (counts as your first dc).
- Work 12 dc into the ring.
- Join with sl st to the top of the ch-3. (13 dc total)
- Round 2:
- Ch 3 (counts as a dc).
- Work 1 fpdc and 1 dc in the same stitch below.
- Repeat around, join with sl st. (26 stitches total)
- Round 3:
- Ch 3 (counts as a dc).
- (1 fpdc, 1 dc, 1 dc) across the round.
- Join with sl st. (39 stitches total)
- Round 4:
- Ch 3 (counts as a fpdc).
- (1 fpdc, 1 bpdc, 1 bpdc) around.
- Join with sl st. (39 stitches total)
- Round 5:
- Ch 3 (counts as a dc).
- (2 fpdc, 1 dc, 1 dc) around.
- Join with sl st. (52 stitches total)
- Round 6:
- Ch 3 (counts as a bpdc).
- (1 fpdc, 1 dc, 1 fpdc, 1 bpdc, 1 bpdc) around.
- Join with sl st. (65 stitches total)
- Round 7:
- Ch 3 (counts as a dc).
- (1 fpdc, 1 dc, 1 dc, 1 fpdc, 1 dc, 1 dc) around.
- Join with sl st. (78 stitches total)
Check Size: The circle diameter should measure ~17 cm (for an adult size).

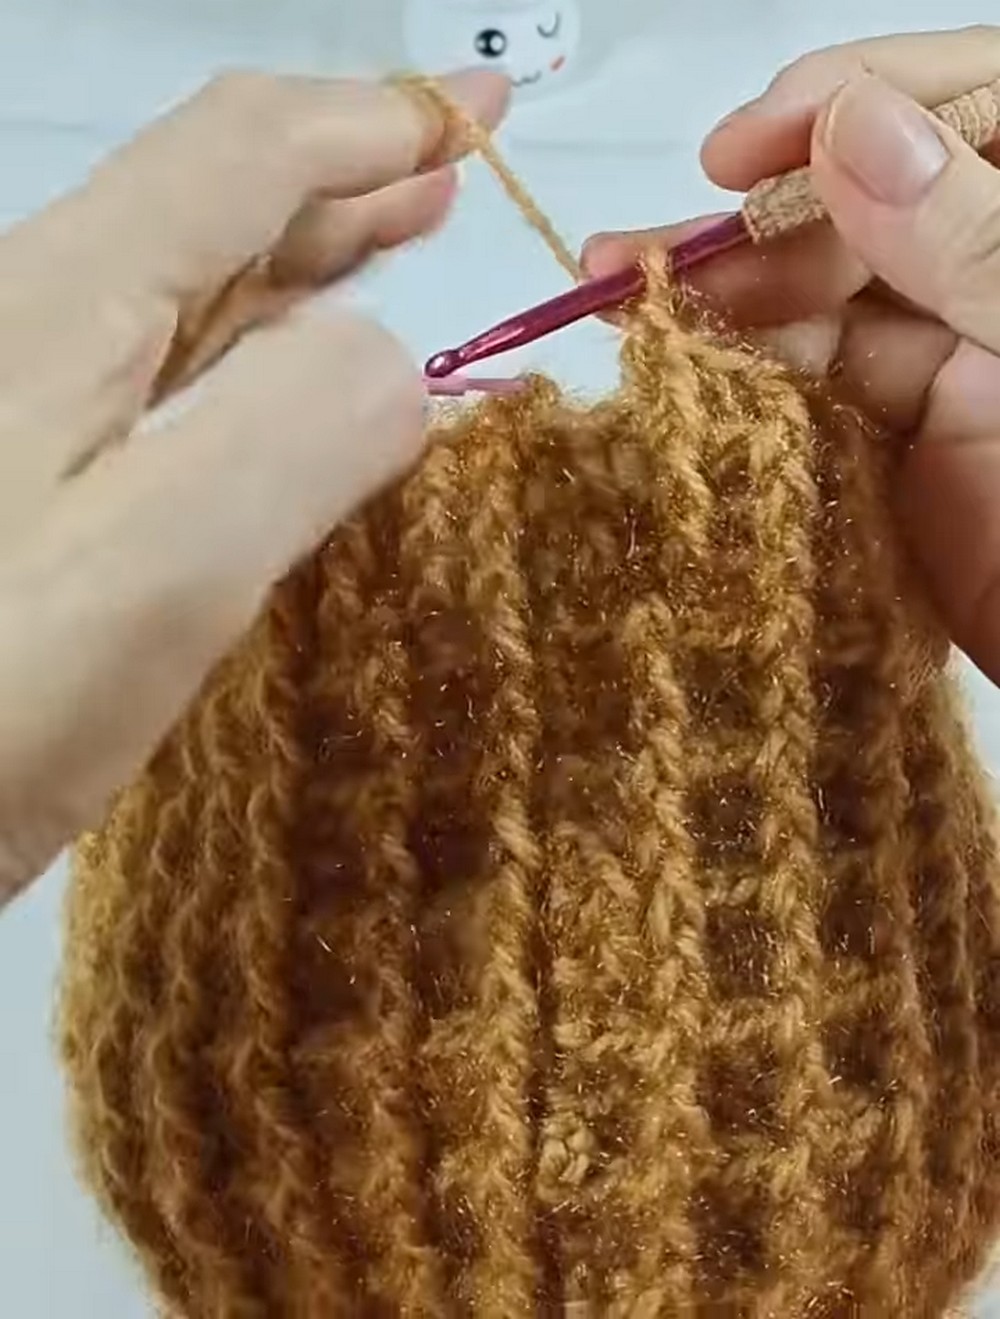
Part 2: The Hat Body (Waffle Grid Section)
Instructions:
- Stop Expanding: Begin working without adding increases. Alternately repeat two rounds to form the waffle texture.
- Hat Body Round 1:
- Ch 3 (counts as a bpdc).
- (1 fpdc, 1 bpdc, 1 fpdc, 1 bpdc, 1 bpdc) around.
- Join with sl st.
- Hat Body Round 2:
- Ch 3 (counts as a bpdc).
- (1 fpdc, 1 dc, 1 dc, 1 fpdc, 1 dc, 1 dc) around.
- Join with sl st.
Repeat:
Continue repeating Hat Body Rounds 1 & 2 until the overall hat height measures 18–19 cm.
Part 3: The Ribbed Hat Brim
This brim creates a stretchy, comfortable fit.
Instructions:
- Round 1:
- Ch 3 (counts as a bpdc).
- Alternate 1 fpdc and 1 bpdc around.
- Join with sl st.
- Rounds 2 & 3:
- Repeat the same alternating fpdc and bpdc pattern.
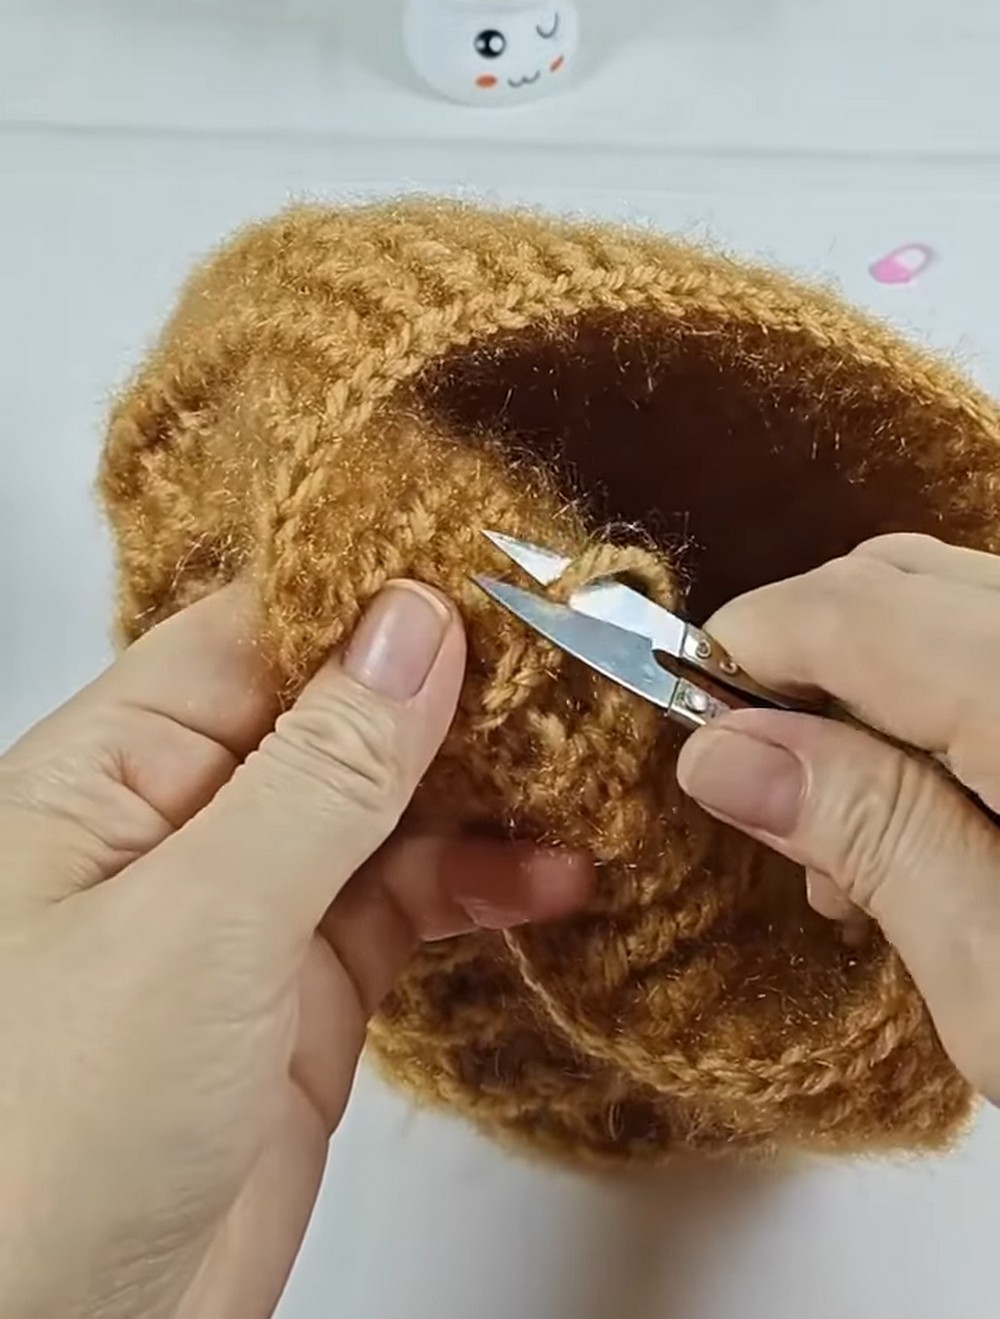
- Fasten Off:
Pull up a long loop, cut the yarn, and slip it through the loop to secure a knot.
Part 4: Finishing Touches & Making the Pompon
Seamless Join:
- With a sewing/yarn needle, use the tail yarn to:
- Work into the outer braid loop of the first stitch.
- Thread into the inner thread on the opposite side.
- Pull gently to mimic a real crochet stitch.
- Bury the remaining yarn tail securely and snip off excess.
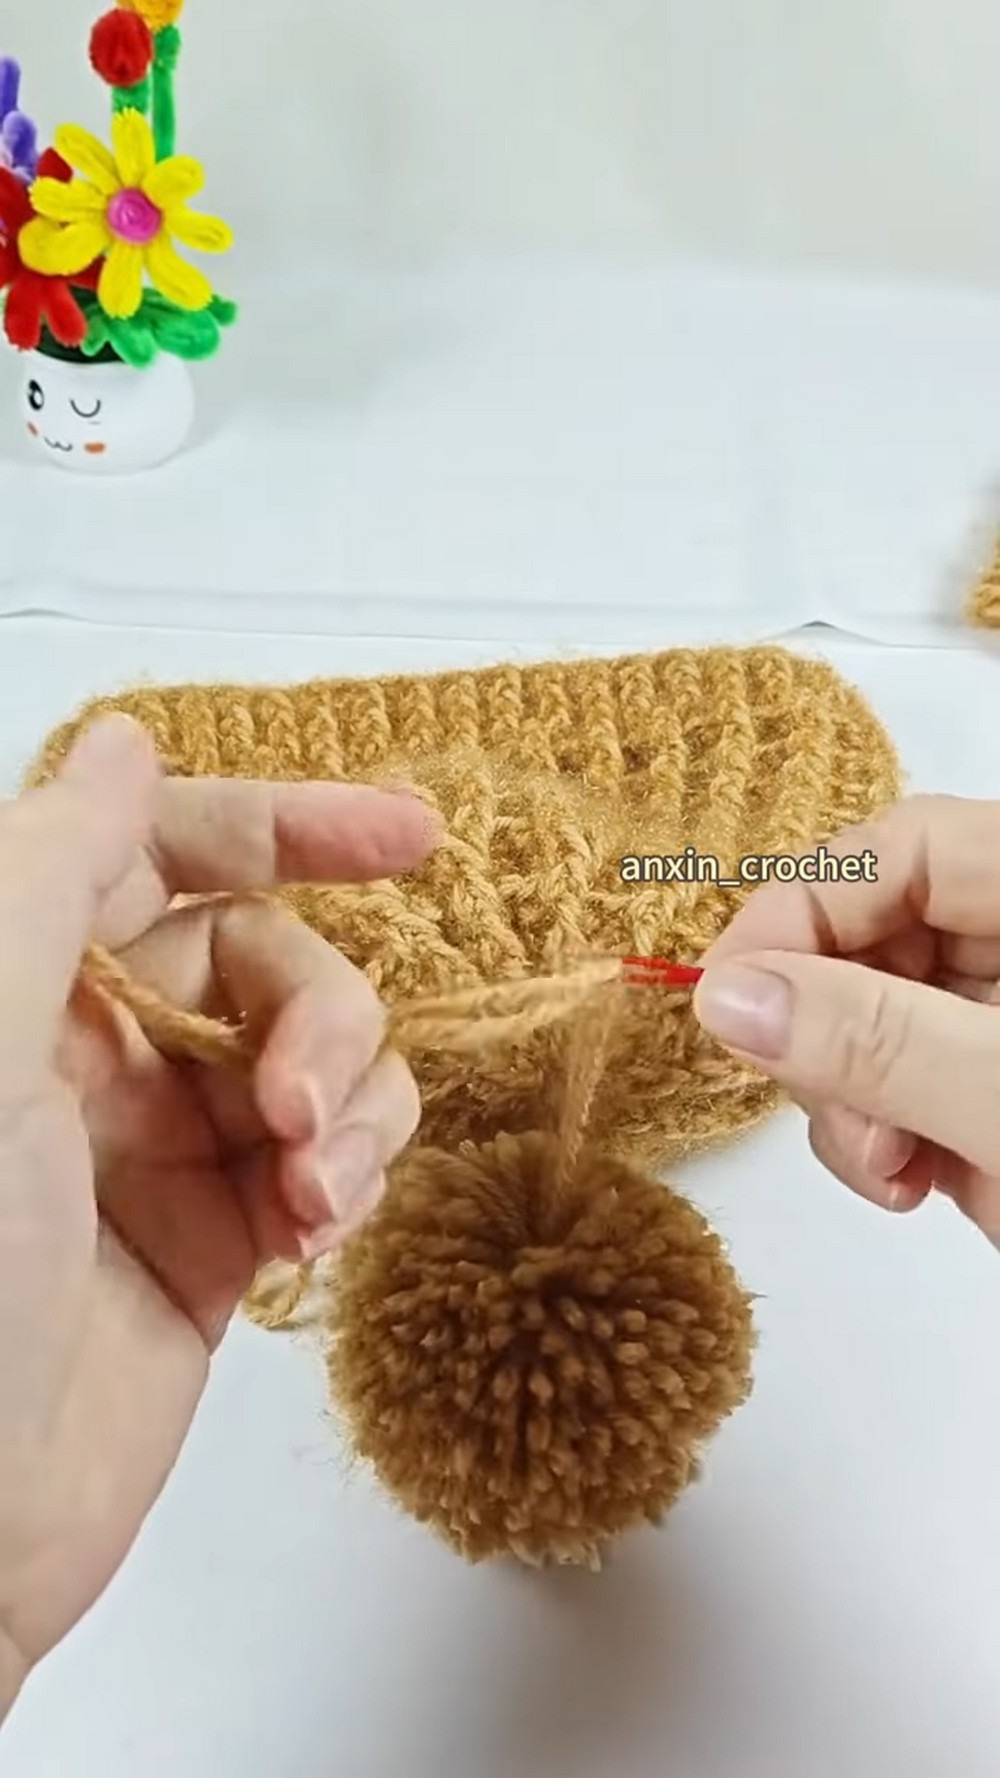
Making a Pompon (Optional):
- Prepare the Pompon Tool:
- Open both halves and align the holes and bumps.
- Wind Your Yarn:
- Hold 2 strands of yarn together. Wind them evenly around each half until full and plump.
- Cut and Tie:
- Snap the halves together.
- Using scissors, cut around the gap to create loose fuzz strands.
- Tie tightly with a double knot in the central groove.
- Trim the Pompon:
- Fluff by rolling between your palms.
- Snip uneven strands until perfectly round.
- Attach the Pompon:
- Thread the pompon strands into the center of the hat top.
- Secure with multiple knots, then weave in ends.