
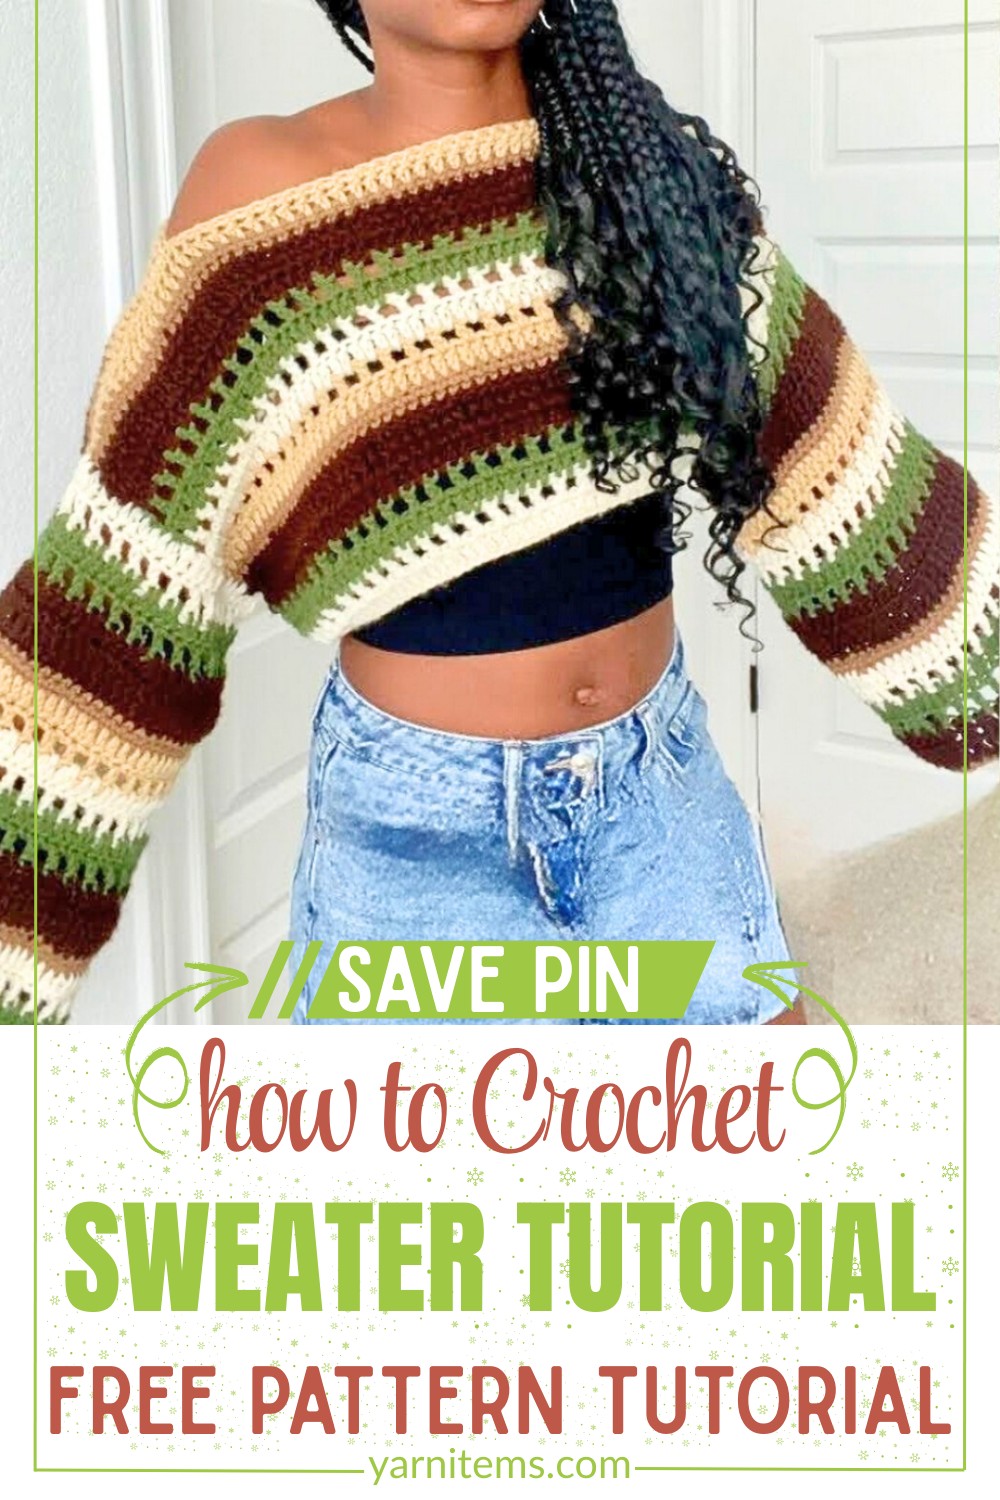
A trendy and lightweight crochet sweater made with colorful panels and textural stitches, perfect for layering or wearing solo on cool, breezy days—stylish and fun to make.

This crochet sweater is a beautiful and versatile piece you can make to add style and comfort to your wardrobe. Its simple and flexible design makes it perfect for cooler weather or as a trendy layering piece. With endless color options and textures, you can create a sweater that feels uniquely yours. Plus, it’s lightweight and cozy, letting you enjoy it during any casual outing or a day at home.
Beginner-Friendly Crochet Cropped Sweater Pattern
The process to make this crochet sweater doesn’t have to be complicated. It’s beginner-friendly, made by creating two panels and stitching them together. Then, you’ll add the sleeves and other details to finish it up. The fun part is choosing the colors and patterns that match your personal style. It’s a fantastic way to make a wearable piece that’s unique yet easy enough for those new to crochet.
Credit Azariah Crochets
Pattern Highlights
- Simple Construction: Made from two rectangular panels (front and back), stitched together, with sleeves added afterward.
- Beginner-Friendly Techniques: Uses foundational stitches such as double crochet, treble crochet, and single crochet, perfect for anyone starting their crochet journey.
- Textural Design: Beautiful rows alternate between mesh patterns and solid stitches to keep the sweater breathable yet cozy.
- Vivid Color Changes: Color-blocking adds personality and charm to the finished garment.
- Adjustable Fit: Measures are based on individualized shoulder width and personal preference for sweater length.
The construction of this cropped sweater is delightfully straightforward and ideal for beginners who want to try their hand at garment-making. It starts with a slip knot and chains, sized to your shoulder width. Once chained, rows of double crochet are added to build out each panel. The fabric grows quickly thanks to wide, repetitive stitch patterns, including alternating mesh rows (chain and double crochet sequences) and textured bands of treble, single, and double crochet stitches.

After completing panels for the front and back, they are expertly stitched together using single crochet or an alternative seaming technique, leaving an intentional gap for the neckline. The sides are then seamed with openings for sleeves to create a versatile, easy-to-wear shape.

The sleeves themselves are worked in the round, following a similar pattern of alternating mesh and solid rows. Stitch placement is done “randomly but strategically” along the edges, allowing for flexibility and ensuring a natural flow in sleeve construction. The rounds grow steadily, providing opportunities for vibrant color changes that bring the design to life. Once finished, the sleeves are slip-stitched together for a seamless finish.
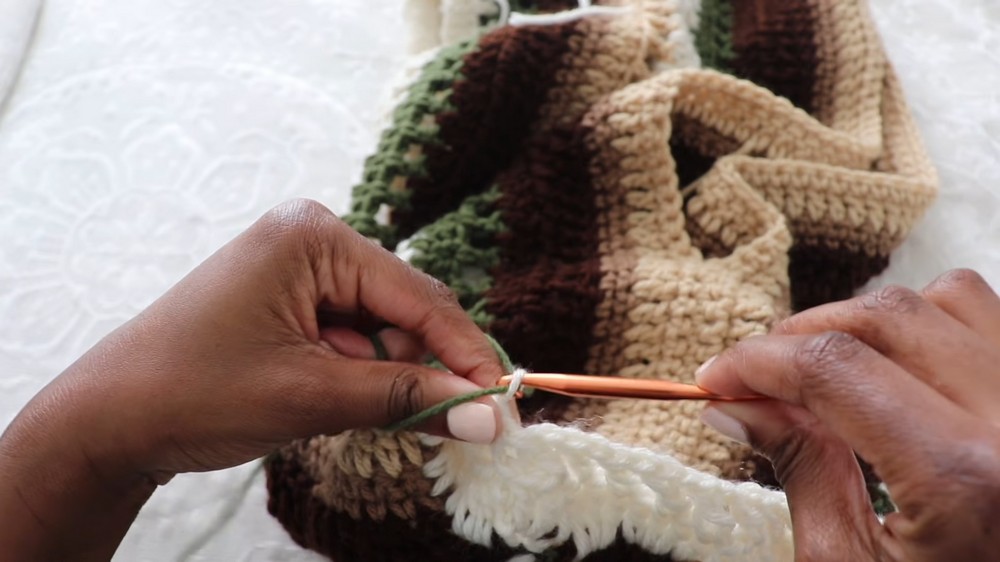
Color changes throughout the pattern are both functional and decorative. Using bright shades or earthy tones (as shown in the tutorial), you can achieve striking blocked sections or a more subtle ombré effect. The final edge is cleaned up with a simple row of single crochet around the cuffs, neckline, and bottom hemline for a polished look.
Video Tutorial
Required Materials
Here are the materials you will need to complete this pattern:
- Yarn
Weight 4 acrylic yarn:- Example: Red Heart Super Saver yarns or Mainstays acrylic yarn (from Walmart).
- You can use different colors for aesthetic color changes in rows.
- Crochet Hook
5.5 mm hook. - Additional Tools
- Scissors.
- Darning needle (also referred to as a tapestry needle).
- Optional: Stitch markers (to help mark critical points such as first stitches).

Step-by-Step Instructions
The sweater consists of two panels (front and back), which are stitched together. Sleeves are added later. Here’s a detailed breakdown:
1. First Panel
- Start with a Slip Knot & Foundation Chain
- Create a slip knot.
- Chain a foundation chain that stretches from one shoulder to the other. (Ensure your chain is an even number for the pattern to work!)
- Example: For a sweater width, chain 64.
- First Row: Double Crochet
- Yarn over and skip the first two chains.
- Insert into the third chain and create one double crochet (DC).
- Continue working double crochets in each chain across the row.
- Turn your work when you reach the end.
- Subsequent Rows
- a. Row Two:
- Chain three. Skip the first DC, go into the next stitch, and create a DC.
- Chain one, skip a stitch, DC in the next.
- Repeat this (DC, chain one, skip one) for the row.
- End with a DC in the last stitch.
- b. Row Three: Fill the Mesh
- Chain two (or three to start). Work a double crochet directly into the gaps from the previous row, and on top of each DC.
- a. Row Two:
- Color Changing (Optional)
- When switching colors:
- At the last yarn-over of your last stitch in a row, pull in the new yarn through.
- Tie off the previous yarn with a knot for security, and weave the loose ends as you continue crocheting.
- When switching colors:
- Continue Rows Until Length is Achieved
- Repeat the mesh pattern (Row 2) and full double crochet rows (Row 3) until your first panel reaches your desired length.
- Tie Off After Completion of First Panel
2. Second Panel
- Create the second panel by repeating Steps 1–5.
3. Stitching the Panels Together
- Positioning
- Lay both panels with the right sides facing inward (pan-caking each other).
- The visible backside of the stitches should face you as you stitch.
- Seaming the Sides
- Use single crochet, slip stitch, or a sewing method like the whip stitch with your darning needle.
- Seam the shoulders (leave space for the neck hole).
- Seam the sides but leave gaps for the armholes.
- Reversing
- Once seamed, turn the pattern inside out to reveal the right side.
4. Creating the Sleeves
- Attaching Yarn to Armhole
- Attach a slip knot where the seam ends at the armhole.
- Round Rows for Sleeves
- Work double crochets around the armhole. Keep stitches evenly spaced.
- Measure sleeve length as desired. Example stitch sequence:
- Row 1: Double crochet all around.
- Row 2: Mesh row (DC, chain 1, skip one).
- Row 3: Fill the mesh with DC in gaps and on DC from the previous row.
- Alternate Rows (2-3).
- Ending the Sleeve
- When you have the length you like, finish with single crochet rows for a neat look.
- Repeat on the Other Sleeve
5. Final Touches
- Weave in all the loose ends using a darning needle for a clean finish.
- Adjust/shape as needed.
Additional Notes
- Pattern Adjustments:
If you want to make the sweater longer or shorter, increase or decrease the number of rows/repeats in the body sections. - Alternative Joining Method:
If preferred, you can join panels with a mattress stitch or just slip stitching.
Troubleshooting and Suggestions
Common Issues and Fixes:
- Uneven Stitching on Panels: Ensure your chain row count is even to maintain symmetry on your panels; double-check tension consistency throughout rows.
- Difficult Color Changes: Tie a secure knot between yarn colors, and weave tail ends while working new rows for efficiency. If tails protrude, trim them as needed but avoid cutting too close to the knot.
- Messy Edges: Learn to identify where your first/last stitches go to avoid gaps or uneven sides during row transitions.
Creative Modifications:
- Color Blocking: Experiment with bold and unexpected combinations; pastel stripes give a coastal vibe, while earth tones offer a chic, autumn aesthetic.
- Customize Fit: Increase or decrease panel width for a looser or more fitted look, and play with sleeve length to achieve long or cropped styles.
- Optional Embellishments: Add appliqué flowers or embroidered details for texture. Consider a scalloped edge or picot stitch for decorative hems.


