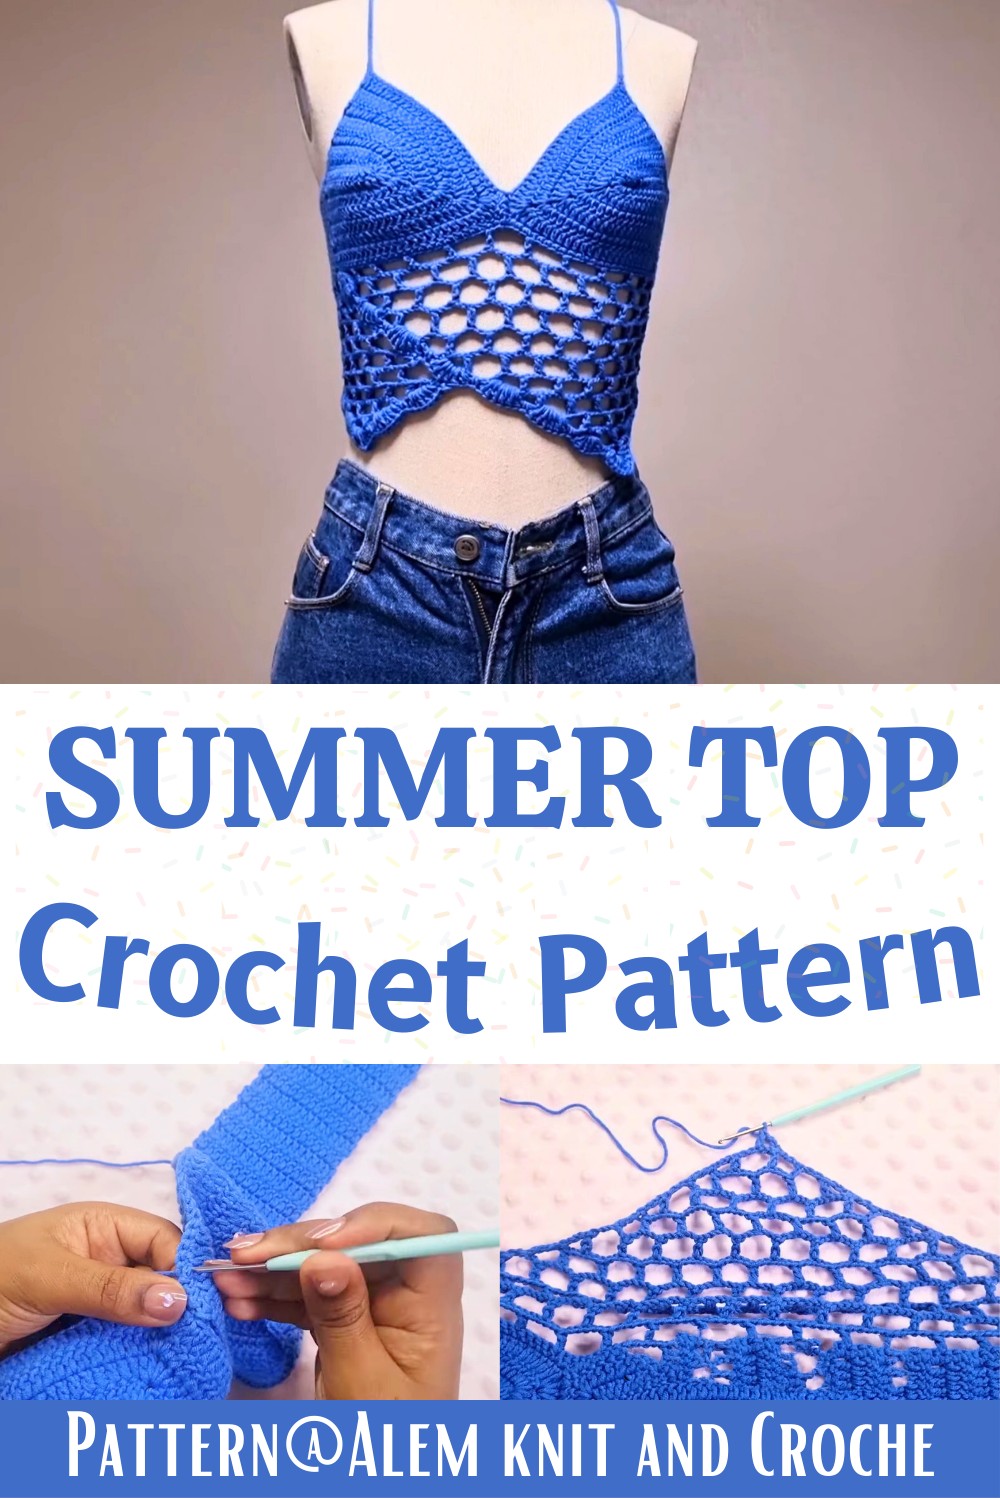
Stylish and Light Crochet Summer Top for Warm Days
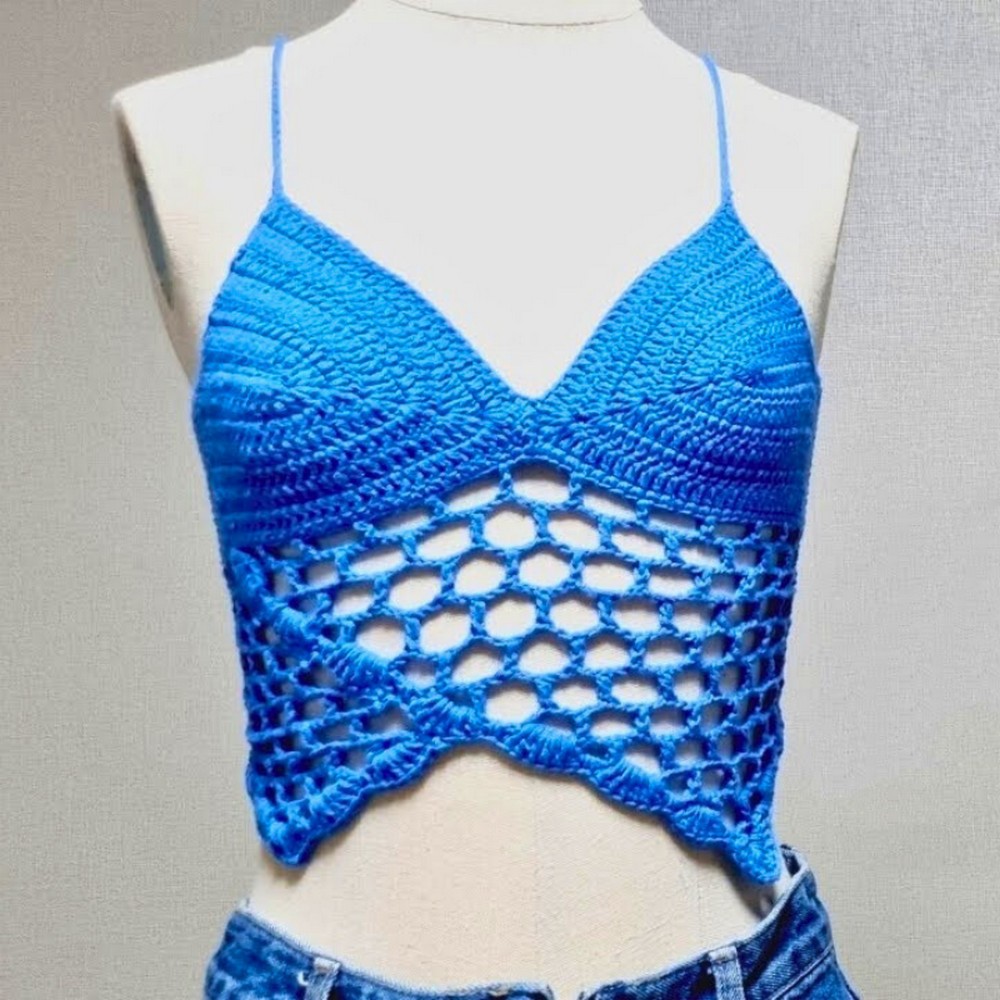
A crochet summer top transforms simple yarn into a lightweight piece with airy stitch patterns, textured surfaces, and carefully shaped sections. Designed around open spaces and flowing lines, it creates a handmade layer that adds character to casual outfits, holiday looks, or slow summer days.
The beauty of this crochet design appears in the way each stitch builds its shape. Revealing the small techniques that make the finished piece special.
Crochet Summer Top Pattern

This crochet top offers a satisfying making experience for beginners and skilled crocheters who enjoy detailed stitch work. Its open texture creates natural movement while allowing the crochet pattern to stand out. Wear it over a basic layer, pair it with denim, or style it as a statement handmade piece. With its structured shaping, visible stitch definition, and thoughtful construction, this summer top turns traditional crochet methods into a wearable seasonal design.
Credit Alem knit and Crochet
Materials & Tools Needed
- Yarn: Any yarn with 2 mm thickness (Lightweight, Sport, or Fine Weight cotton/cotton blend for breathability).
- Crochet Hook: 3.0 mm.
- Notions:
- Tapestry needle (for weaving in ends).
- Scissors.
- Optional stitch markers (to mark the center expansion space).
Finished Size & Customization Ideas
- Sizing Gauge:
- Small (S): 15 chains
- Medium (M): 16 chains
- Large (L): 17 chains
- Extra Large (XL): 18 chains
The sizing is dictated by your starting chain sequence.
- Customization:
- Construct the top modularly (top-down) by alternating Row 2 and Row 3 sequence repeats.
- Extend the length to fit your desired body measurements.
Pattern Abbreviations & Terminology
- CH: Chain
- ST(s): Stitch(es)
- SC: Single Crochet
- DC: Double Crochet
- INC: Increase (work two stitches into the same stitch)
Step-by-Step Crochet Instructions
Part 1: The Foundation & Row 1 (The Base Cup)
- Create a slip knot and chain 15 (16, 17, 18) depending on your size.
- CH 2 (counts as your turning chain).
- Work 1 DC into each CH along the foundation line until the last chain.
- In the final chain stitch, create a corner expansion:
(2 DC, CH 1, 2 DC) in the same loop. - Pivot to the opposite side of your foundation chain and work 1 DC in every CH stitch to the end.
- Total Stitch Count for Row 1: 32 (34, 36, 38).
Part 2: Row 2 (The Double Crochet Expansion)
- CH 2 and turn your work.
- Work 1 DC across the row until you reach the central CH-1 space created in Row 1.
- At the center CH space, create an expansion:
(1 DC, CH 1, 1 DC) in the space. - Continue working 1 DC in each stitch across the opposite side.
- Total Stitch Count for Row 2: 34 (36, 38, 40).
Part 3: Row 3 (The Single Crochet Expansion)
- CH 1 and turn your work.
- Work 1 SC across the row until the 2 middle stitches at the center.
- In the middle stitches, work an INC:
- 2 SC into each of the middle stitches.
- Continue 1 SC in every remaining stitch across the opposite side.
Assembly & Finishing Techniques
Pattern Repeats
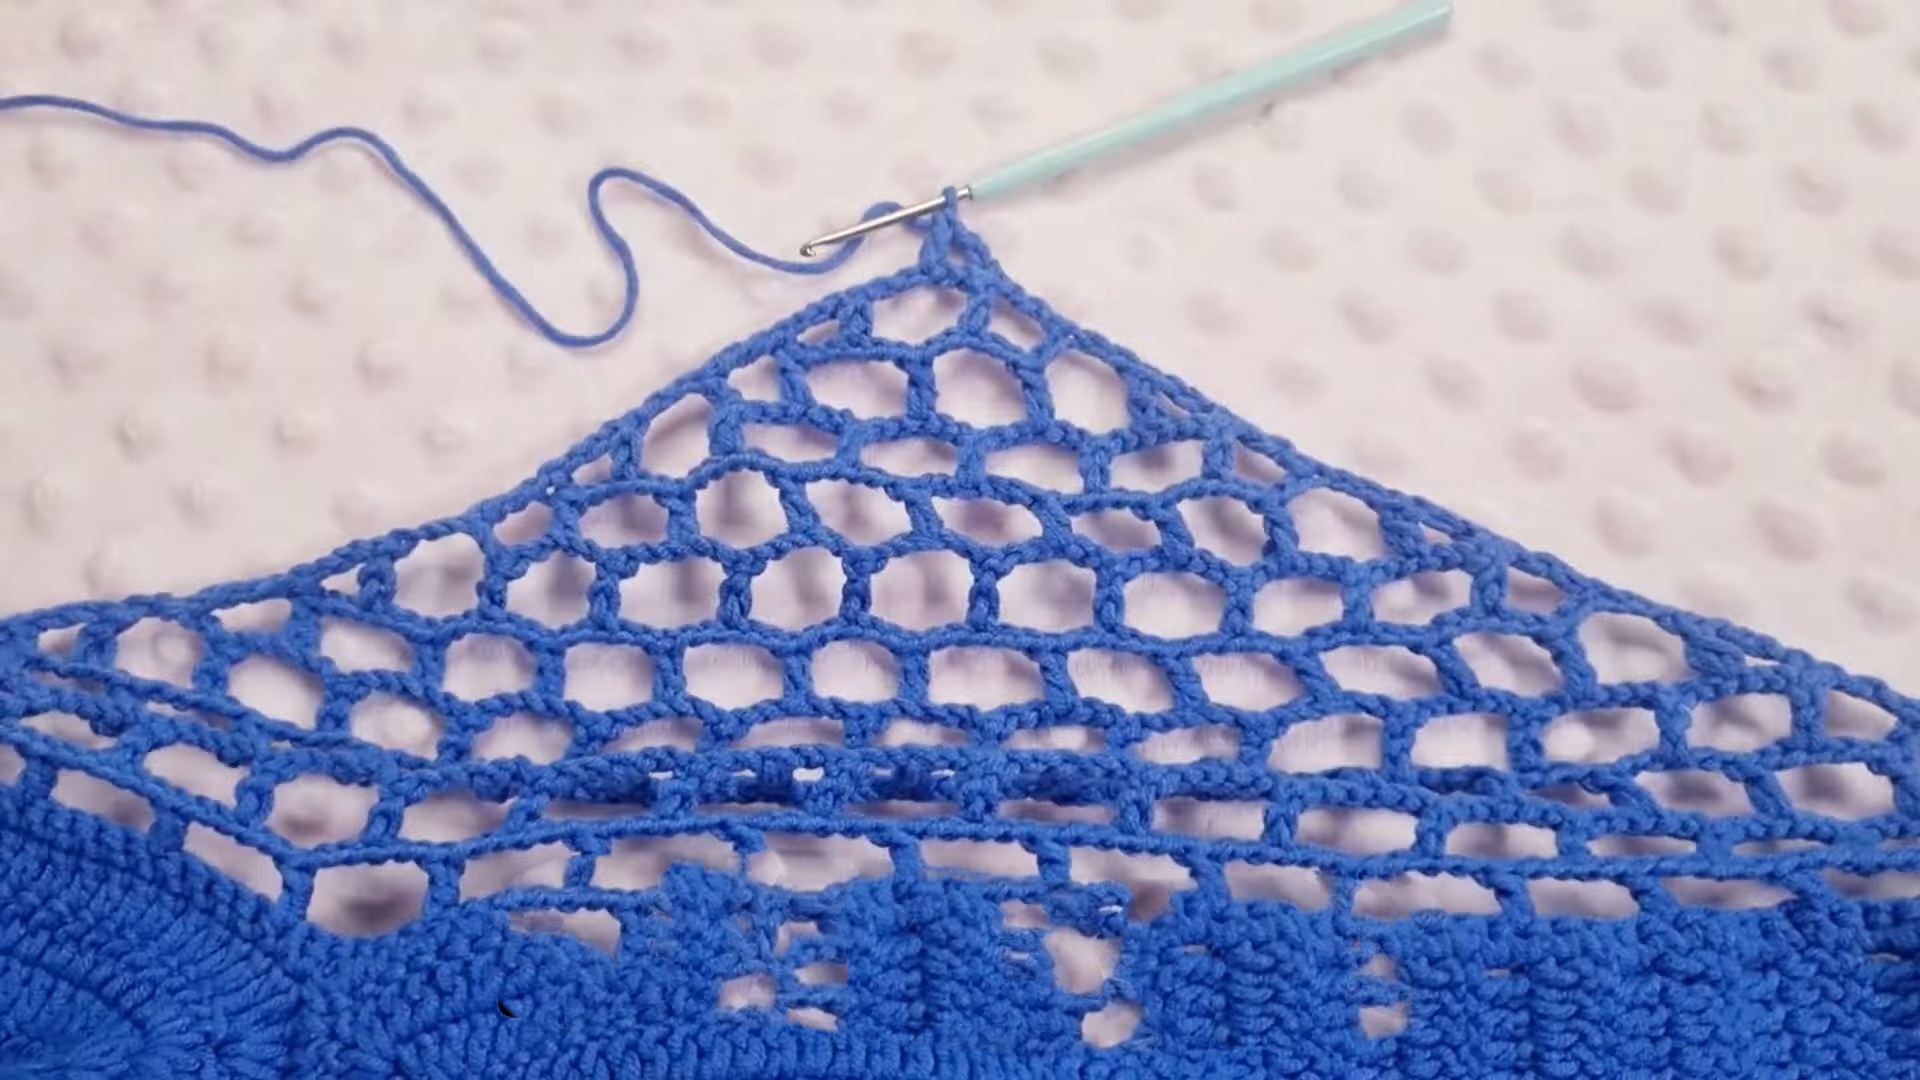
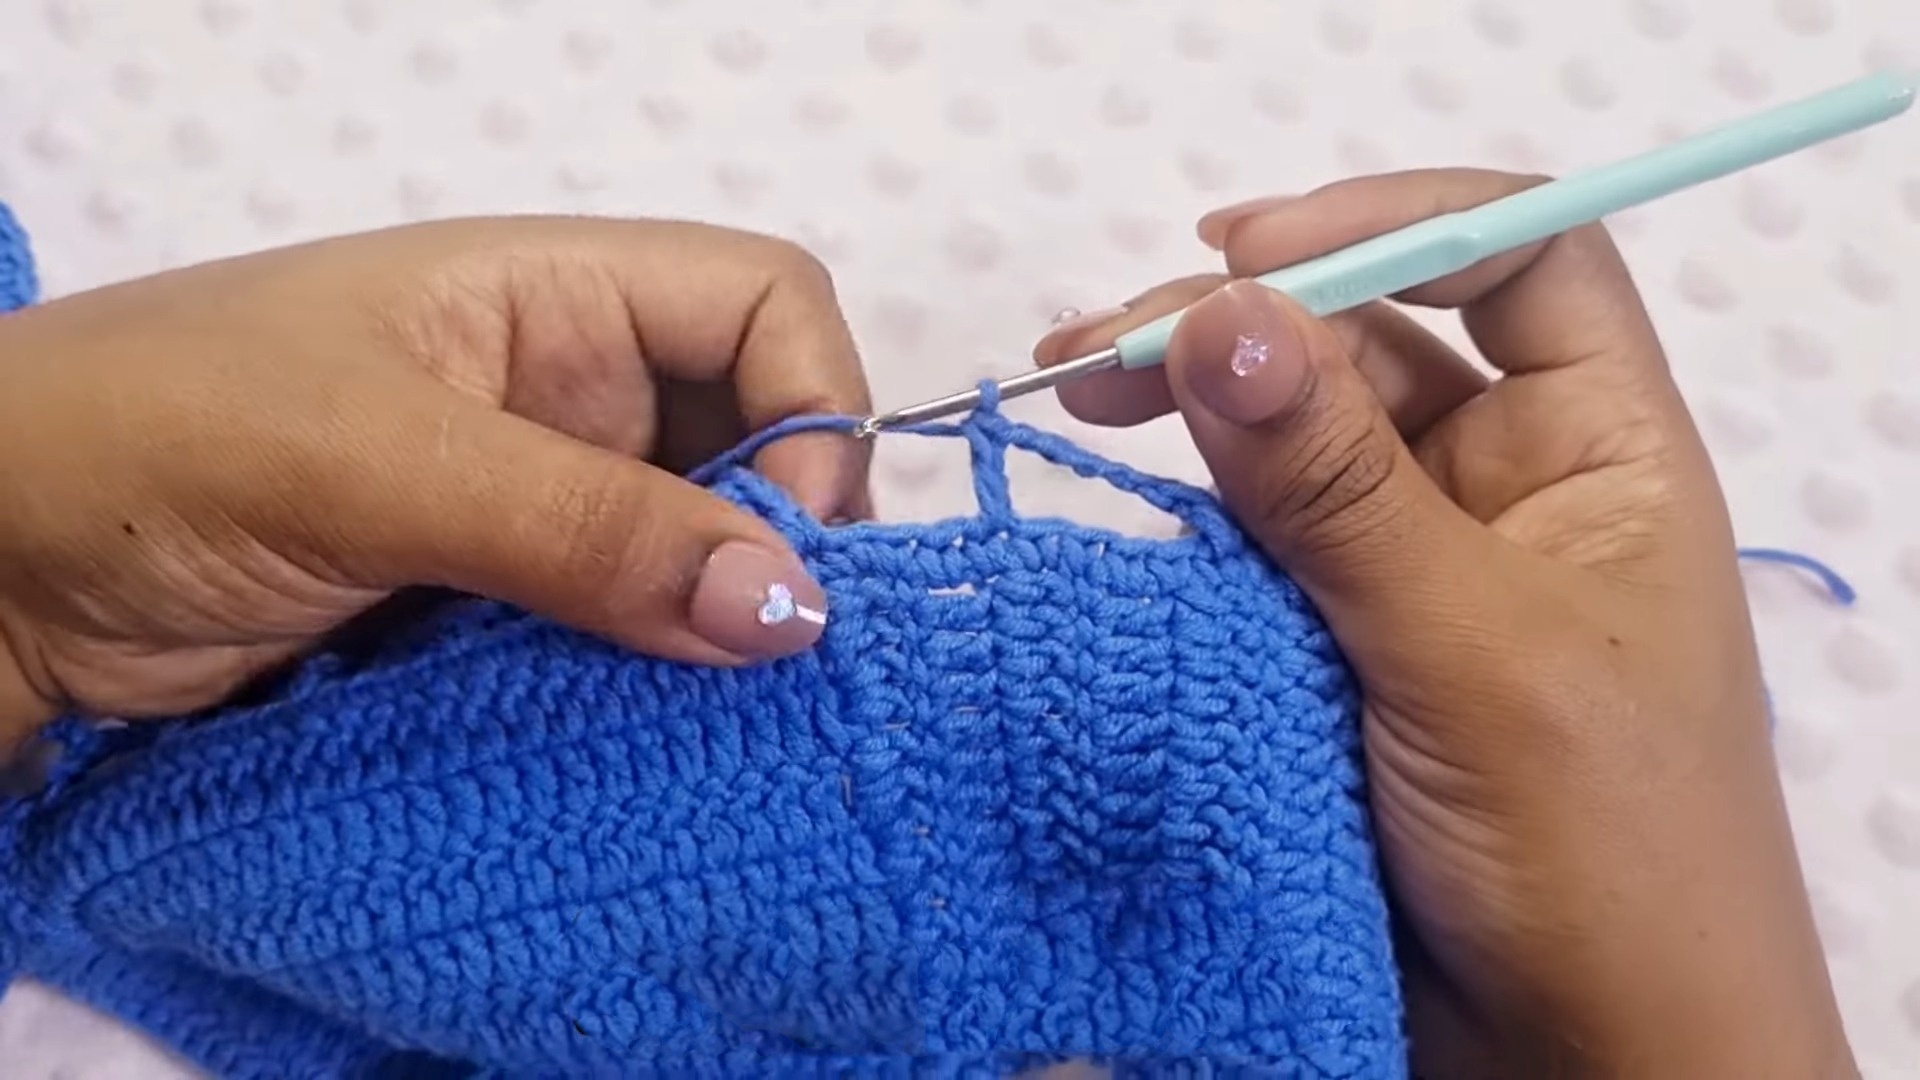
- Repeat Row 2 and Row 3 to expand the bodice panels until your desired size/coverage is achieved.
Joining Methods
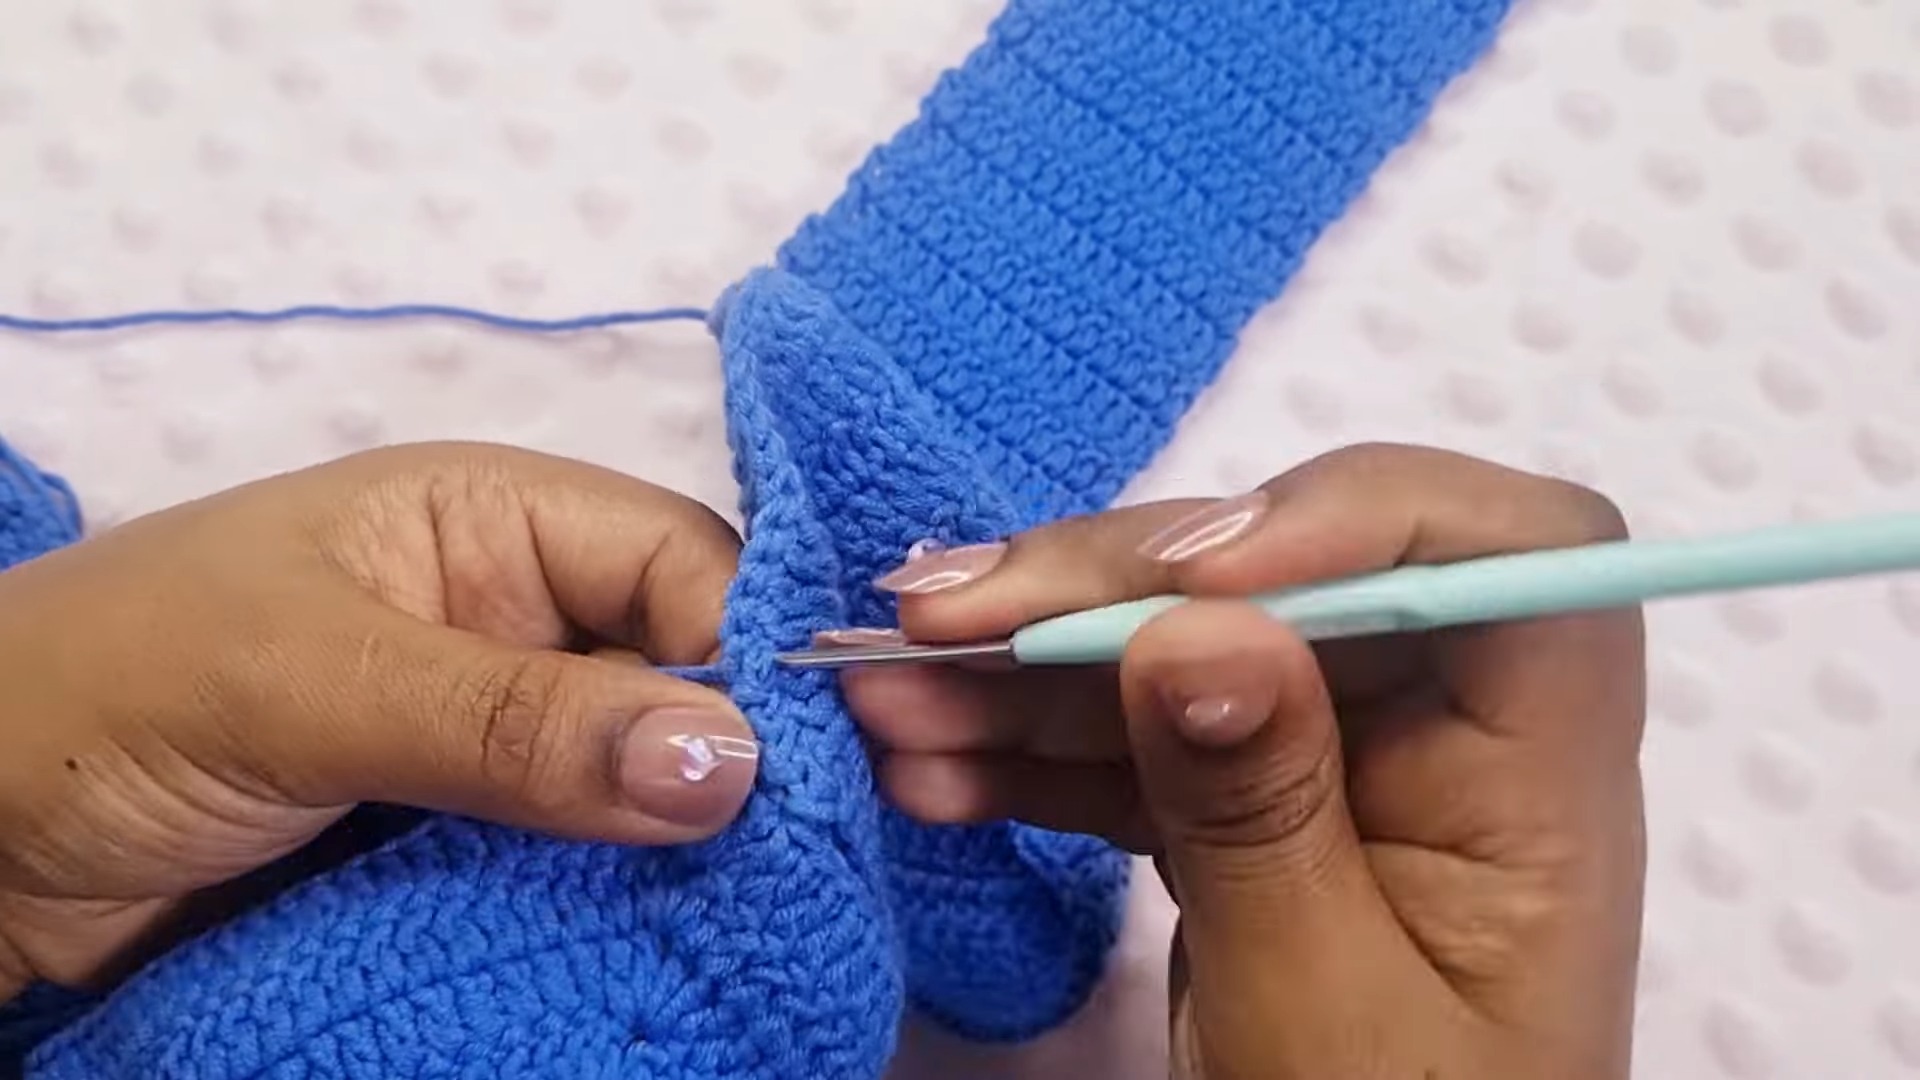
- Align completed cups/panels side-by-side.
- Seam the center edges together using:
- Slip-stitch join (from the inside/wrong side).
- Whip-stitch using a tapestry needle.
Color Changes
- For stripes or color-blocking:
- Transition colors during the final pull-through of the last SC/DC stitch before chaining and turning.
Finishing & Straps
- Attach yarn to the top peaks of the front panels.
- CH to your desired strap length.
- Slip stitch to secure straps to the back/side edges.
- Knot loose ends and weave in the remaining yarn tails using a tapestry needle.