No-Sew Crochet Top Pattern with 2 Rectangles
A lightweight mesh crochet top can be shaped from two matching rectangles, with adjustable straps and side ties that make the fit easy to personalize.
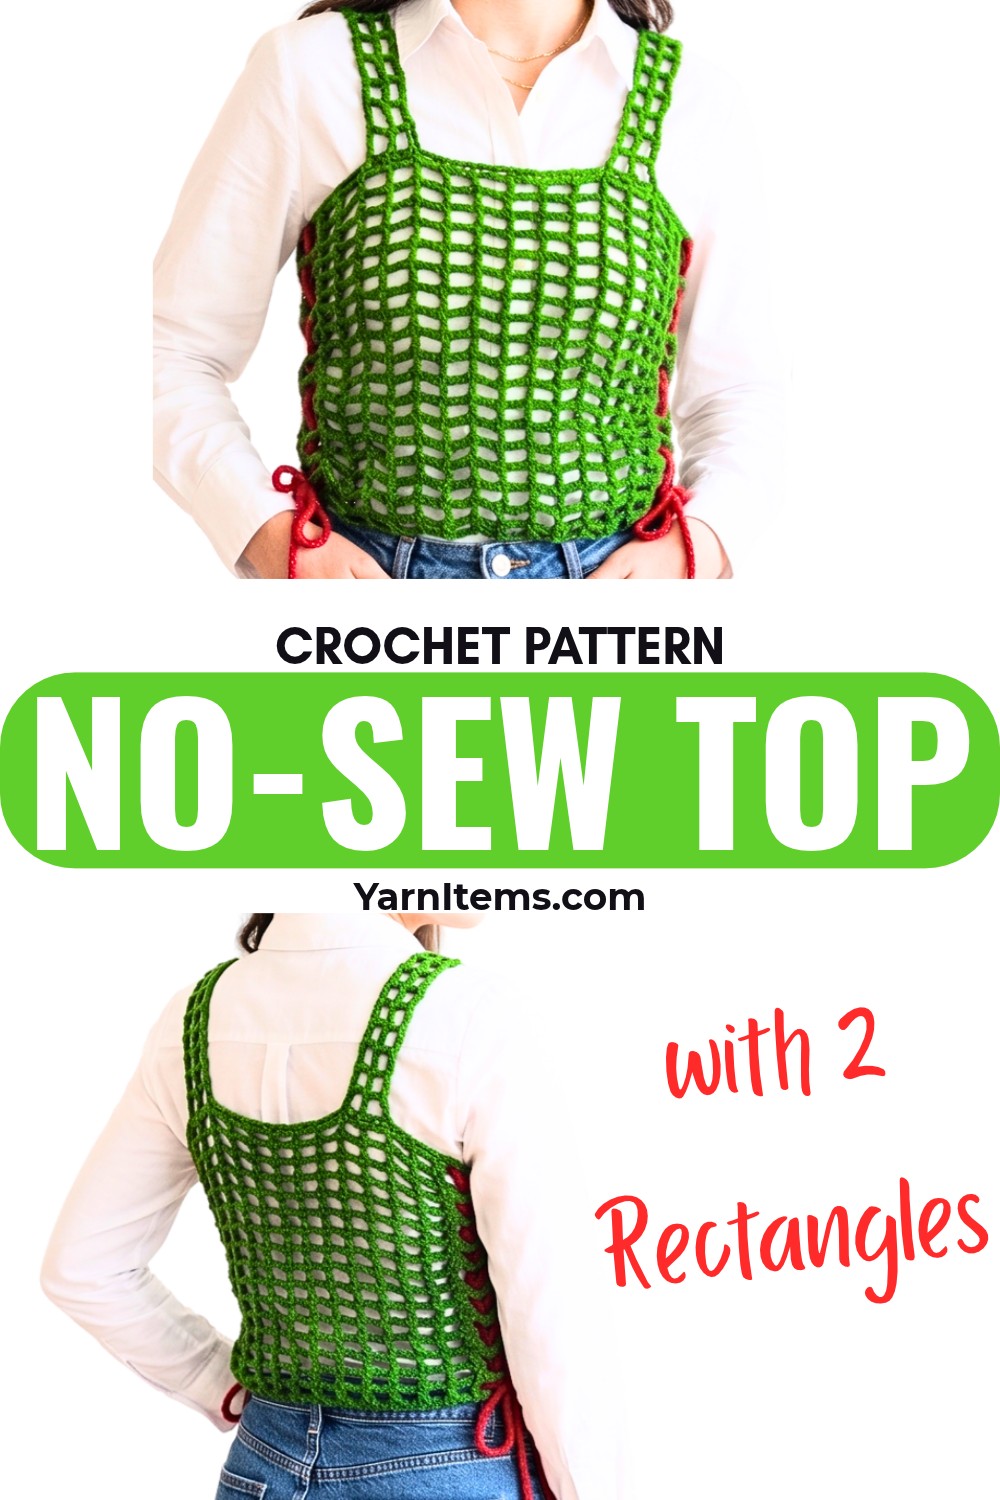
Two simple mesh rectangles are enough to create this lightweight crochet top, making the pattern especially useful when you want to work from measurements rather than a fixed clothing size. Each rectangle is built with the same repeating treble-crochet mesh, so the main focus stays on getting the width and length right.
The measurements become important before you begin the foundation chain. The width of each rectangle determines how the top will sit around the body, while the straps control how the two panels meet at the shoulders. Checking those measurements as you work can prevent a crochet top that is too narrow, too long, or unevenly balanced.
Credit Crochet & knitting
Materials & Tools Needed
- Lightweight yarn as demonstrated in the tutorial
- Crochet hook appropriate for your chosen yarn
- Measuring tape for checking body measurements and panel dimensions
- Scissors
- Tapestry needle for weaving in yarn ends
For the best result, choose a yarn that creates a light, open mesh rather than a dense fabric.
Finished Size & Customization Ideas
This top is made to measure rather than following a fixed size chart.
To customize the fit:
- Adjust the foundation chain to change the width of each rectangle.
- Add or remove rows to change the length of the panels.
- Adjust the strap length to suit your shoulder placement.
- Change the length of the side ties to create a looser or more fitted look.
The tutorial uses Ch 51 as an example for the foundation chain. The finished width of each rectangle corresponds to approximately half of the measurement around the torso.
Pattern Abbreviations & Terminology
US crochet terminology is used throughout.
- Ch – Chain
- Sl st – Slip Stitch
- Tr – Treble Crochet
- YO – Yarn Over
- St(s) – Stitch(es)
Crochet the Two Mesh Rectangles
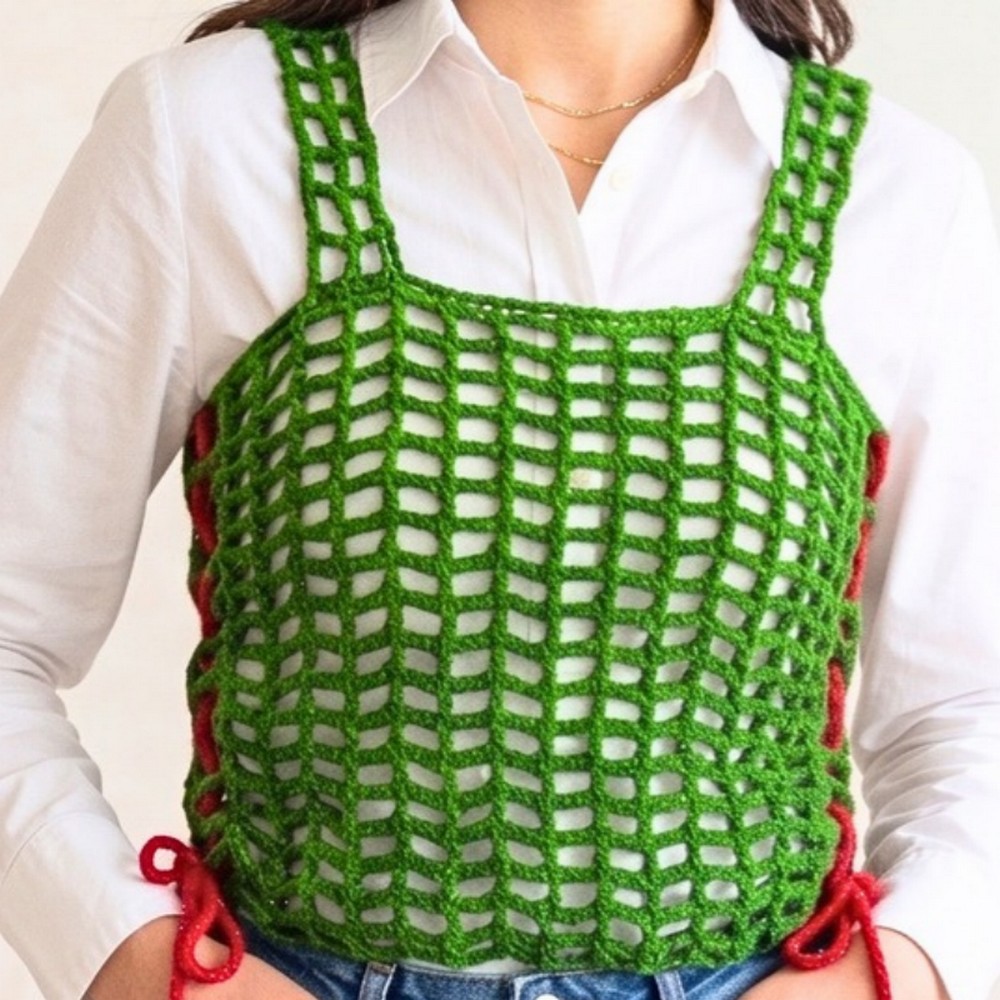
You will make two matching rectangles for the front and back of the top.
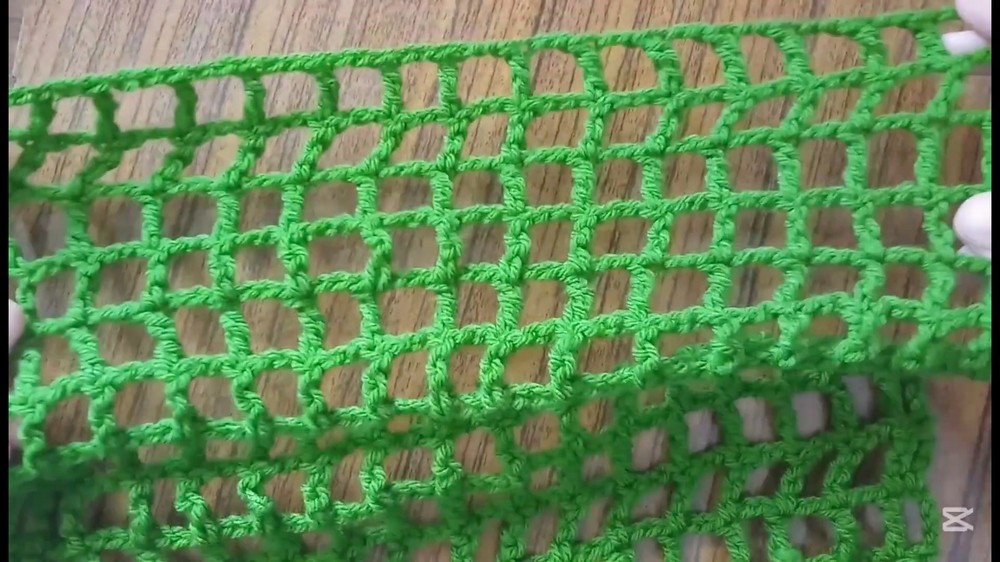
The mesh is created with treble crochets separated by chain spaces. Once the first row establishes the spacing, the following rows repeat the same basic rhythm.
Foundation Chain
Make a slip knot.
Foundation Chain: Ch a multiple of 3 plus 6. The tutorial example uses Ch 51.
Measure the chain against your desired panel width before beginning the first row.
Row 1: Work 1 Tr into the 15th chain from the hook. Ch 2, skip the next 2 chains, and work 1 Tr into the next chain. Repeat Ch 2, skip 2 chains, Tr in the next chain across the row, ending with 1 Tr in the last chain.
The treble crochet stitches create the vertical framework, while the chain-2 spaces form the open mesh.
Row 2: Ch 5, which counts as the first Tr and Ch 2. Work 1 Tr into the second stitch of the previous row, skipping the first Tr below. Ch 2, then work 1 Tr into the top of the next Tr from the previous row. Continue working Tr stitches into the tops of the previous-row Tr stitches with Ch 2 between them to the end of the row.
Repeat the Mesh
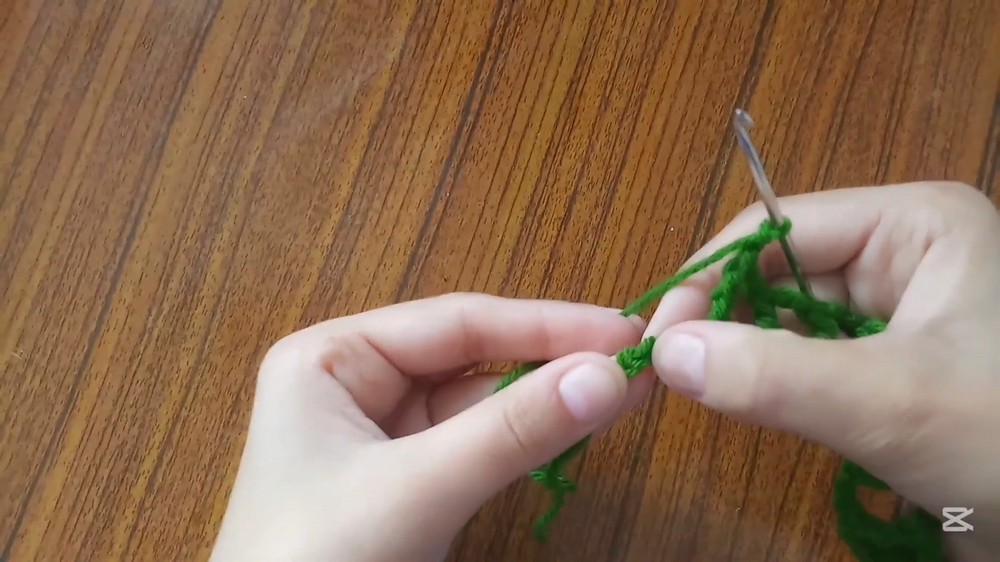
Row 3 and onward: Repeat the Row 2 mesh pattern until the rectangle reaches your desired length. The tutorial example uses 16 rows.
Make the second rectangle using the same foundation-chain length and number of rows as the first so the two panels match.
Fit Check
Before moving on to the straps, measure the completed rectangle against your body.
The width of one panel should correspond to roughly half of your intended torso measurement. If the panel is already too narrow or too wide, it is much easier to adjust the foundation chain or row count before adding the straps and joining the pieces.
Make the Shoulder Straps
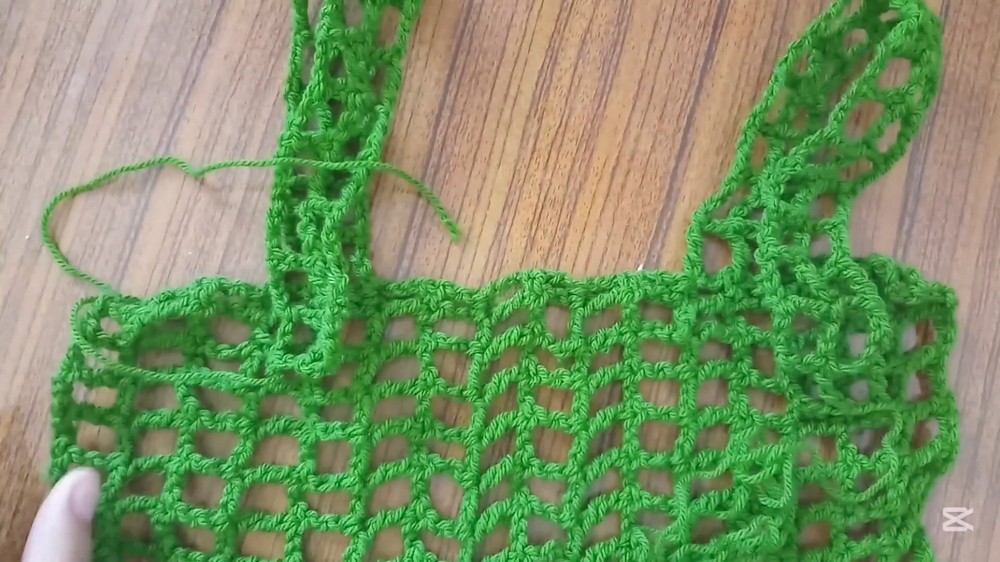
The shoulder straps are worked onto one rectangle only.
Begin from the 4th stitch onward on the rectangle.
Strap Row 1: Ch 7, then work 1 Tr into the first open mesh space. Continue with Ch 2, Tr across the intended strap area.
Following Strap Rows: Continue the same mesh pattern for approximately 16 rows, or adjust the number of rows to achieve your desired strap length.
Repeat the same process to create the second shoulder strap.
Keep the two straps positioned evenly so they line up with the corresponding areas of the second rectangle.
Adjust the Strap Length
The straps can be lengthened or shortened according to your shoulder position.
If the top needs to sit higher, use fewer rows. If you need more room between the neckline and shoulder, add rows before joining the panels.
Join the Two Panels
Place the rectangle with the completed straps over the second rectangle.
Align the corresponding strap positions carefully.
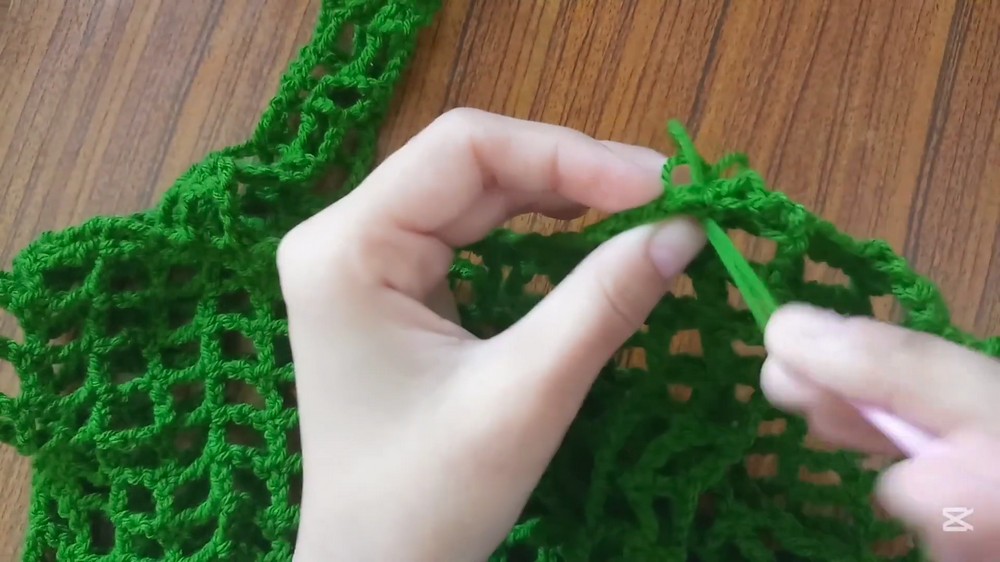
Shoulder Joining: Attach each strap from the first rectangle to the matching position on the second rectangle using slip stitches or by sewing with a tapestry needle.
Check both sides before securing the final joins so the straps remain evenly positioned.
Add the Side Ties
The side ties allow the fit to be adjusted after the two panels are positioned together.
Attach yarn at the side of the panels.
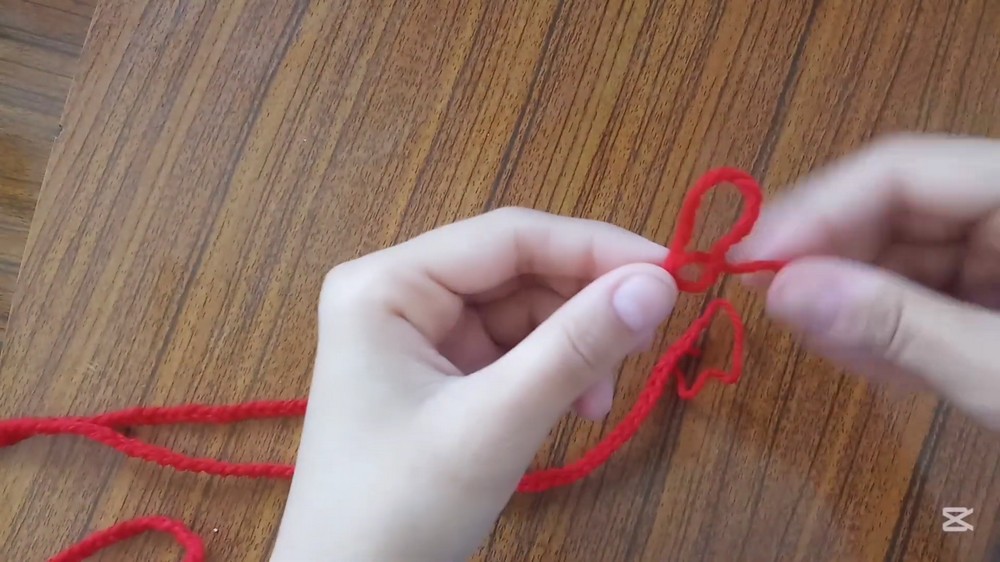
Side Tie: Ch a long tie of approximately 80 cm, or adjust the length according to your preferred fit.
Repeat this at all four corners of the two rectangles so you have top and bottom ties on both sides.
The ties can then be fastened to control how closely the panels sit against the body.
Weave in the Ends
Use a tapestry needle to weave in all remaining loose yarn tails.
Work the needle through the surrounding stitches on the wrong side of the top, then trim the excess yarn once it is securely hidden.
Optional Blocking
Blocking can help the mesh settle into a more even shape.
If your yarn allows it, lightly steam-block or wet-block the finished top according to the fiber’s care requirements. Allow it to dry completely in the desired dimensions before wearing.
A Simple Made-to-Measure Mesh Top
With two matching rectangles, adjustable straps, and four side ties, this top can be adapted without relying on a fixed size chart. The repeating mesh keeps the main fabric straightforward, while the measurements give you control over the final fit.
The most important checks happen before the panels are joined: confirm the rectangle width, compare the length with your desired fit, and make sure the straps are positioned evenly. Those simple checks make the final top much easier to adjust.