Crochet Lemon Granny Square – Simple Pattern with Lemon Center
This adorable lemon granny square combines cheerful citrus vibes with the classic appeal of granny square designs, making it a perfect addition to summer-themed patterns.

The Crochet Lemon Granny Square is a cute and cheerful pattern that combines the charm of a granny square with the fun look of a sliced lemon. Its bright, sunny design is perfect for adding a pop of color to your home. Whether used as a centerpiece for a table, part of a blanket, or a unique coaster, this square is sure to brighten anyone’s day.
Easy Crochet Lemon Granny Square Pattern
This Crochet Granny Square pattern is simple yet stylish, making it a great option for beginners who want to make something creative without feeling overwhelmed. The steps include creating a circular lemon center, complete with “segments,” and then turning it into a neat square with white yarn. You can even add a special border or use your favorite colors to make it your own. Best of all, this granny square design is not just fun to make but also practical, as you can use it for decor or handy household items.
Credit Aster Crochet
Key Features and Construction Summary
- Materials Used: Big Twist Varsity Yellow and Red Heart Super Saver White yarn, a 4mm crochet hook, and basic tools like scissors and a darning needle.
- Technique Highlights: Worked in the round to create a center lemon design, followed by transitioning to a square base.
- Stitch Focus: Single crochets and double crochets are used throughout, with strategic increases and corner chains to form the shape.
- Segment Details: Decorative “lemon segments” are sewn onto the center circle for a realistic lemon slice effect.
- Optional Border: A simple yellow single crochet border adds a pop of color to frame the design.
The pattern begins by crocheting a circular base in white yarn. A slip knot leads into a chain ring foundation, creating a compact starting point. The first two rounds of single crochet stitches build up the tiny circle, while simple increases expand its diameter evenly.

Next, switch to the cheery yellow yarn to crochet the vibrant lemon center. Several rounds of single crochets follow, where the stitch pattern alternates between increases and evenly spaced stitches to keep the shape balanced. As the rounds progress, the lemon slice gradually takes form, increasing its size for visibility and charm.
After completing the circle, it’s time to transition to the granny square base using white yarn. The background is formed with double crochets and corner chains, framing the lemon center and transforming the piece into the classic square shape. Strategic stitch placement ensures clean edges and defined corners. To give the final piece a polished look, the pattern recommends adding an optional yellow border of single crochet stitches.

The pièce de résistance is the lemon segment embellishments. Using scrap white yarn and a darning needle, straight stitches radiating outward from the center divide the lemon circle into distinct “segments.” This finishing detail adds depth and realism, making the motif pop beautifully against the square’s simple backdrop.

Video Tutorial
Materials & Tools Needed
- Yarn:
- Big Twist Yarn in the color Varsity Yellow (or any yellow of your choice).
- Red Heart Super Saver in the color White (or equivalent white yarn).
- Hook: 4 mm crochet hook.
- Other Tools: Scissors, darning needle.
Finished Size & Customization Ideas
- Size: The exact finished size will depend on your tension, chosen yarn, and hook size. Typically, this square makes a standard 5–6 inch granny square.
- Customization Ideas:
- Use different yarn weights for smaller or larger squares.
- Add more rounds for a larger square.
- Experiment with different borders or use additional colors to make the lemon pop.
Pattern Abbreviations & Terminology
(Note: This uses US terminology.)
- ch: Chain
- sc: Single Crochet
- dc: Double Crochet
- st: Stitch
- sl st: Slip Stitch
- inc: Increase (2 stitches in the same stitch)
Step-by-Step Detailed Instructions
Round 1: Starting the Lemon Center
- With white yarn, make a slip knot and chain 4.
- Form a ring by slip stitching into the first chain.
- Chain 1. Work 6 scs into the center of the ring.
- Complete the round by slip stitching into the first sc.
- (Optional) To change the yarn, cut the white, chain 1, and pull through tightly.
Round 2: Expanding the Circle
- Attach yellow yarn using a slip knot. Insert the hook into any sc from the previous round, place the loop of yellow yarn on the hook, and pull through.
- Chain 1 to secure the yellow yarn.
- Into each stitch from the previous round, work 2 sc (12 sc total in this round).
- Finish the round with a slip stitch into the first sc.
Round 3: Alternating Stitches
- Chain 1 in the same stitch as the slip stitch.
- Work 2 sc (increase) into the first stitch, then 1 sc into the next stitch. Repeat around in a 1 inc, 1 sc pattern (18 total stitches).
- End the round with a slip stitch into the first sc.
- Cut off the yellow yarn and pull tight.
Round 4: Gradual Increase
- Attach white yarn in any stitch as before. Chain 1 to secure.
- Begin with 2 sc (increase) in the same stitch, then work 1 sc into the next two stitches. Repeat the pattern 1 inc, 1 sc, 1 sc (24 stitches total).
- End the round with a slip stitch into the first sc. Cut off the white yarn.
Round 5: Last Round of the Lemon Circle
- Attach yellow yarn, chain 1.
- Work an increase (2 sc) in the first stitch, then 1 sc in the next three stitches. Repeat the pattern 1 inc, 1 sc, 1 sc, 1 sc (30 stitches total).
- Once the round is complete, slip stitch to the first sc. Finish off the lemon by cutting the yellow yarn.
Squaring the Lemon
Round 6: Adding the White Background
- Attach white yarn. Start with a slip knot and attach it to any stitch at the edge of the lemon circle.
- Chain 1 to secure and begin forming the first corner:
- 1 dc into the same stitch, chain 2, 1 dc into the next stitch.
- Work 6 sc, one in each of the next 6 stitches.
- Form the second corner:
- 1 dc, chain 2, 1 dc into the next stitch.
- Continue with 6 sc.
- Repeat the corner and single crochet pattern until the square takes shape.
- Close the round by slip stitching into the first dc.
Round 7: Square Shaping with Double Crochet
- Start with ch 2 (counts as the first dc).
- Into each stitch along the straight edges, work 1 dc in each stitch.
- When reaching a corner (at the chain 2 spaces), work:
- 1 dc, chain 2, 1 dc into the chain 2 space.
- Continue working double crochets along the edges and forming corners at chain 2 spaces.
- Slip stitch to the first dc. Chain 1, cut the yarn, and pull tightly to secure.
(Optional) Round 8: Add a Decorative Border
- Use yellow yarn or another accent color for the border.
- Work a round of single crochets across all edges. For the corners, work 1 sc, chain 2, 1 sc in the chain 2 space.
Final Touch: Lemon Segments Detailing
- Using leftover white yarn and a darning needle, create the lemon segments:
- Insert the needle from the back of the square and bring it through the center of the lemon.
- Pull the thread up to the outer edge of the yellow circle and back to the center.
- Repeat this, creating 6–8 evenly spaced “slices.”
- Knot the thread securely at the back and cut off any excess.
Finishing Techniques
- Weave in all the loose ends with a darning needle.
- If needed, block the square to flatten and set the shape.
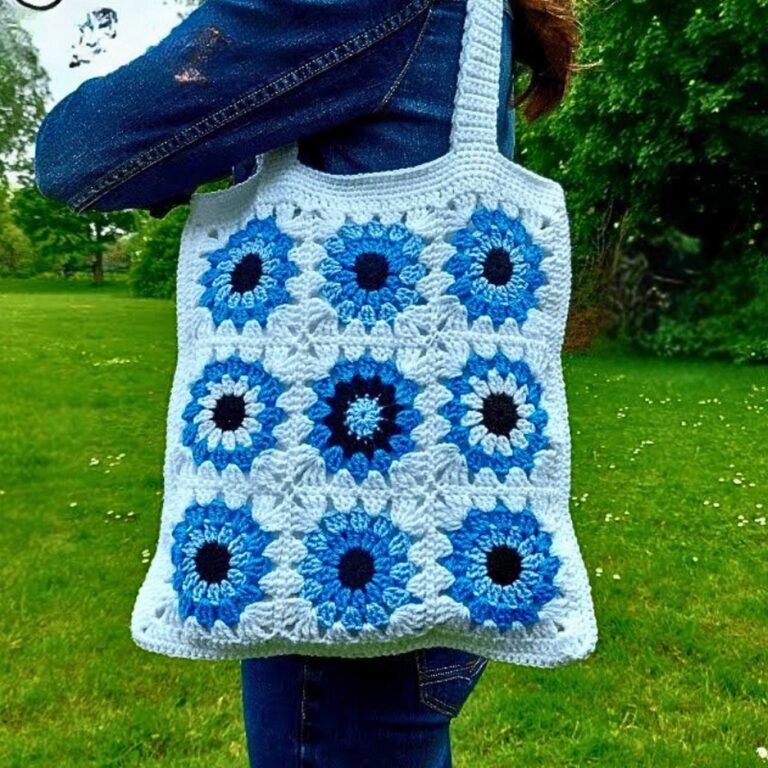
- Pair multiple lemon granny squares together for larger patterns like blankets, table runners, or bags.

Troubleshooting and Suggestions
Common Issues:
- Color Changes: Switching between white and yellow yarn frequently can create extra ends to weave in. To reduce this, crocheting over the unused thread or knotting the ends tightly can help.
- Clean Edges: For consistent edges, ensure your slip stitches align properly at the end of each round. Count stitches frequently to avoid missing increases or misaligning corners.
- Segment Symmetry: When adding the lemon segments, try using stitch markers at each division before sewing them down for evenly spaced lines.
Creative Modifications:
- Alternative Colors: Switch the yellow to orange or pink for a grapefruit or lime-inspired square.
- Embellishments: Add small decorative beads on the lemon center for a playful twist.
- Versatile Uses: Combine multiple lemon squares into a fruity blanket, table runner, or even a tote bag!