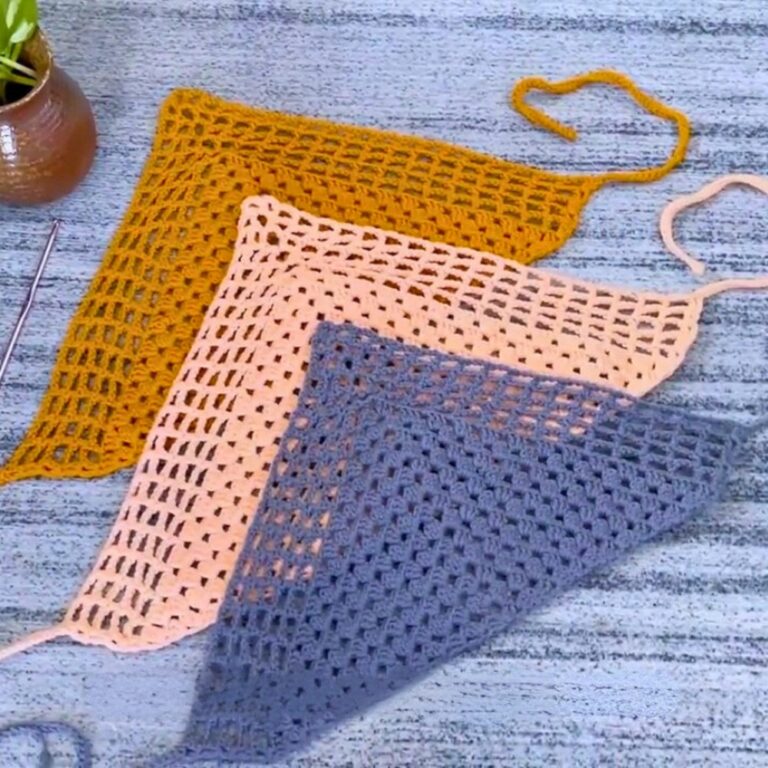
Crochet Mini Scarf Pattern with Front-Loop Slip Stitch
Want a knit-inspired scarf from crochet? Front-loop slip stitches create the distinctive ridged texture, while blocking helps reveal its final length and drape.
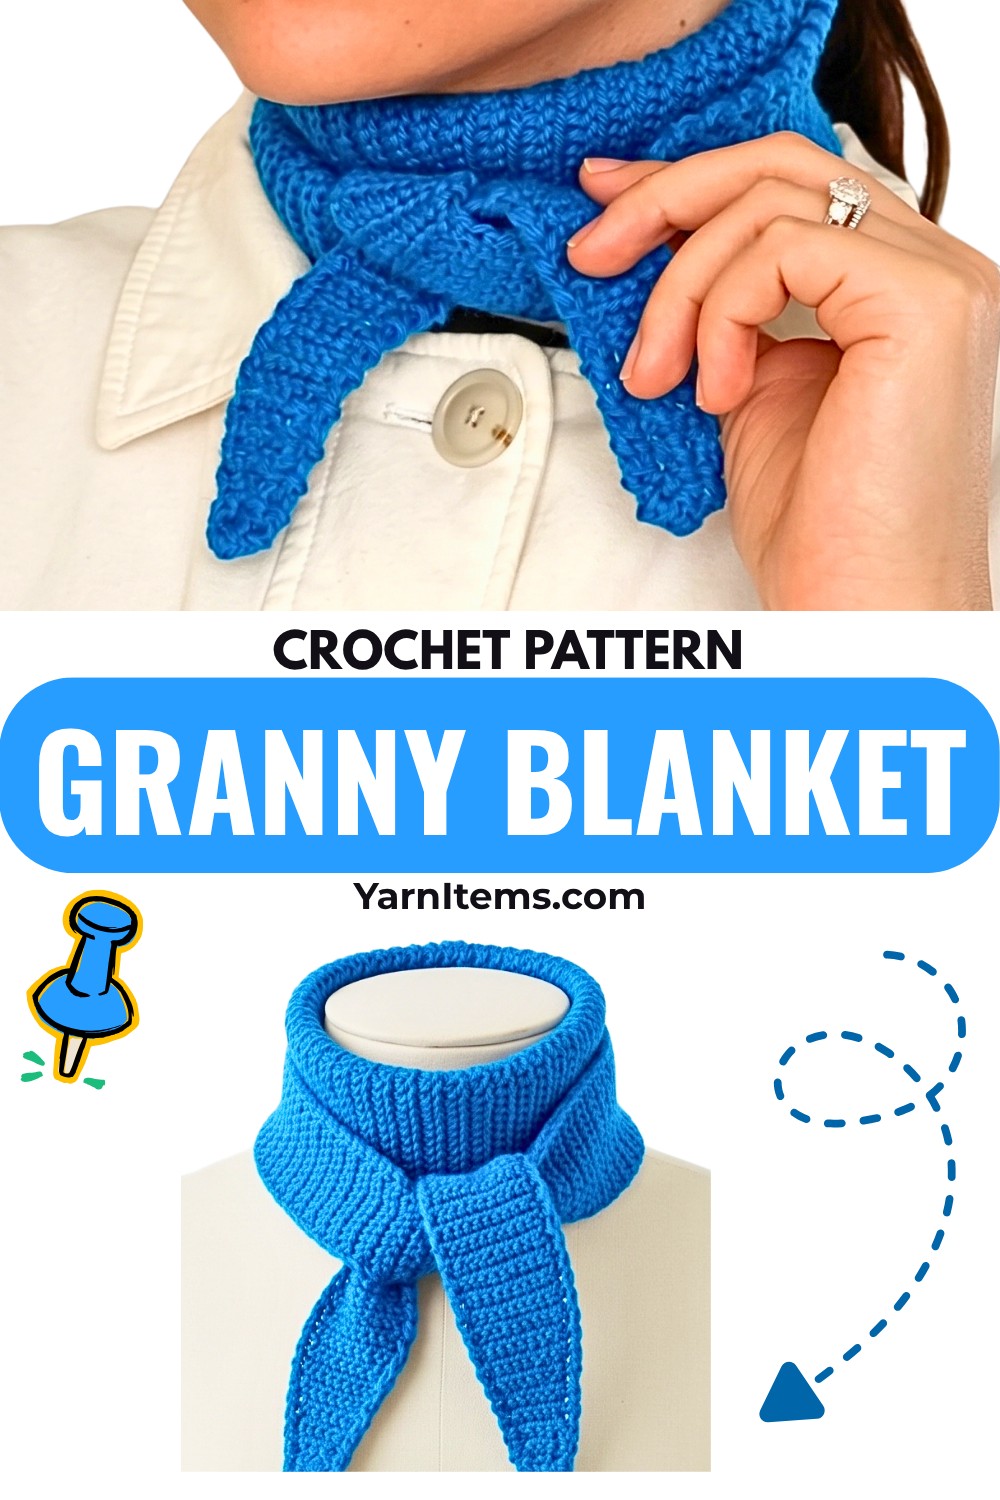
Viral designer-inspired scarves have a way of making a simple outfit look instantly more put together, and this crochet version captures that compact, modern shape with a soft, knit-like texture. Front-loop slip stitches give the scarf gentle stretch and drape, while the gradual shaping creates its distinctive narrow-to-wide-to-narrow silhouette.
Working through the crochet pattern means following a simple five-row rhythm, with increases shaping one end, a straight center giving you room to adjust the length, and matching decreases tapering the other side. You’ll also see exactly how to handle the front-loop stitch, keep the shaping centered, finish the border, and block the crochet scarf so its drape and final proportions settle into place.
Credit eliznuts
The Stitch and Shape
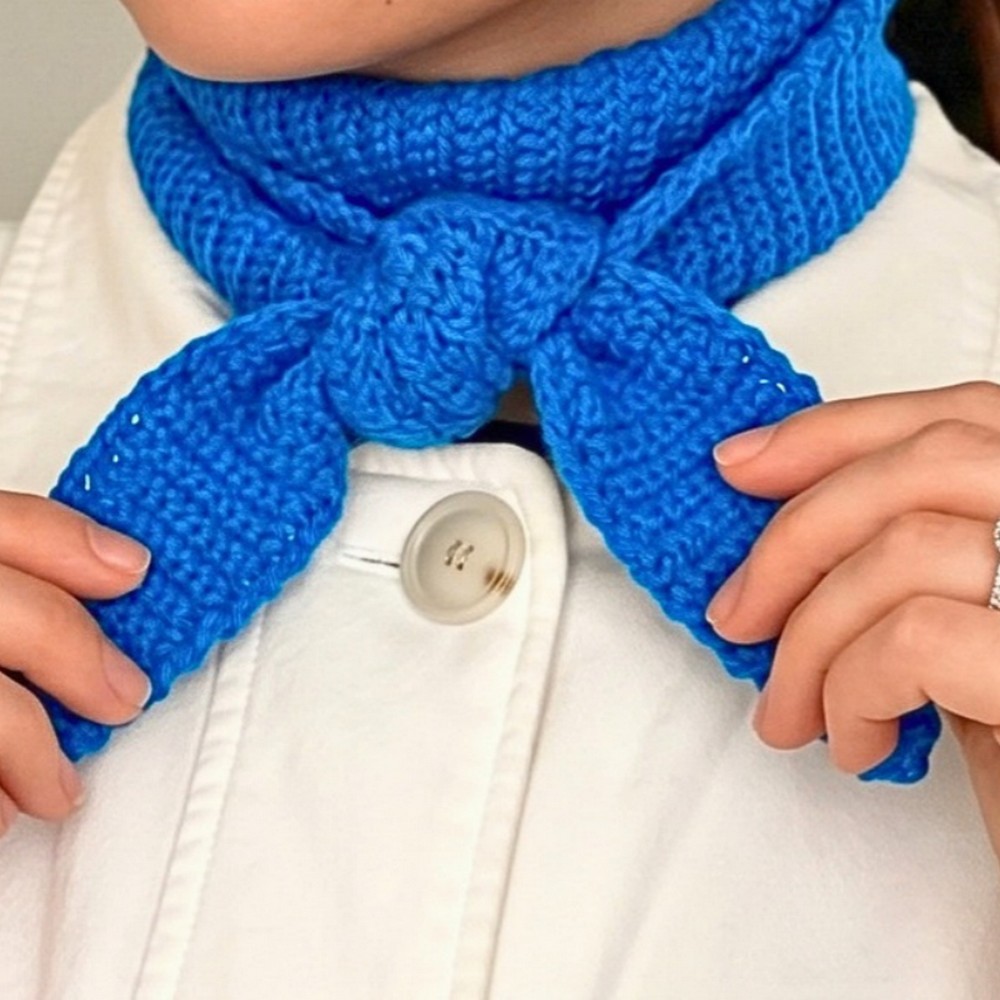
This scarf uses front-loop slip stitch worked in rows. The stitch is simple, but its placement matters: each regular row is worked into the front loop of the stitch below, creating the stretchy, ridged fabric that gives the scarf its knit-like appearance.
The shaping follows a predictable five-row rhythm. One increase row is followed by four regular rows; later, the decrease section reverses that rhythm with four regular rows followed by one decrease row. Keeping track of this rhythm is more important than trying to judge the width by eye.
For the sample proportions, the scarf grows from 2 stitches to 18 stitches, stays at that width through the center, and then returns to 2 stitches. You can adjust the straight center for your preferred length, while the wider section can be stopped at a different stitch count if you want a different neck width.
Gather the Yarn and Tools
- About 50g of DK or light worsted weight yarn
- 4.5 mm crochet hook
- Yarn needle
- Measuring tape
- Optional wool wash or gentle detergent for blocking
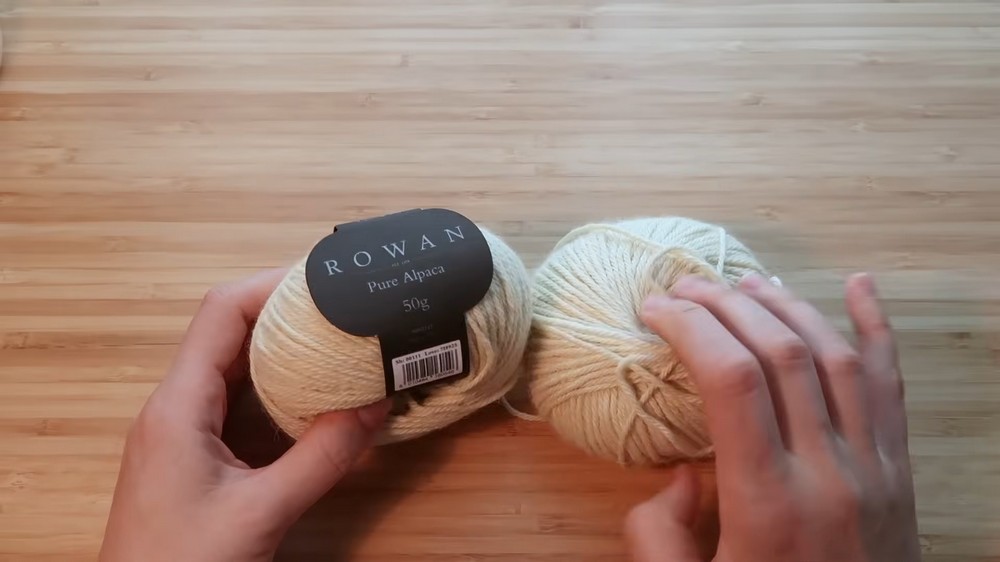
Natural fibers such as merino wool, alpaca, or soft cotton/linen blends can provide the drape and comfort suited to this style of scarf. The example uses Rowan Pure Alpaca or Pearl Soho Knitting Yarn.
Abbreviations
- ch – chain
- sl st – slip stitch
- st(s) – stitch(es)
- FL – front loop
Shape the Scarf with Five-Row Increases
Foundation: Chain 3. The first 2 chains count as your first 2 stitches, and the 3rd chain is your turning chain.
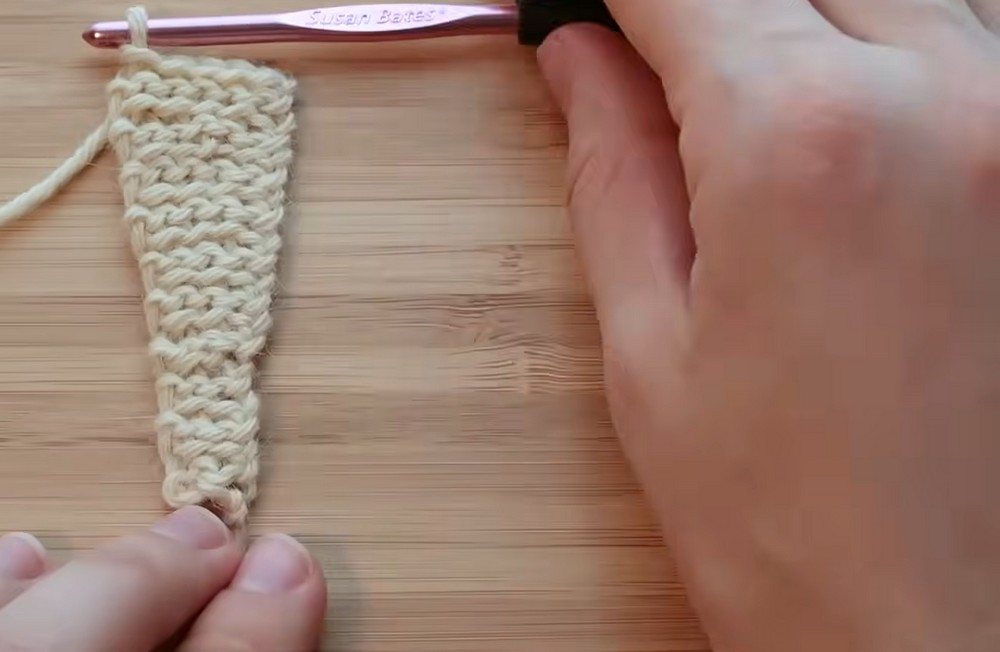
Row 1: Skip the first chain from the hook and work 1 slip stitch into the back bump of each of the next 2 chains. Chain 1 and turn. (2 stitches)
Rows 2-5: Skip the turning chain. Work 1 front-loop slip stitch into each of the 2 stitches across. Chain 1 and turn at the end of every row.
Row 6 – Increase Row: Work 2 slip stitches into the front loop of the first stitch, then work 1 slip stitch into the remaining stitch. Chain 1 and turn. (3 stitches)
Rows 7-10: Work 1 front-loop slip stitch into each stitch across, with no increases. Chain 1 and turn at the end of every row.
Keep the Increase Rhythm Straight
From this point, repeat the five-row cycle: increase by 1 stitch on the first row of each set, then work 4 regular rows without increasing.
When the stitch count is odd, the increase can be placed at the center. When the stitch count is even, work the increase into the center stitch or the stitch just to the right of center, following the demonstrated shaping.
Teaching check: After every increase cycle, your stitch count should have risen by exactly 1. If it has not, check the first stitch of the increase row before continuing; an extra or missed stitch here will gradually change the scarf’s taper.
Continue until you complete the 5th row of 18 stitches, or stop at another stitch count if you prefer a different neck width.
Work the Straight Center
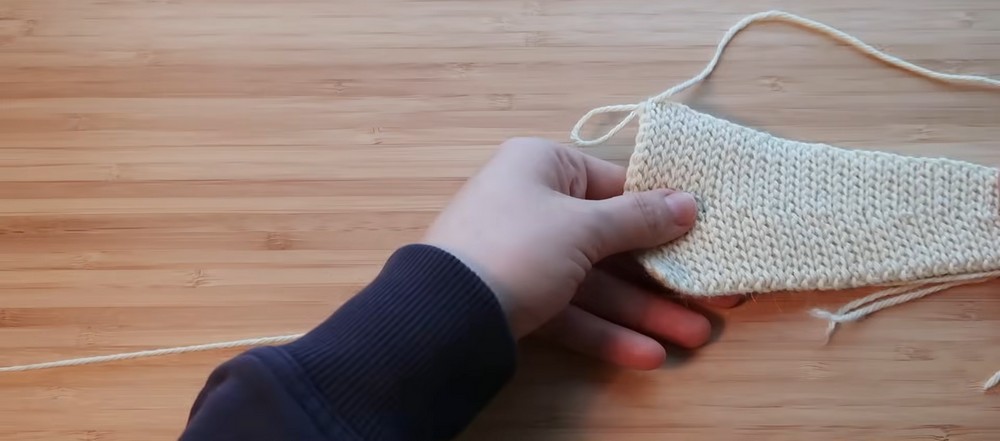
Once the wider section reaches your chosen width, stop increasing and let the scarf length develop through straight rows.
Midsection: Work front-loop slip stitches across every row with no increases or decreases until the center section measures approximately 21–22 cm, or reaches your preferred length.
The stitch count should remain unchanged throughout this section. Checking the measurement while the fabric is relaxed gives you a better idea of how much length you have before the opposite taper begins.
Mirror the Shape with Decreases
The second half reverses the increase logic. Instead of adding one stitch every five rows, you will remove one stitch through a decrease row.
Decrease Cycle: Work 4 regular rows without decreasing, then make the decrease on the 5th row.
Place the Decrease at the Center
When an even number of stitches meets at the center of the row, insert the hook into the front loop of the first decrease stitch, then, without yarning over, insert the hook into the front loop of the next stitch beside it. Yarn over and pull through both loops on the hook at once.
This combines the two center stitches into one and reduces the row by 1 stitch.
Shape check: The decrease should keep the taper centered rather than pulling the edge noticeably toward one side. After each decrease cycle, check that your stitch count has dropped by one before beginning the next group of four regular rows.
Continue the five-row decrease cycle until you return to 2 stitches, then finish with a total of 5 rows of 2 stitches.
Give the Edges a Clean Border
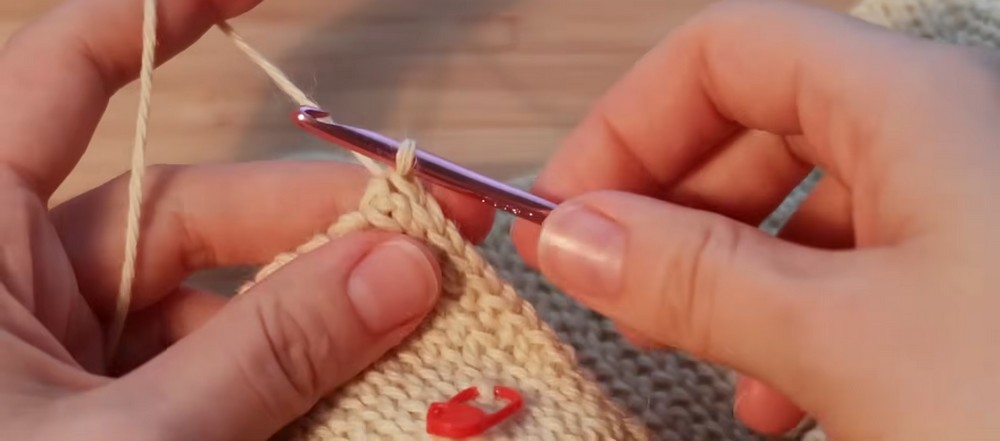
There is no need to cut the yarn after the final slip stitch. Continue directly into the border so the outer edge receives one continuous finished treatment.
Border: Insert the hook into the natural edge space or hole, pull up a loop, bring the working yarn behind and to the right/front of the hook to create tension, yarn over, and pull through both loops.
Work evenly around the entire outer edge, placing 1 border stitch per row space along the long edges and bridging smoothly around the narrow ends.
Edge check: Keep the spacing as even as possible. Too many stitches can make an edge ripple, while too few can pull it inward. The goal is a flat border that follows the scarf’s natural outline.
When you reach the beginning, slip stitch to join, chain 1 extra, leave a yarn tail, cut the yarn, and pull the tail through to fasten.
Block the Scarf for Its Final Shape
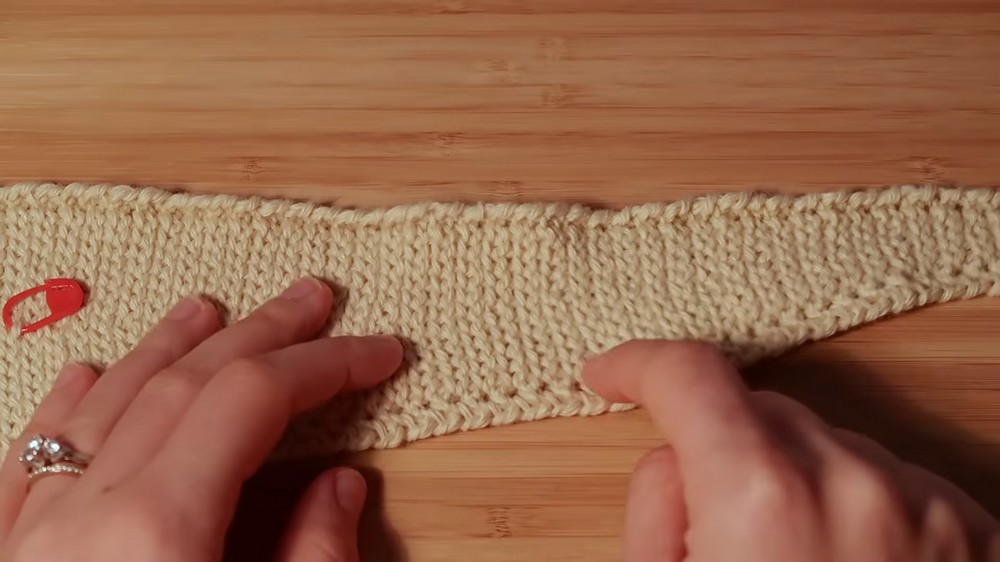
Blocking is especially important for this scarf because the slip-stitch fabric can change noticeably in length, drape, and softness once it is gently soaked and shaped. Treat this as part of the finishing process rather than an optional cosmetic step.
Soak: Fill a bowl with lukewarm water and add a tiny splash of wool wash. Submerge the scarf and let it soak for about 15 minutes.
Remove Excess Water: Gently squeeze out as much water as possible without wringing or twisting. Lay the scarf flat inside a clean towel, roll it up like a burrito, and press down gently to draw out the excess moisture.
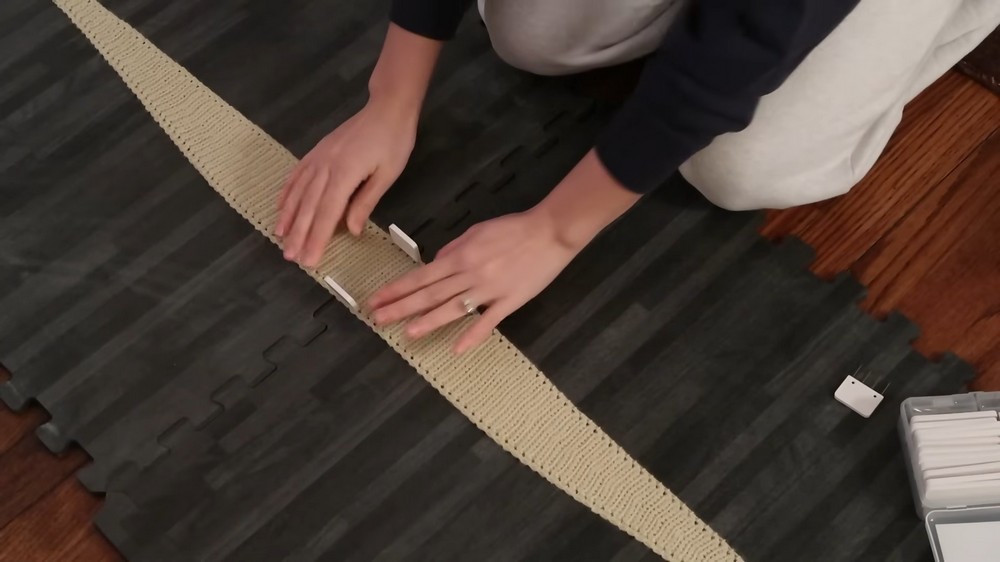
Pin and Shape: Lay the damp scarf flat on blocking mats. Stretch it lengthwise to your desired final measurement, approximately 110–120 cm for the demonstrated proportions, while keeping the edges straight and even.
Dry: Leave the scarf in place overnight, or until it is completely dry, before removing the pins and wearing it.