Crochet Frog Headband Pattern with Stuffed Frog Eyes
Add two playful stuffed frog eyes to a simple crochet tie headband for a fun wearable accessory with adjustable strings and customizable sizing.
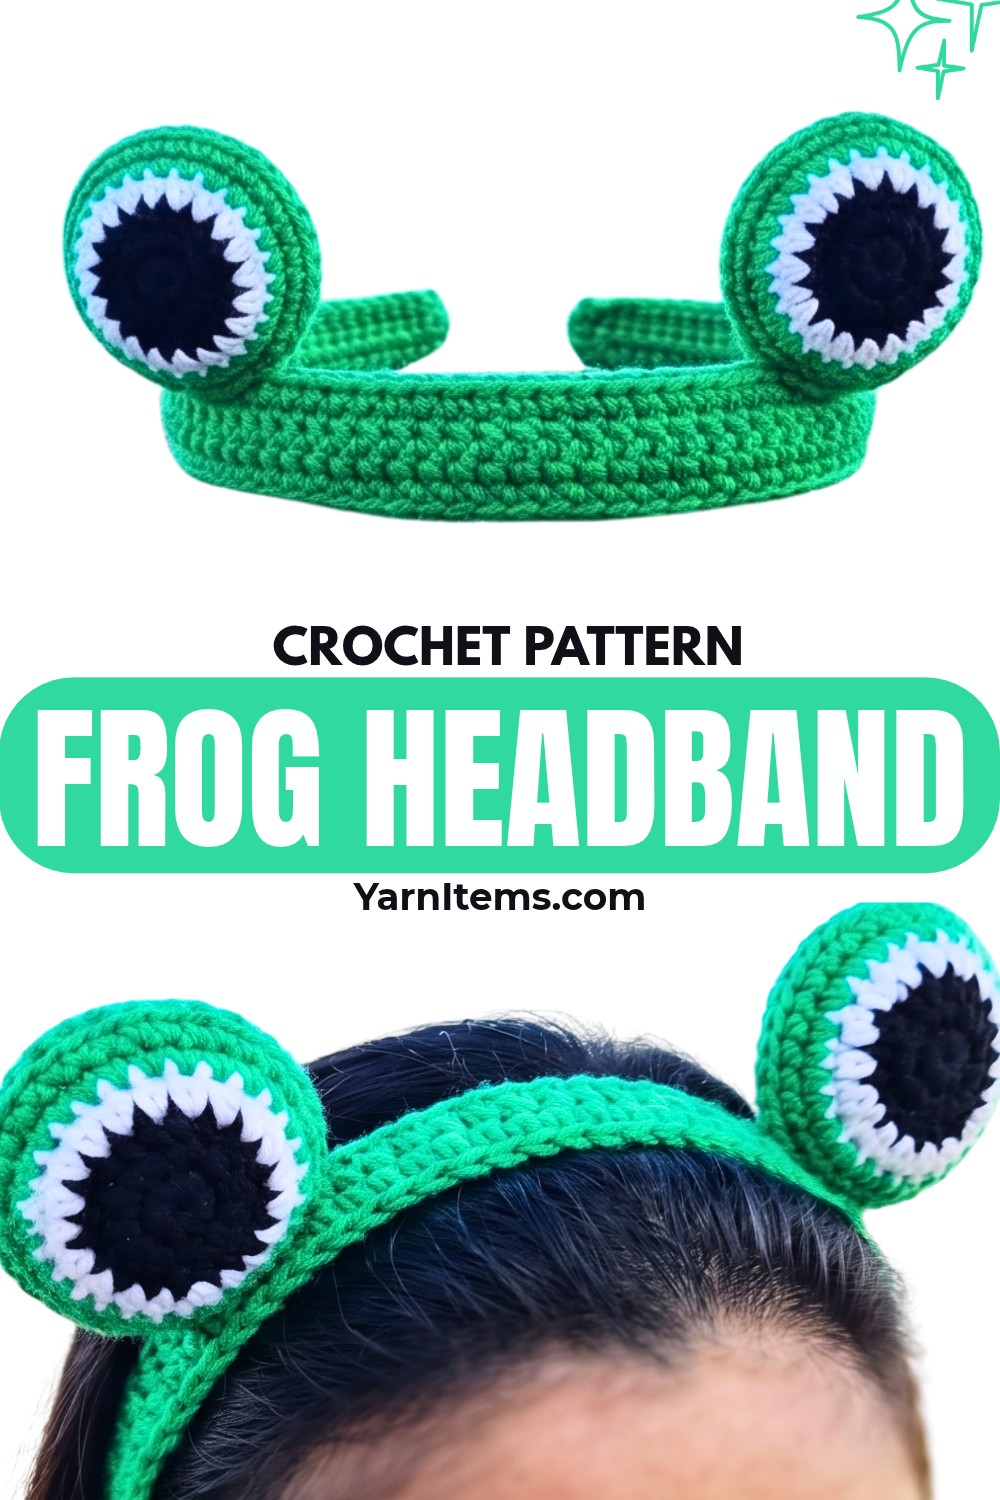
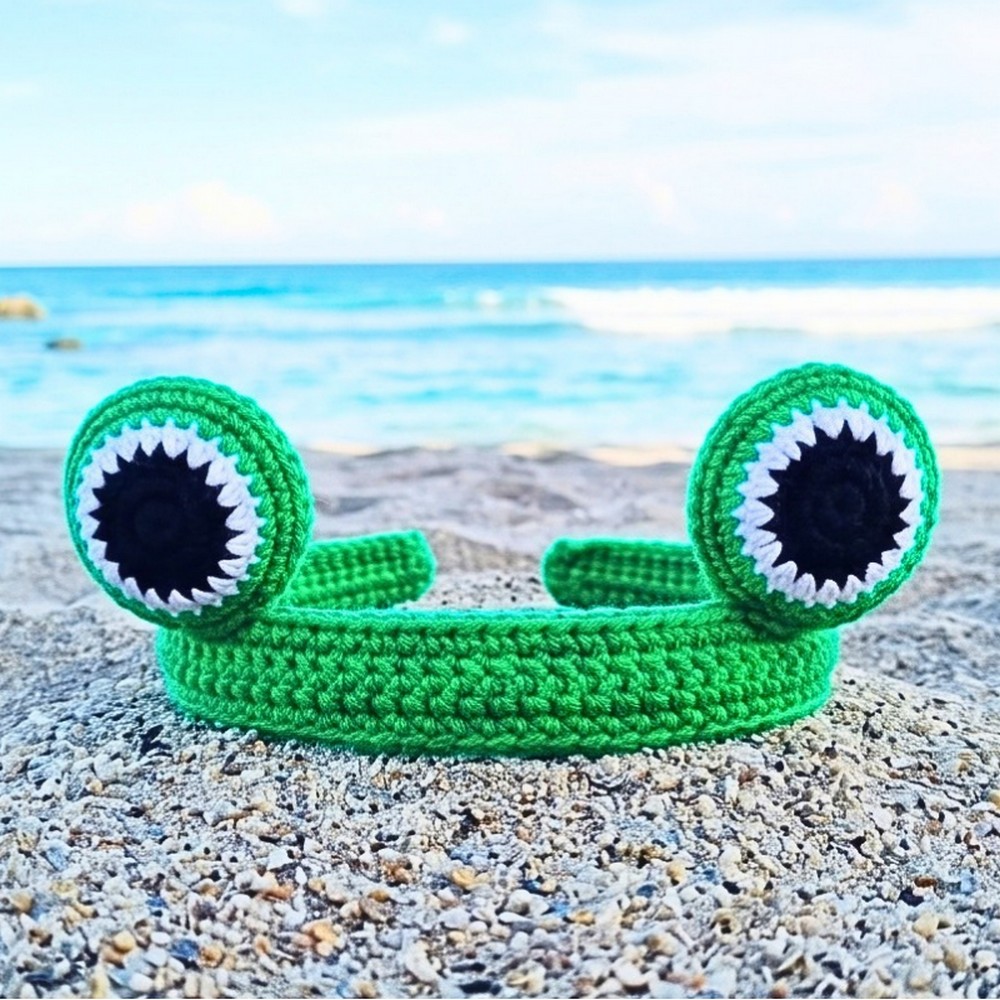
Two rounded frog eyes rise from the top of this crochet headband, giving the simple green band an instantly playful character. Long tie strings extend from both ends, letting the wearer adjust the fit at the nape while raised stuffed eyes create standout 3D detail.
Start by working a narrow double-crochet band from 35 chains, using unworked chains for the first tie and repeated rows to build the main headpiece. After 34 rows, the second chain tie completes the crochet band. Each frog eye is built separately from colorful front and green back circles, then stuffed and joined through back loops before being sewn securely onto the band.
Credit Dabs Crochet
Materials & Tools Needed
- Yarn: Indophil Acrylic Yarn (4-ply) in Green, Black, and White
- Crochet Hook: 3.5 mm crochet hook
- Stuffing: Polyfill or fiberfill for frog eyes
- Tools: Yarn needle and scissors
Finished Size & Customization
Main headpiece uses 34 rows, with long chain ties extending from both sides for adjustable fitting around the nape.
To change band length, add or remove repeated rows before making second tie. More rows create a longer headpiece, while fewer rows create a shorter fit.
Tie length can also be adjusted if needed by changing starting or final chain counts. Check the band around the intended head before final finishing to make sure ties provide enough room for comfortable fastening.
Pattern Abbreviations & Terminology
- ch: Chain
- st / sts: Stitch / Stitches
- sl st: Slip Stitch
- sc: Single Crochet
- hdc: Half Double Crochet
- dc: Double Crochet
- BLO: Back Loops Only
- MR: Magic Ring
Crochet Headband Base
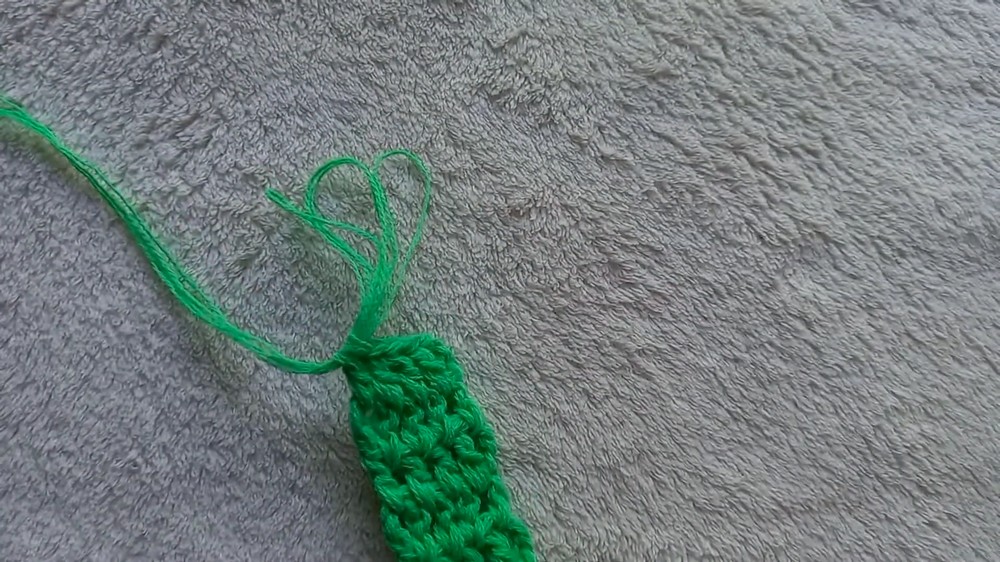
Row 1: Using Green yarn, ch 35; starting from the 3rd chain from the hook, make 1 dc in each of the next 4 chains. Remaining unworked chains form the first tie string.
Row 2: Ch 3, turn; make 1 dc in each of the 4 stitches across.
Rows 3-34: Repeat Row 2 for a total of 34 rows to build the main width of the headband.
Second Tie: After completing Row 34, ch 30 to create second tie string. Fasten off and weave in end, or knot tip securely.
Keep four dc stitches aligned across every row. Since band width comes from repeated rows rather than increasing stitches, consistent turning and stitch placement help maintain straight edges.
Front Part of Frog Eye – Make 2
Each eye consists of a colorful front circle and a solid Green back circle. Complete both pieces for one eye before joining them.
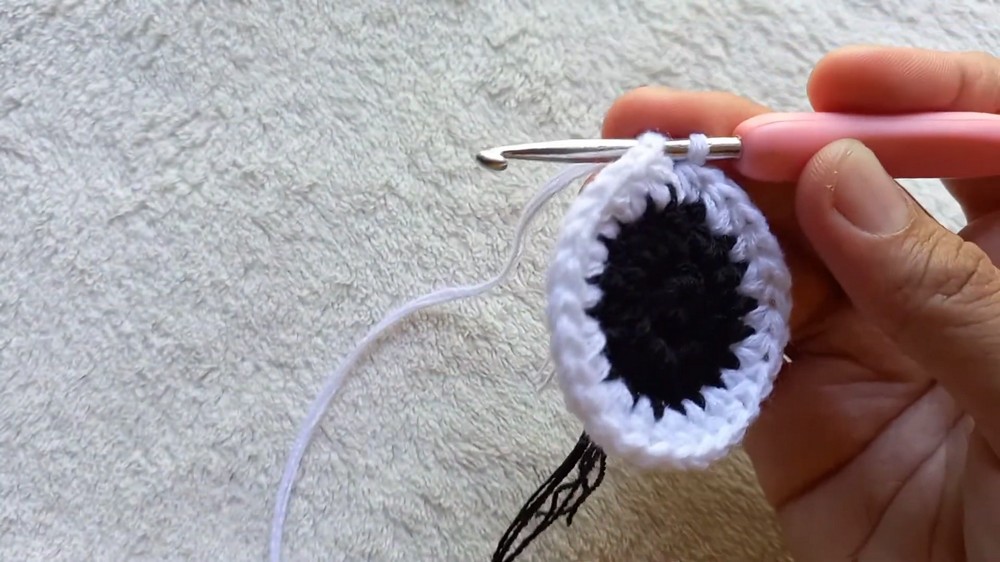
Rnd 1 – Black: Make MR; work 10 sc into ring; sl st into first sc to join. 10 sts.
Rnd 2 – Black: Ch 2; work 2 hdc in each st around; sl st into first st to join. 20 sts.
Rnd 3 – White: Change to White yarn; ch 2; repeat [2 hdc in first st, 1 hdc in next st] around; sl st to join. 30 sts.
Rnd 4 – Green: Change to Green yarn; ch 2; repeat [2 hdc in first st, 1 hdc in each of next 2 sts] around; sl st to join. 40 sts. Fasten off.
Keep increases distributed evenly around each round. Correct stitch counts at end of every round help circle remain flat and symmetrical.
Back Part of Frog Eye – Make 2
Work back piece entirely in Green using same increase structure as front.
Rnd 1: Make MR; work 10 sc into ring; sl st to join. 10 sts.
Rnd 2: Ch 2; work 2 hdc in each st around; sl st to join. 20 sts.
Rnd 3: Ch 2; repeat [2 hdc in first st, 1 hdc in next st] around; sl st to join. 30 sts.
Rnd 4: Ch 2; repeat [2 hdc in first st, 1 hdc in each of next 2 sts] around; sl st to join. 40 sts. Do not fasten off.
Leave Green yarn attached after final round because this working yarn will join front and back pieces.
Join and Stuff Frog Eyes
Step 1: Place front and back circles together with right sides facing outward.
Step 2: Using working Green yarn from the back piece, join both circles around the entire perimeter with sl st through the BLO of both pieces.
BLO placement is important here. Working through back loops creates a clean joined edge while keeping both colored surfaces visible.
Step 3: Continue joining until opening measures approximately 1–2 inches.
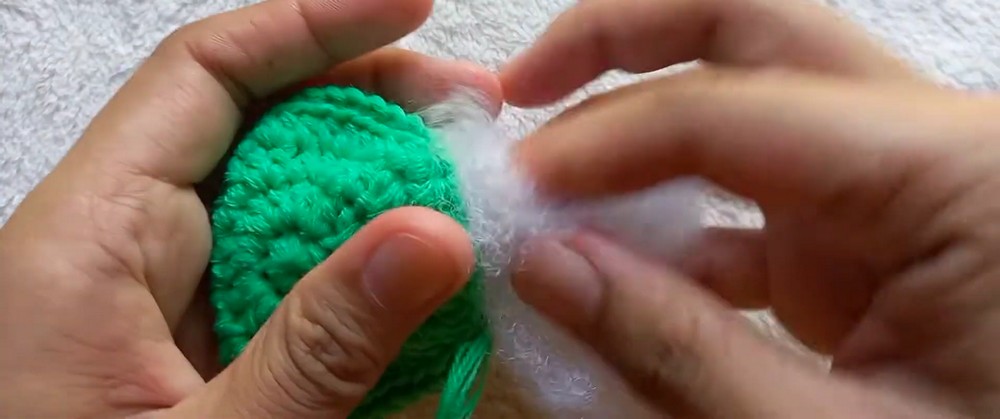
Step 4: Firmly stuff inside of eye with polyfill.
Step 5: Continue sl st through BLO to close remaining opening completely. Fasten off, leaving a long Green yarn tail for sewing.
Step 6: Repeat complete front, back, joining, and stuffing process for second eye.
Do not overfill eyes. Firm stuffing helps them hold a rounded shape, while excessive filling can make joining edges difficult to close neatly.
Attach Frog Eyes
Lay completed headband flat with top edge facing upward.
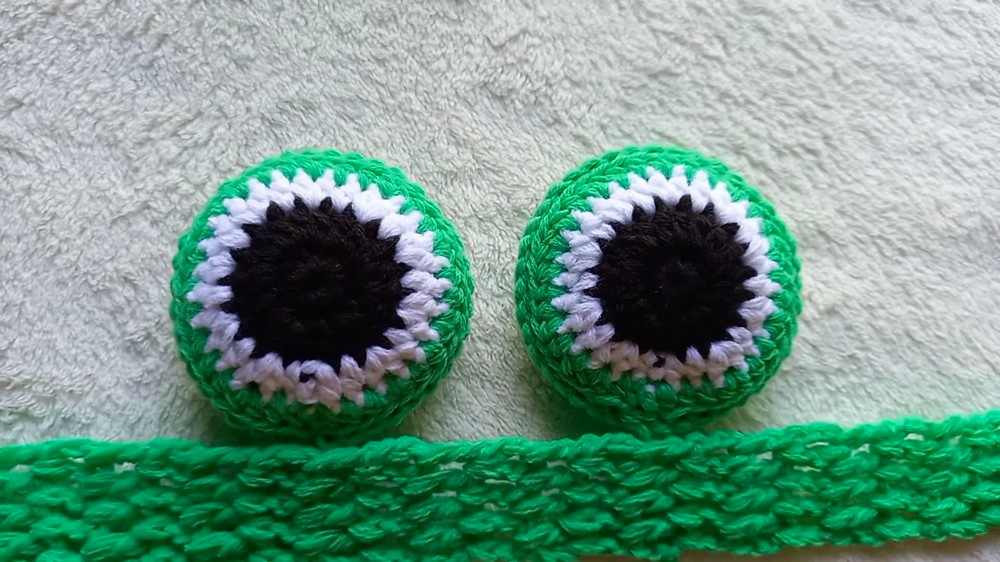
Position both stuffed frog eyes along the top edge, spacing them evenly so they sit centered over the head when the headband is worn.
Thread the long Green tail from each eye onto a yarn needle. Carefully sew the base of each eye onto the headband, passing the needle securely through the attachment points so the eyes remain upright during wear.

Once both eyes are firmly attached, weave in every remaining loose end and trim excess yarn.