Crochet Ribbed Scarf with Tassels, Bow & Easy BLO Texture
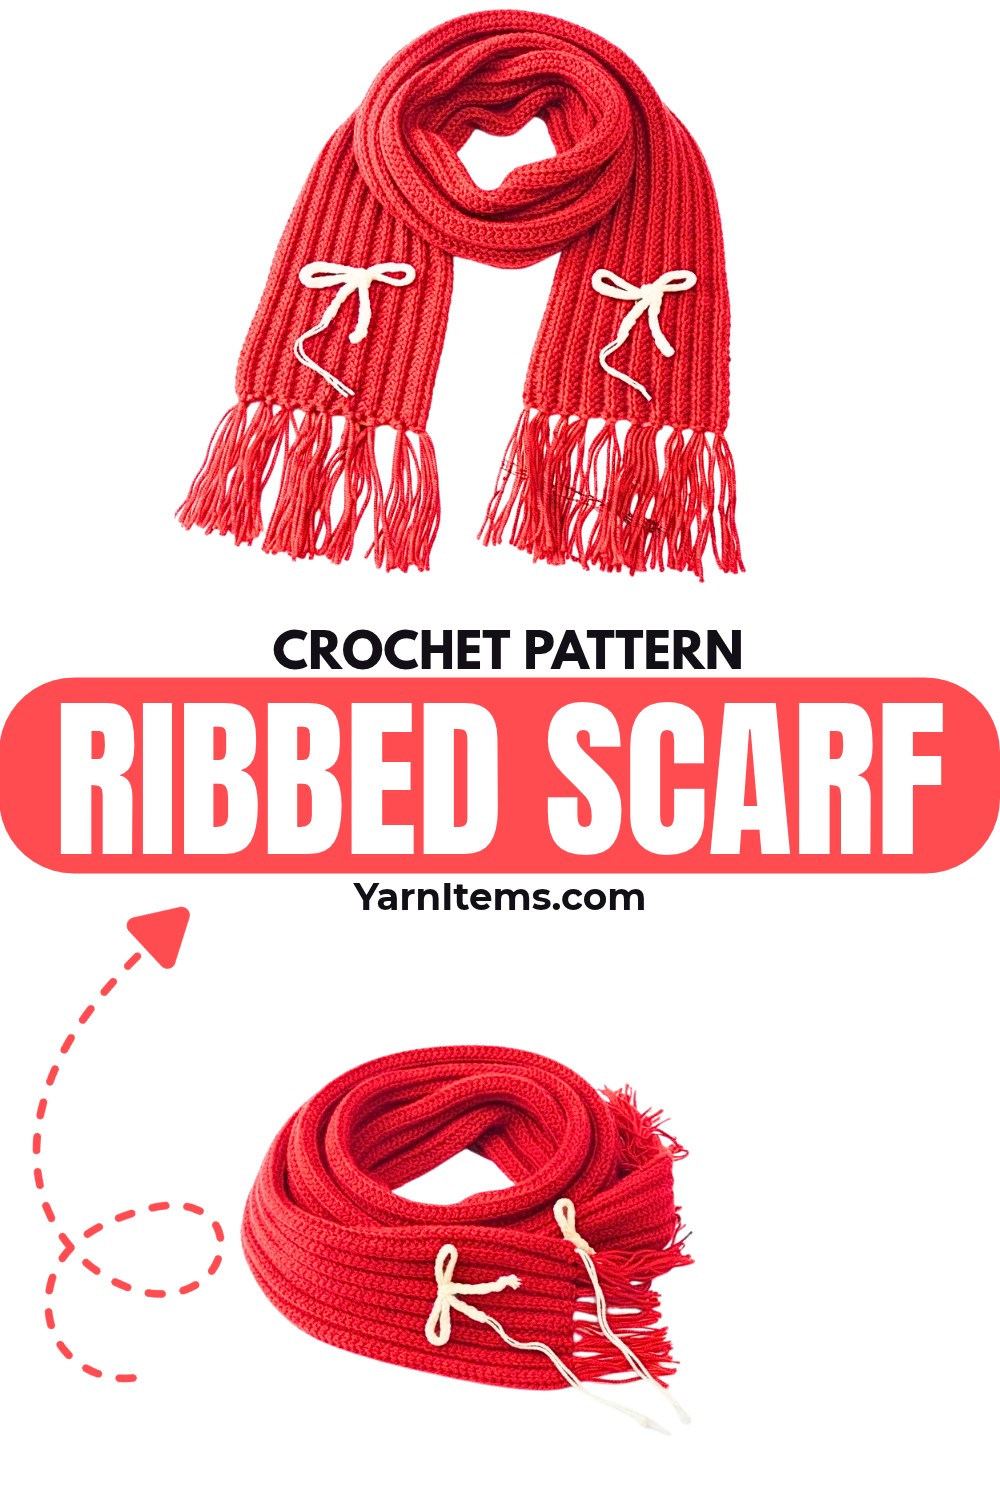
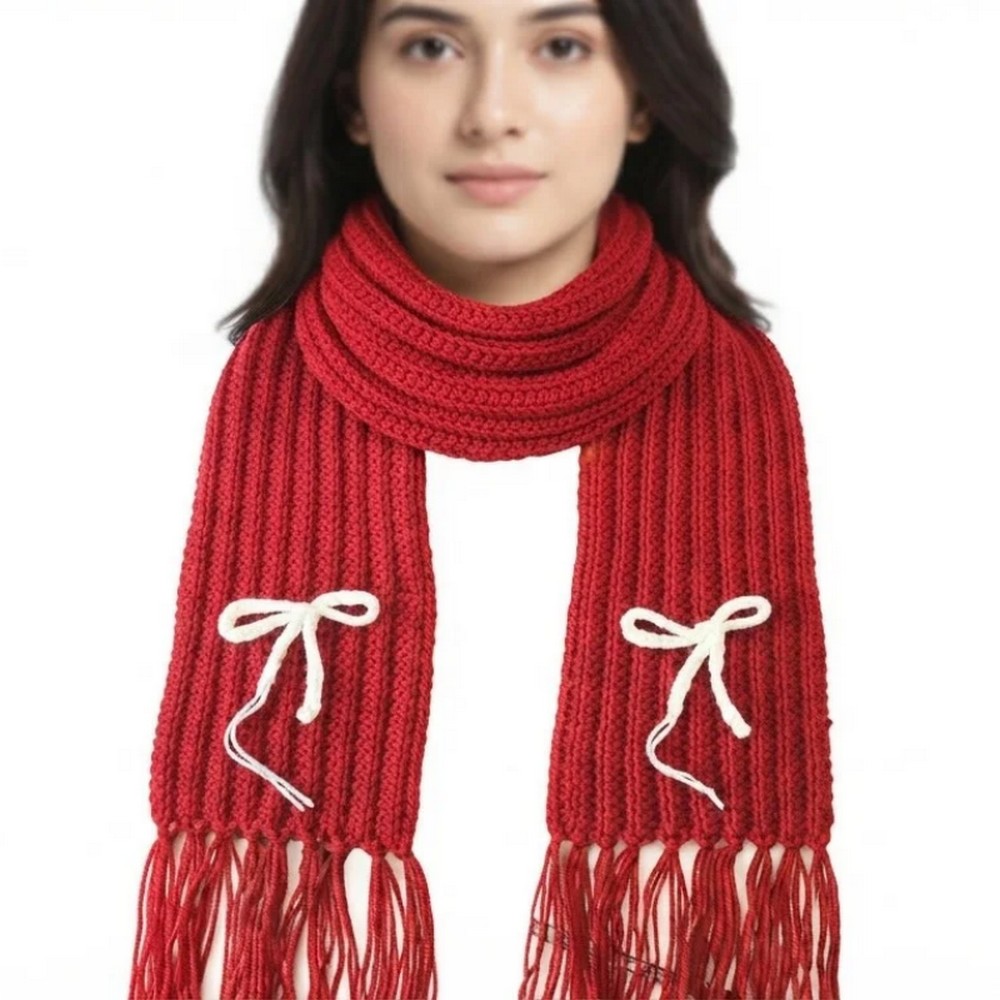
Soft texture takes center stage in this simple crochet scarf, where rows of half double crochet create a flexible ribbed fabric that feels substantial without making the design complicated. The deep red color gives the finished scarf a bold look, while the optional tassels and center bow add details that can completely change its character.
The crochet scarf starts with a long foundation chain, so its length can be decided before you begin the main rows. After the first row of regular HDC, the remaining rows use back-loop-only stitches, with one small but important change at the final stitch of each row to keep both edges straight and tidy.
Credit YarnIt Crochet
Materials & Tools
- Medium-weight Size 4 / 4-ply 100% polyester yarn in deep red
- 4.0 mm or 4.5 mm crochet hook
- Scissors
- Yarn or sewing needle
- Stitch marker for counting the foundation chain
The tutorial uses High Lush yarn, but a soft acrylic or mixed blend can also be used. For a bulkier, cozier scarf, you can substitute a weight 5 or 6 yarn and adjust the hook accordingly.
The sample measures approximately 60 inches long and 6 inches wide. Optional tassels add another 2–4 inches to the overall length.
Crochet Abbreviations
- ch – chain
- hdc – half double crochet
- BLO – back loop only
- sl st – slip stitch
- st(s) – stitch(es)
Step-by-Step Crochet Ribbed Scarf Instructions
Create the Foundation Chain
The foundation chain determines the scarf’s length, so measure it before beginning the first row.
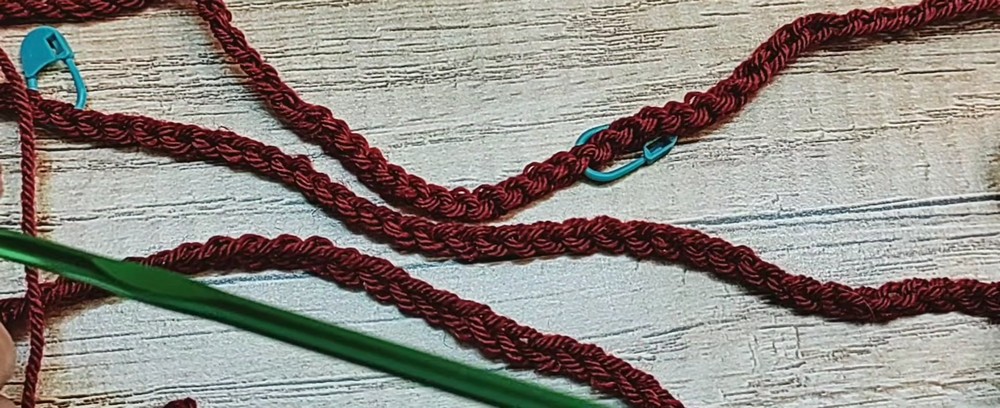
Foundation Chain: Make a slip knot and chain 250 stitches for an approximately 60-inch scarf. Place a stitch marker every 50 chains if you find it helpful for keeping count. Once the desired length is reached, CH 2 extra stitches for the turning chains; these two chains do not count as stitches.
Work the First HDC Row
Row 1: Skip the two extra turning chains, YO, insert the hook into the 3rd chain from the hook, pull up a loop, and pull through all 3 loops to make the first HDC. Continue with 1 HDC in every chain across. At the end of the row, CH 2 and turn.
Create the Ribbed Texture
Row 2: Skip the two turning chains and work 1 HDC in the BLO of every stitch across. When you reach the final stitch, insert the hook under both loops rather than only the back loop and make the final HDC. CH 2 and turn.
That last stitch is an important part of the edge finish. Working it through both loops helps anchor the row and keeps the side edge straighter instead of allowing it to gradually slant.
Continue the Ribbed Rows
Rows 3–17: Repeat Row 2 by working 1 HDC in the BLO of every stitch across, then work the final HDC through both loops of the last stitch. CH 2 and turn after each row. Stop after 17 total rows for a scarf approximately 6 inches wide, or continue adding rows until you reach your preferred width.
Teaching Guide: Keep the Edges Straight
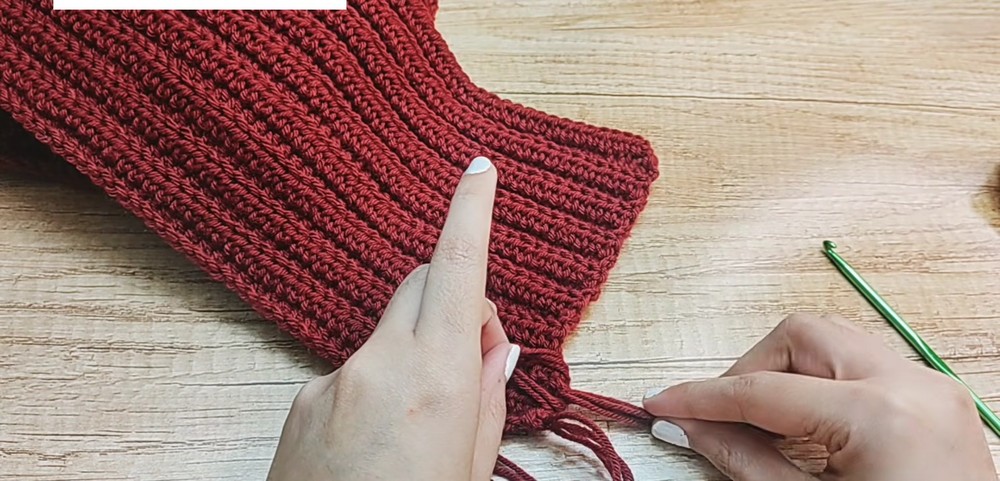
The BLO HDC is what creates the raised, ribbed appearance, so most of the row should be worked through the back loop only. The exception is the final stitch: it is worked through both loops on every ribbing row.
That small change is easy to miss, especially once the rows begin to look repetitive. If the final stitch is worked through the BLO like the others, the edge can become less stable and begin to angle. Checking the last stitch before turning each row helps maintain the clean border seen in the sample.
The turning chains also do not count as stitches. Keep them separate from the actual HDC count so the scarf maintains a consistent shape from one row to the next.
When You Need to Join New Yarn
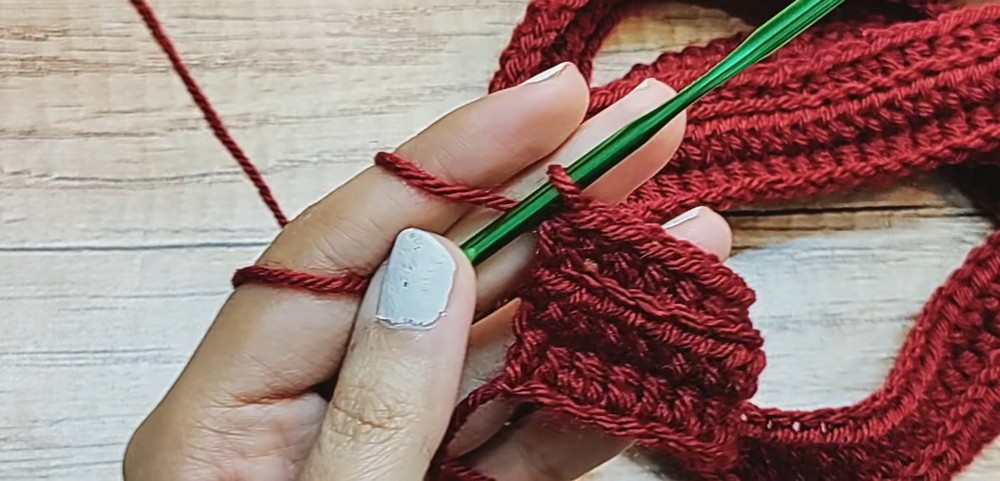
If the yarn runs out before the scarf is finished, you can join another strand while completing an HDC.
Begin the HDC normally by yarning over, inserting the hook, and pulling up a loop so that 3 loops are on the hook. Drop the old yarn, pick up the new yarn, and pull it through all 3 loops to complete the stitch. Tie the two yarn tails together at the back with a gentle double knot, then continue crocheting. Weave the tails into the stitches when the scarf is finished.
Fasten Off
After completing the final row, CH 1 or CH 2, cut the yarn leaving a small tail, and pull the tail completely through the loop on the hook to secure the end.
Use a yarn needle to weave all loose ends back and forth through the scarf stitches. Trim the remaining excess once the tails are securely woven in.
A Quick Width and Length Check
Lay the scarf flat before adding any decoration and measure both dimensions.
The sample is approximately 60 inches long by 6 inches wide. If your scarf needs to be shorter or longer, the foundation chain is the main adjustment to make. For a wider scarf, add more rows rather than changing the basic HDC pattern.
A standard scarf can fall anywhere around 6–11 inches wide, so the row count can be adjusted according to the finished width you want.
Optional Tassels
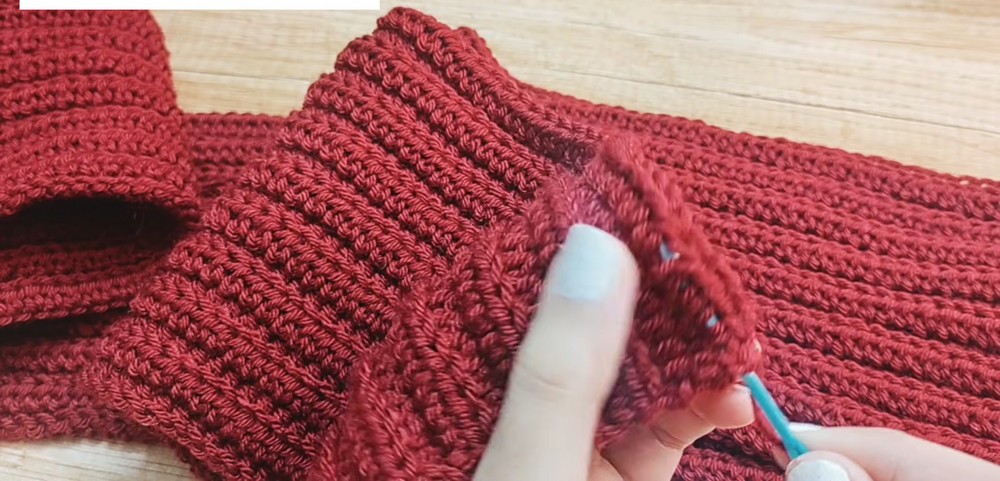
Tassels give the scarf ends a finished, decorative edge.
Tassel Preparation: Decide on your tassel length, such as 5 inches. Wrap the yarn 3 times around a 5-inch piece of cardboard, then cut along the bottom edges. This produces 6 yarn strands for each tassel.
Tassel Attachment: Take a bundle of 6 strands and fold it evenly in half. Insert the hook into the scarf edge, catch the folded center of the bundle, and pull the loop partially through the scarf. Pass the loose yarn ends through the loop and pull firmly to secure the tassel.
The tutorial places the tassels at the scarf ends and along the bumpy rows, creating a total of 10 tassels per side.
Tassel Finishing: Lay the tassels flat and trim their ends evenly with scissors.
Optional Decorative Bow
Bow Chain: Leave a slightly longer starting tail, make a slip knot, and CH 60.
Bow Texture: Turn the chain over to expose the back bumps and work 1 SL ST into each back bump across all 60 chains.
Fasten Off: Cut the yarn after completing the slip stitches.
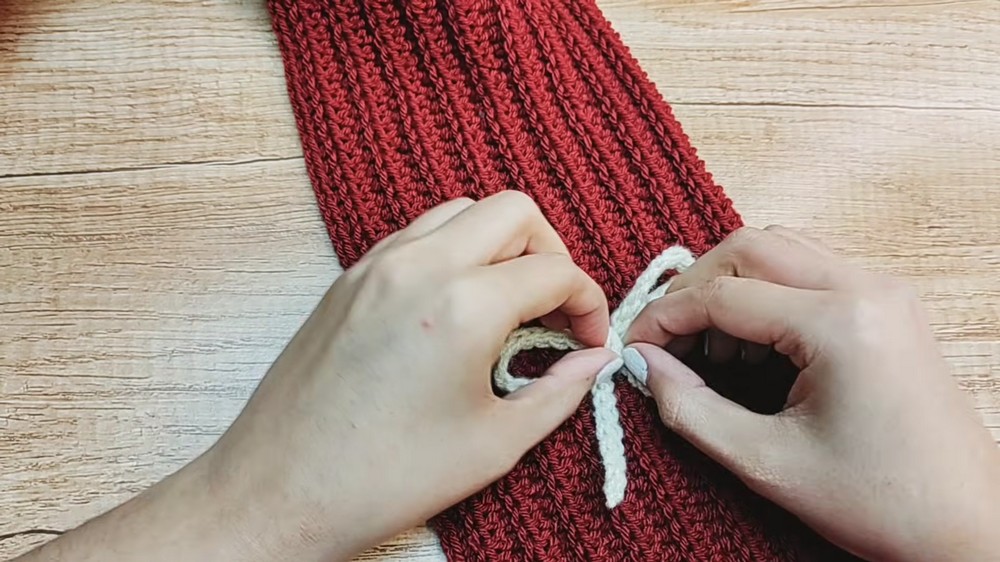
Attach the Bow: Find the center of the scarf near the bottom edge. Insert the hook under only one front loop of a stitch and pull the bow strands through to attach them without allowing the attachment to show on the back.
Finish the Bow: Tie the strands into an even bow. Weave the small remaining ends into the back of the bow so they stay hidden.