Crochet Ribbon Net Bag with Mesh Body & Decorative Bows
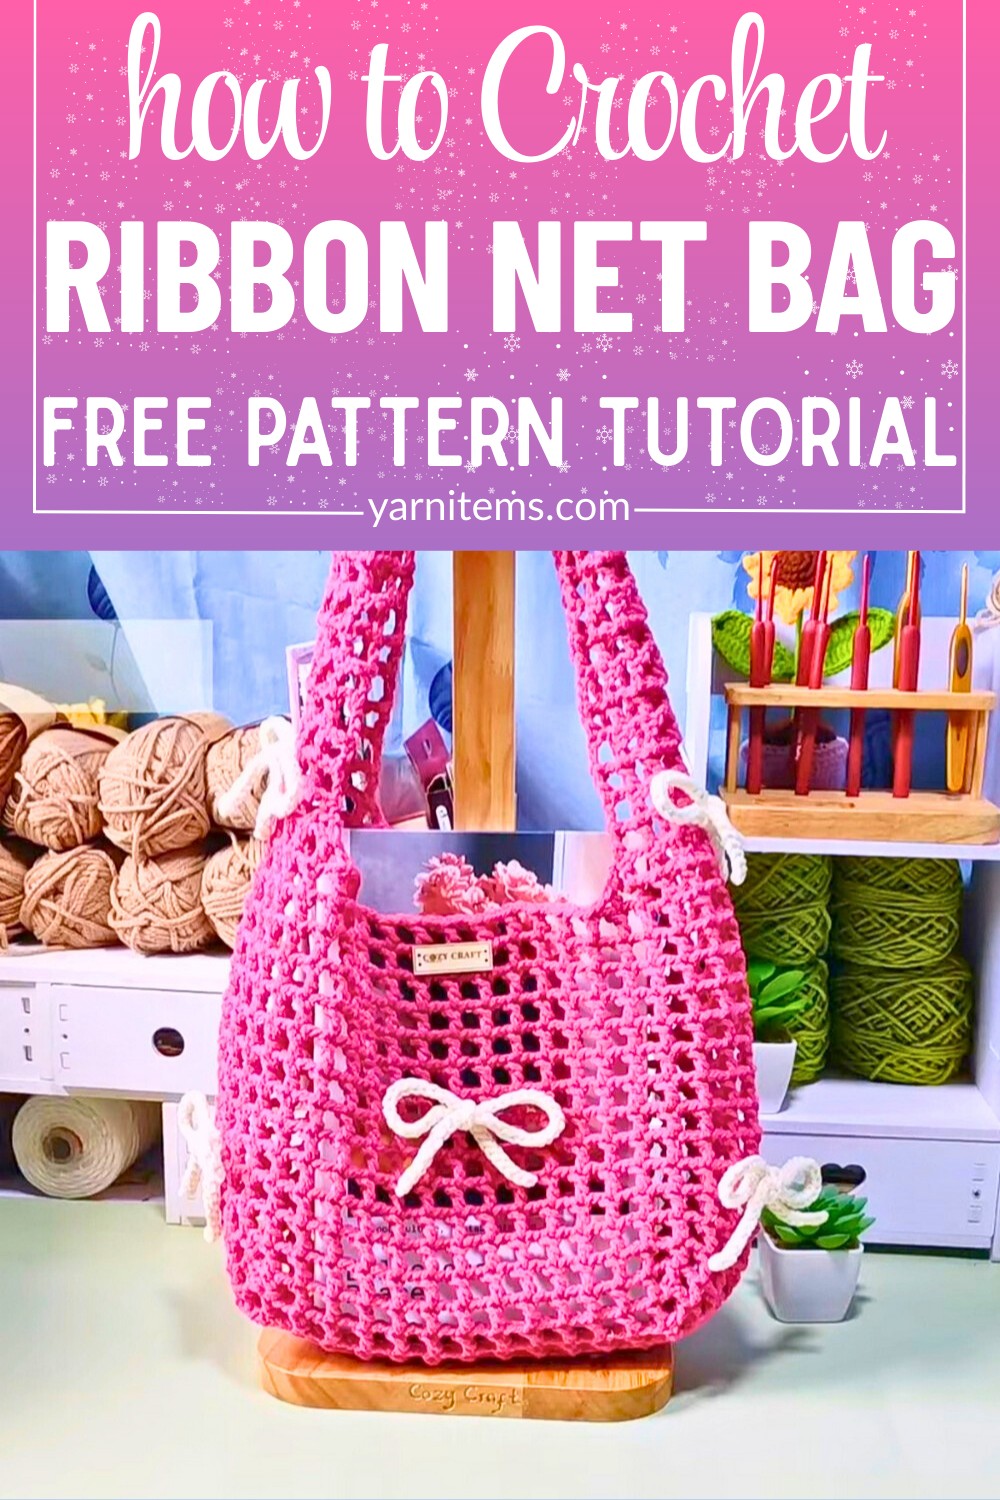
Looking for a light bag with a little extra personality? Crochet this airy ribbon net bag with a roomy mesh body, V-shaped straps, and five pretty bows.
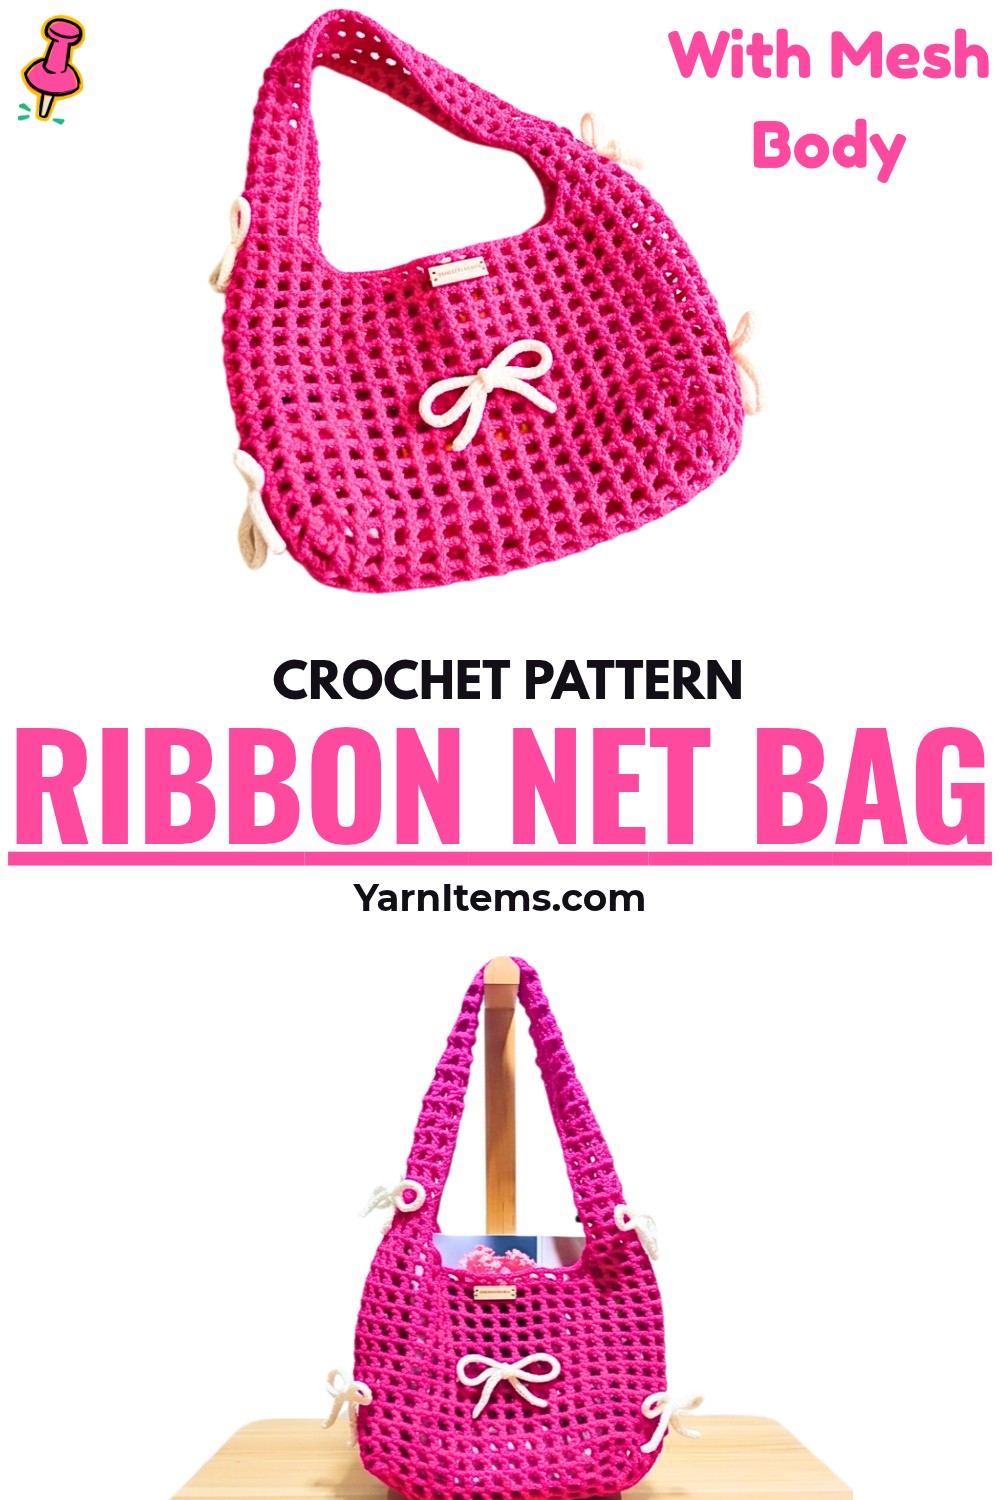
Roomy mesh and soft ribbon details give this crochet bag an airy, stylish look that works well for everyday carrying. Its 18cm body keeps it compact while the long crochet straps add comfortable height.
Simple net stitches form the crochet bag, with an odd-number foundation chain for width and easy extra rounds for height. This guide covers the oval base, mesh body, strap shaping, joining, and decorative ribbons.
Credit Cozy Craft
Materials & Tools Needed
- Yarn: Cloud Candy Yarn, Medium/Worsted weight – approximately 220g or about 3 skeins in one solid color
- Crochet Hook: 4.0 mm
- Stitch Markers: For marking the beginning of the rounds
- Scissors
- Yarn Needle: For weaving in loose ends
The main bag body measures approximately 18 cm (7 inches) tall, while the strap sections add about 15 cm to the height.
For a wider bag, begin with a longer odd-number foundation chain. For extra height, continue the Mesh Body rounds until the desired depth is reached before separating the straps.
Pattern Abbreviations
This pattern uses standard US crochet terminology.
- ch: Chain
- dc: Double Crochet
- sl st: Slip Stitch
- sk: Skip
- st: Stitch
- dec: Decrease – working 2 double crochets together
Create the Foundation Chain
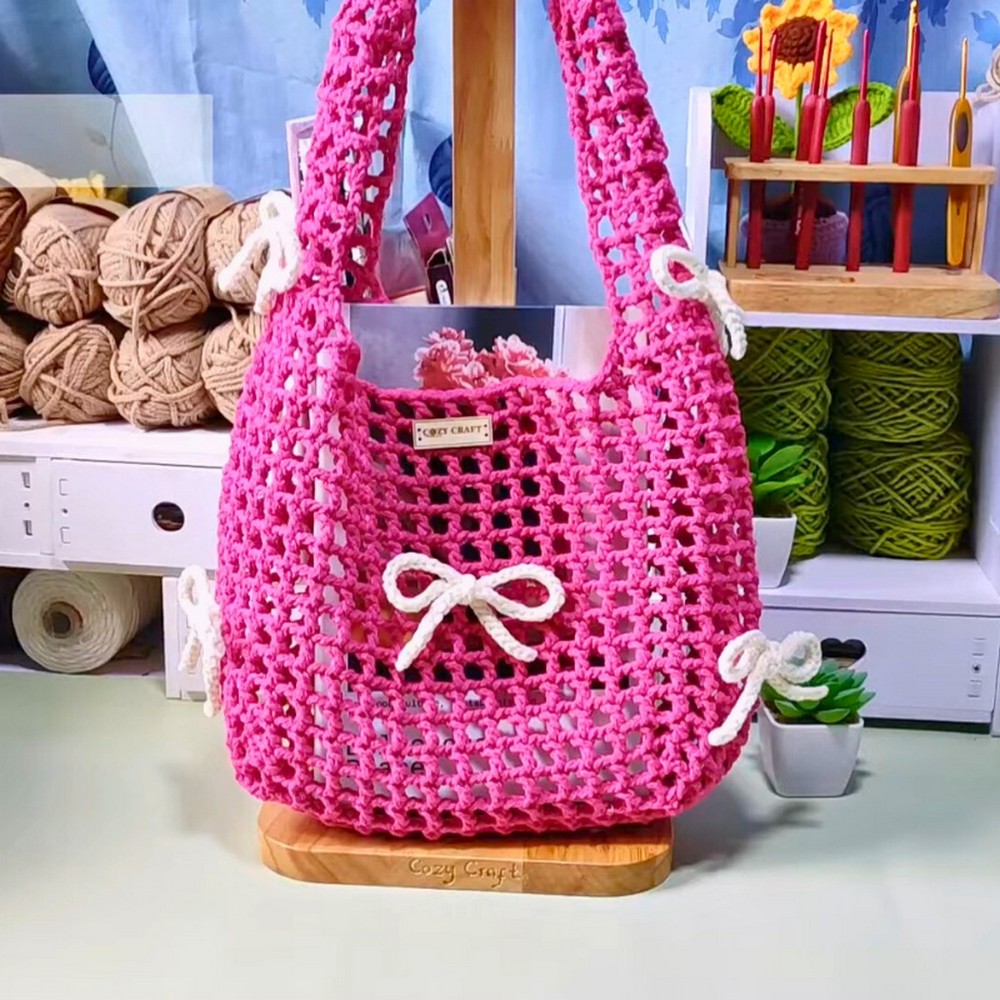
Begin with the 25-chain foundation that determines the initial width of the oval base. The additional chain-5 section creates the starting corner and also establishes the chain space used for the first joining point.
Use stitch markers carefully here because they make the beginning of Round 1 much easier to identify.
Foundation Chain: Leave a small yarn tail, make a slip knot, and ch 25; place a stitch marker in the 25th chain, then ch 5 more and place another stitch marker in the 3rd chain of this new ch-5, which counts as the first double crochet and a ch-2 space.
Form the Oval Base
Round 1: Work down one side of the foundation chain, curve around the end, and then come back along the opposite side. The ch-5 corner spaces give the bag its rounded ends and create room for the mesh pattern to continue around the base.
Round 1: Starting from the first marker, sk 2 ch and work 1 dc in the next chain; repeat (ch 2, sk 2 ch, dc) across the straight edge; at the final chain, work (dc, ch 5, dc) into the same stitch; work (ch 2, sk 2 ch, dc) along the opposite side of the foundation chain; work (dc, ch 5, dc) into the starting corner space; join with a sl st into the 3rd chain marked at the beginning.
Once this round is joined, you should have an oval-shaped mesh base with a large ch-5 space at each curved end. Those corner spaces will remain important as you build upward.
Build the Mesh Body
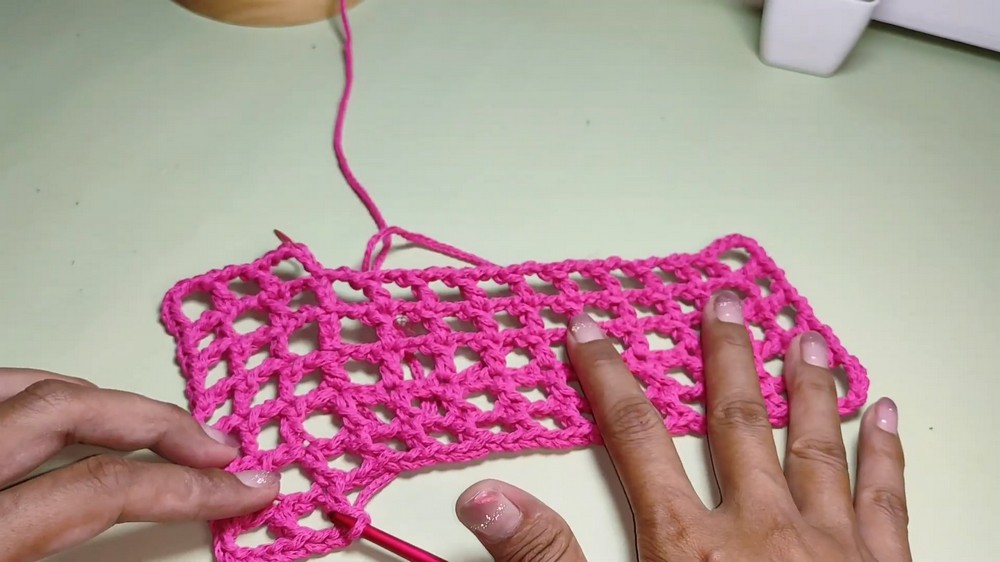
Rounds 2-14 continue around the oval without color changes. The repeated ch-2 spaces create the open mesh, while the larger ch-5 spaces at both ends maintain the curved shape.
Keep checking the two corner spaces as you work. They should remain clearly visible rather than being accidentally skipped, since they are what allow the bag to expand around its ends.
Round 2: Ch 5, work 1 dc into the top of the next dc from the previous round, repeat (ch 2, dc) across the straight sides, work (dc, ch 5, dc) directly into each large ch-5 corner space, then join with a sl st into the 3rd chain of the starting ch-5.
Rounds 3-14: Repeat the Round 2 mesh sequence, working (ch 2, dc) across the straight sections and (dc, ch 5, dc) into each large ch-5 corner space, joining each round with a sl st into the 3rd chain of the starting ch-5.
After completing 14 rounds total, the body should measure approximately 18 cm (7 inches) tall. If you want a deeper bag, continue the same Mesh Body pattern before moving on to the straps.
Shape the Strap Sections
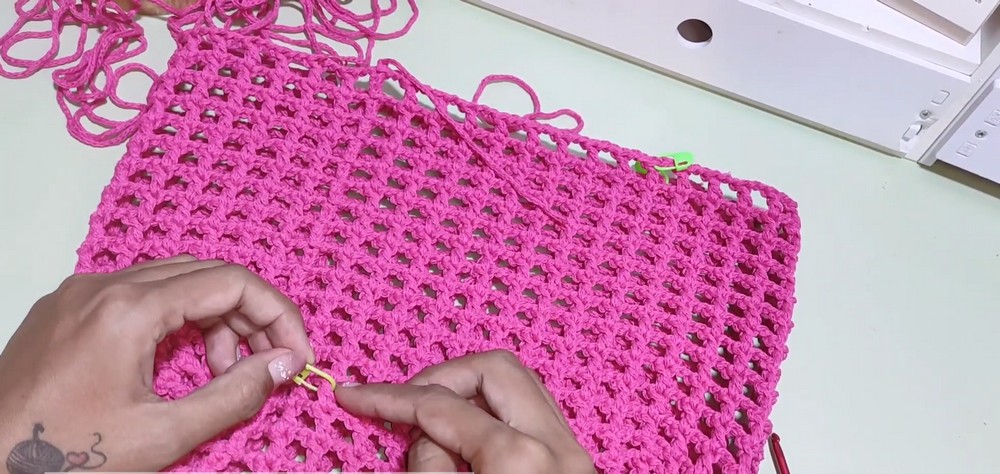
At this point, stop working continuously around the bag. The next section is worked back and forth in rows so the upper portion can separate into strap sections.
The inner-edge decreases create the V-shaped opening between the straps. Keep the decreases on the intended inner edges so the two sides remain balanced.
Row 15: Ch 5, repeat the (dc, ch 2) mesh pattern across the section being built for the strap, make the required inner-edge decrease by working 2 dc into 1 dc at the end of the row, then turn.
Rows 16-31: Continue working back and forth in the mesh pattern, repeating the inner-edge decrease at the appropriate inner edge to shape the V opening, turning at the end of each row.
Complete 17 rows in total, from Row 15 through Row 31. The strap section should add approximately 15 cm in height.
Join the Straps
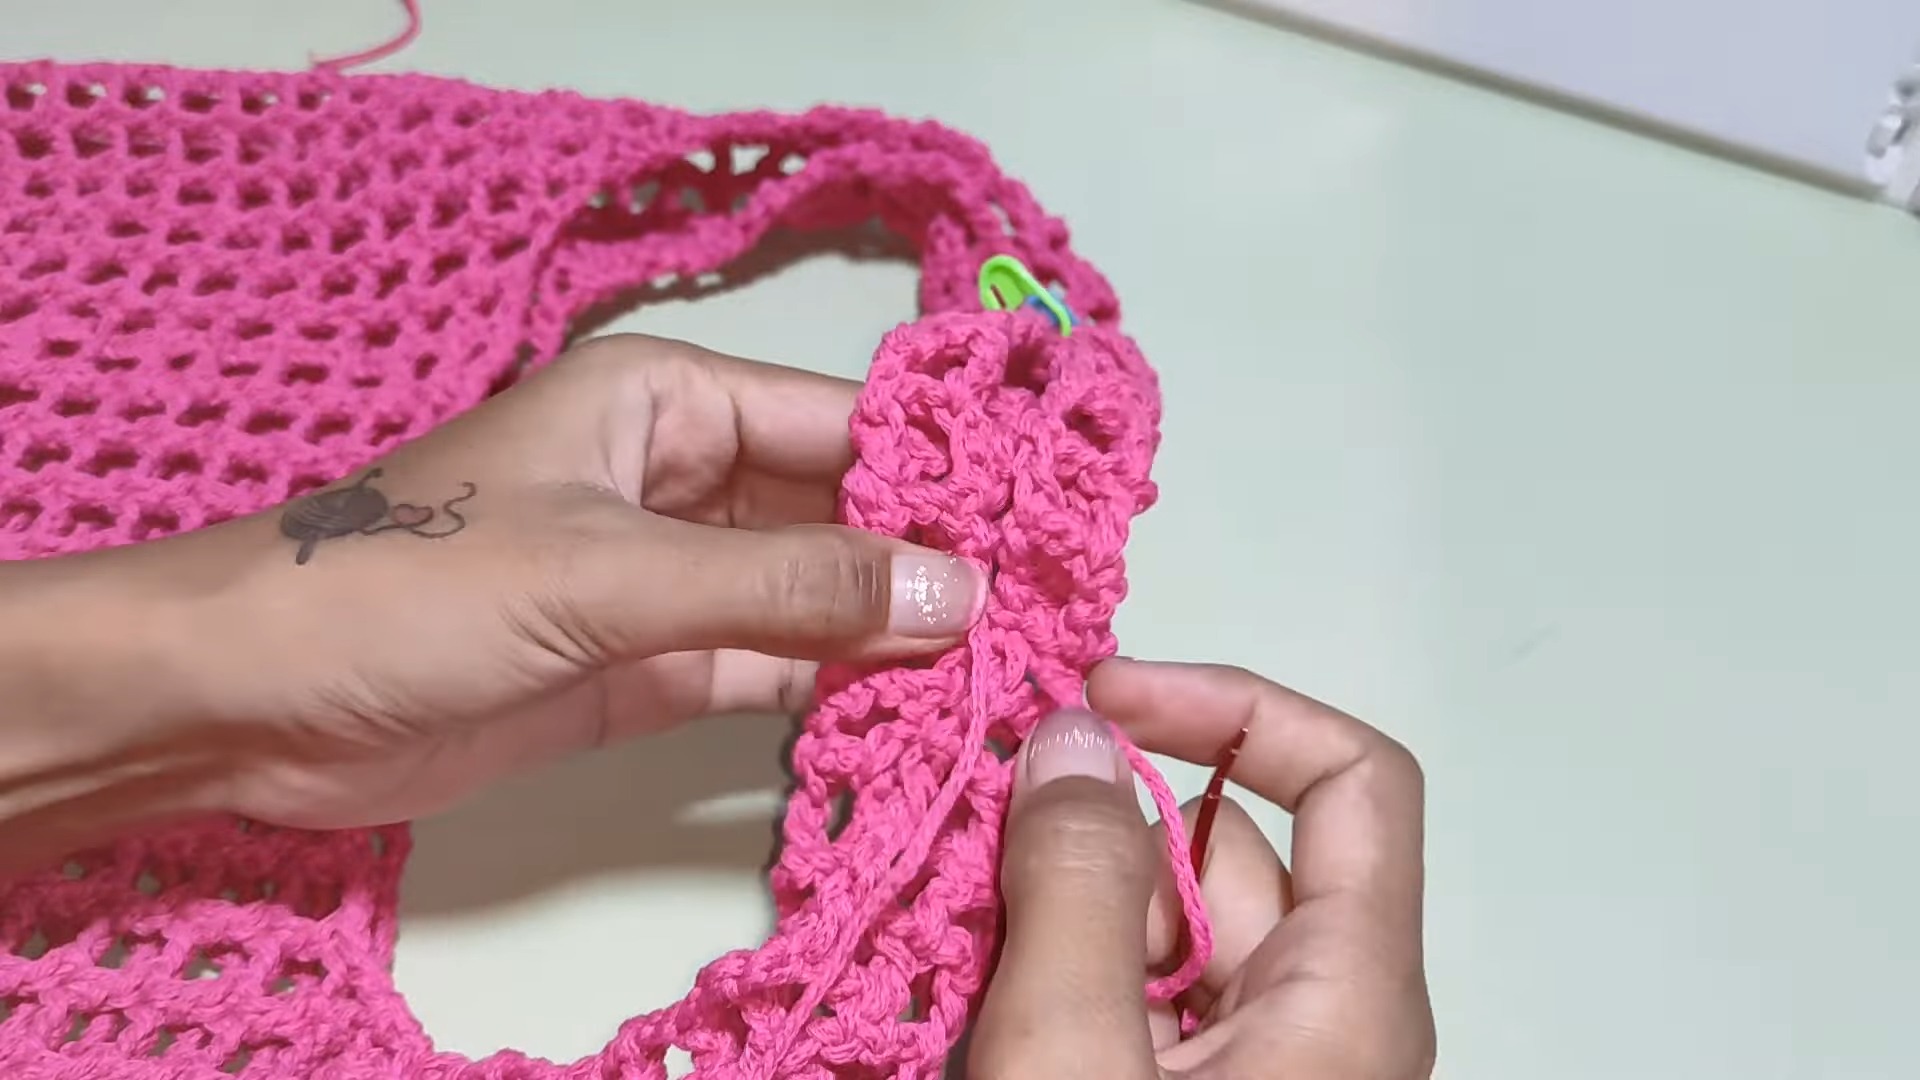
Once both strap halves have been completed, bring them together at the top shoulder area. Before joining, line up the stitches so the top edge sits evenly rather than twisting from one side to the other.
Strap Seam: Align the two completed strap halves and join the stitches securely with a slip-stitch seam across the top edge.
Then ch 1, cut the yarn, pull tight to fasten off, and weave in the remaining end with a yarn needle.
The joined top now forms the shoulder portion of the finished bag.
Make the Decorative Ribbon Strings
Five individual chain strings add the ribbon-like detail to the open mesh. Keeping all five strings the same length will make the finished bows look more balanced.
Ribbon String: Leave a yarn tail of approximately 60 cm, make a slip knot, and chain until the string measures exactly 35 cm, which is usually around 70 chains depending on tension; ch 1, cut the yarn, and leave another long tail.
Repeat this process until you have 5 identical 35 cm chain strings.
Add the Ribbon Bows
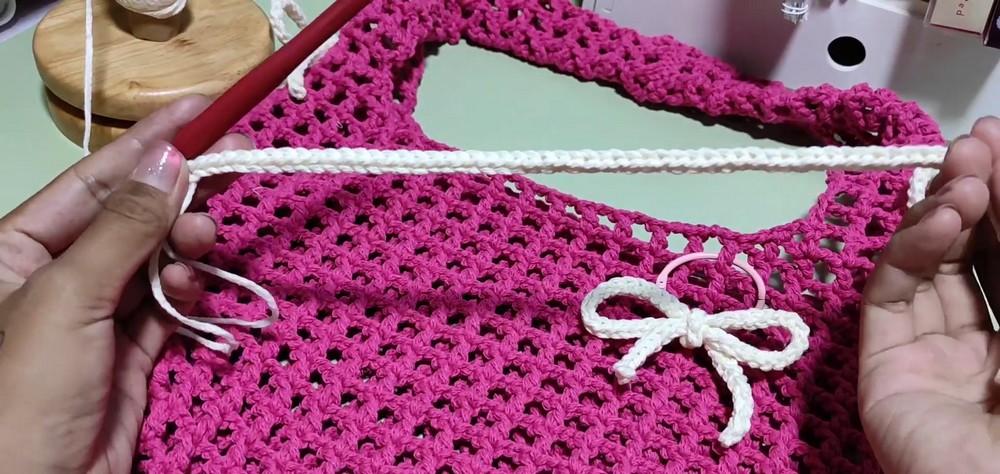
With all five strings ready, weave them through the mesh holes at the base of the straps and along the front of the bag. Positioning them through the open spaces lets the decorative chains sit naturally against the mesh rather than being sewn permanently into one fixed spot.
Tie each chain into a neat, secure bow. Check the spacing between the five bows before trimming the loose tails.
Finally, trim the extra yarn from the long tails so the ends look even and tidy.
Ready the Finished Bag
Your completed bag should have an airy oval mesh body, separated V-shaped strap sections joined at the shoulders, and five decorative chain bows across the front and strap area.
Use the original 18 cm body length for the stated size, or customize the width with an odd-number foundation chain and the height by adding more Mesh Body rounds before beginning the straps.