Crochet Bag Handle Pattern with 4-HDC Cluster Texture
Add a textured crochet bag handle with repeating cluster rows, then adjust the length for a handbag, shoulder strap, or crossbody style.
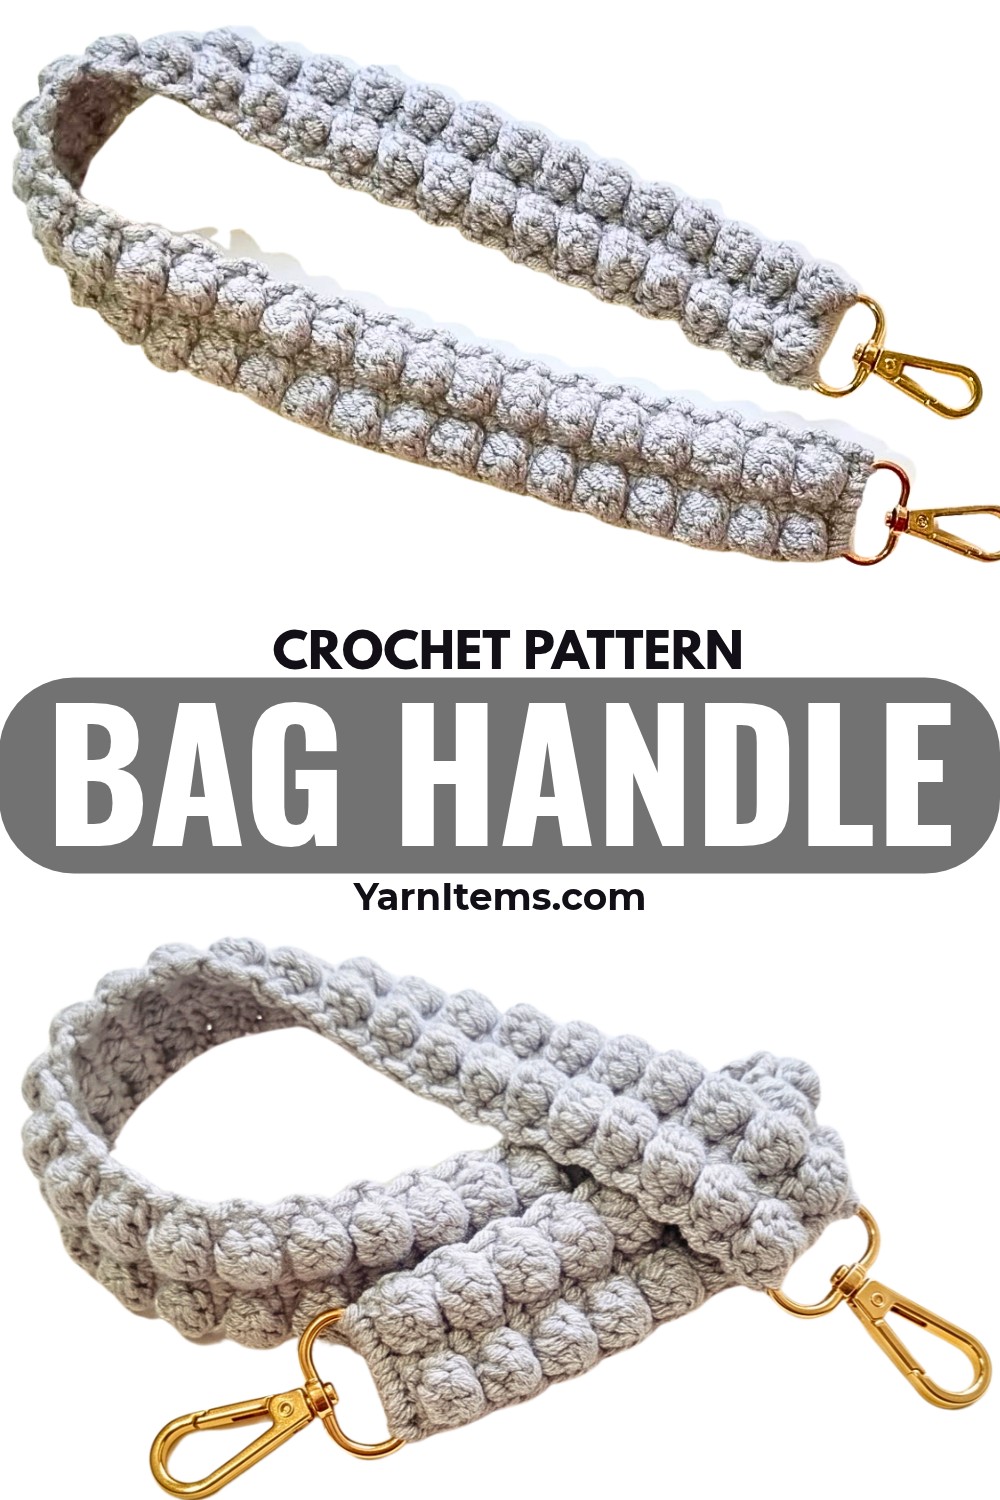
This easy crochet bag handle brings a little texture to a practical accessory, combining compact single crochet rows with raised 4-hdc clusters. The six-stitch width keeps the handle neat while the repeating pattern lets you choose a length that suits your bag.
You’ll work the crochet handle directly onto a swivel clasp, repeat six-row sections to build the length, and finish by attaching the opposite end to a second clasp. Along the way, the stitch count stays at 6 stitches, making it easier to keep the handle even as the textured rows build up.
Credit Zhote Crochet
Materials and Tools
- Yarn: Cotton or acrylic yarn in your preferred color.
- Crochet Hook: 3.5 mm crochet hook.
- Hardware: 2 bag swivel clasps or D-rings.
- Notions: Tapestry needle for weaving ends and scissors.
Finished Size and Customization
The handle is approximately 6 single crochet stitches wide in its flat structure, while the length is completely customizable. Repeat the six-row pattern for a shorter handbag handle, a longer shoulder strap, or a crossbody strap.
You can also experiment with different yarn weights, such as a thicker cord or multi-strand cotton, when you want a sturdier handle. Adjust the hook size to suit the yarn you choose.
Abbreviations
- ch: Chain
- st(s): Stitch(es)
- sc: Single Crochet
- hdc: Half Double Crochet
- rep: Repeat
- turn: Turn your work

4-HDC Cluster
The textured stitch is made by working four half double crochet stitches into the same stitch before pulling through all the loops together: yarn over, insert the hook into the specified stitch, pull up a loop, and repeat that sequence four times into the same stitch. Yarn over and pull through all loops on the hook.
Keep an eye on the stitch count: The handle remains at 6 stitches after each row. The cluster changes the texture, not the overall width.
Step-by-Step Crochet Bag Handle
Attach the First Clasp
Foundation Row: Make a slip knot on your 3.5 mm crochet hook. Insert the hook through the loop or ring of the first swivel clasp, yarn over, pull through the clasp ring, then ch 1 to secure. Work 6 sc evenly around the clasp ring. Ch 1 and turn. (6 sts)
What to check: The six sc should sit evenly around the clasp ring rather than bunching heavily on one side. This first row establishes the width that the rest of the handle will maintain.

Build the Textured Handle
Row 1: Work 1 sc in each of the first 2 sts, work a 4-hdc cluster in the next st, then work 2 sc in the remaining sts. Ch 1 and turn. (6 sts)
Why this row matters: This is the first textured row, so the cluster gives you an immediate visual reference for the pattern. Keep its placement consistent so the texture develops in the intended position.

Row 2: Work 1 sc in each of the 6 sts across. Ch 1 and turn. (6 sts)
Shape check: This plain sc row sits over the textured row and helps keep the handle flat. Before turning, make sure all 6 stitches are accounted for.
Row 3: Work 1 sc in the first st, work a 4-hdc cluster in the next st, work 2 sc in the next 2 sts, work a 4-hdc cluster in the next st, then work 1 sc in the final st. Ch 1 and turn. (6 sts)
Texture check: Two clusters appear in this row, so look at their placement before moving on. If one cluster is accidentally worked into the wrong stitch, the texture pattern can shift even though the total stitch count still looks correct.
Row 4: Work 1 sc in each of the 6 sts across. Ch 1 and turn. (6 sts)

Keep the width even: Work into all 6 stitches without adding or dropping any stitches. The plain row gives the textured section a clean, flat separation.
Row 5: Work 1 sc in the first st, work a 4-hdc cluster in the next st, work 2 sc in the next 2 sts, work a 4-hdc cluster in the next st, then work 1 sc in the final st. Ch 1 and turn. (6 sts)
Look at the repeat: Row 5 follows the same textured placement as Row 3. Checking the two cluster positions against the previous textured row can help you catch a misplaced stitch before continuing.
Row 6: Work 1 sc in each of the 6 sts across. Ch 1 and turn. (6 sts)
Before continuing: At this point, you have completed one six-row pattern sequence. The handle should still be approximately the same width, with the cluster texture visible between the plain sc rows.
Continuing Rows: Repeat Rows 1 through 6 continuously until the handle reaches your desired length.
Attach the Second Clasp
Once the handle reaches the required length, bring the last row up to meet the ring of the second swivel clasp.
Thread your tapestry needle with the remaining yarn tail. Securely whipstitch or mattress-stitch the final row of stitches directly around the ring of the second swivel clasp, making sure the attachment is firm and the handle does not twist.
Alignment check: Before finishing the stitching, check that the handle is lying flat and is not twisted. This is the easiest point to correct its orientation before the attachment is secured.

Finish the Handle
Fasten off securely. Use your tapestry needle to weave in all remaining yarn tails neatly along the back of the handle. Trim any excess yarn with scissors.
Your custom textured crochet bag handle is now ready to attach to your favorite bag.