How to Crochet a Ribbon Net Bag for Beginners
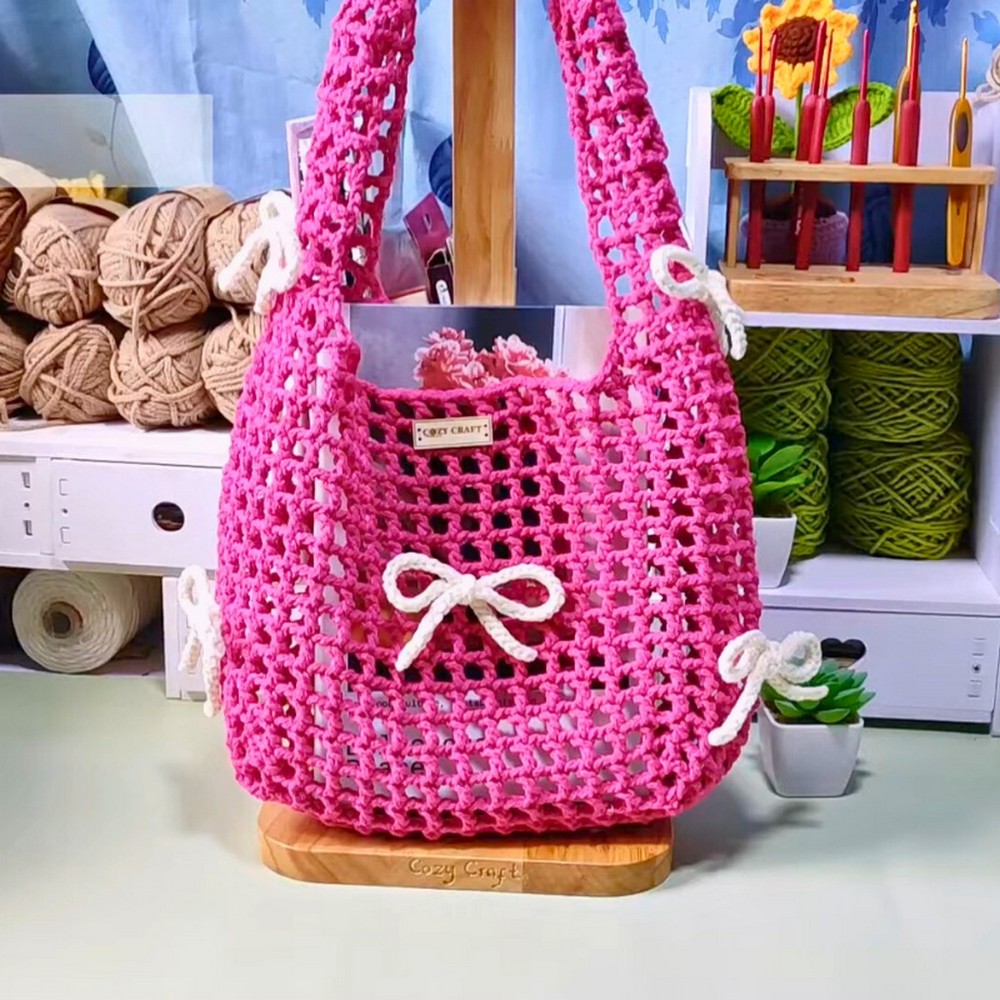
The crochet ribbon net bag stands out for its intricate net-like design, created with simple stitches and a beautiful ribbon yarn. This lightweight, stylish bag is perfect for summer outings or casual wear.
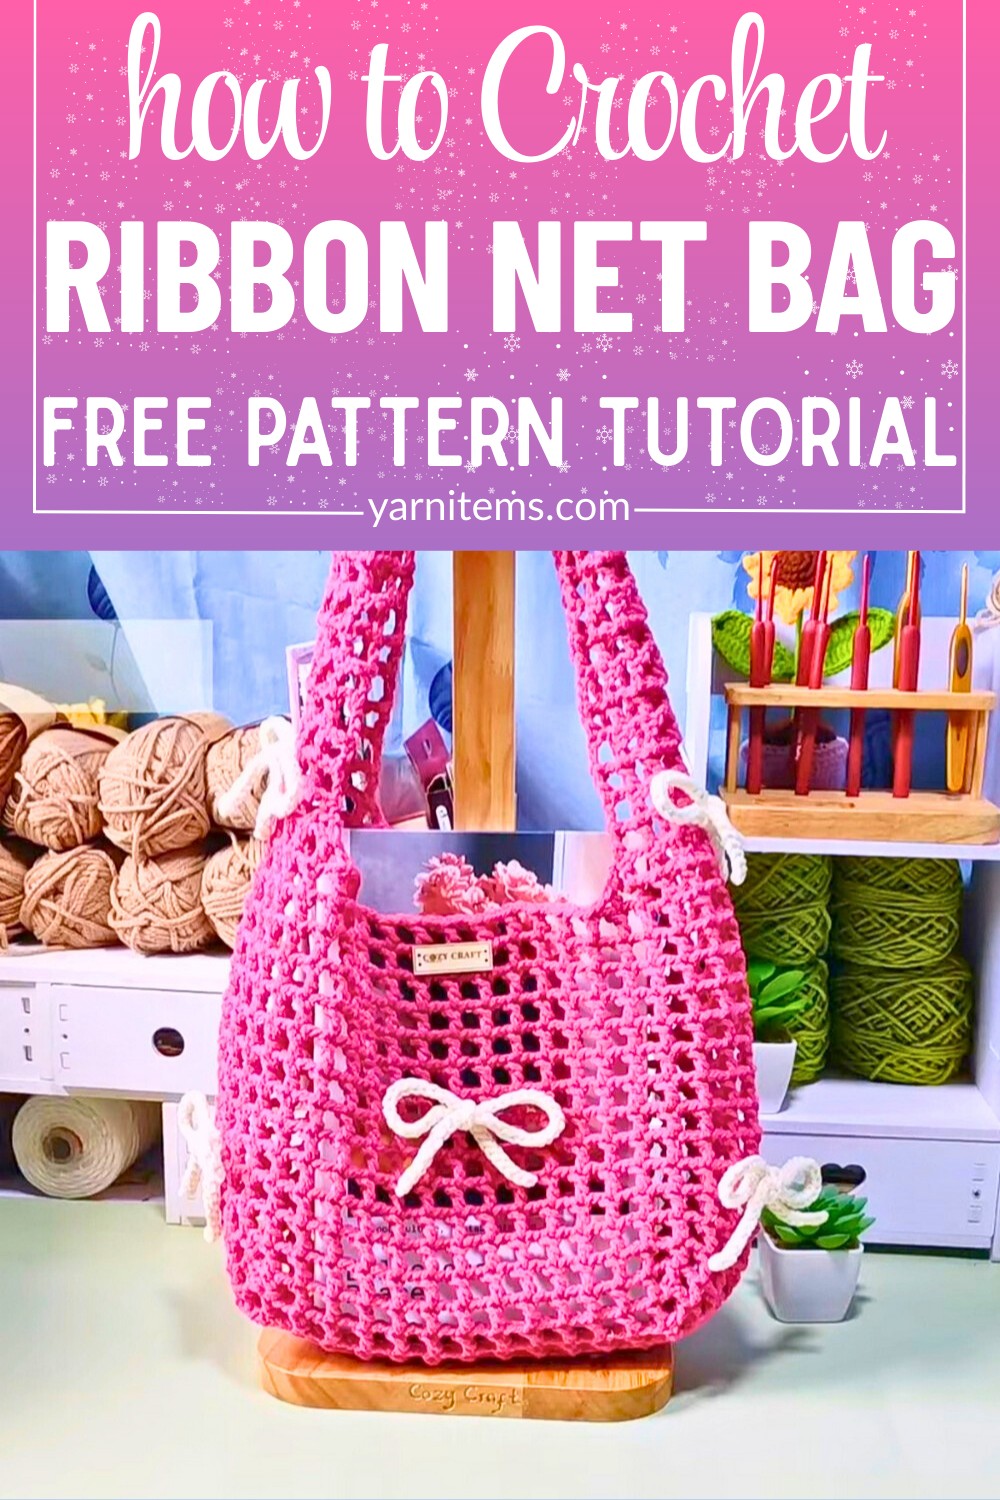
Its open-weave pattern not only adds visual interest but also makes it practical for carrying items like groceries, books, or beach essentials.
Credit Cozy Craft
Materials:
- Ribbon Yarn (approximately 200 grams)
- Crochet Hook (6.5mm or appropriate size for your chosen yarn)
- Scissors
- Tapestry Needle
- Stitch Markers (optional)
Key Crochet Techniques:
- Chain Stitch (ch): A foundational stitch used to create the base.
- Slip Stitch (sl st): Used to join pieces of the project together.
- Double Crochet (dc): A common stitch that forms the main pattern.
- Treble Crochet (tr): Used for the mesh/net design for extra openness.
Design and Uses:
This versatile bag is ideal for everyday use. Featuring a spacious net pattern, the bag expands easily to accommodate various items, making it perfect for shopping trips or beach days. Its lightweight construction allows it to be folded and stored in smaller spaces when not in use.
Detailed Pattern:
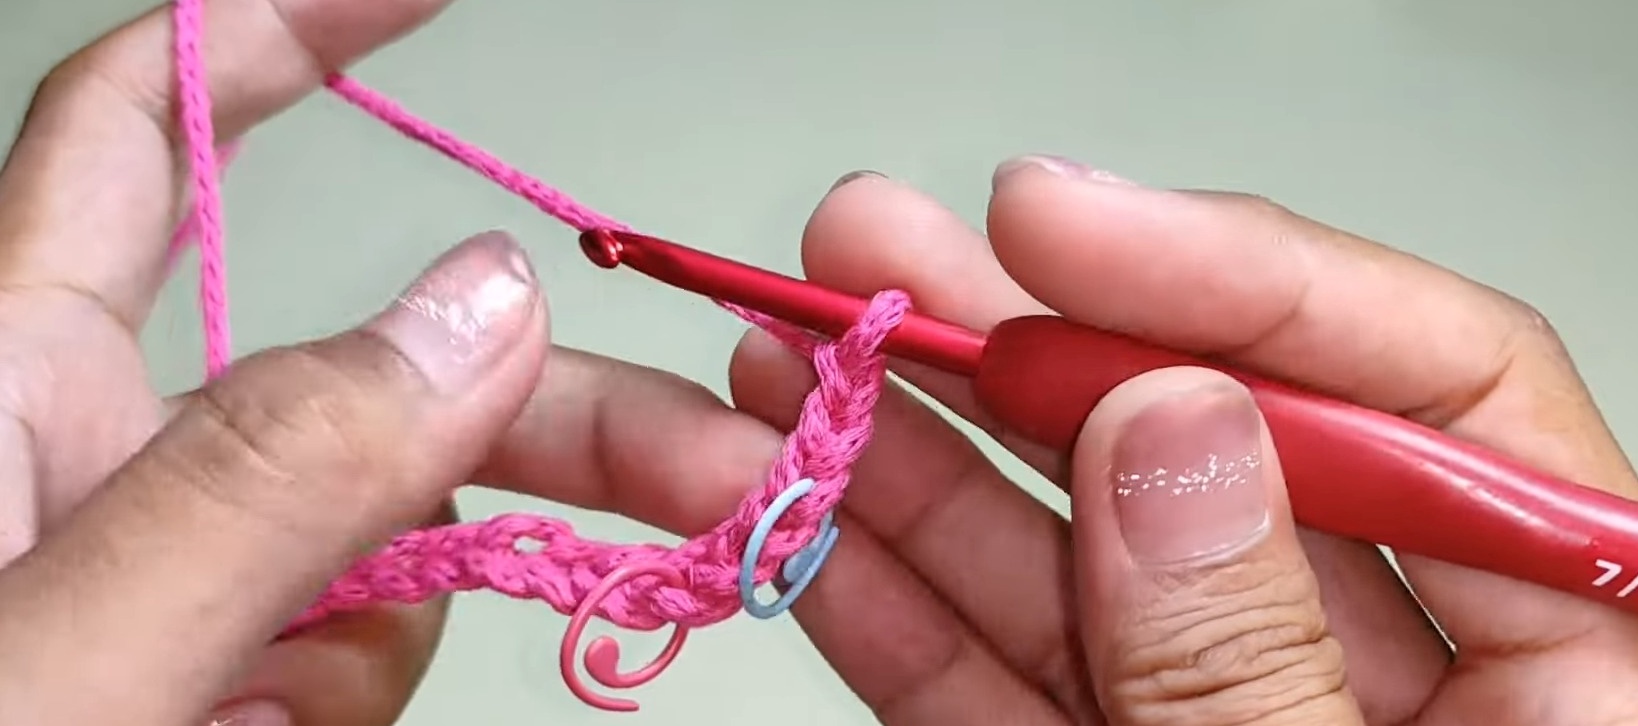
- Base:
- Start with a slip knot.
- Chain 41 stitches (or your desired width) and turn.
- Double crochet in the third chain from the hook.
- Continue double crocheting in each chain across. Chain 2 and turn.
- Repeat this process for 4-5 rows to complete the base.
- Body:
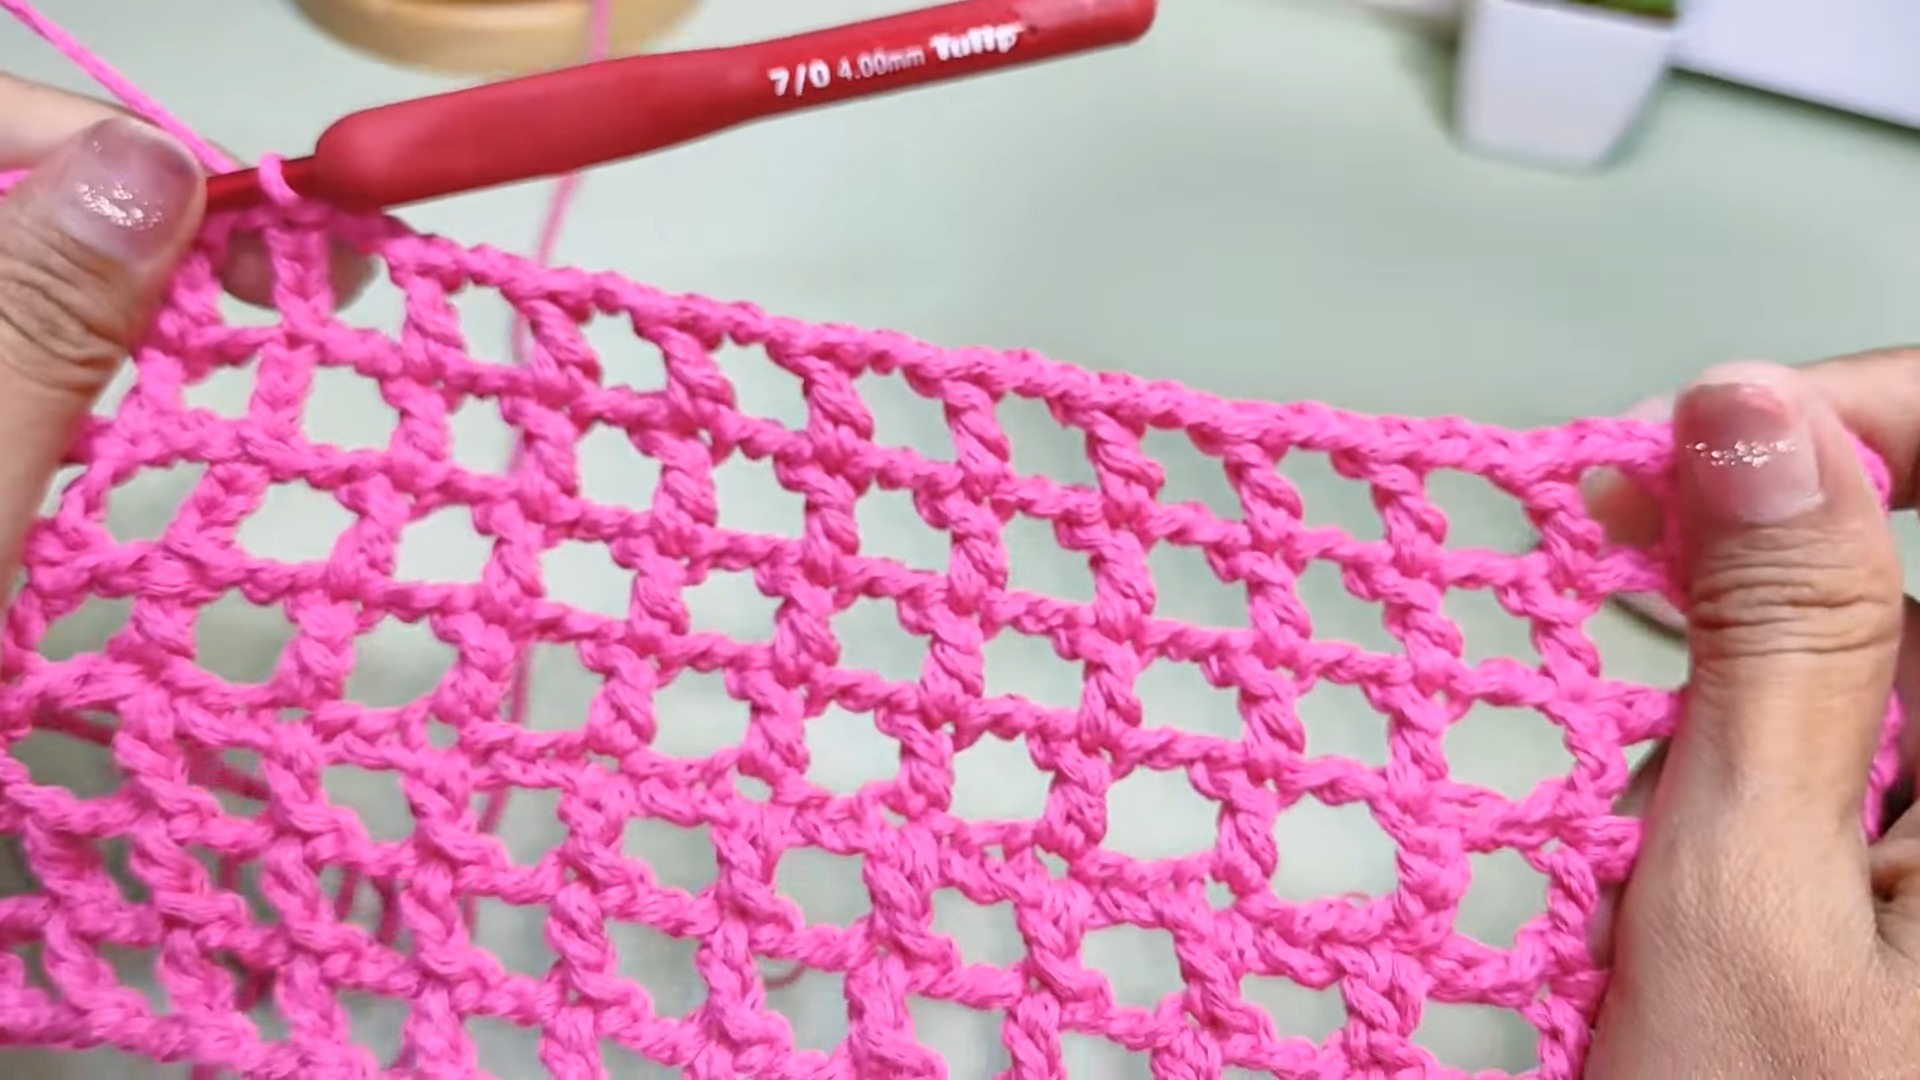
- Chain 4 (counts as the first treble crochet), treble crochet in the same stitch.
- Skip three stitches, treble crochet twice in the next stitch until the end of the row. Chain 1 and turn.
- For the second row, chain 4, treble crochet twice in the spaces between the pairs of treble crochet from the previous row. Chain 1 and turn.
- Continue this pattern until the bag reaches the desired height.
- Handles:
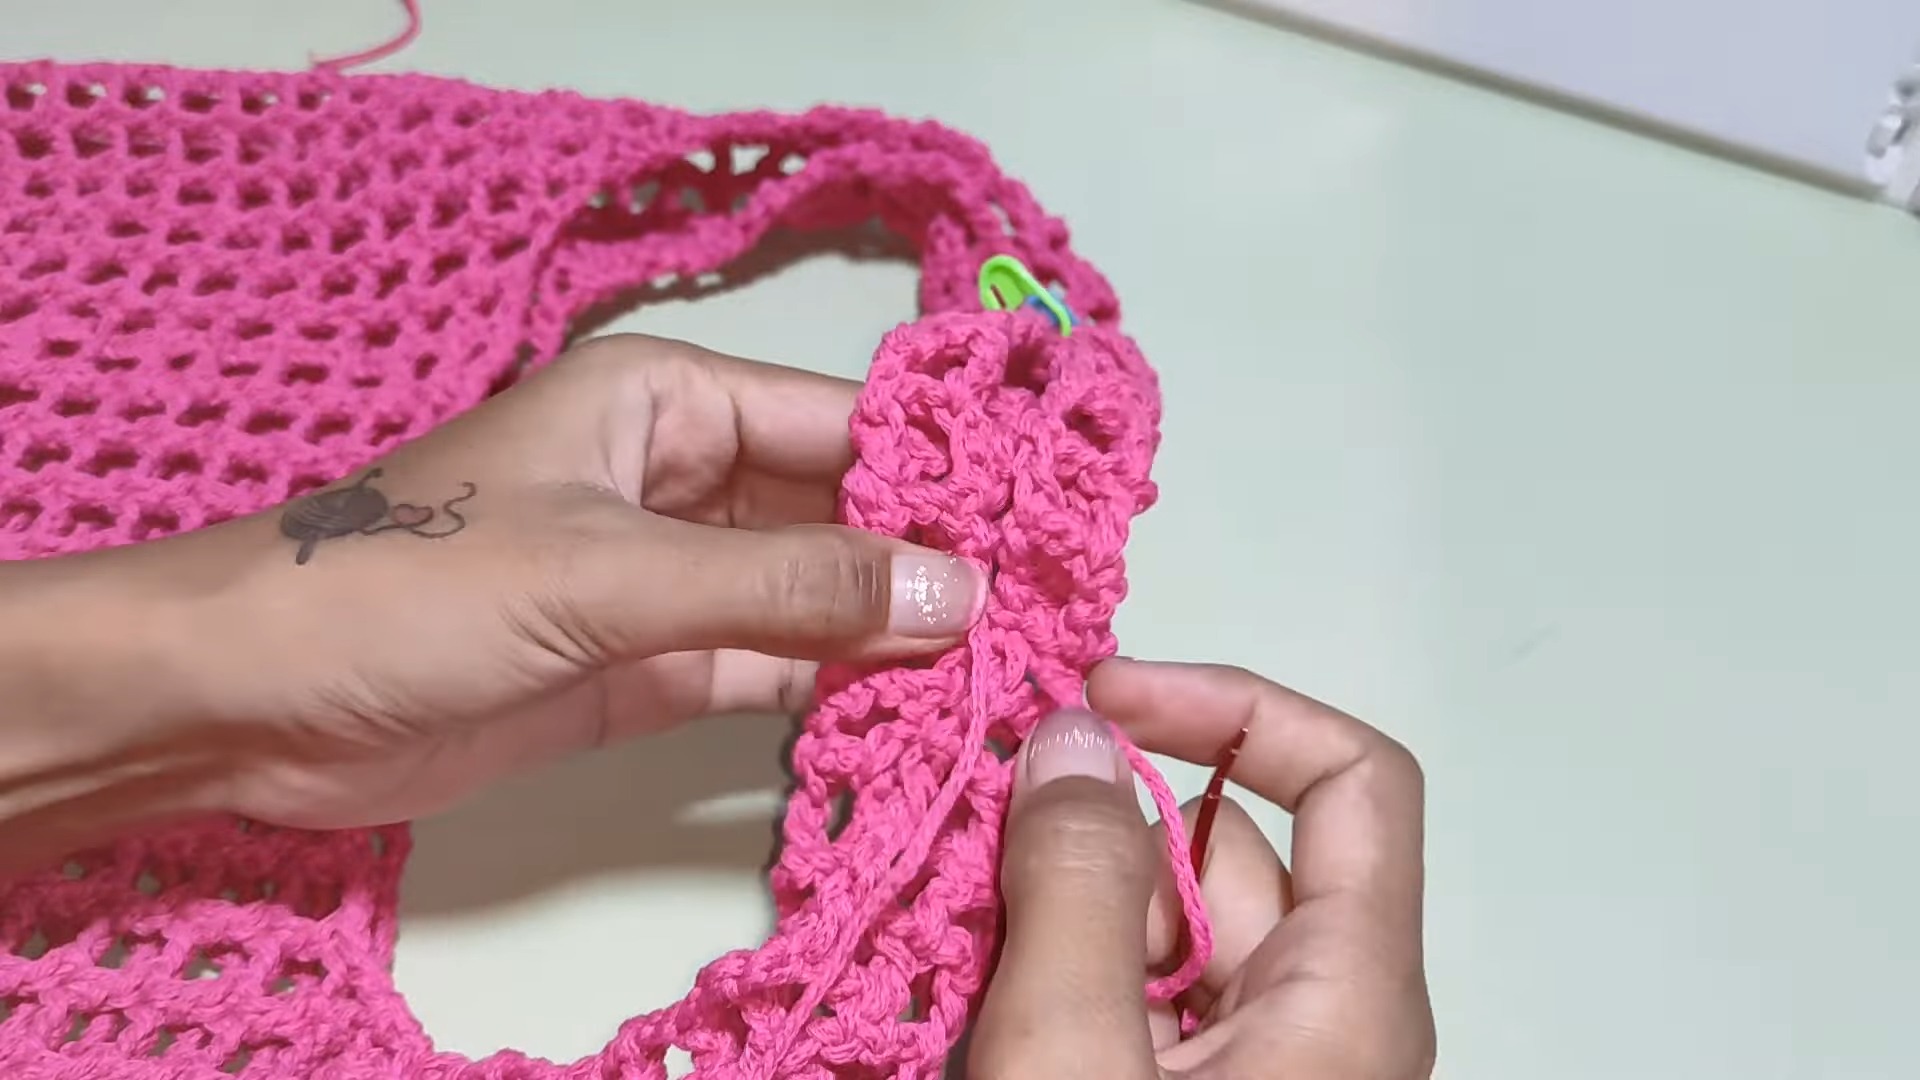
- Once the body is complete, place stitches at either end to mark where the handles will go.
- Chain 50 (for a shorter handle, increase for a longer handle) and attach to the marked stitch with a slip stitch.
- Chain 1 and slip stitch around the entire opening of the bag to reinforce the top edge and handles.
- Finishing:
- Weave in any loose ends using the tapestry needle.
- Trim any excess yarn.

Conclusion:
Creating a crochet ribbon net bag is a rewarding project that’s perfect for beginners looking to enhance their skills. With simple materials and basic techniques, you can craft a useful and stylish accessory that you’ll be proud to show off.