Crochet Pattern for a Cozy and Stylish Fall Scarf
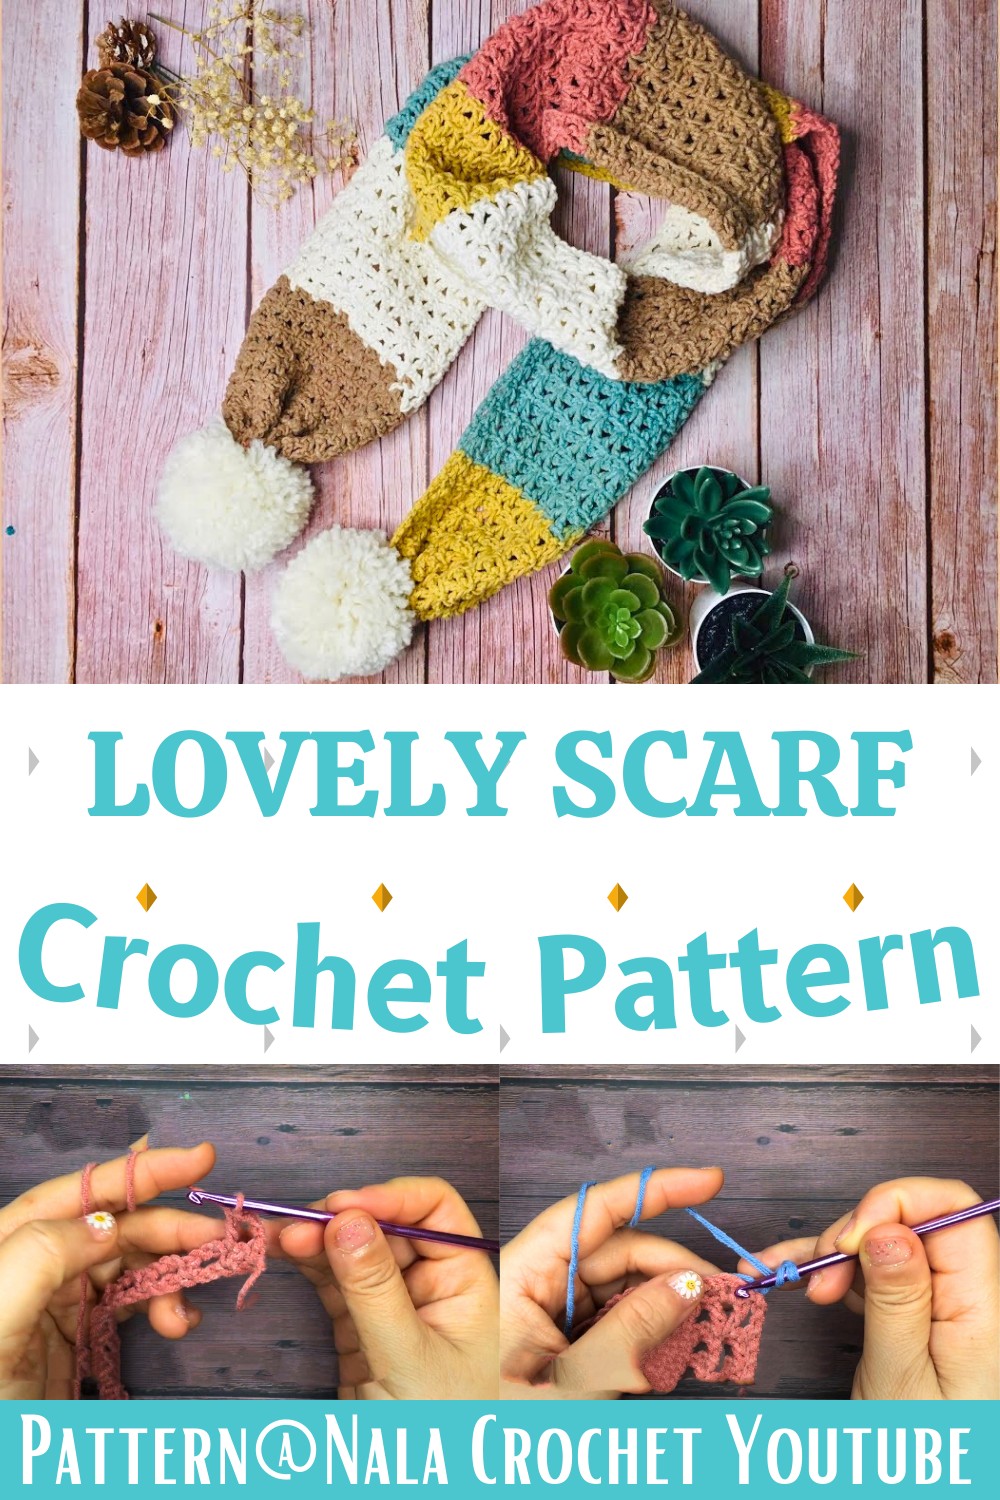
Create a lightweight fall scarf with an airy V-stitch texture, soft drape, and plenty of room for color changes. The simple two-row repeat makes it relaxing to crochet while letting you adjust the width and length to suit your style.
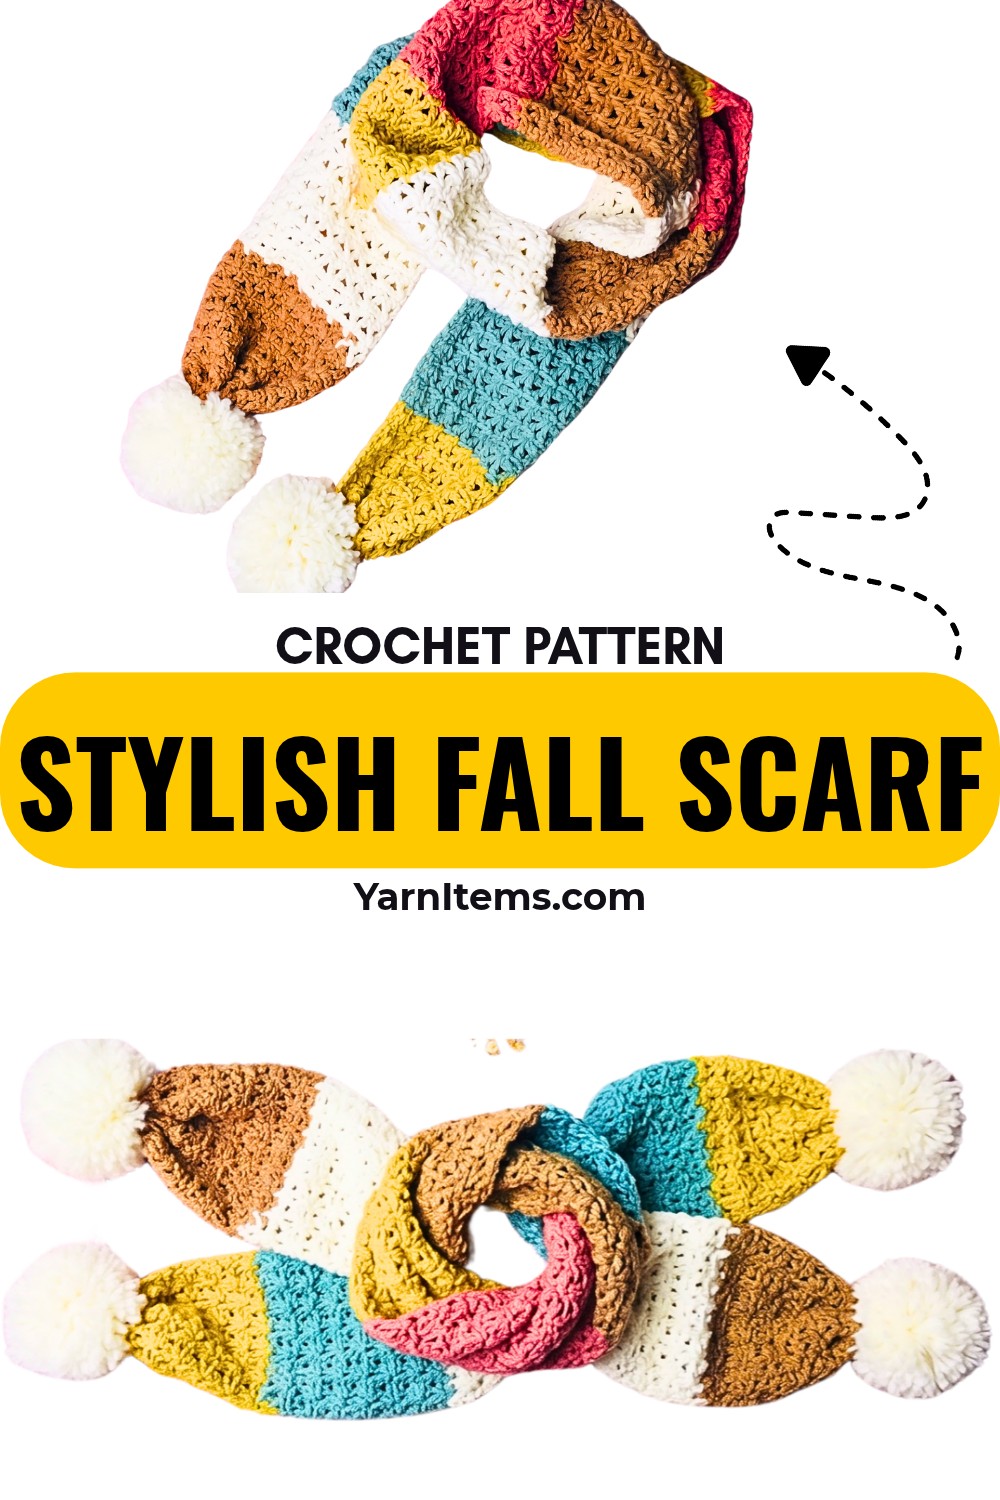
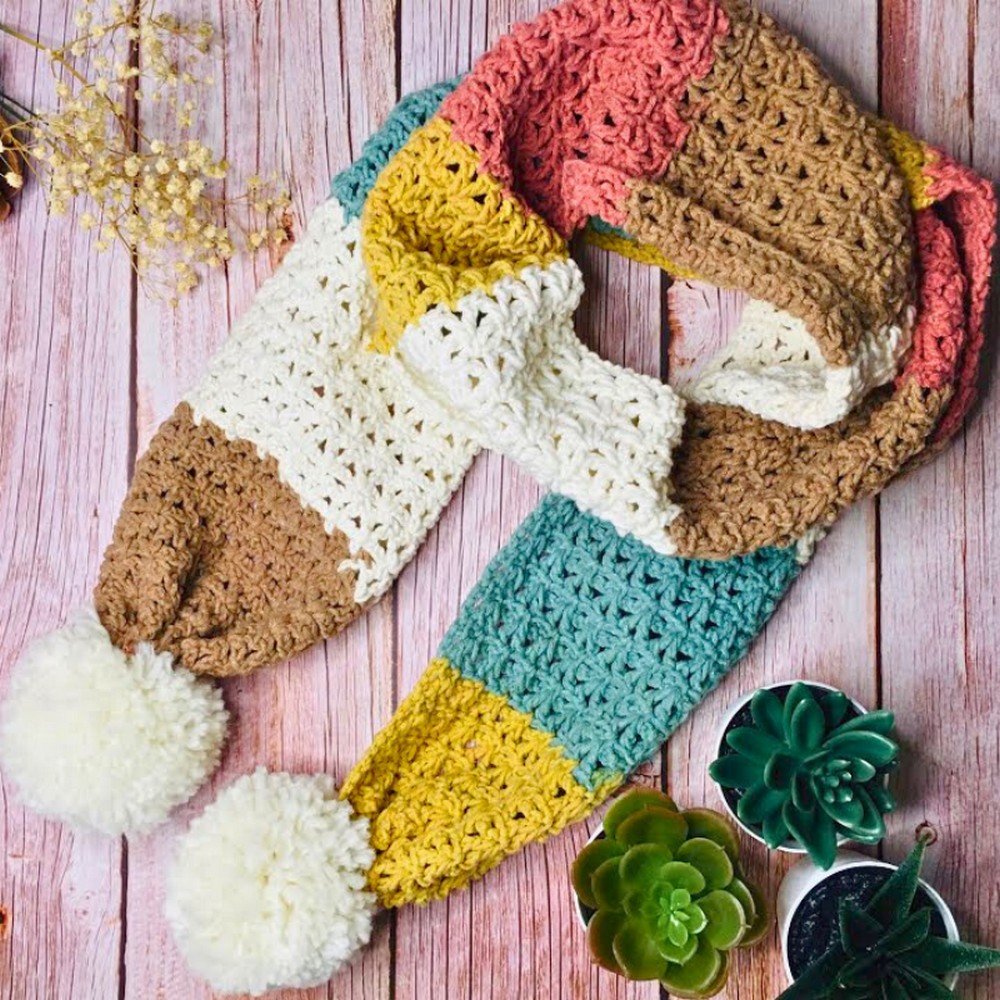
A good fall scarf does not always need to be thick to feel cozy. This lightweight crochet design creates an open, flexible fabric that is easy to layer on cool-weather days without feeling bulky around your neck. The combination of simple stitches and a slightly larger hook also gives the finished scarf a soft, comfortable drape.
The construction is built around two repeating rows: a V-stitch row and an arch-and-mesh row. Once the first few repeats are established, the crochet pattern becomes easy to recognize, but the spaces are important. Working into the correct V-stitch chain spaces and keeping the foundation chain count right will help the crochet scarf maintain its width and consistent texture from one end to the other.
Materials & Tools Needed
- Yarn: 3.5 mm cotton yarn; solid, variegated, or multicolored yarn all work well
- Crochet Hook: 4.0 mm
- Tapestry Needle: For weaving in yarn tails
- Scissors
- Pom-Pom Maker: Optional, for decorative pom-poms
- Optional Embellishments: Yarn for tassels or fringe
Why Use a 4 mm Hook?
The 4 mm hook is slightly larger than the yarn’s stated 3.5 mm size. This gives the open stitch pattern more room to relax, helping the scarf stay flexible instead of becoming stiff or dense.
If your own yarn behaves differently, pay attention to the fabric rather than focusing only on the hook size. You want the finished stitches to feel soft and flexible enough to drape comfortably.
Finished Size & Customization
Finished Width: Approximately 22 cm (8.6 inches).
Finished Length: Adjustable. A typical adult scarf can be made around 150–180 cm long, but you can continue the repeat until you reach the length you prefer.
Adjusting the Width
The foundation chain should follow this formula:
Multiple of 3 + 3 chains
The tutorial uses 38 chains.
This count is important because the first row establishes the chain-3 arches that the V-stitches will later fit into.
Adjusting the Length
Length is the easier measurement to change. Simply continue alternating the repeating rows until the scarf reaches the desired length.
For a shorter scarf, stop earlier. For a longer scarf, work more repeats.
Color Ideas
You can keep the scarf in one color or create seasonal stripes.
Try:
- Rust and cream
- Mustard and brown
- Burgundy and beige
- Olive and cream
- Burnt orange and deep red
- A variegated autumn yarn
For clear color blocks, changing colors at the end of a complete repeat helps keep the stripe transitions visually consistent.
Pattern Abbreviations & Terminology
US crochet terms are used throughout.
- ch: Chain
- sc: Single Crochet
- dc: Double Crochet
- sl st: Slip Stitch
- st(s): Stitch(es)
- ch-sp: Chain Space
- V-stitch: 1 dc, ch 1, 1 dc worked into the designated stitch or space
Crochet Fall Scarf Pattern
The scarf is worked flat in rows. The first row creates the foundation mesh, the second row fills that structure with V-stitches, and the third row changes the V-stitches back into open arches.
After the setup, you will repeat Row 2 and Row 3.
Make your foundation chain loosely enough that it does not pull the first row into a tight curve.
Foundation Chain: Ch 38. (38 ch)
If you tend to make chains tightly, consciously loosen your tension here. A tight foundation chain can make the first edge narrower than the rest of the scarf.
Foundation Chain Check
Before beginning Row 1, look at the chain count carefully.
For this pattern:
38 = 35 + 3
The 35 is a multiple of 3, and the extra 3 chains complete the required starting structure.
Row 1 – Setup Mesh Row
This first row may look unusual because it combines short chain spaces with longer ch-3 arches. Those arches become the spaces where the next row is worked.
Row 1: Ch 1 (does not count as a stitch), sc in the 2nd ch from hook, ch 1, sk 1 ch, sc in next ch, then repeat (ch 3, sk 2 ch, sc in next ch) across until 2 foundation chains remain; ch 1, sk 1 ch, sc in the final ch. (Setup row complete)
The finished row should have:
- 1 sc at the beginning
- A small ch-1 space near the beginning
- Repeated ch-3 arches through the center
- A small ch-1 space near the opposite edge
- 1 sc at the end
Row 1 Visual Check
Before starting Row 2, gently stretch the row horizontally.
You should be able to see a series of larger ch-3 arches between the single crochet stitches.
These arches are not mistakes or empty gaps. They are deliberately created because the V-stitches in the next row will skip over them.
Row 2 – V-Stitch Row
This is where the scarf’s main texture begins.
A V-stitch consists of:
1 dc, ch 1, 1 dc
worked into the same designated stitch.
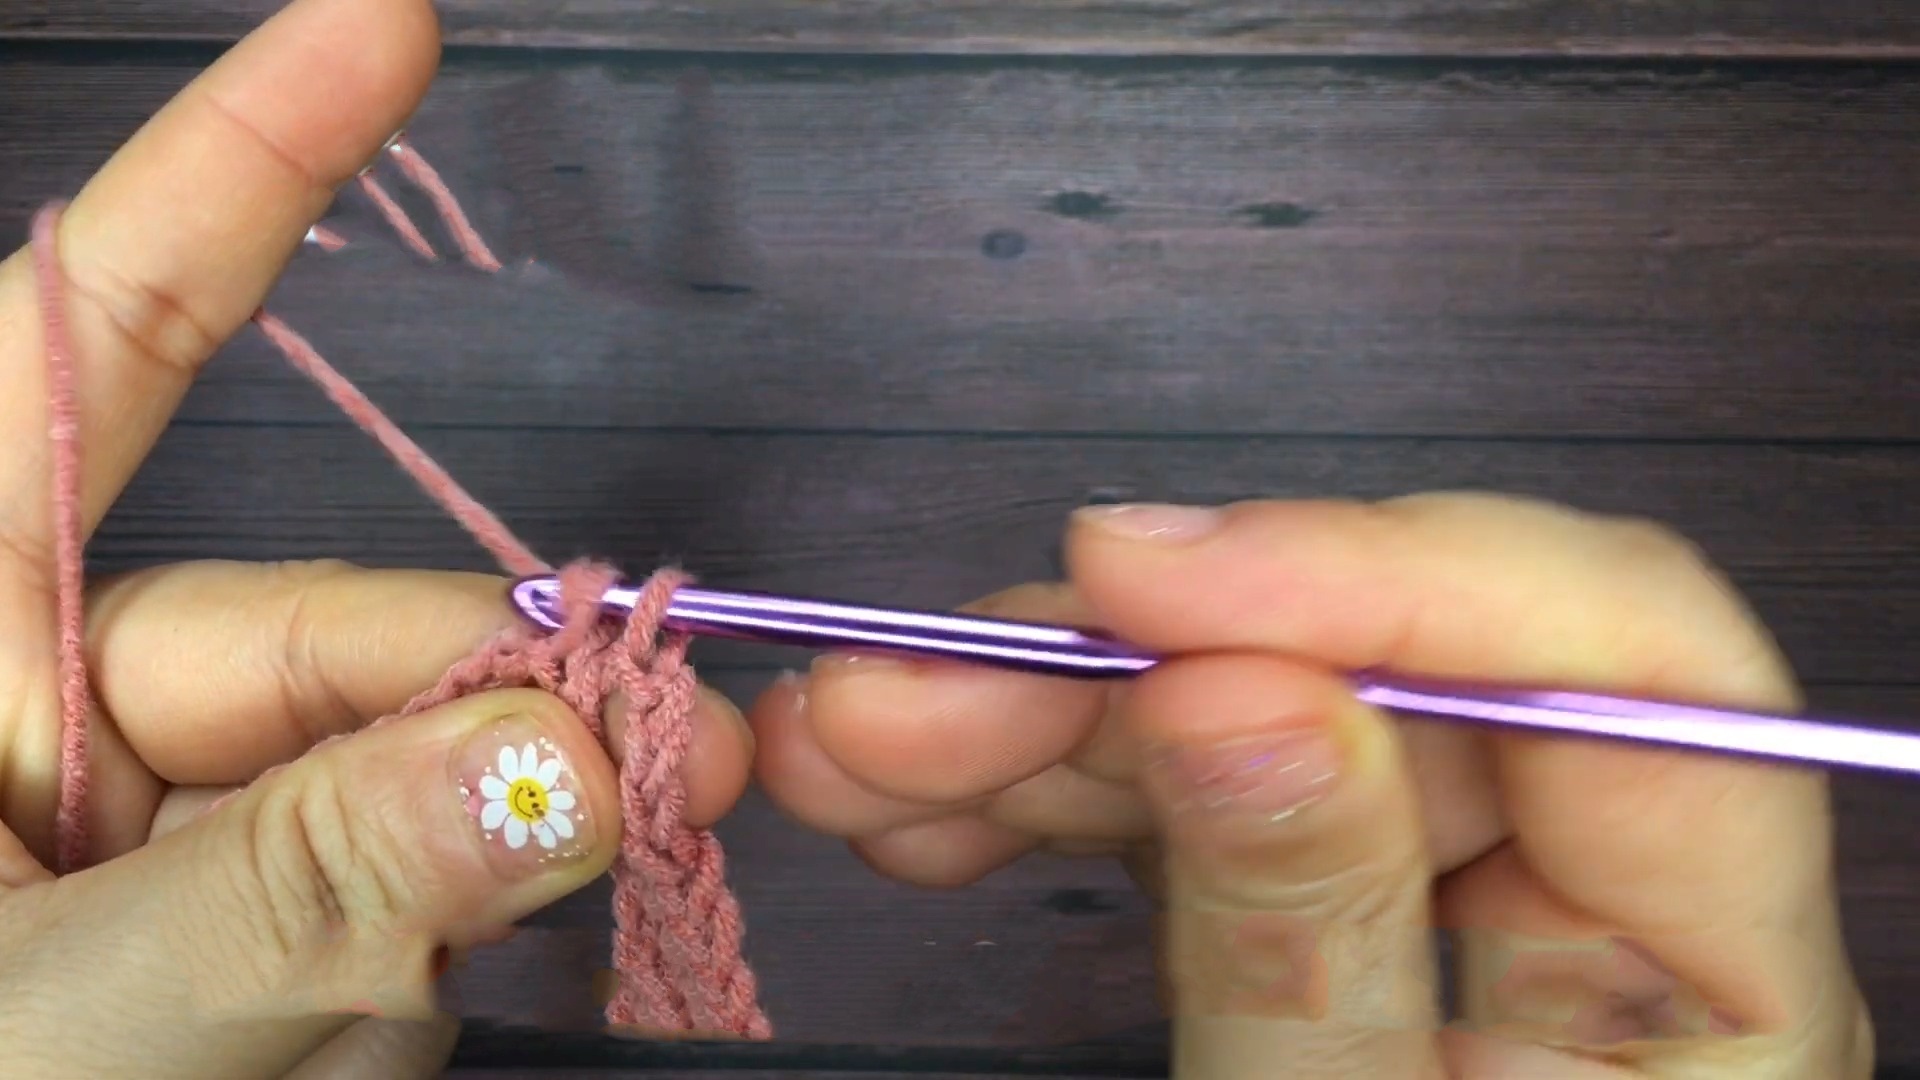
Row 2: Ch 3 (counts as the first dc), turn, sk the edge ch-1 space, work a V-stitch (1 dc, ch 1, 1 dc) in the first inner sc, sk the next ch-3 arch, work a V-stitch in the next sc, and repeat (sk ch-3 arch, V-stitch in next sc) across; sk the final ch-1 space and work 1 dc in the final sc. (Row complete)
Where Does Each V-Stitch Go?
This is the most important placement point in the pattern.
Do not work the V-stitch into the large ch-3 arch.
Instead, skip the arch and place the V-stitch into the single crochet stitch between two arches.
Once you see the pattern as: sc → ch-3 arch → sc → ch-3 arch → sc, the placement becomes much easier to follow.
Row 3 – Arch and Mesh Row
Row 3 changes the solid-looking V-stitch row back into open arches.
Row 3: Ch 1 and turn, sc in the first dc, ch 1, sc in the ch-1 space of the first V-stitch, then repeat (ch 3, sc in the ch-1 space of the next V-stitch) across; after working the final sc in the last V-stitch ch-1 space, ch 1, sk the remaining dc, and sc in the top of the turning ch-3 from the previous row. (Row complete)

The Important Space in Row 3
This time, you are not working into the double-crochet stitches of the V-stitches.
Instead, look for the small hole in the center of each V: dc — ch 1 space — dc. Your sc goes directly into that ch-1 space.
This change is what allows the open arches to line up with the V-stitches on the previous row.
Row 4 and Beyond – Repeat the Pattern
Once Rows 2 and 3 are established, the rest of the scarf is mostly repetition.
Row 4: Repeat Row 2. (V-stitch row)
Row 5: Repeat Row 3. (Arch and mesh row)
Rows 6 onward: Continue alternating Row 2 and Row 3 until the scarf reaches your desired length. (Repeat as needed)
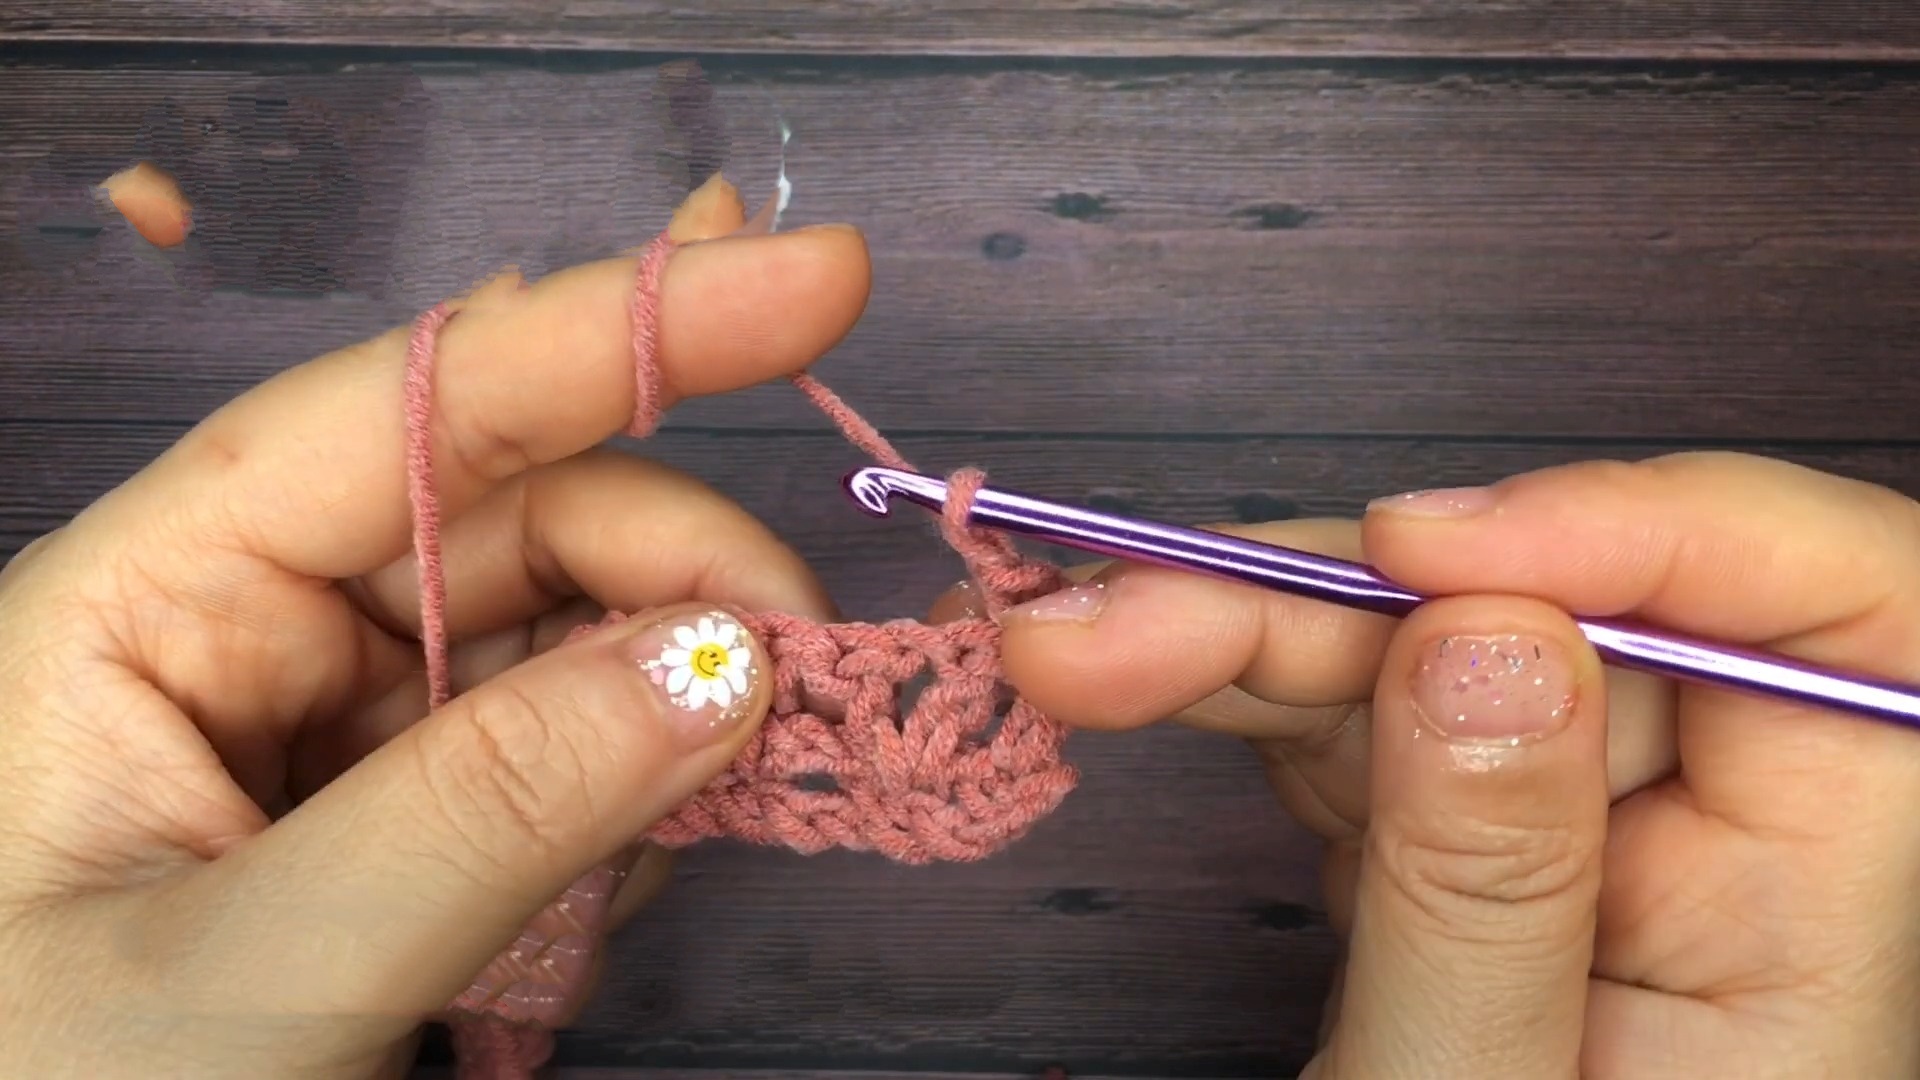
How to Recognize Which Row Comes Next
Rather than constantly checking the row number, look at the fabric.
If you see V-stitches across the row, work the arch-and-mesh row next.
If you see open ch-3 arches, work the V-stitch row next.
This visual check is especially helpful when making a long scarf, where it is easy to lose track of the row count.
Color Changes
Color changes work particularly well with this repeating pattern because each row creates a distinct texture.
For a clean color change:
Color Change: Work the final stitch of the row until only 2 loops remain on the hook, drop the old color, yarn over with the new color, and pull through the remaining loops; continue the next row with the new color. (New color attached)
Weave the unused yarn tails into the side edge as you work, or secure them neatly at the end.
For Clean Stripe Blocks
If you want wider stripes rather than single-row color changes, keep each color for a complete repeat of the pattern.
For example:
- Color A: Rows 2–3
- Color B: Rows 4–5
- Color A: Rows 6–7
This keeps each stripe visually balanced.
Checking the Scarf Width
After several repeats, lay the scarf flat and compare both long edges.
The edges should remain relatively straight.
If the scarf suddenly becomes narrower or wider, stop and check the last completed row. The most common place to look is the first and last stitch, since those edge stitches frame every repeat.
Also check that you have not accidentally placed a V-stitch into a ch-3 arch.

Finishing the Scarf
Once the scarf reaches your desired length, fasten off and secure the yarn tail.
Fastening Off: Cut the yarn, leaving approximately a 6–8 inch tail, pull the yarn through the final loop, and tighten gently. (Finished)
Thread the tail onto a tapestry needle and weave it back through the stitches along the edge.
Repeat for every remaining yarn end.
Weaving in Color-Change Tails
When multiple colors are used, avoid leaving long loose tails on the inside of the scarf. Weave each tail securely through several stitches, preferably along the side or through stitches that match the same color.
Trim only after the tail feels secure.
Add Pom-Poms or Tassels
The scarf is already wearable without embellishments, but pom-poms or tassels can give the ends a more finished, playful look.
Attach them to the corners or short ends of the scarf.
For a coordinated design, use one of the scarf colors for the embellishments. For a stronger contrast, choose an accent shade that appears only in the pom-poms or tassels.
How to Customize the Scarf
Make It Wider
Use a longer foundation chain while keeping the required formula:
Multiple of 3 + 3
Then work the same Row 1 setup and continue with the regular repeat.
Make It Longer
Keep the foundation chain unchanged and simply add more Row 2/Row 3 repeats.
Make a Lighter Scarf
Choose a lighter yarn and maintain a comfortable hook size that allows the V-stitch fabric to drape naturally.
Make a More Colorful Scarf
Use alternating colors every two rows, or experiment with a variegated yarn to let the color changes happen naturally.

Helpful Tips for a Better Result
Keep the foundation chain relaxed. If it is too tight, the first edge can pull inward and make the scarf look uneven.
Learn the V-stitch placement early. The V-stitches belong in the sc stitches between the ch-3 arches, not in the arches themselves.
Use the ch-1 space in the V-stitch on the next row. That small center space is the target for the sc on the arch row.
Watch the edges. The first and final stitches help maintain the scarf’s straight sides, so don’t skip them when repeating the pattern.
Measure the fabric rather than counting only rows. Your gauge may produce a different length from the sample, so stop when the scarf reaches the size you actually want.