Crochet Mesh Sweater Pattern With Easy Made-to-Measure
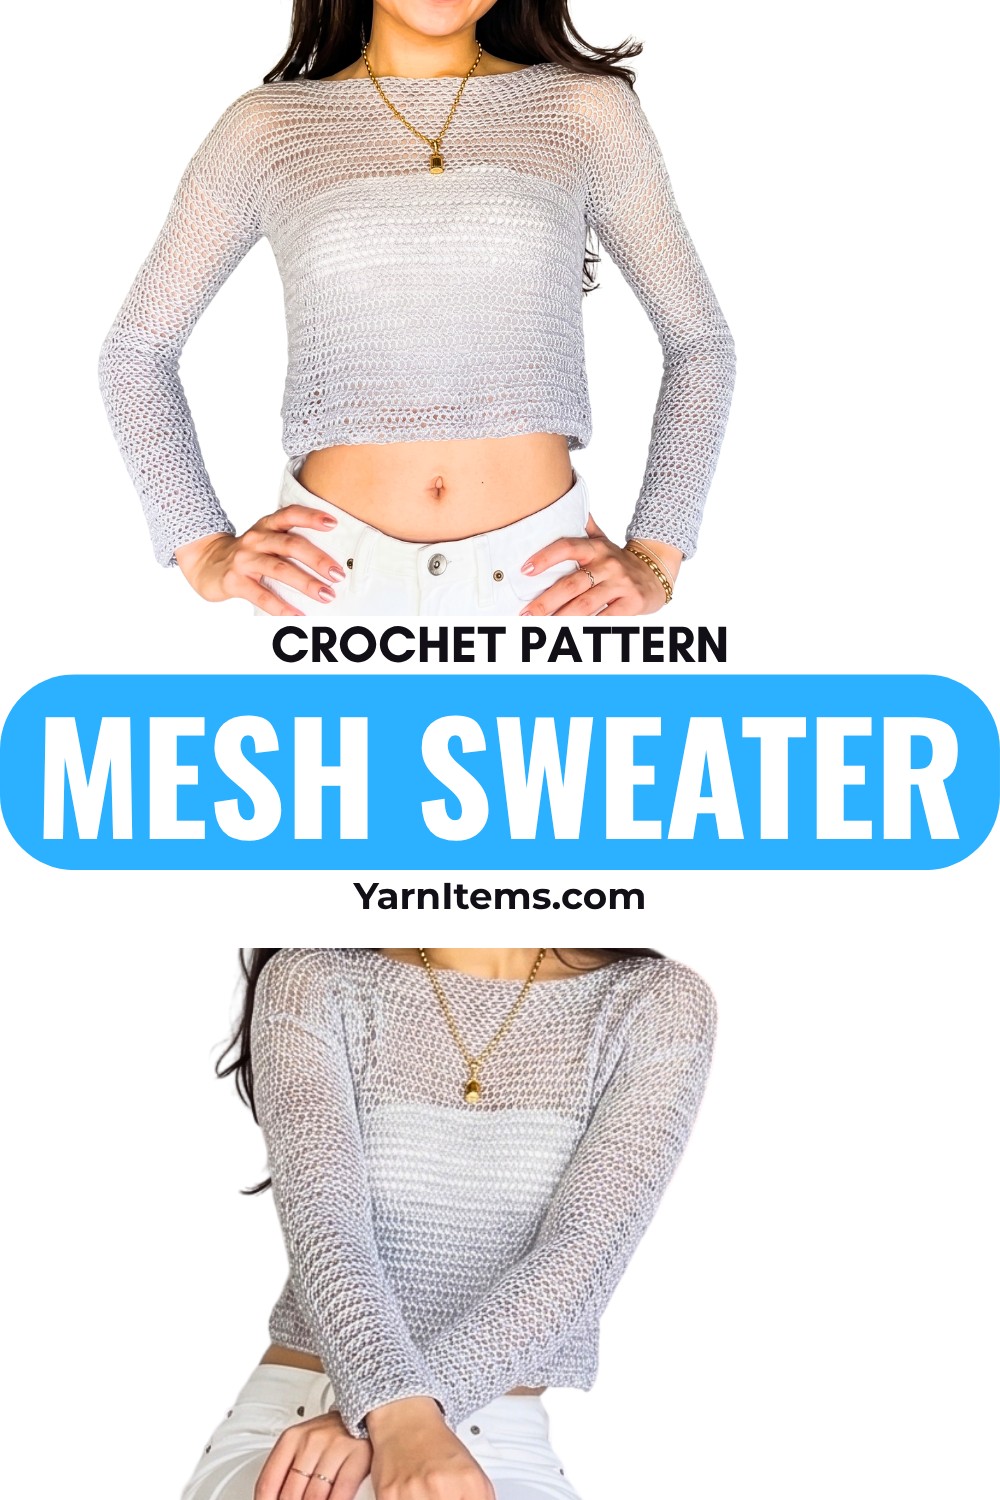
Make a lightweight crochet sweater to your own measurements, with simple hdc panels and sleeves that come together in an easy made-to-measure design.
Crochet Mesh Sweater Pattern
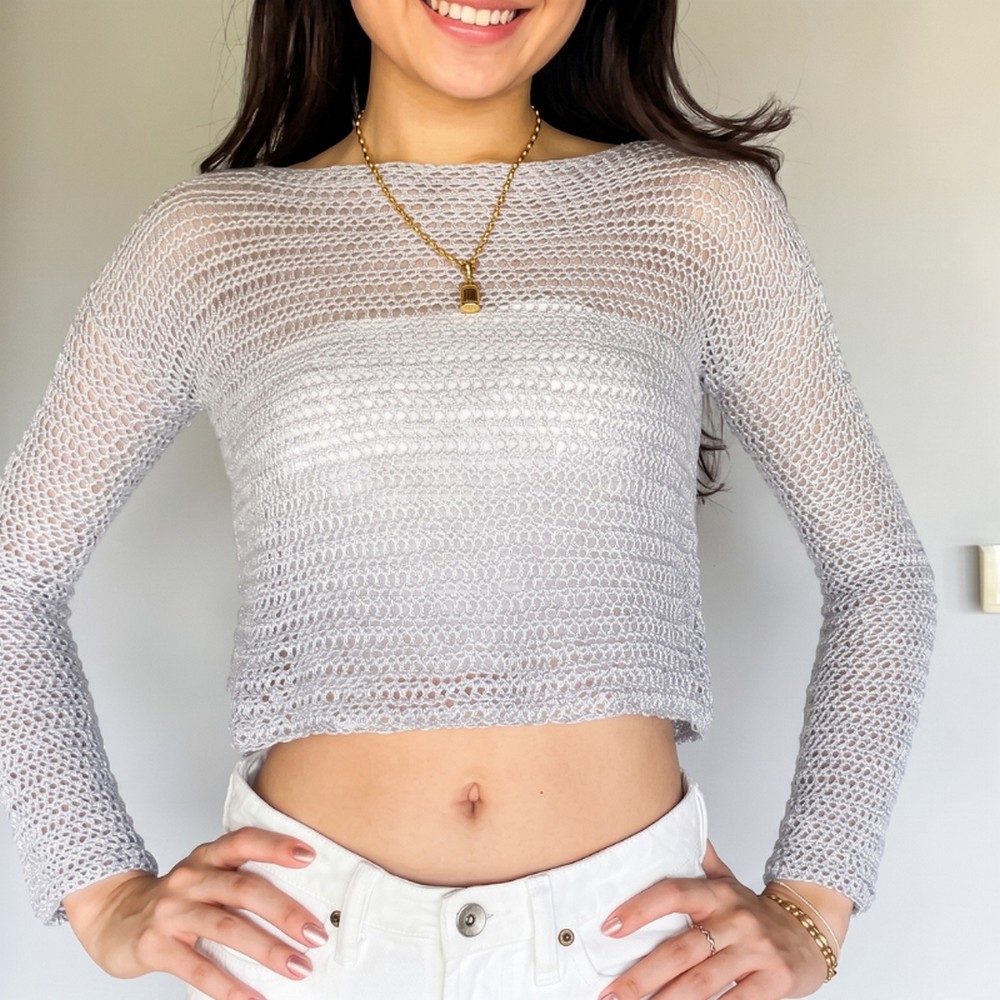
A lightweight handmade sweater is a useful piece when you want something easy to layer without a heavy fabric. This design uses half double crochet stitches to create simple front and back panels, then joins them at the shoulders and sides before the sleeves are worked directly from the armholes.
The made-to-measure approach is what makes this crochet sweater especially flexible. Instead of relying on one fixed size, you begin with your own bust measurement, decide how much ease you want, and use those measurements to determine the panel width. Taking a few measurements again during assembly will help you adjust the fit before the crochet sweater is finished.
Credit Granny Gaia
Materials & Tools Needed
- Yarn: Fingering-weight yarn (#1)
- The tutorial uses a soft blend of approximately 70% bamboo and 30% cotton.
- Choose a yarn that feels comfortable against the skin.
- Crochet Hook: 5.5 mm
- Adjust the hook if needed to achieve the fabric and gauge you want.
- Scissors
- Darning needle: For weaving in ends and finishing seams
- Stitch markers: Helpful for marking neckline and armhole positions
- Measuring tape: Essential for the made-to-measure construction
Finished Size & Customization
This sweater is designed as a made-to-measure garment, so the most important measurements are your own rather than a fixed size chart.
The tutorial reference uses:
- Bust: 83 cm
- Added ease: 3.5 cm
- Front panel width: approximately 45 cm
- Front panel length: approximately 37 cm
- Sleeve length: approximately 50 cm
- Armhole depth: approximately 16 cm
You can adjust the sweater by changing:
- Front and back panel width
- Overall body length
- Neckline width
- Armhole depth
- Sleeve length
- Sleeve width
For a relaxed or oversized sweater, add more ease to your bust measurement. For a closer fit, use less ease.
Pattern Abbreviations & Terminology
This pattern uses US crochet terminology.
- ch: Chain
- hdc: Half double crochet
- sl st: Slip stitch
- st(s): Stitch(es)
- yo: Yarn over
- RS: Right side
- WS: Wrong side
- turn: Turn the work to begin the next row
Before You Crochet:
Take Your Measurements
Since this sweater is made to measure, take your measurements before making the foundation chain.
Start with your bust circumference. Divide it by two to determine the approximate width needed for each front or back section, then add the amount of ease you want.
For the tutorial measurement: 83 cm bust ÷ 2 = 41.5 cm
Adding approximately 3.5 cm of ease gives a panel width of about 45 cm
This measurement becomes your target width for the front panel.
Why Measure Instead of Counting Chains?
The number of chains needed to reach a certain width can change depending on your yarn, hook, and tension. The tutorial uses 69 chains for approximately 45 cm, but your chain count may be different.
Use the measurement as your guide rather than forcing your project to match the same number of chains.
Step-by-Step Pattern
Front Panel
You will make two identical front panels.
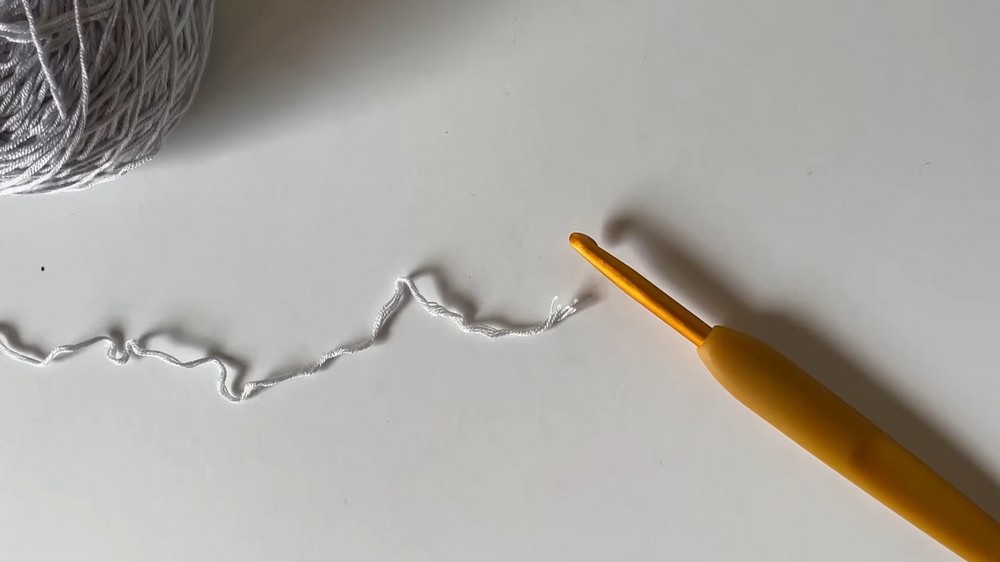
Foundation Chain
- Make a slipknot.
- Chain enough stitches to reach your calculated panel width.
- For the tutorial reference, chain 69 for approximately 45 cm.
- Keep the chain loose enough that it does not pull the bottom edge inward.
Row 1
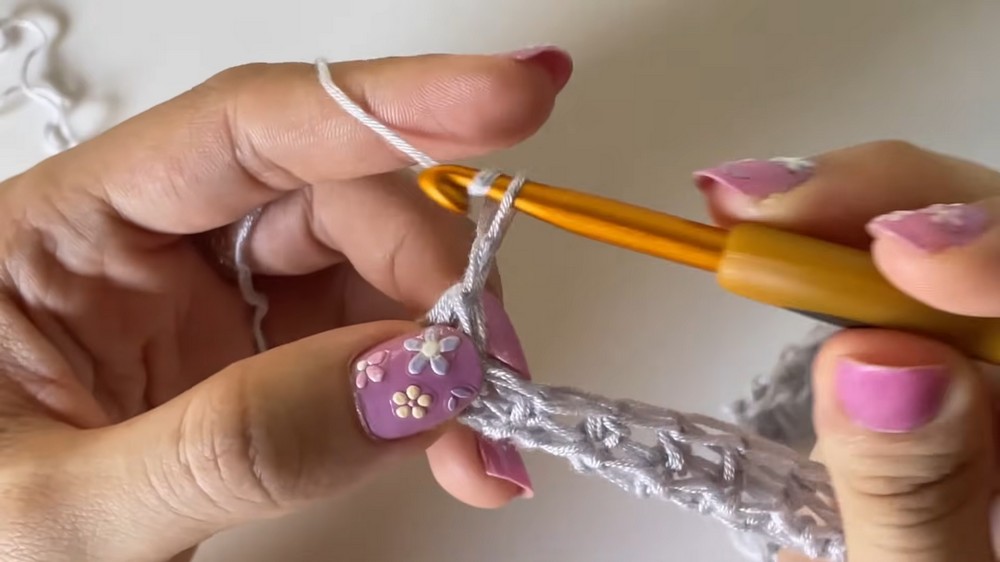
- Skip the first 2 chains.
- Work 1 hdc in the 3rd chain from the hook.
- Continue working 1 hdc in each chain across.
- For 69 foundation chains, you should have approximately 67 hdc.
- Place a stitch marker in the first stitch if you find it difficult to identify the row edge.
Row 2
- Chain 2 and turn.
- Work 1 hdc in the first stitch.
- Continue working 1 hdc in every stitch across.
- Place a stitch marker in the first stitch if needed.
Continue using the same construction for the remaining rows.
Build the Front Panel
Repeat Row 2 until the panel reaches your desired length.
For the tutorial reference, approximately 45 rows create a panel measuring about 37 cm long.
However, your row count may be different because yarn, tension, and hook size all affect row height.
Panel Check
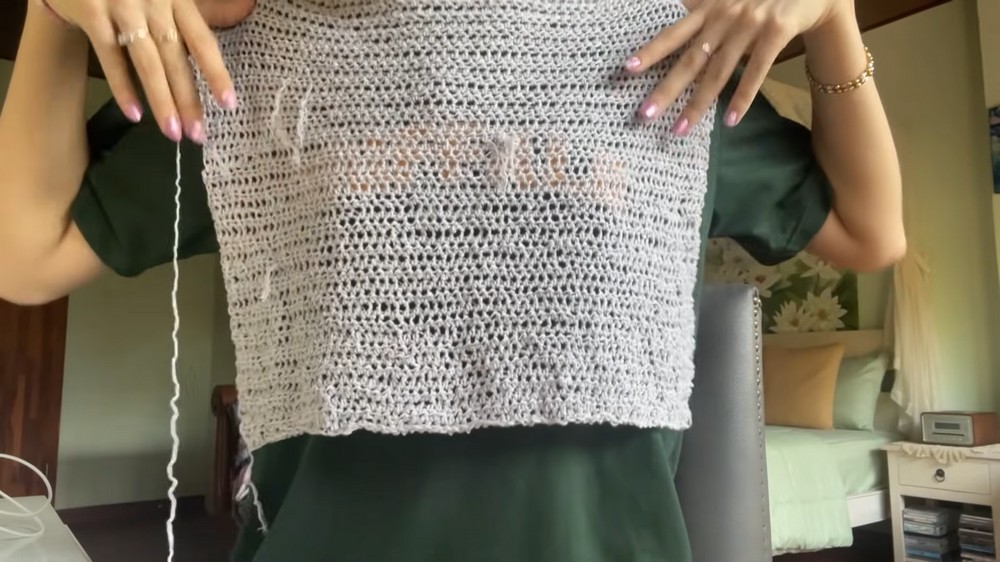
Before finishing the panel, lay it flat and measure both its width and length.
This is the best time to make adjustments. If the panel is too short, continue for additional rows. If the width is not correct, it is better to catch the difference before making the second panel.
Finish the Front Panel
When the panel reaches the desired length:
- Chain 1.
- Cut the yarn.
- Pull the yarn through to secure.
- Leave a suitable tail for weaving in later.
Make the second front panel using exactly the same measurements.
Back Panel
The back panel follows the same basic construction as the front.
- Make a foundation chain that matches the required panel width.
- Work 1 hdc in the 3rd chain from the hook.
- Continue with 1 hdc across the row.
- Chain 2 and turn at the end of each row.
- Continue working hdc rows until the back reaches the same length as the front panels.
- Fasten off.
Matching Check
Place the front and back panels together before assembly. Their widths and lengths should match.
If one panel has more rows or is noticeably wider, correct it now. Matching the panels before seaming will make the neckline, shoulders, and armholes much easier to position evenly.
Join the Shoulders
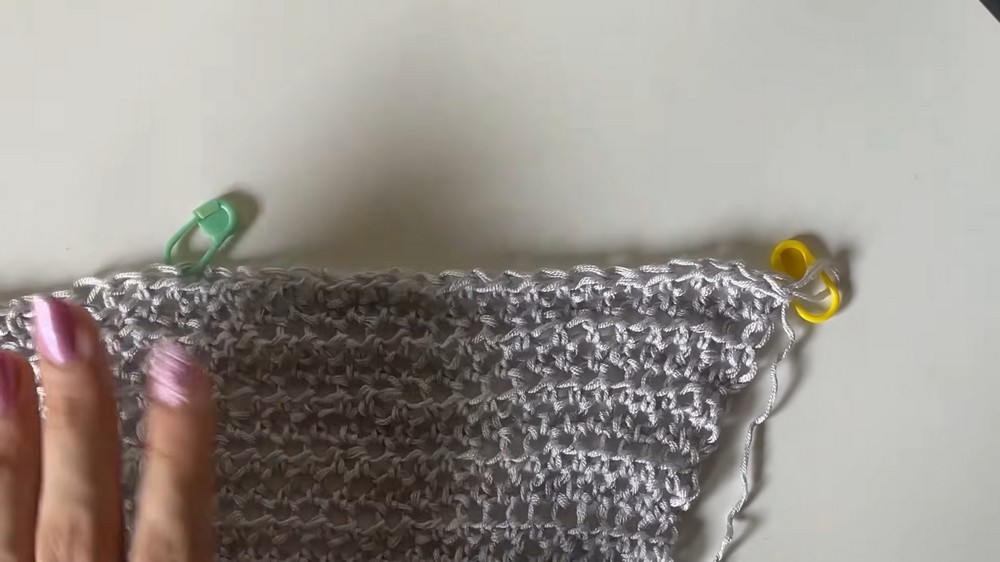
The neckline is left open between the two front panels, so mark its position before joining.
For the tutorial reference, approximately 20 stitches on each side are left unjoined to create a neckline of about 14 cm.
- Place the front and back panels flat with the right sides facing up.
- Align the shoulder edges.
- Mark the neckline area.
- Attach yarn at the outer shoulder edge.
- Insert the hook through corresponding stitches of the front and back panels.
- Work 1 sl st through both layers.
- Continue joining until you reach the neckline marker.
- Fasten off.
- Repeat for the opposite shoulder.
Neckline Check
Before moving to the side seams, try the joined sweater on or hold it against your body to check the neckline opening.
If the neckline feels too narrow or too wide, this is the easiest stage to adjust it. Once the sides and sleeves are complete, changing the neckline becomes much more difficult.
Seam the Sides
Now close the body while leaving openings for the sleeves.
- Align the front and back panels.
- Try the sweater on or measure the armhole depth you want.
- For the tutorial reference, the armhole depth is approximately 17 rows or 16 cm.
- Place stitch markers at the beginning and end of the armhole opening.
- Starting at the bottom hem, use sc to seam the side edges together.
- Stop at the armhole marker.
- Fasten off.
- Repeat on the opposite side.
Armhole Check
Measure both openings before attaching the sleeves. They should have approximately the same depth.
This small check matters because the sleeve is worked directly around the armhole. Unequal openings can make the sleeves sit at different heights.
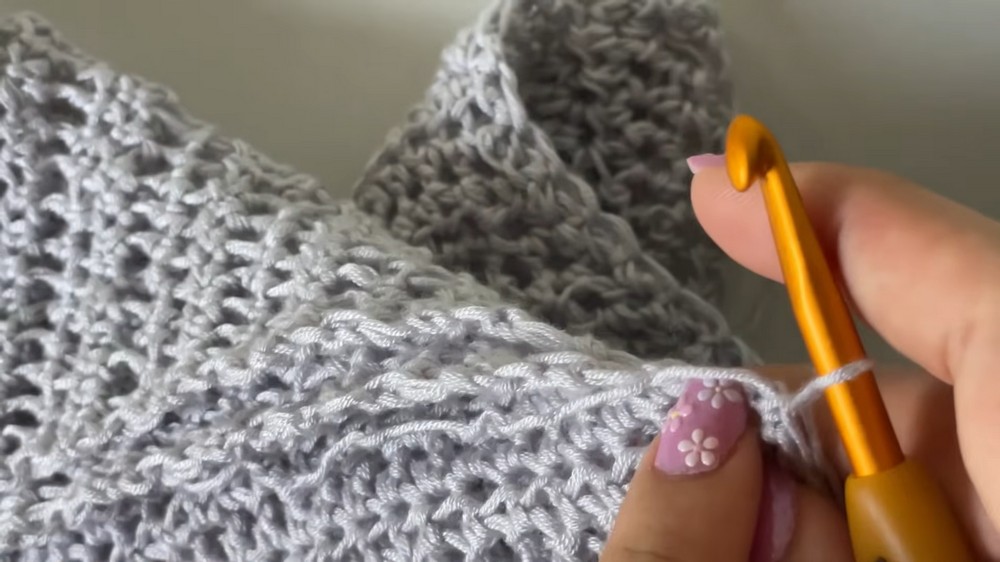
Sleeves
The sleeves are worked directly from the armholes.
Round 1
- Attach the yarn at the armhole.
- Chain 2.
- Work 1 hdc into each hdc row around the armhole.
- Treat the side seam as a regular part of the armhole and work into it as needed.
- The tutorial reference uses approximately 52 stitches around the armhole.
- Slip stitch to the first stitch to close the round.
- Chain 2 and turn.
The exact stitch count can vary because your armhole size may be different.
Rounds 2 and Onward
For each round:
- Chain 2.
- Turn your work.
- Work 1 hdc in each stitch around.
- Slip stitch to the first stitch to close the round.
- Chain 2 and turn for the next round.
Continue until the sleeve reaches your desired length.
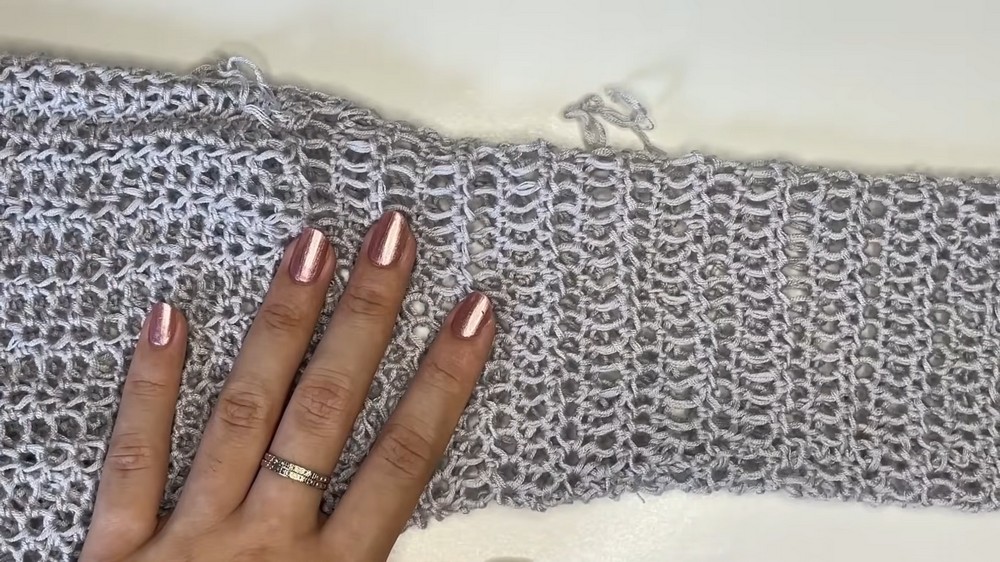
Sleeve Fit Check
Do not wait until the last round to check the sleeve. Try the sweater on periodically or measure the sleeve against your arm.
If you want a longer sleeve, continue the rounds. If you prefer a shorter sleeve, stop earlier.
For the tutorial reference, approximately 52 rows create a sleeve length of about 50 cm.
Finish the Sleeves
When the sleeve reaches the desired length:
- Slip stitch to join the final round.
- Chain 1.
- Cut the yarn.
- Pull the yarn through to secure.
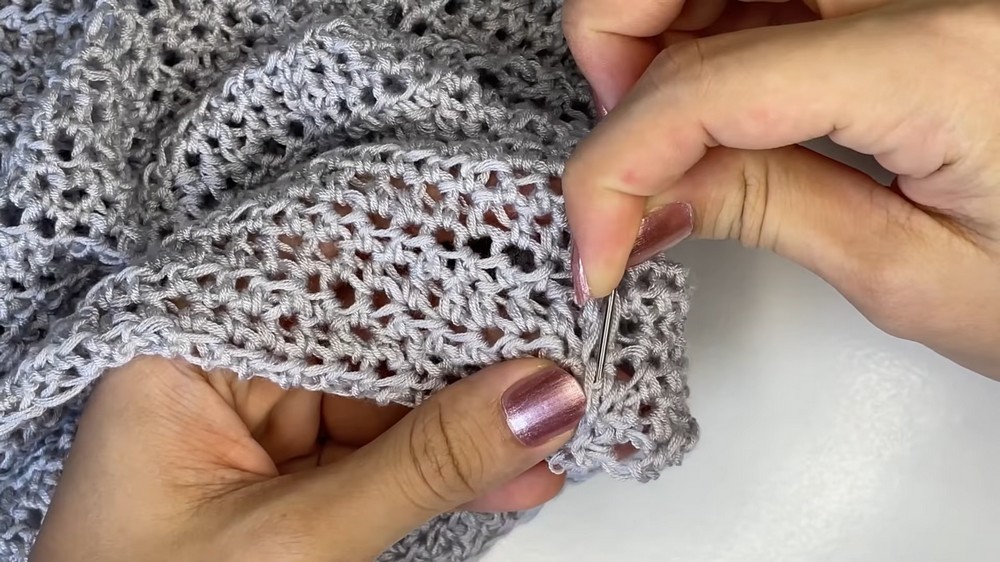
- Weave in the end with a darning needle.
Repeat the same process for the second sleeve.
Final Finishing
Once both sleeves are complete:
- Weave in all remaining loose ends.
- Check the shoulder seams.
- Check both side seams.
- Compare the sleeve lengths.
- Try on the sweater to check the overall fit.
- Block the sweater if the yarn and fabric benefit from blocking.
Blocking Check
Blocking can help even out the stitches and improve the drape of the finished sweater. Shape the sweater according to your intended measurements rather than stretching it aggressively.
For a lightweight garment, gentle shaping is usually enough to help the panels settle evenly.
Fit & Measurement Checklist
Before considering the sweater finished, check:
- Front and back panels have matching widths.
- Body length is comfortable.
- Neckline opening is the intended size.
- Both armholes have similar depth.
- Side seams are even.
- Both sleeves have matching lengths.
- The sweater has the amount of ease you wanted.
Because this is a made-to-measure pattern, these checks are more important than following the tutorial’s stitch and row counts exactly.
Make It Your Own
This sweater is easy to personalize once you understand how the measurements control the design. Add more ease for an oversized silhouette, shorten the body for a cropped version, or extend the sleeves for extra coverage.
You can also experiment with different soft fingering-weight yarns, keeping in mind that changing the yarn or hook may change the fabric and measurements. The simple hdc design gives you a straightforward foundation for creating a lightweight sweater that fits your own style and proportions.
The key is to measure the panels and openings as you go. Once those dimensions are right, the remaining assembly becomes much more predictable, and the simple design lets the finished sweater take shape without complicated shaping techniques.
Video Tutorial