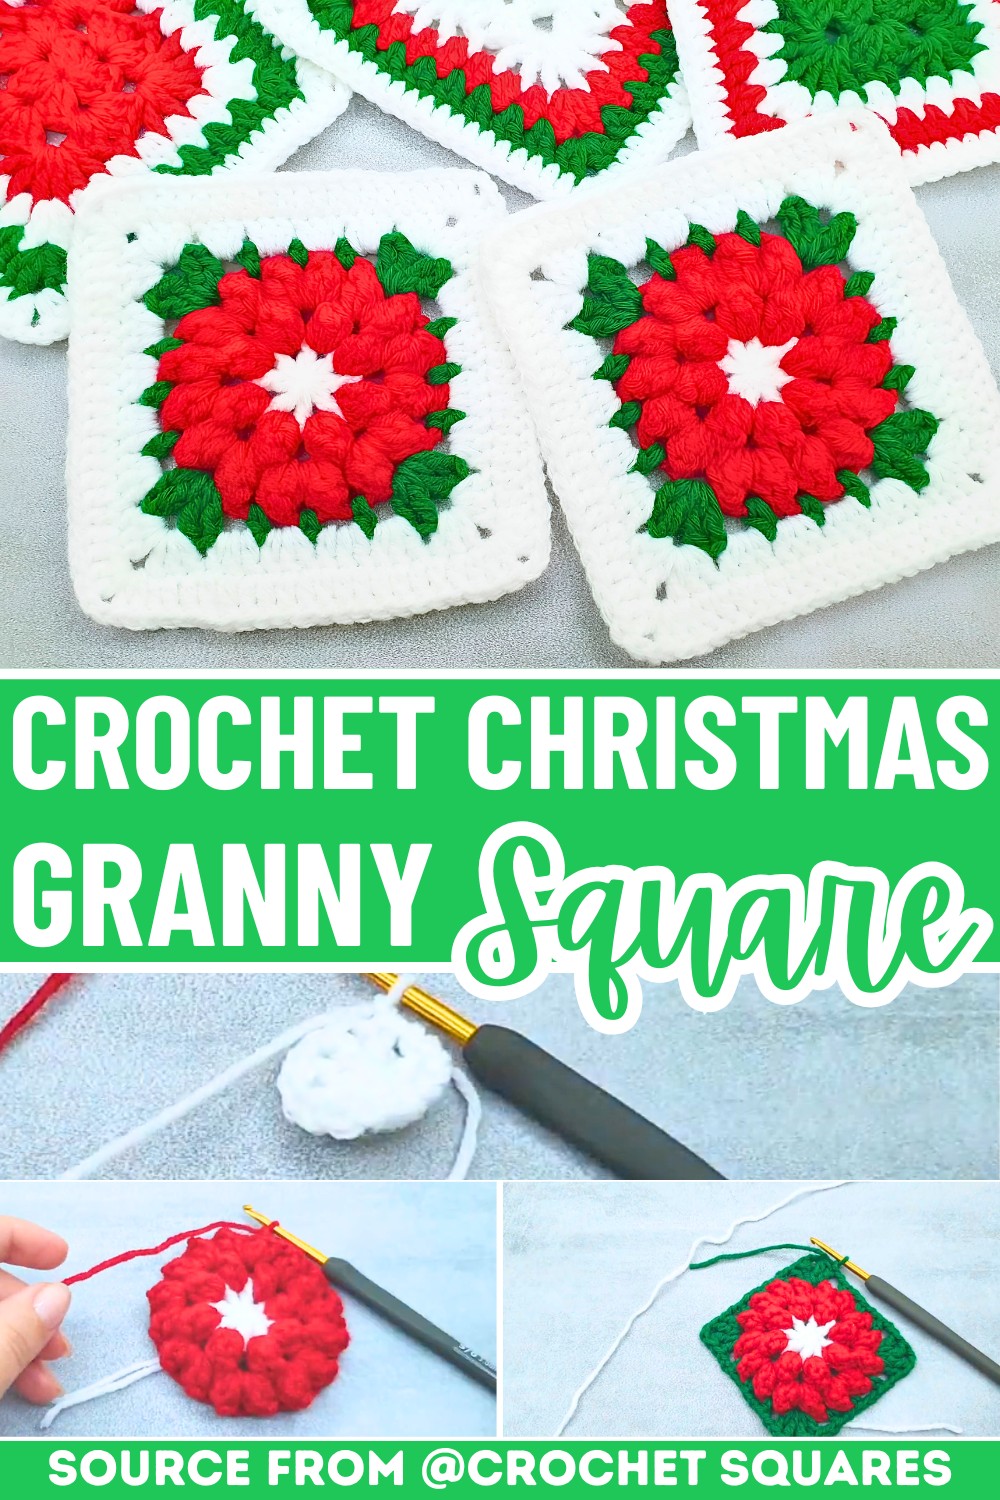
Crochet Christmas Granny Square Pattern For Blanket
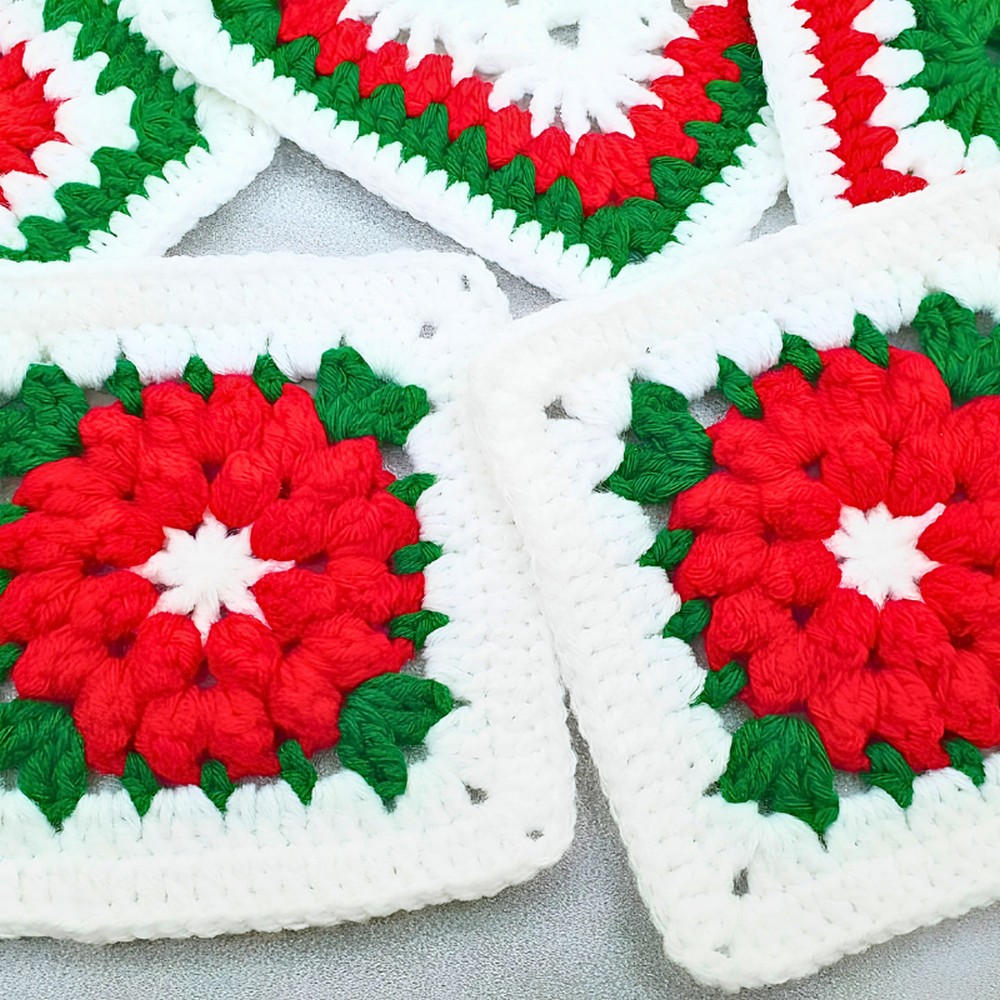
A Crochet Christmas Granny Square is a simple way to turn everyday yarn into a festive holiday design. Each finished square can become part of a blanket, pillow, or any seasonal piece that needs a cheerful touch.
The combination of classic granny stitches and Christmas-inspired colors creates a design that’s fun to make and even more enjoyable to display. Just a few rounds reveal how this familiar crochet square transforms into something made especially for the holiday season.
Crochet Christmas Granny Square Pattern
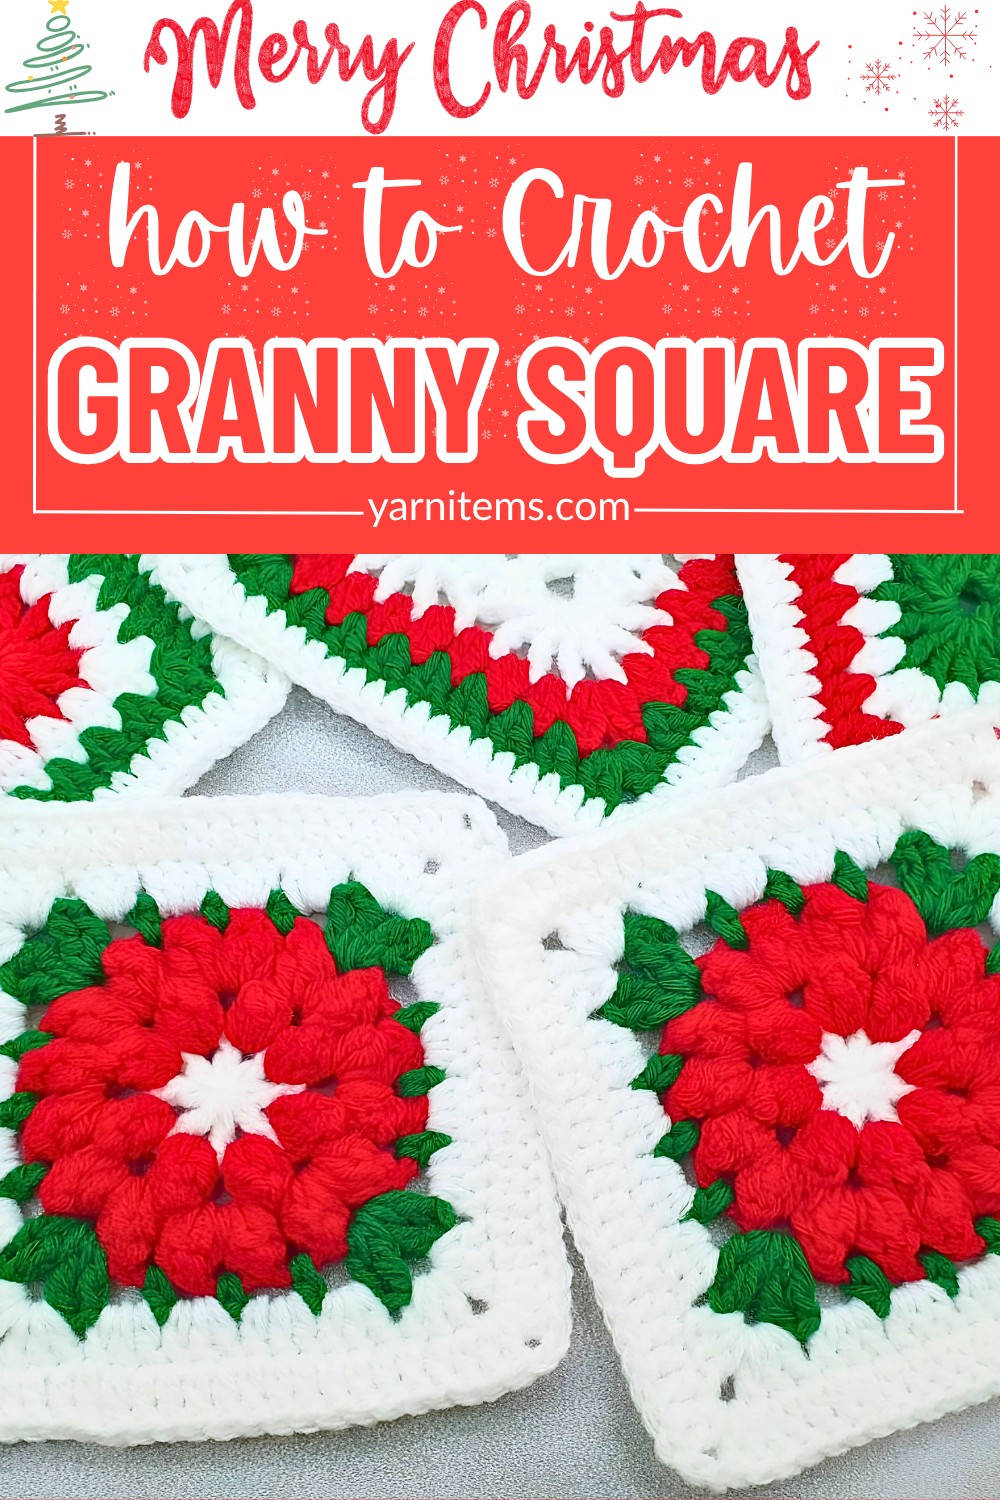
This tutorial walks you through the pattern with clear, easy-to-follow instructions, making each crochet step simple to understand.
Whether you’re creating a single square or planning a larger Christmas crochet piece, you’ll quickly see how everything comes together. Keep reading to discover the stitch sequence, color placement, and little details that bring this festive granny square to life.
Credit Crochet Squares
Materials & Tools
- Yarn: DK weight acrylic yarn in Red, White, and Green.
- Hook: 3.0 mm (US Size 5/0).
- Extra Notions: Tapestry needle and sharp scissors.
Finished Size & Creative Ideas
- Size: Approximately 5 × 5 inches (13 × 13 cm).
- Customizations:
- Play with color placements: White flowers, red leaves, green borders—or solid colors.
- Tasks: Combine squares into blankets, table runners, tote bags, or pillows.

Pattern Abbreviations (US Terms)
-
mr: Magic ring / Magic circle
-
ch: Chain
-
sc: Single crochet
-
hdc: Half double crochet
-
dc: Double crochet
-
tr: Treble crochet
-
sl st: Slip stitch
-
st(s): Stitch(es)
-
ch-sp: Chain space
-
popcorn st: Popcorn stitch (Worked by making 4 dc in the specified space. Drop the active loop from the hook, insert your hook under both loops of the very first dc of the group, grab the dropped loop, and pull it straight through to bunch the stitches together).
Step-by-Step Pattern
Round 1: The Flower Center (White)
- Begin with a magic ring, chain 1.
- Work [1 sc, ch 1] (counts as first dc), then ch 1.
- Repeat [1 dc, ch 1] 7 times in the ring.
- Close ring; join with sl st, fasten off white yarn.
- Stitch count: 8 dc, 8 ch-1 spaces.

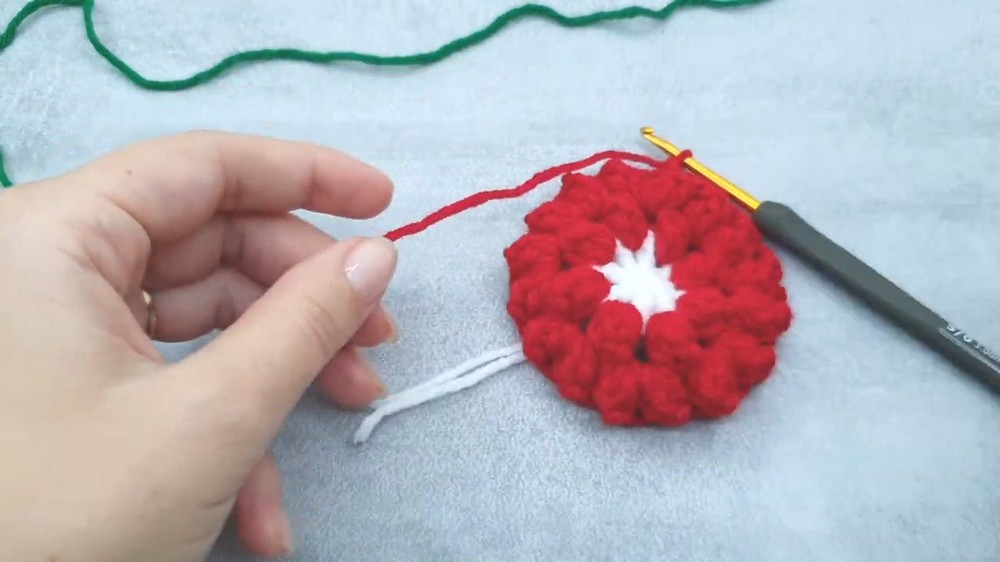
Round 2: First Petal Layer (Red)
- Attach red yarn in any ch-1 space.
- Popcorn stitch: [1 sc, ch 1] (1st dc), then 3 dc. Drop loop, insert into first dc, pull loop through.
- Chain 3. Repeat [popcorn st, ch 3] around.
- Join with sl st, fasten off.
- Stitch count: 8 popcorn sts, 8 ch-3 spaces.

Round 3: Doubling the Petals (Red)
- Sl st into any ch-3 space.
- Work 2 popcorn sts (separated by ch-3) in each ch-3 space.
- Fasten off.
- Stitch count: 16 popcorn sts, 16 ch-3 spaces.
Round 4: Framing the Square (Green)
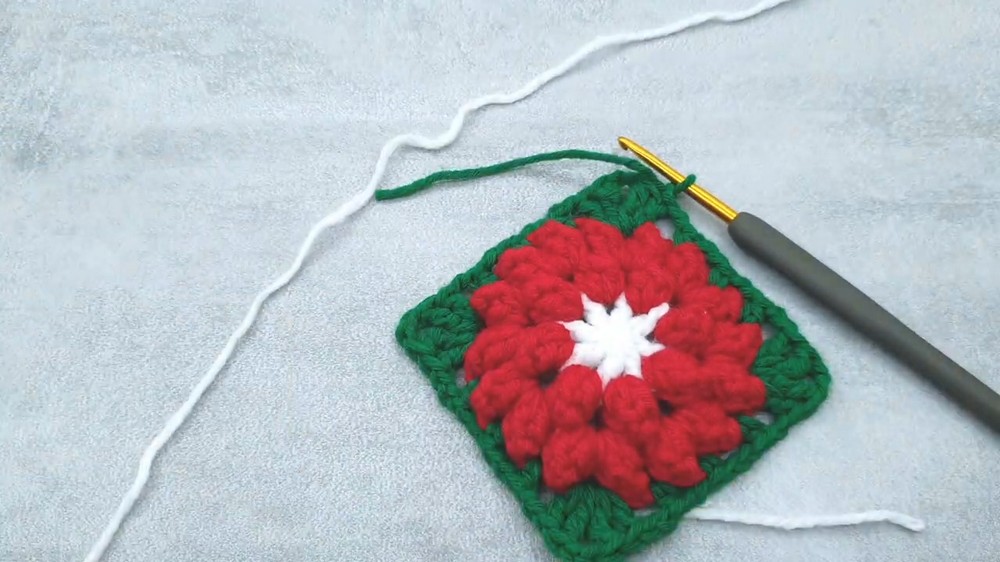
- Attach green yarn in any ch-3 space.
- Create corners: [1 sc, ch 1, 1 tr, ch 2, 1 tr, 1 dc], followed by ch 2.
- Alternate [1 hdc, ch 2], [1 sc, ch 2], [1 hdc, ch 2] between corners.
- Stitch count: 4 corners, 12 side spaces.
Round 5: First Border Row (White)
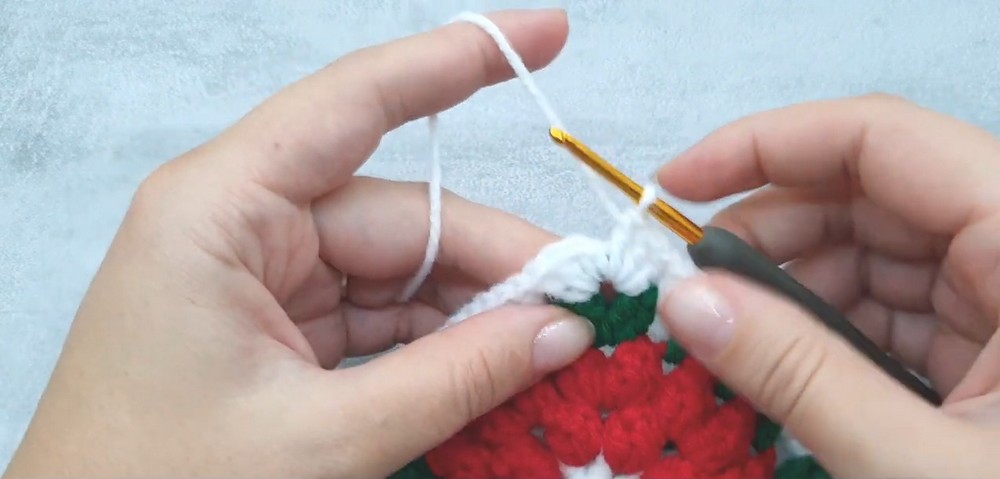
- Attach white yarn in green corner space.
- Work [3 dc in corner, 3 dc in each side space], ch 2 at corners.
- Seamlessly join with 1 hdc, chain 1 to prepare for next round.
- Stitch count: 6 groups of 3-dc per side.
Round 6: Final Solid Border (White)
- Start with [1 sc, ch 1], then 1 dc in each side stitch.
- At corners: [2 dc, ch 2, 2 dc].
- Repeat around; end with sl st. Fasten off, weave in ends.
- Stitch count: 22 dc per side, 4 ch-2 corners.

Finishing Touch: Blocking Tips
To flatten your squares and perfect the edges, block them using wet-blocking with pins on foam boards.