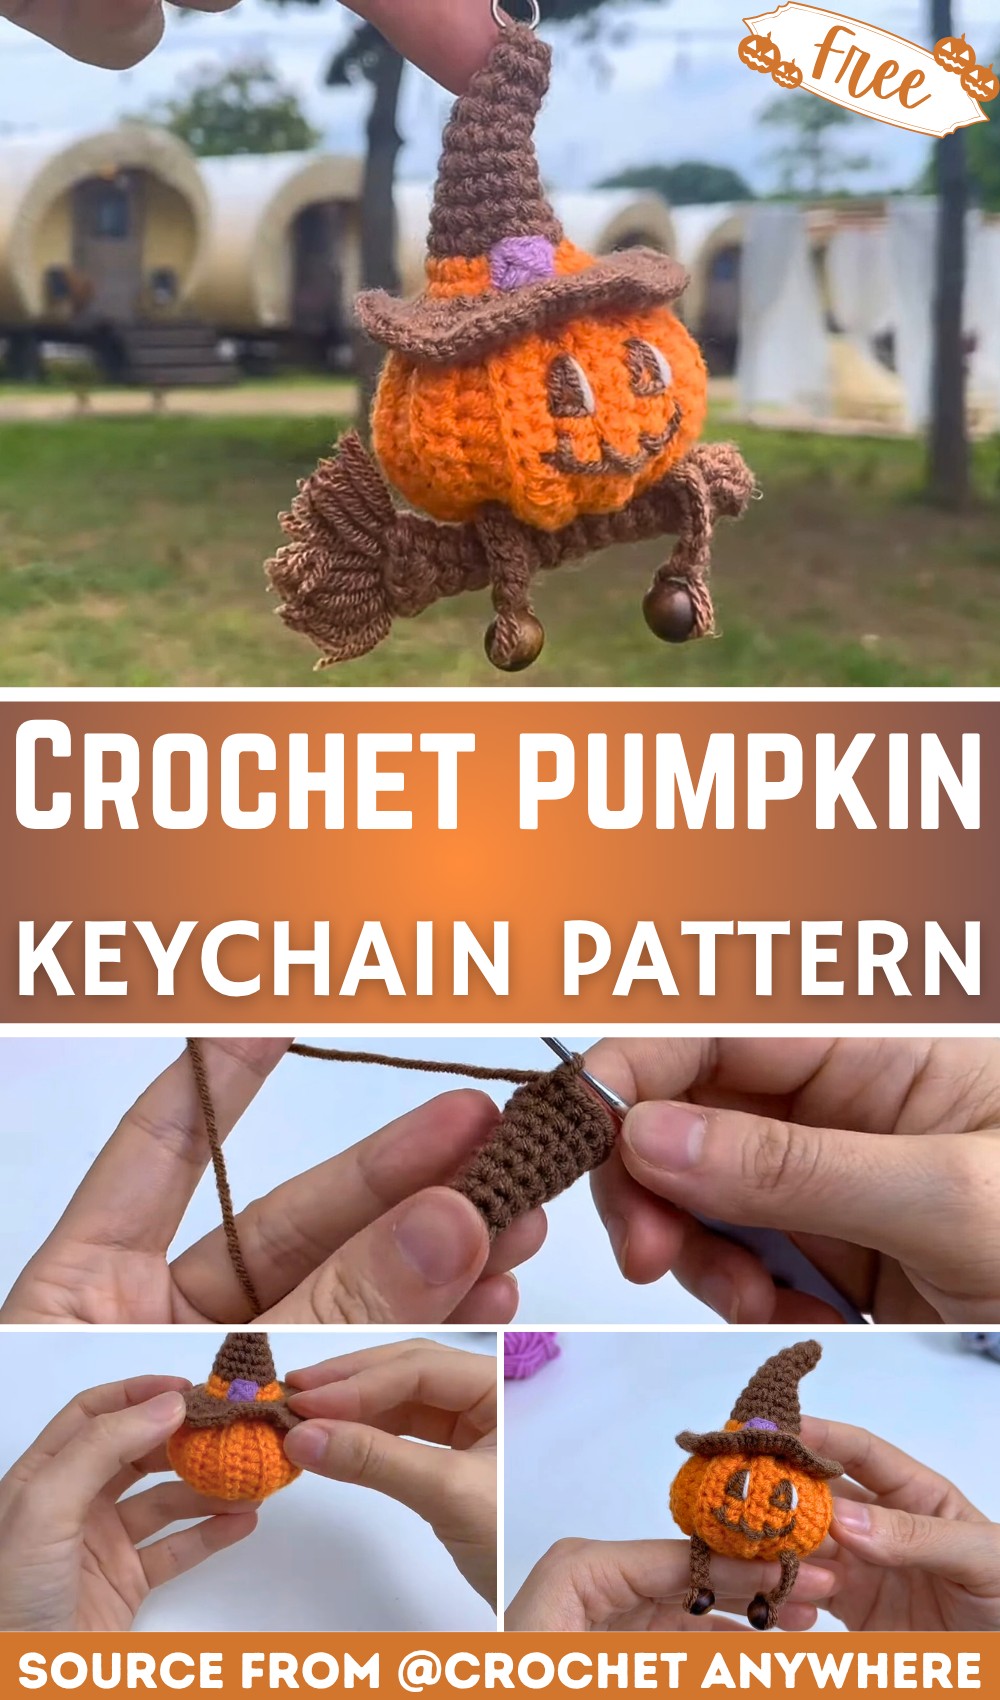
Crochet Pumpkin Keychain – Perfect Fall & Halloween Charm
This adorable crochet pumpkin keychain is the perfect fall accessory—add it to your keys, bags, or gift it to friends for a fun, festive touch of handmade charm.

This adorable crochet pumpkin keychain is as cute as it is useful! Perfect for fall, the Crochet Keychain is a charming little accessory that you can attach to your bag, keys, or even give as a gift to someone special. Crochet pumpkin is not just an accessory; it brings cozy autumn vibes everywhere it goes.
Crochet a Festive Pumpkin Keychain for Beginners
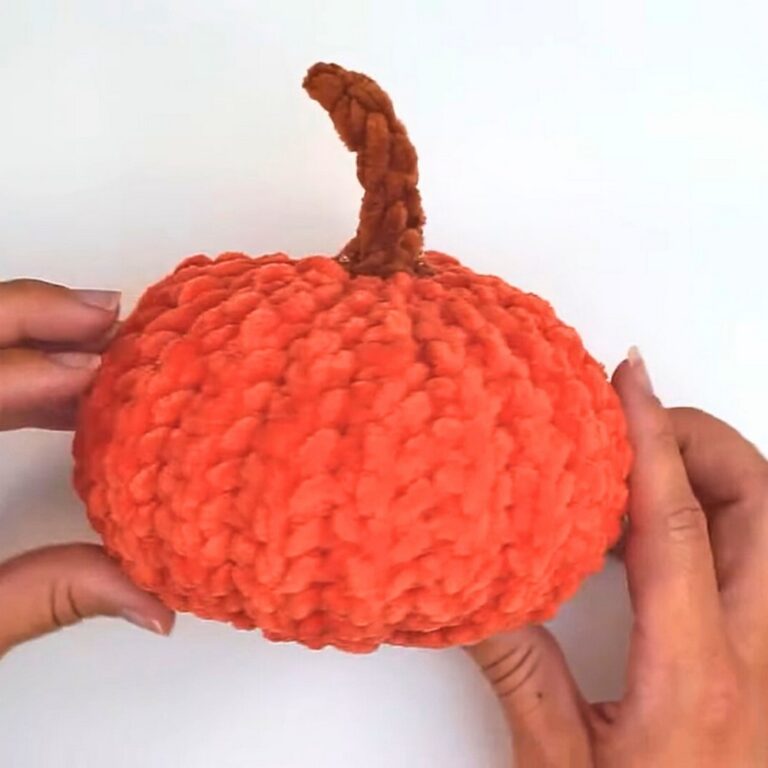
This Crochet Pumpkin Keychain is special because you can easily make it your own. Use classic orange for a traditional pumpkin or try pastel or neutral colors for a modern look. Pumpkin-textured design and tiny stem make it a cute and useful accessory that celebrates the fall season.
Credit Crochet Anywhere
Key Features of the pattern:
- Adorable mini pumpkin created with simple crochet stitches.
- Made in the round (likely using a magic ring) for seamless shaping.
- Features realistic ribbing achieved through strategic stitch placement.
- Topped with a cute stem that adds seasonal charm.
- Perfect as a keyring, bag charm, or even a thoughtful handmade gift.
How It’s Made:
The pumpkin keychain starts with a magic ring, a common beginner-friendly technique for creating circular patterns. Stitches are added in the round, typically using basic single crochets or possibly half-double crochets for a smooth, tight texture. To achieve the iconic pumpkin ridges, the pattern utilizes increases and decreases to create a slightly bumpy, compact sphere.

Once the pumpkin has been shaped and closed, the ribbing is added. This is often done by wrapping yarn over and under the pumpkin to create the “segments” that make it look like an authentic pumpkin. This step is simple but very satisfying, as it quickly transforms the plain sphere into a realistic pumpkin shape.

The stem is then created on top of the pumpkin, usually worked directly into the stitches at the pumpkin’s center. Depending on the pattern, it might be a few rows of single crochets or a simple chain. It’s a charming detail that completes the fall look.

Finally, the keychain hardware is added. Usually, this is a small keyring or a lobster claw clasp attached through a secure stitch or loop near the stem. For an extra flourish, you could even add a little decorative leaf or a tassel.

Video Tutorial
Step-by-Step Pattern
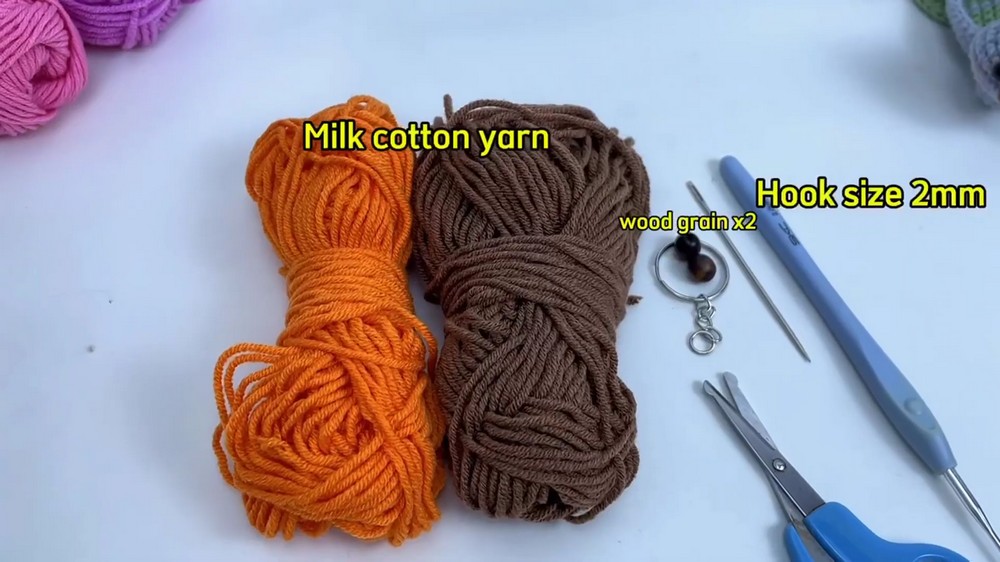
Materials
To make your pumpkin keychain, you’ll need the following:
- Yarn: Orange worsted-weight yarn for the pumpkin, green yarn for the stem, and brown yarn for decorative details.
- Crochet Hook: Size 3.5mm (or the hook size specified for your yarn).
- Polyester Fiberfill: For stuffing the pumpkin.
- Keychain Loop: Metal keychain ring or clasp.
- Darning Needle: For sewing and weaving ends.
- Scissors: A sharp pair for cutting yarn.
- Optional Tools: Stitch markers (to keep track of rounds).
Pattern Instructions
Step 1: Create the Pumpkin Base
- Start with a magic circle using orange yarn.
- Round 1: Work 6 single crochets (sc) into the magic circle. Pull tight to close the circle. (6 stitches)
- Round 2: Increase in every stitch (2sc in each stitch around) to get 12 stitches total. (12 stitches)
- Round 3: (sc in next stitch, increase in next) repeat around. (18 stitches)
- Round 4-6: Single crochet in every stitch (18 stitches per round). This maintains the width of the pumpkin.
Step 2: Shape the Pumpkin
- Round 7: (sc in next stitch, decrease in next) repeat around. (12 stitches)
- Round 8: (decrease in every stitch) repeat around. (6 stitches)
- Stuff the pumpkin firmly with fiberfill before completely closing the hole. Use decreases on the last round if needed.
- Fasten off, leaving a long tail, and weave in the yarn to shape the ridges of the pumpkin. Pull yarn tightly around the edges and across to create distinctive pumpkin segments.
Step 3: Create the Stem
- Using green yarn, chain 4.
- Work 1 sc in each chain across (3 stitches total). Fasten off and leave a long tail for sewing.
- Attach the stem to the top center of the pumpkin with a darning needle.
Step 4: Attach the Keychain
- Use your remaining orange or green yarn thread to attach the keychain loop securely to the top of the pumpkin stem.
- Ensure the ring is firmly attached so it can handle regular use.
Optional Decorative Touches
- Leaves: Crochet a small green leaf to add beside the stem. Chain 5, sl st into the second chain from hook, sc, hdc, and sl st into the last chain.
- Face Embroidery: Use black yarn or thread to stitch a simple jack-o’-lantern face for a Halloween-themed pumpkin.
- Alternative Colors: Experiment with non-traditional colors like white (ghost pumpkins) or pastel shades for a unique look.
Troubleshooting and Suggestions:
- Maintaining Consistent Stitch Tension: Since this is a compact pattern, tight and even tension is critical to prevent gaps in the pumpkin. If your stitches are coming out loose, try using a smaller hook than recommended until you achieve the desired result.
- Ribbing Trick: When creating the ribbing, make sure to pull the yarn snugly without distorting the pumpkin’s overall shape. It helps to space the ribbing evenly to mimic a real pumpkin.
- Creative Variations: Experiment with fun, non-traditional pumpkin colors! Try pastel shades like peach or mint for a whimsical touch, or deep, warm hues like burgundy and mustard for a classic autumnal feel. Add tiny felt leaves, glittery stems, or embroider a cute face for a jack-o’-lantern look!
- Adaptations: If you love this pumpkin design, skip the keychain hardware and make a larger version as table decor or fall garland!