How to Crochet Pumpkin Treat Bag for Halloween
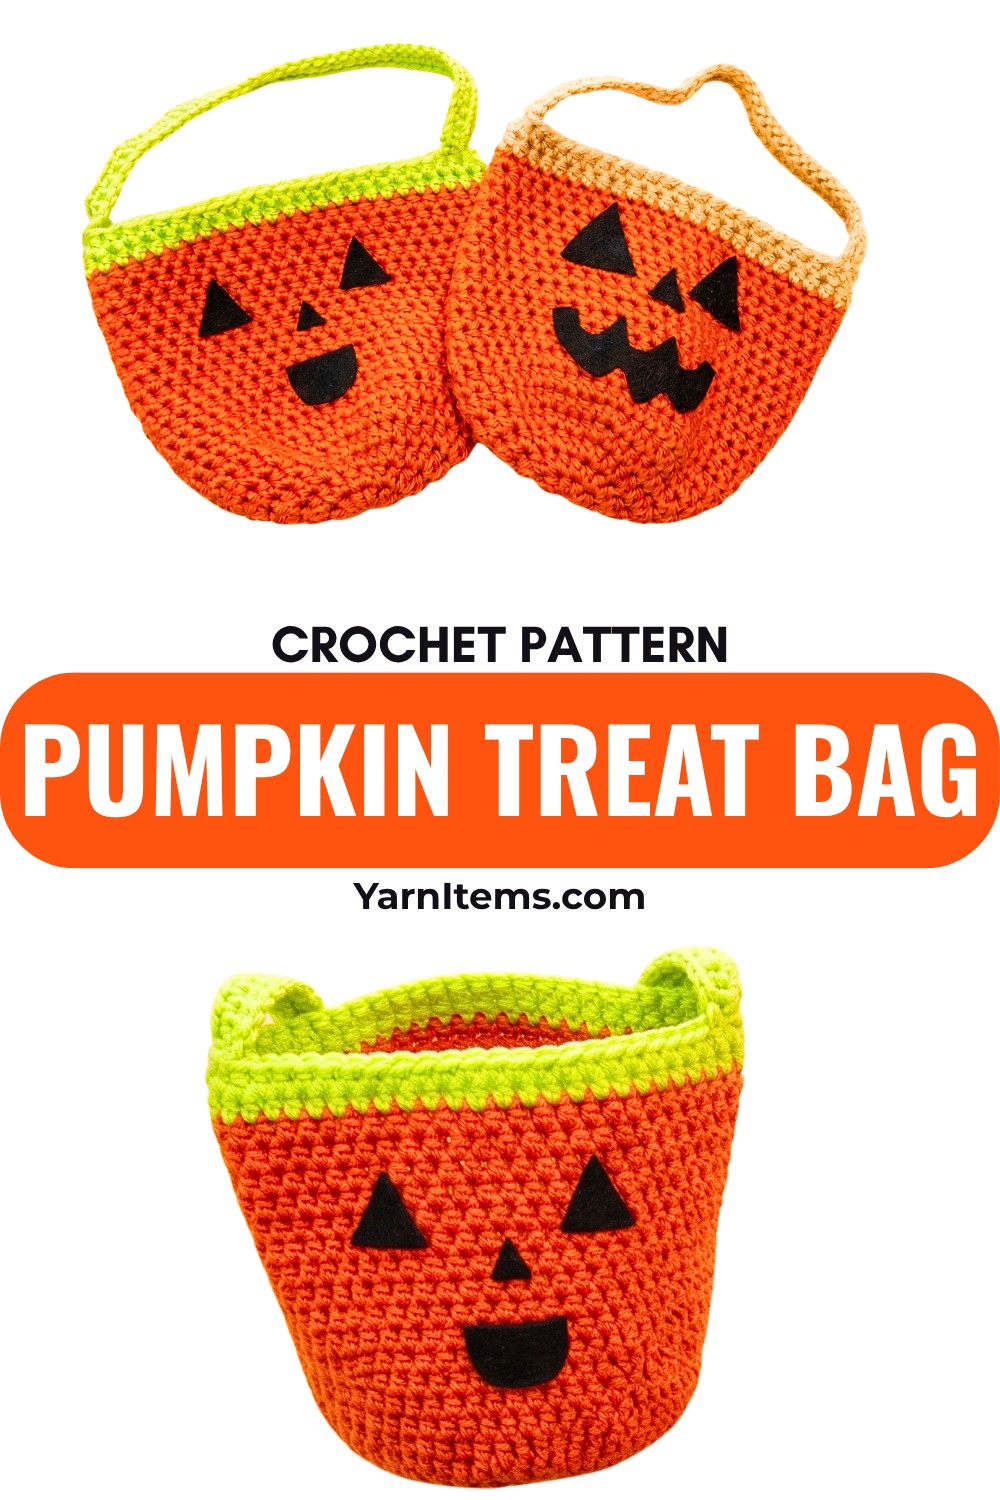
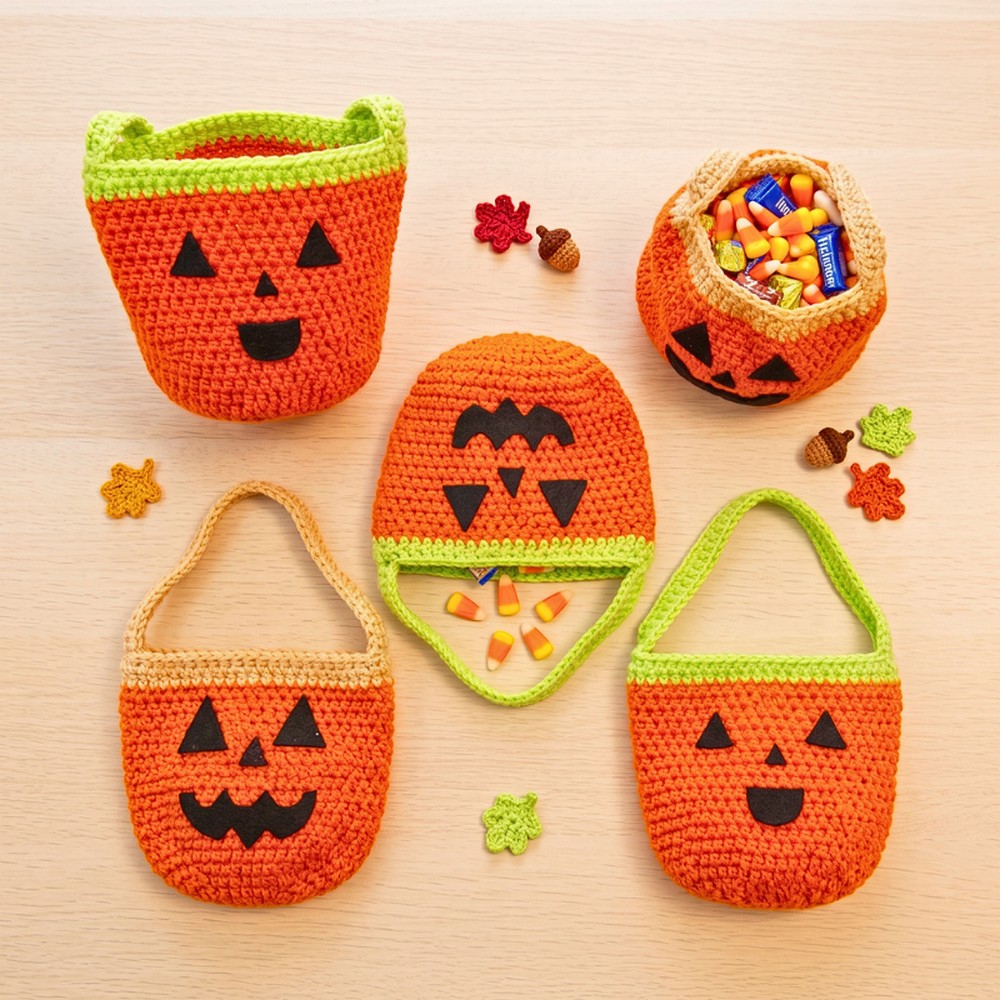
Fill Halloween night with handmade charm using this crochet pumpkin treat bag. Its round base, sturdy sides, simple handle, and playful felt face come together to make a reusable little bag for candy and seasonal treats.
Crochet Pumpkin Treat Bag Pattern
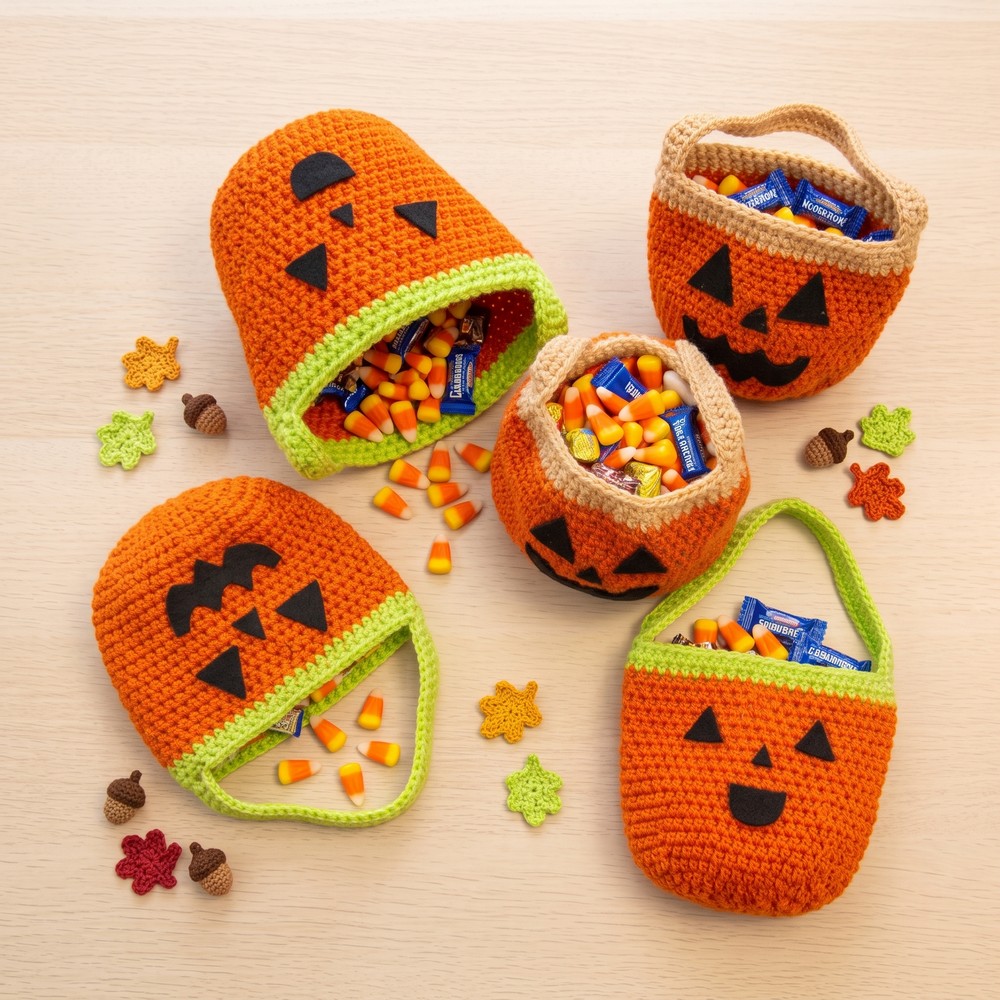
A pumpkin-shaped treat bag makes Halloween feel even more special when it is something you can crochet and reuse year after year. This version has a rounded orange body, a contrasting green or brown top, and a simple face that lets you decide whether your crochet pumpkin looks sweet, spooky, or somewhere in between.
The bag starts with a flat circular base and gradually builds upward without further increases, giving it enough room to hold small treats while keeping the sides upright. The most important part is recognizing when the base is large enough to stop increasing; continuing the increases into the side rounds would make the crochet bag flare instead of forming a useful container.
Credit Jacqueline’s Life
Materials & Tools Needed
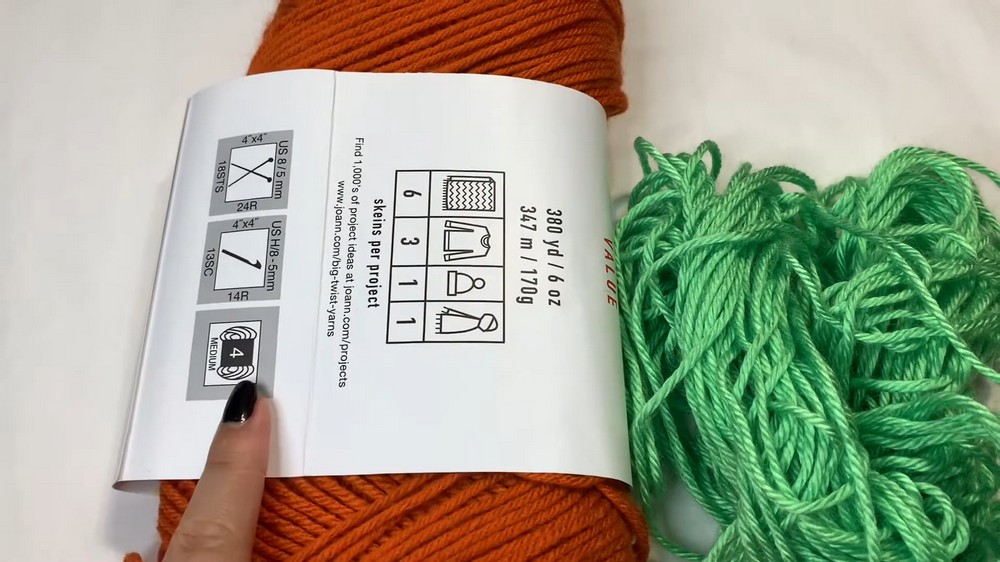
- Orange Yarn: Big Twist Value, #4 medium weight, Burnt Orange
- Green Yarn: Caron Simply Soft, #4 medium weight, Lime Green
- Optional: Brown yarn instead of green for the pumpkin top
- Crochet Hook: 5.0 mm
- Black Felt or Fabric: For the pumpkin face
- Scissors
- Hot Glue Gun or Fabric Glue: For attaching the felt pieces
- Stitch Marker: Optional, but useful for keeping track of rounds
US crochet terminology is used throughout this pattern.
Finished Size & Customization Ideas
Finished Size: Approximately 4–5 inches in base diameter and 6–7 inches tall.
The measurements can vary slightly depending on yarn, hook, and tension, so use the finished shape as your guide rather than treating these measurements as exact.
Make the Bag Larger or Smaller
To make a larger pumpkin, continue the increasing pattern beyond Round 5 before beginning the straight sides. Add height by working more non-increasing rounds.
For a smaller bag, stop the base increases earlier and reduce the number of side rounds.
Customize the Handle
The handle begins with 42 chains, but this can easily be changed. A longer chain creates a longer hanging handle, while a shorter chain keeps the bag closer to the hand.
Pattern Abbreviations & Terminology
- MC: Magic Circle
- ch: Chain
- sl st: Slip Stitch
- HDC: Half Double Crochet
- sc: Single Crochet
- inc: Increase — 2 HDC in the same stitch
- st(s): Stitch(es)
Crochet Pumpkin Treat Bag Pattern
Crochet the Pumpkin Base
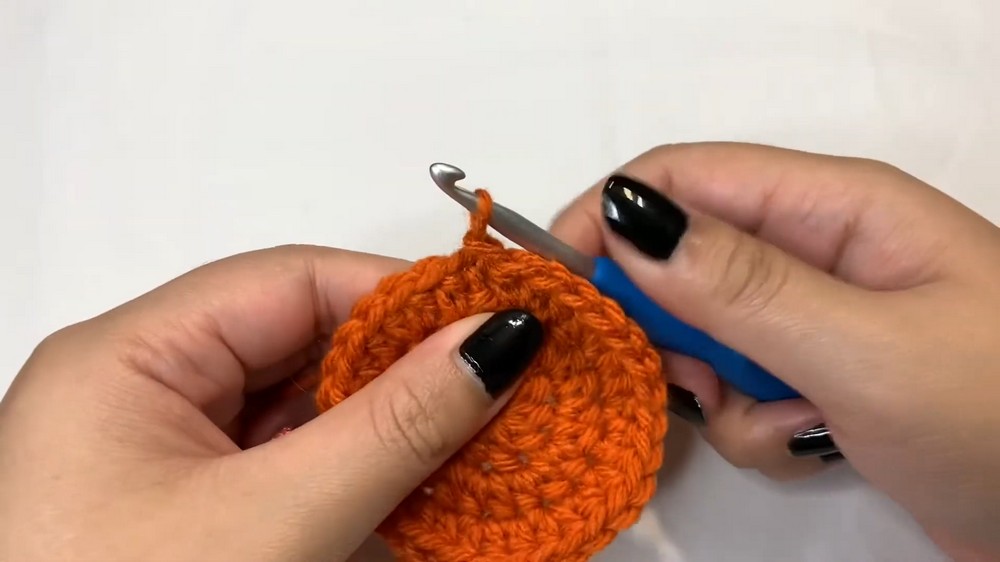
The base begins as a Magic Circle and expands through five increasing rounds. Each round adds 10 stitches, keeping the circle flat as it grows.
Round 1: Make a Magic Circle, ch 1, work 10 hdc into the circle, pull the tail to close the center, and sl st to the first hdc to join. (10 sts)
Round 2: Ch 1, work 2 hdc in each stitch around, then sl st to the first hdc to join. (20 sts)
Round 3: Ch 1, work 1 hdc in the first stitch, 2 hdc in the next stitch, then repeat this sequence around; sl st to the first hdc to join. (30 sts)
Round 4: Ch 1, work 1 hdc in each of the next 2 sts, 2 hdc in the next st, then repeat this sequence around; sl st to the first hdc to join. (40 sts)
Round 5: Ch 1, work 1 hdc in each of the next 3 sts, 2 hdc in the next st, then repeat this sequence around; sl st to the first hdc to join. (50 sts)
Base Shape Check
After Round 5, lay the piece flat.
It should look like a relatively smooth circle rather than a bowl or a ruffled edge. If the edge is beginning to wave, your tension or increase placement may need attention. If the piece is pulling upward too early, check that the increases are being worked as written.
Important: Once the base has reached the desired diameter, stop increasing. The next rounds are worked with one HDC in every stitch so the bag can build upward instead of continuing to spread outward.
Build the Sides
The side rounds create the depth of the treat bag.
Side Round 1: Ch 1, work 1 hdc in each stitch around, then sl st to the first hdc to join. (50 sts)
Side Rounds 2–13: Repeat Side Round 1, working 1 hdc in every stitch around and joining each round with a sl st. (50 sts per round)
Side Round 14: Continue with 1 hdc in each stitch around if additional height is desired. (50 sts)
You can stop anywhere between approximately 13 and 14 rounds depending on how tall you want the finished bag.
Keep the Sides Upright
This is where the shape of the pumpkin bag changes from a circle into a container.
Do not add increases during these rounds. Keep the stitch count at 50 stitches so the sides rise rather than flare outward.
If your bag begins looking wider at the top, check that you haven’t accidentally added an extra stitch.

Add the Green or Brown Pumpkin Top
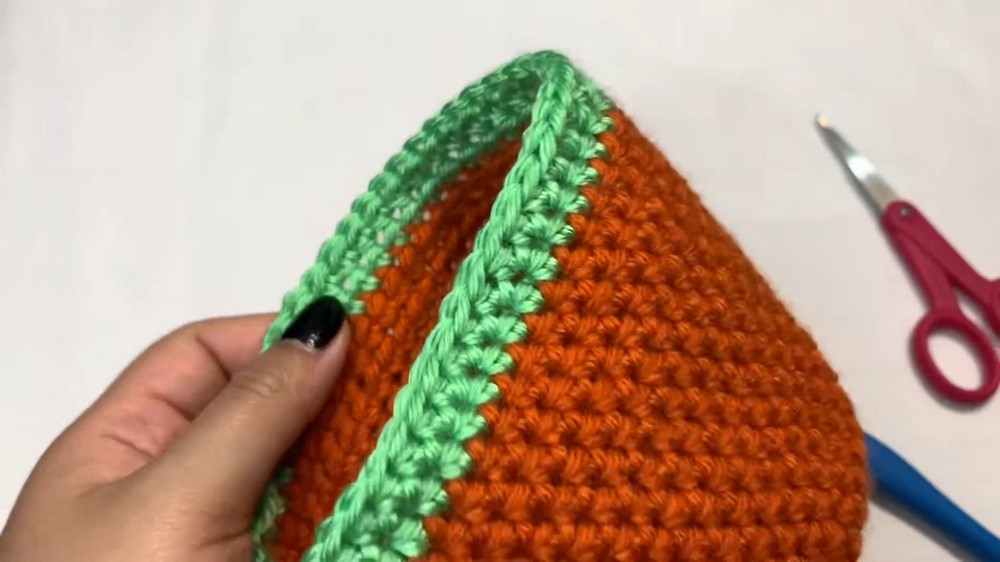
The contrasting top gives the bag a little extra pumpkin character and creates a simple color transition.
Before changing colors, finish the final orange round securely.
Color Change: Cut the orange yarn, leaving a short tail. Join the green or brown yarn through the final orange loop and secure the transition. Continue crocheting over the loose tails for a cleaner inside finish.
Top Round 1: Work 1 hdc in each stitch around using green or brown yarn, then sl st to the first hdc to join. (50 sts)
Top Round 2: Repeat Top Round 1. (50 sts)
Fasten off and weave in the remaining ends.
You can add more contrasting rounds if you want a taller stem-colored section, but two rounds give the bag a simple finished transition.
Make the Handle
The handle is worked from a chain and reinforced so it can support the weight of the treats.
Handle Foundation: Ch 42, or adjust the number of chains according to the handle length you want. (42 ch)
Handle Row: Starting in the 2nd chain from the hook, work 1 hdc in each chain back toward the bag. (41 hdc)
Attach the first end of the handle securely to one side of the bag using a slip stitch and a firm single-crochet connection.
Reinforce the Handle
For a sturdier handle, work single crochet or half double crochet along the opposite side of the foundation chain. This gives the chain more thickness and makes it less likely to stretch when the bag is filled.
Bring the handle back to the bag and attach the opposite end at a matching position.
Handle Check: Before weaving in the ends, hold the bag by the handle and gently lift it. Both attachment points should sit evenly and should not pull noticeably away from the body.
For a treat bag that will be filled with heavier items, take a few extra stitches when securing each handle end rather than relying on a single attachment point.

Create the Pumpkin Face
The face is what gives each pumpkin its personality, and felt makes this part quick to customize.
Using black felt or fabric, cut:
- Two triangular eyes
- A small triangular or square nose
- A smiling, curved, or spooky mouth
You can make the shapes symmetrical for a classic jack-o’-lantern look or intentionally vary them for a more playful handmade appearance.
Attach the Face
Apply a small amount of hot glue or fabric glue to the back of each felt piece and press it firmly onto the pumpkin body.
Allow the adhesive to set before filling the bag.
Placement tip: Lay out all of the facial pieces first without glue. Because the pumpkin body is rounded, positioning the eyes and mouth slightly lower or wider than you might expect can give the face a more balanced appearance.
Finishing
Weave in any remaining yarn ends securely on the inside of the bag.
Check the handle attachment points and make sure the felt pieces are firmly secured.
Your pumpkin treat bag is now ready to fill with Halloween candy, small gifts, or other seasonal goodies.
Easy Ways to Customize Your Pumpkin Bag
Change the Pumpkin Colors
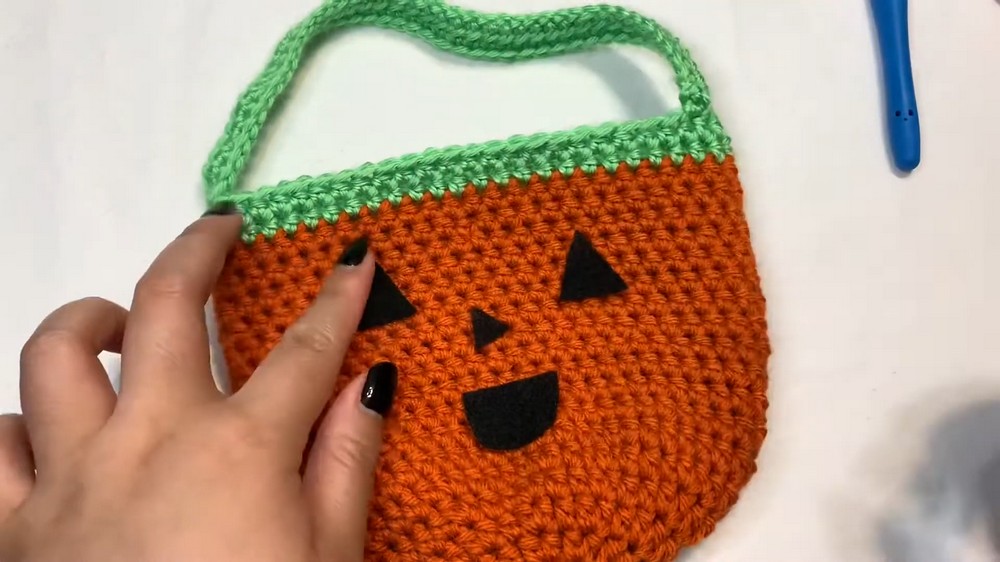
You don’t have to stick with traditional orange.
Try:
- Orange with green
- Orange with brown
- Cream with brown
- White with green
- Dark orange with black
- Several pumpkins in different shades
Give Each Pumpkin a Different Face
Use different felt shapes to create:
- A happy jack-o’-lantern
- A spooky pumpkin
- A surprised expression
- A simple smiling face
- A classic triangular-eyed Halloween face
Change the Bag Size
The easiest way to change the width is to continue or reduce the increasing rounds of the circular base.
Once you reach the desired diameter, stop increasing and work straight rounds for the height.
This two-stage approach is important: increase for width, then maintain the stitch count for height.
Final Thoughts
Your crochet pumpkin treat bag is ready for Halloween fun, whether you’re filling it with candy, giving it away as a handmade gift, or using it as part of your seasonal decorations. The combination of a sturdy circular base, straight crocheted sides, contrasting top, and simple felt face makes it both practical and unmistakably festive.
Once you’ve made one, try changing the colors, handle length, or facial expression to create a whole collection of little pumpkins. The basic construction stays the same, so you can focus on giving each one its own personality.