Chunky Ribbed Crochet Headband In Stretchy Design
Want a cozy crochet headband with a stretchy knit-like ribbed texture? This chunky design works up quickly and can be adjusted for a comfortable custom fit.
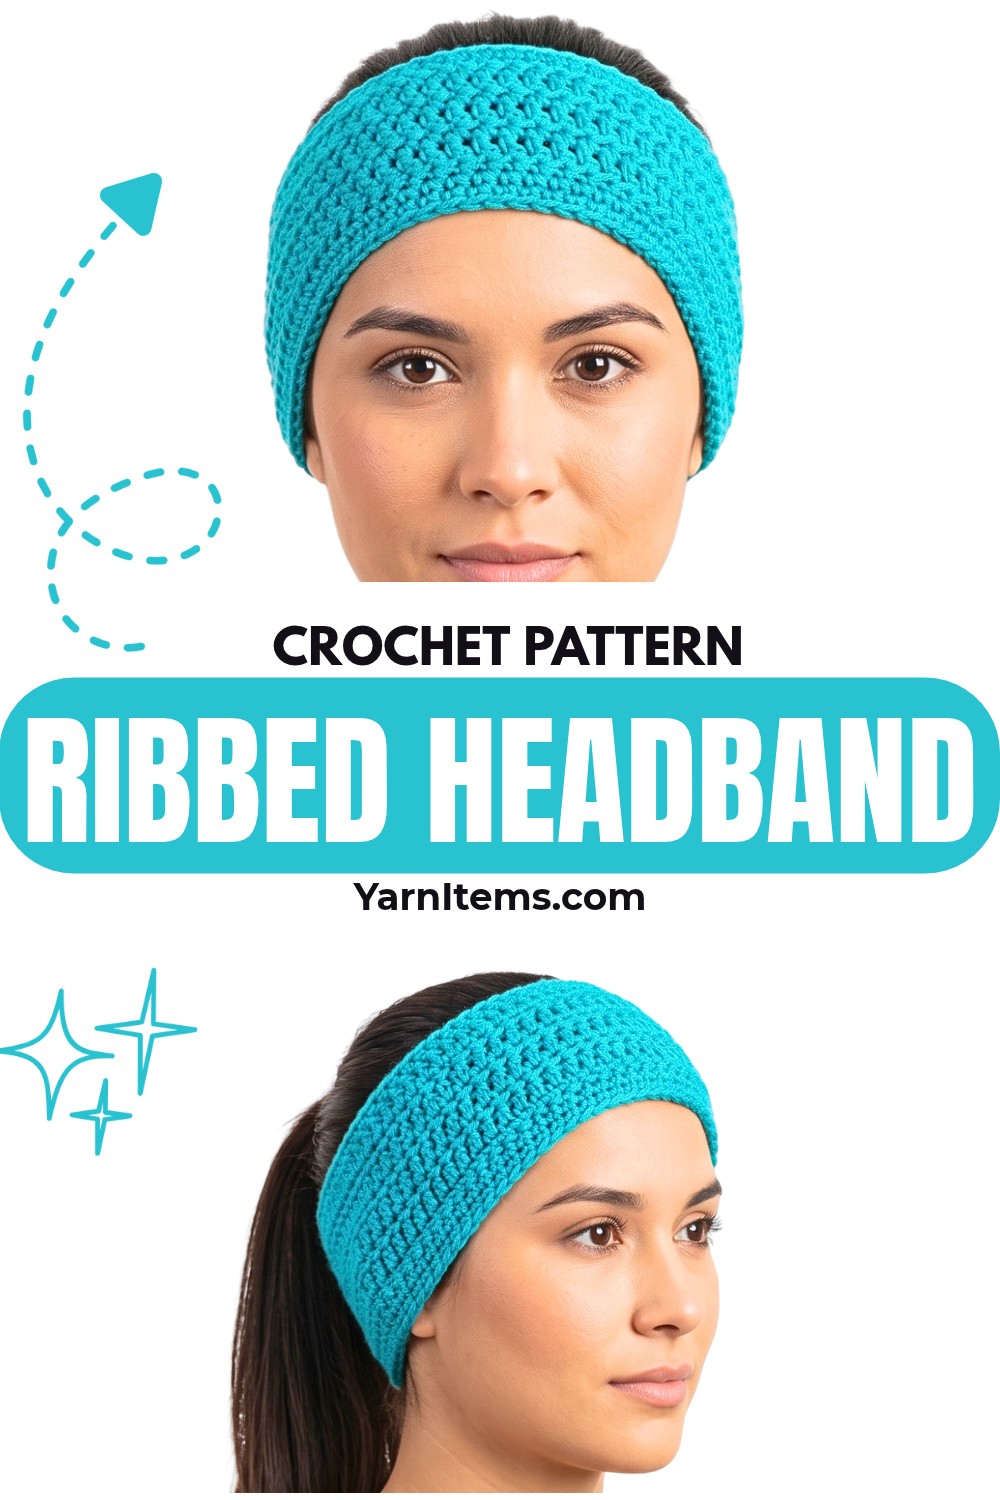
Chunky yarn gives this crochet headband its cozy feel, while simple back-loop single crochets create the raised ribs that make the finished band look almost knitted. The texture is especially nice for cooler days, and the stretchy fabric lets the headband sit comfortably without needing a complicated stitch pattern.
Beginners can follow this crochet pattern one row at a time, starting with a small foundation chain and building the band to the exact length needed. You can change the width by adjusting the starting chain and change the circumference by adding or removing rows, with a simple slip-stitch seam bringing the two ends together at the finish.
Credit madebymara
Materials & Tools Needed
- Yarn: Bulky weight yarn (Size 5) in your preferred color
- Hook: 6.0 mm crochet hook
- Notions: Tapestry or yarn needle and scissors
Finished Size & Customization
The sample headband measures approximately 7.5–8 cm (about 3 inches) wide. When folded in half, it measures about 21 cm (8.25 inches) long, giving an unstretched circumference of approximately 42 cm (16.5 inches).
For a different fit, adjust the two measurements separately:
- Need more width? Start with more chains in the foundation chain.
- Need a narrower band? Use fewer starting chains.
- Need more circumference? Add rows before joining the ends.
- Need a smaller circumference? Remove rows.
- For a snug fit: Aim for the band to feel slightly tight before joining, since the bulky yarn and ribbed fabric will naturally stretch and relax with wear.
Pattern Abbreviations
- ch – Chain
- sc – Single Crochet
- BLO – Back Loop Only
- sl st – Slip Stitch
- st(s) – Stitch(es)

Before You Start
The ribbed effect comes from working every row after the first one through the Back Loop Only (BLO). When you look at the top of a stitch, you will see a V shape with two loops. For BLO crochet, your hook goes through only the loop that sits farther away from you.
Keeping the stitch count consistent is important because the band needs even edges when you reach the joining stage. The sample begins with 11 chains and produces 10 single crochets, so the stitch count remains 10 across every row.
Pay particular attention to the final stitch of each row. Because the corner can curl inward, it is easy to overlook that last stitch and accidentally make the band narrower as you work.
Step-by-Step Crochet Pattern
Foundation Row
Make a slip knot and ch 11, or chain more or fewer stitches if you are customizing the headband width.
Row 1: Skip the first chain closest to your hook, work 1 sc in the second chain from the hook, then continue working 1 sc in each chain across; 10 sc.
This first row establishes the full width of the headband. Count your stitches before moving on so the remaining rows can stay at the same count.

Row 2: Ch 1 and turn, skip the ch-1 just made, work 1 sc in the BLO of the first stitch, then work 1 sc in the BLO of every stitch across, making sure to work into the very last corner stitch; 10 sc.
The first BLO row is where the ribbed texture begins to appear. If the top edge seems to be hiding the final stitch, gently straighten the fabric before inserting your hook rather than skipping the corner.
Row 3 and all remaining rows: Ch 1 and turn, skip the ch-1 just made, work 1 sc in the BLO of every stitch across, including the final stitch; 10 sc.
Repeat this same row until the ribbed band reaches the length needed to stretch comfortably around your head. Since the fabric will stretch, check the length against your head as you get closer rather than relying only on a ruler.

Optional Color Changes
The original design uses one solid color, but stripes can be added if desired. To change colors cleanly, make the color change during the final yarn-over of the last sc of the row, then continue with the new color when you chain 1 and turn.
Joining the Headband
Once the band reaches your desired length, do not cut the yarn yet. Fold the fabric in half so the two short ends meet evenly—the original foundation chain should line up with the final row.
Before making the seam, check that the ribbing is facing consistently and that the edges are not twisted. A quick alignment check here prevents an accidentally twisted headband.
Slip-Stitch Seam
Insert your hook into the back loop of the first stitch on the active side, then push the hook through the corresponding starting chain stitch on the opposite side. Yarn over, pull the loop through both layers, then pull it through the loop already on your hook to complete 1 sl st.
Continue joining the two edges in the same way across all 10 stitches. Keep the edges lined up as you go so the seam remains even from one side to the other.
Once all 10 stitches have been joined, gently open the band and check the seam before finishing. The two edges should meet without large gaps or puckering.

Finishing
After the final slip stitch, ch 1 to secure the work. Cut the yarn, leaving a long tail, and pull the tail completely through the loop on your hook to fasten off.
Thread the tail onto a tapestry needle and weave it securely back and forth through the stitches on the wrong side of the fabric. Repeat with the starting yarn tail, then trim away any excess.
Finally, turn the headband so the slip-stitch seam sits neatly on the inside. The outside should now show the raised ribbed texture created by the BLO stitches.

Final Fit Check
Stretch the finished headband gently before wearing it. The ribbing should expand comfortably while returning toward its original shape, and the seam should remain flat rather than pulling apart. If the band feels slightly snug at first, remember that the fabric is designed to loosen and stretch with use.