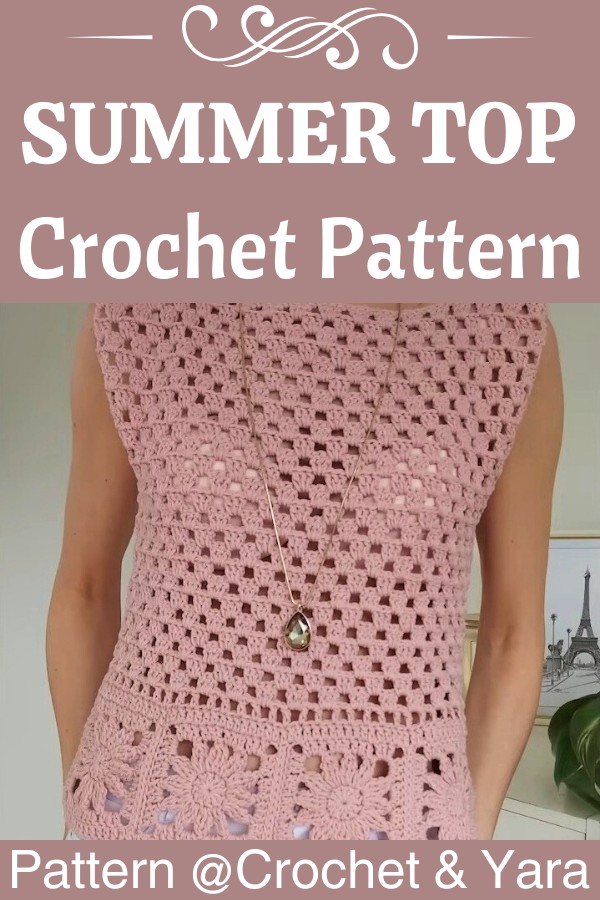
Simple & Stylish Crochet Summer Top Design for Warm Days
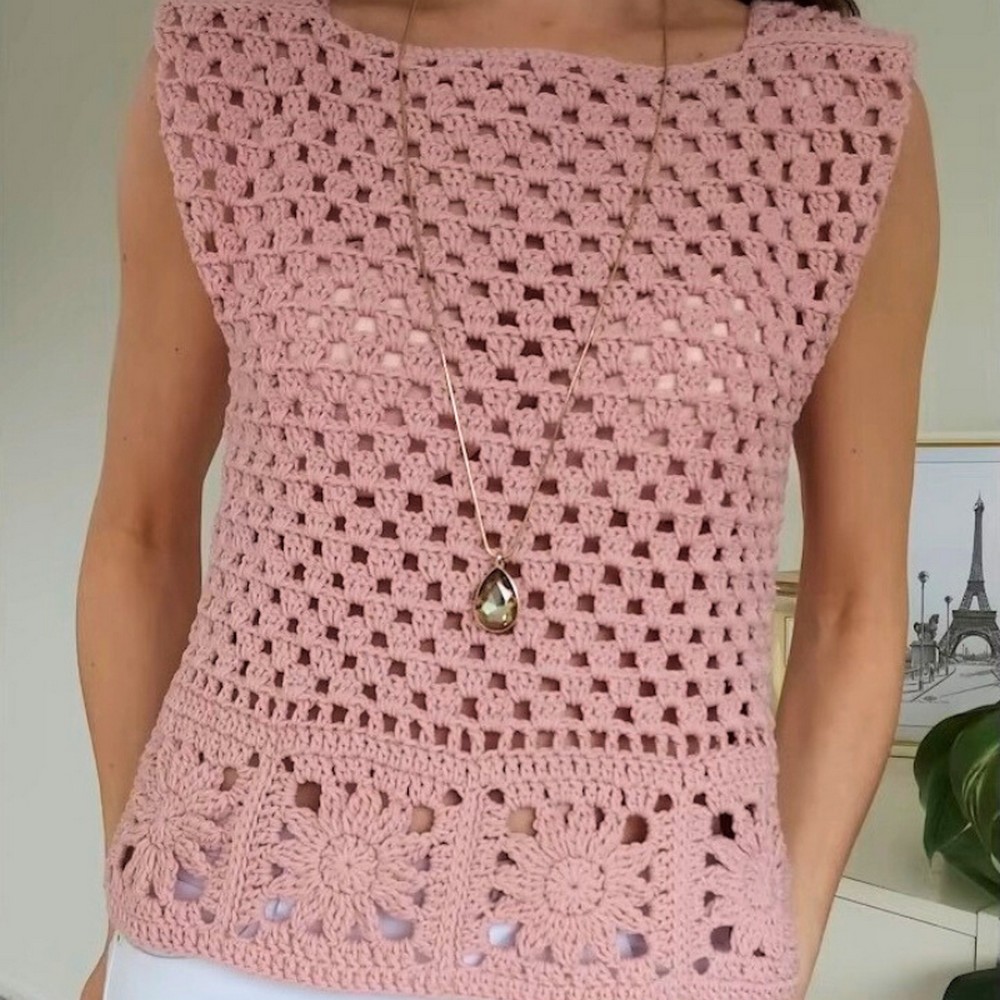
A crochet summer top is the kind of piece that feels light, looks effortlessly stylish, and pairs beautifully with warm-weather outfits. Its breathable open texture keeps it cool and comfortable.
Making it a lovely choice for everyday wear, beach walks, or layered looks. If you’ve been searching for a handmade top that’s both practical and eye-catching. This crochet pattern is a wonderful place to begin.
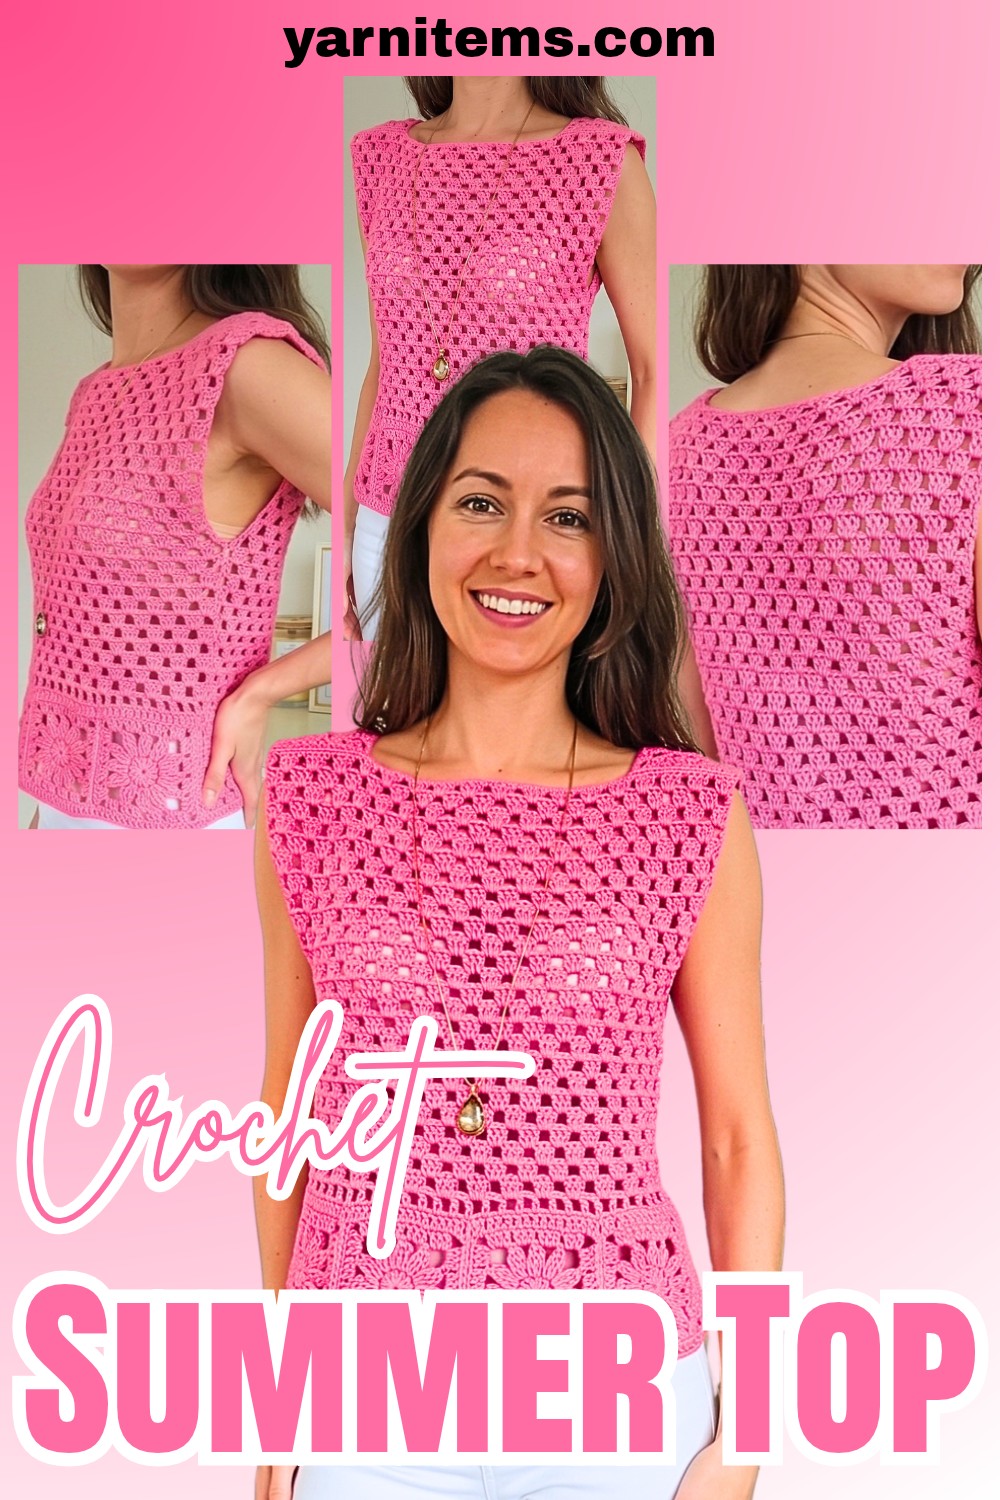
This tutorial walks you through the entire process step by step using beginner-friendly crochet stitches and a clear construction method. You’ll learn how each section is shaped before everything is joined into a lightweight top with a polished finish. Keep reading to discover the complete process and make a crochet summer top you’ll reach for again and again.
Credit Crochet & Yara
Materials & Tools
- Yarn: 1 skein cotton yarn (approx. 300 g / 600 m / 656 yds)
- Hook: 4.0 mm (US G/6)
- Notions: Scissors, darning/yarn needle, stitch markers (optional but helpful)
Finished Size & Customization
- Base Size: Written for approximately a Size Small
- Width: Determined by the number of granny squares in the bottom band
- For a larger size:
- Add more granny squares to the bottom strip
- e.g., 5–6 squares per side instead of 4
- Or add extra rows to the sides of the main panels before seaming
- Add more granny squares to the bottom strip
- For a larger size:
Abbreviations (US Terms)
- Ch – Chain
- Sl St – Slip Stitch
- Sc – Single Crochet
- Dc – Double Crochet
- Trc – Treble (Triple) Crochet
- Trc together / Cluster – Multiple treble crochet stitches worked together into the same space
Step-by-Step Process
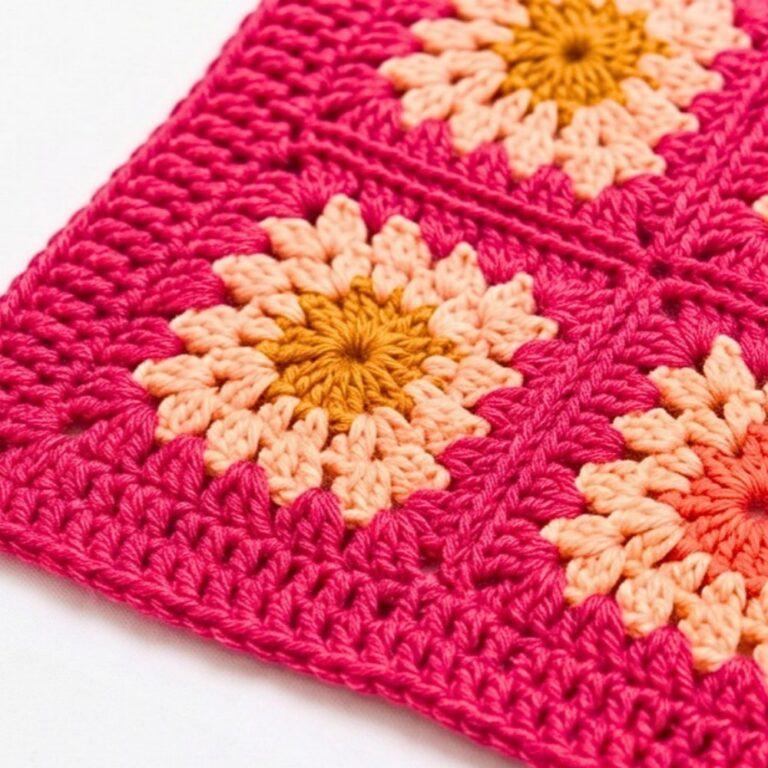
1. Granny Squares (Make 10)
You will need:
- 4 squares – front bottom lace
- 4 squares – back bottom lace
- 2 squares – shoulder straps
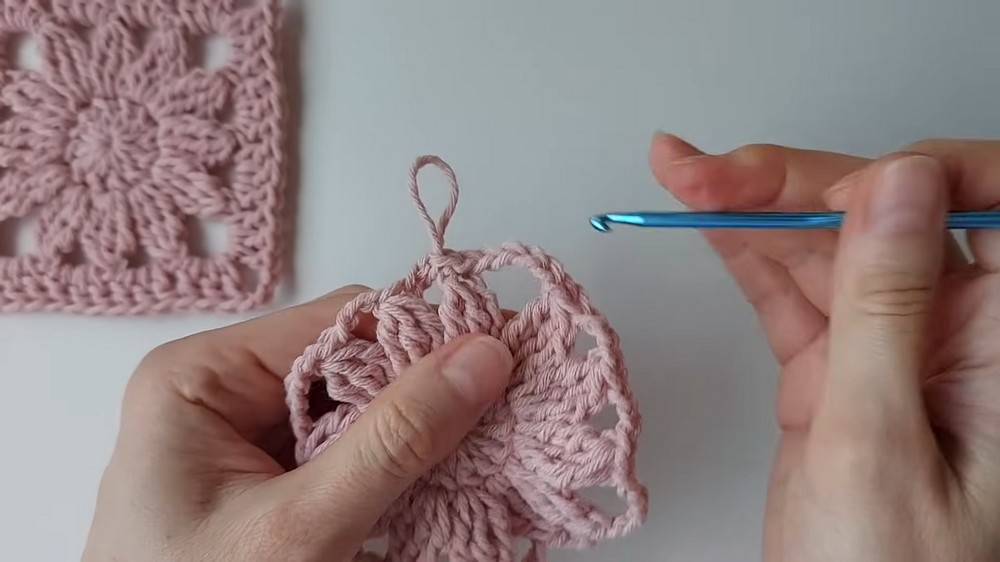
Round 1: Center Circle
- Make a magic ring.
- Ch 3 (counts as first Dc).
- Work 11 Dc into the ring.
- Pull ring tight.
- Join with a Sl St into the top of the beginning Ch-3.
- (Total: 12 Dc)
Round 2: Flower Petals & Corners
- Ch 4.
- In first stitch: work 2 Trc together (cluster) to form first petal.
- (Ch 4 + 2 Trc together = first cluster).
- Ch 3.
- In next stitch: work 3 Trc together, then Ch 3.
- Repeat Step 4 two more times (for petals along the side).
Forming corners:
- For a corner section:
- Ch 5
- Work 3 Trc together in the next stitch
Continue alternating:
- Side repeat: 3 Trc together, Ch 3
- Corner sections: Ch 5, 3 Trc together
Work around until the square is formed, then:
- Join with a Sl St into the top of the beginning cluster.
Round 3: Squaring Off (Solid Border)
- Join yarn into any chain space.
- In a side space:
- Ch 3 (counts as first Dc), then 2 Dc in same space.
- In the next side space, work 3 Dc.
- In a corner space:
- Work 3 Dc, Ch 3, 3 Dc into the same space.
- Repeat around:
- Side spaces: 3 Dc in each
- Corner spaces: 3 Dc, Ch 3, 3 Dc
- Join to the top of the beginning Ch-3.
- Fasten off and weave in ends.
Make 10 squares total.
2. Assembly & Main Body Construction
Step 1: Assemble the Bottom Lace Bands
You’ll create two strips:
- Front band: 4 squares
- Back band: 4 squares
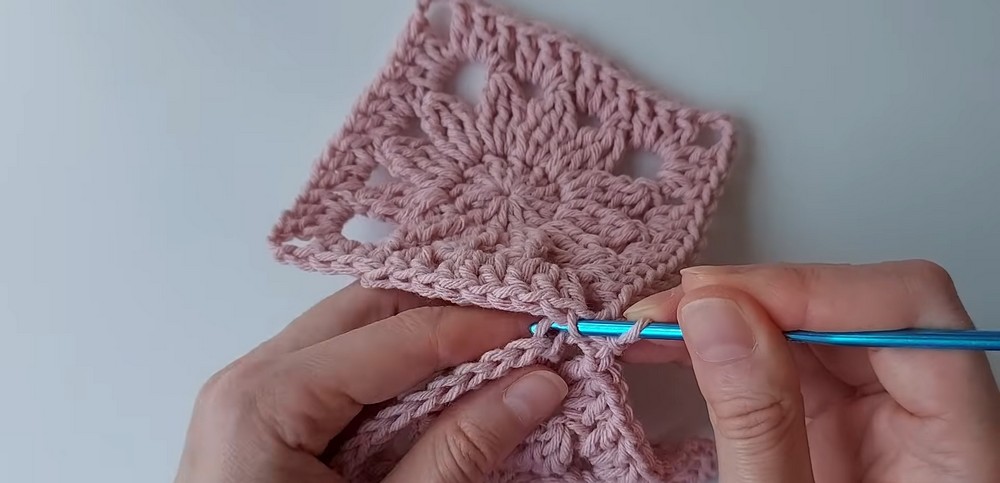
- Place 4 squares in a row (right sides up).
- With a slip knot on your hook, insert the hook into the inside loop/back loop of the corner stitches of two adjacent squares.
- Join squares using a Sl St join through back loops only:
- This keeps the seam flat and neat.
- Repeat until all 4 are joined in a row.
- Make a second identical strip for the back.
Step 2: Lace Border / Stabilizing Edge
You’ll work a solid row around the joined strip to stabilize it.
- Attach yarn to the outer edge of one 4-square strip.
- Work evenly around the entire perimeter.
- Corners:
- Work 3 Dc, Ch 3, 3 Dc in each corner space.
- Top edge (where the body will be built):
- Place 1 Dc in each stitch across.
- Corners:
- Join at end of round if working fully around.
- Or stop at the top edge if working only along the top (as preferred for your construction).
Repeat on the back strip.
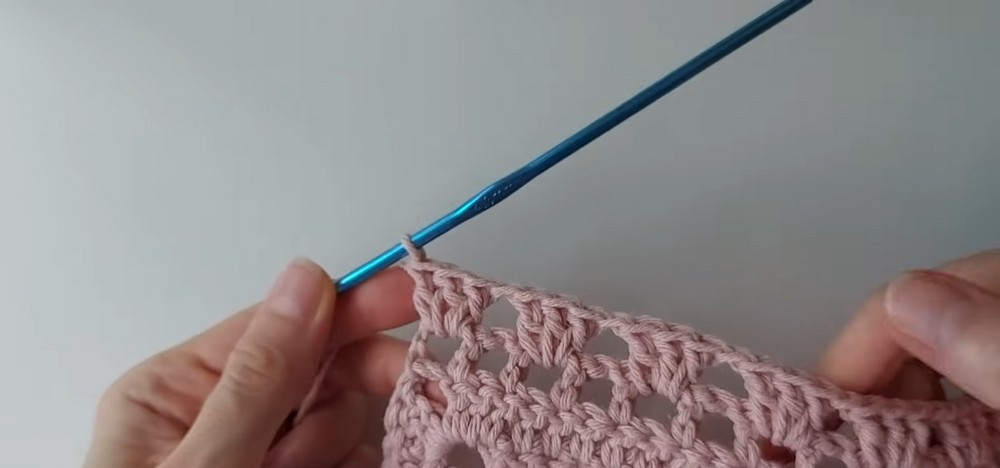
Step 3: Mesh Transition Row (Row 1 of Panel)
This row is worked along the top edge of your stabilized lace band.
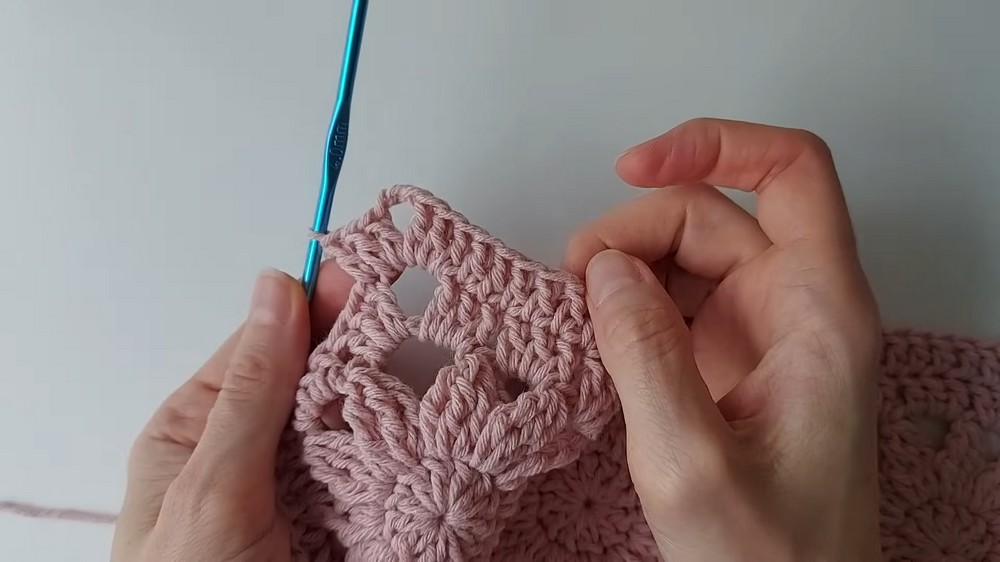
- Attach yarn at one end of the top edge.
- Ch 4
- (Counts as Dc + Ch 1).
- Skip next stitch, Dc in the following stitch, Ch 1, skip 1 stitch.
- Repeat:
- (Dc, Ch 1, skip 1)
along the entire top of the band.
- (Dc, Ch 1, skip 1)
- Turn.
Step 4: Main Body Panels (Rows 2–25)
You’ll build a classic granny stitch pattern upwards.
Row 2:
- Ch 4 (counts as Dc + Ch 1).
- Work 3 Dc in the first Ch-1 space.
- Ch 1.
- Work 3 Dc in the next Ch-1 space.
- Repeat:
- 3 Dc in each Ch-1 space, separated by Ch 1
across the row.
- 3 Dc in each Ch-1 space, separated by Ch 1
- Turn.
Rows 3–25:
- Repeat the same pattern:
- Ch 4 at the start,
- 3 Dc in each Ch-1 space,
- Ch 1 between clusters.
You should have 25 rows total (including the mesh transition row as Row 1, if you’re counting that way; if not, just ensure consistent height).
At the top of the final row:
- Cut yarn, leaving a long tail (about 60 cm / 24″) for seaming later.
Make a matching back panel:
- Repeat Steps 3–4 on the back lace strip.
3. Final Seaming & Straps
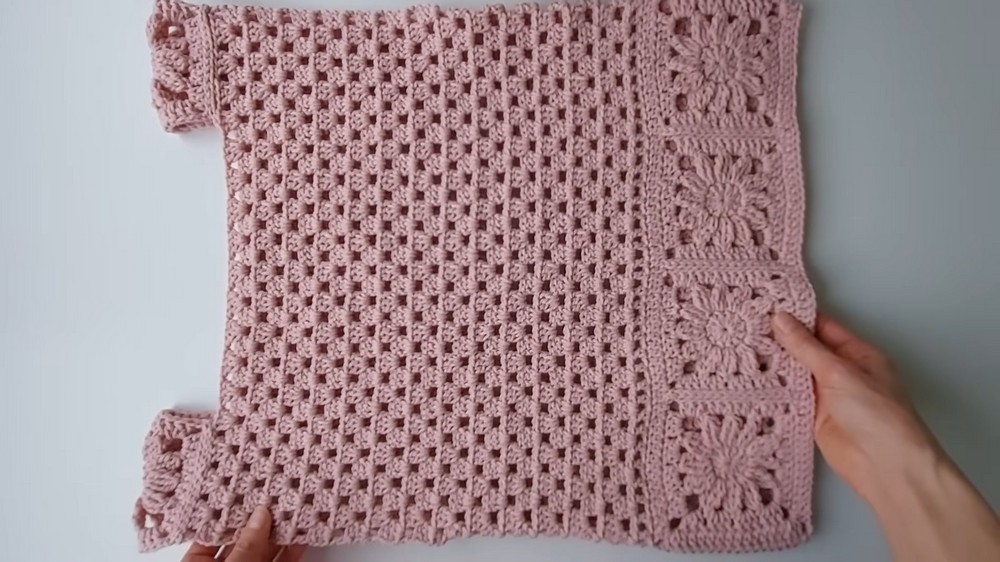
Shoulder Squares
You have 2 remaining granny squares for the shoulders.
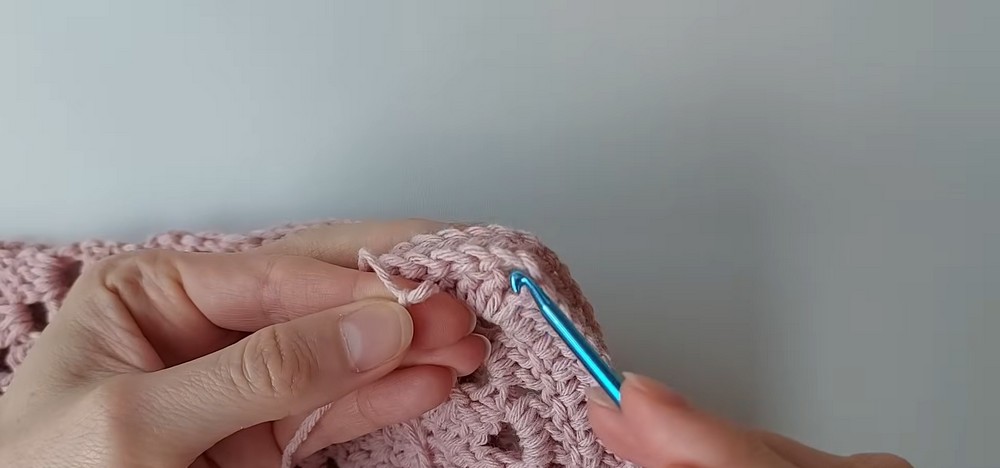
- Lay front and back panels face-to-face (right sides together).
- Position one granny square at each top corner:
- One on the left shoulder area
- One on the right shoulder area
- Join:
- Seam one side of the square to the front top edge.
- Seam the opposite side of the square to the back top edge.
- You can use:
- Whip stitch (with needle)
- Sl St join
- Or Sc join for a decorative seam.
Repeat for both shoulders.
Side Seams
- With panels still face-to-face, align the sides carefully.
- Using the long tail or fresh yarn:
- Seam from the underarm area downward to the bottom hem.
- Use a Single Crochet (Sc) join or your preferred joining method:
- Insert hook through both layers at the edge.
- Sc through both layers along the side.
- Leave enough space at the top of each side for comfortable armholes:
- Try on as you go (or measure against a tank top) to adjust opening height.
Finishing
- Fasten off any remaining yarn.
- Weave in all loose ends securely.
- Optionally:
- Add a border (Sc or crab stitch) around neckline, armholes, or bottom hem for a cleaner finish.
If you’d like, I can help you:
- Convert this into a fully row-by-row written pattern with counts,
- Adjust stitch counts for a specific size (e.g., M, L, XL),
- Or add a schematic/measurement guide so you can check fit as you go.