Crochet Christmas Wreath Granny Square Pattern
Looking for a festive granny square? A red center, textured green wreath, and tiny bow turn simple crochet stitches into holiday décor you can use in many ways.
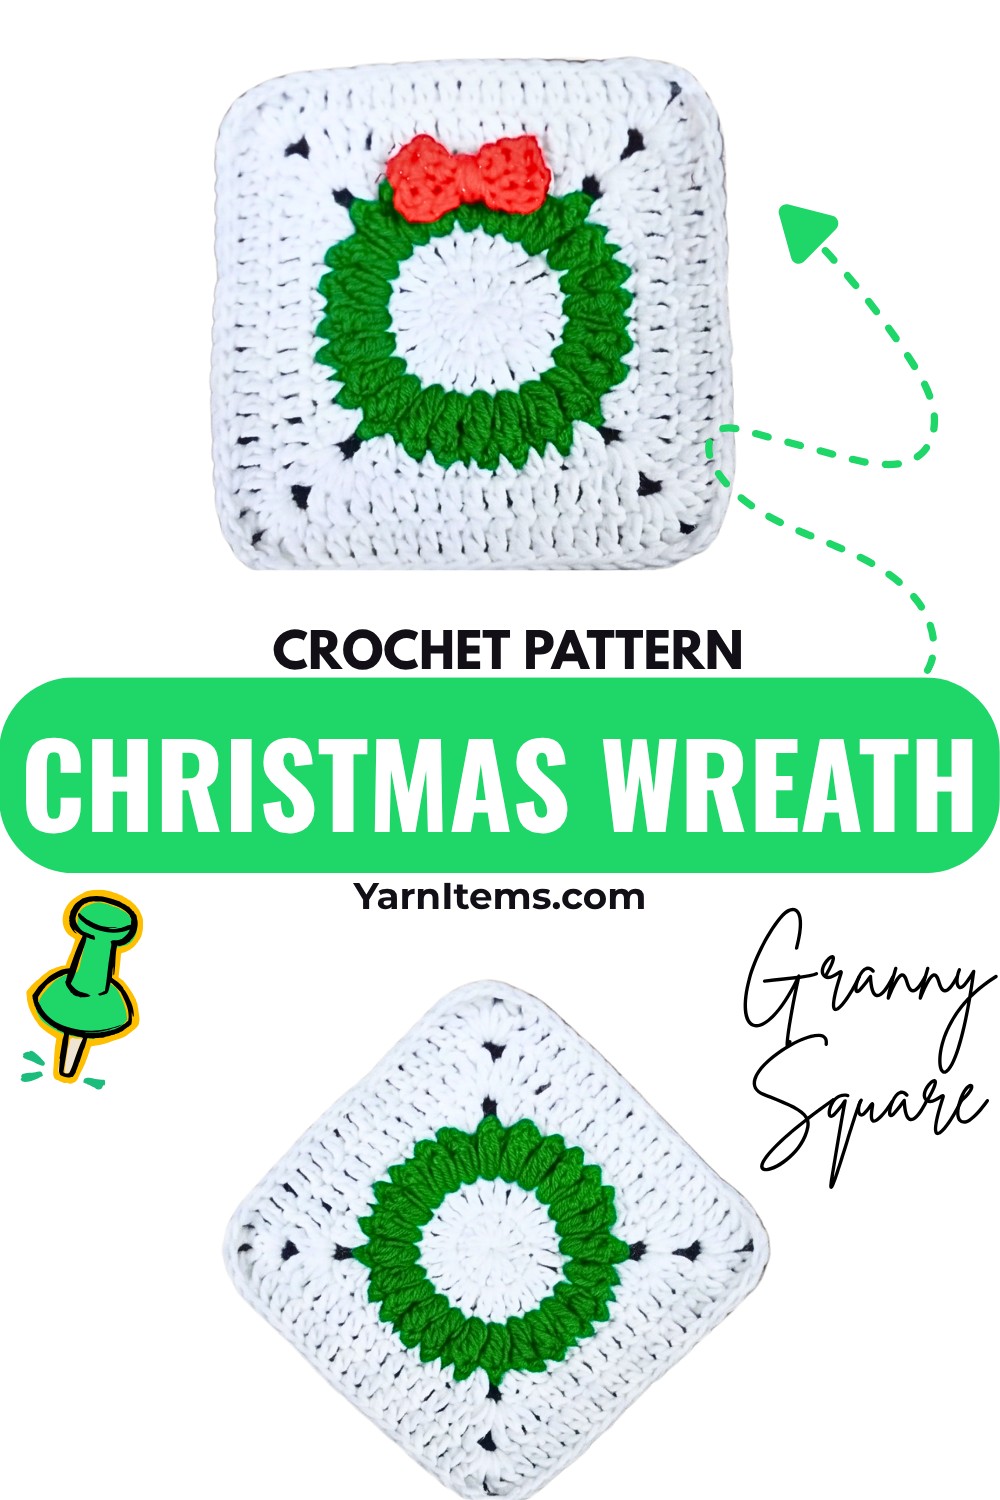
Christmas crochet can turn a familiar granny square into something much more decorative, and this wreath design does that with a red center, textured green popcorn stitches, and a small bow. Each crochet layer adds another festive detail while keeping the square useful for more than one holiday idea.
Starting with a simple crochet ring, you’ll build the wreath texture, shape it into a square, and then make the contrasting bow separately. The pattern includes clear stitch placement, corner shaping, an optional expansion round, and the small details that help the finished crochet square keep its wreath-like look.
Credit Simple Crochet
Pattern Abbreviations
- ch: Chain
- sl st: Slip stitch
- st(s): Stitch(es)
- sc: Single crochet
- hdc: Half double crochet
- dc: Double crochet
- tr: Triple (treble) crochet
- pc: Popcorn stitch
- BLO: Back loop only
Materials & Tools
- Yarn: Red yarn for the center ring and bow tie, green yarn for the wreath foliage, and a background/square yarn color of choice for squaring off
- Tools: Crochet hook appropriate for your yarn weight, yarn needle (tapestry needle), and scissors
Finished Size & Uses
Finished size is a standard granny square size, with the option to adjust it by adding or omitting outer expansion rounds.
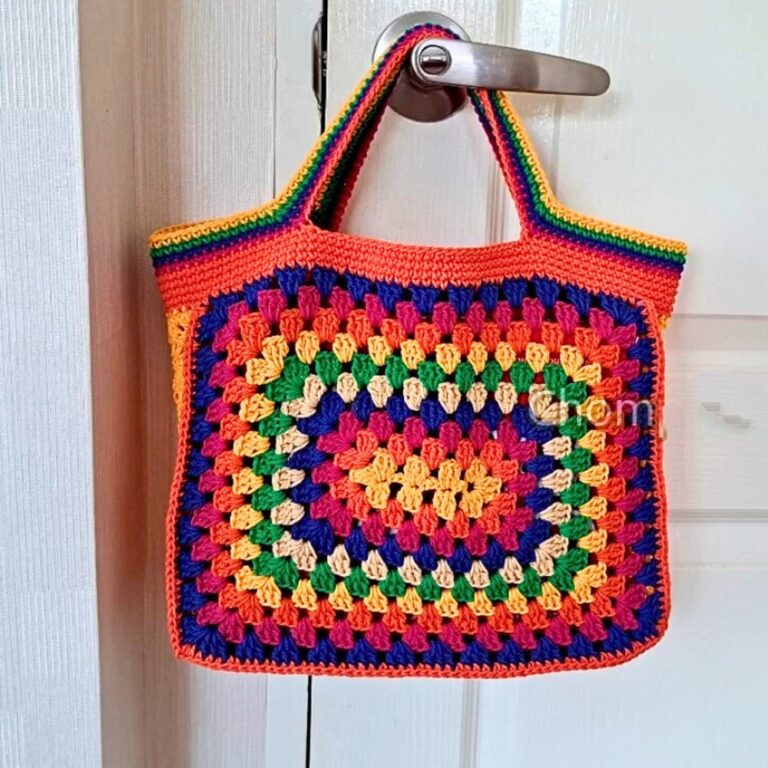
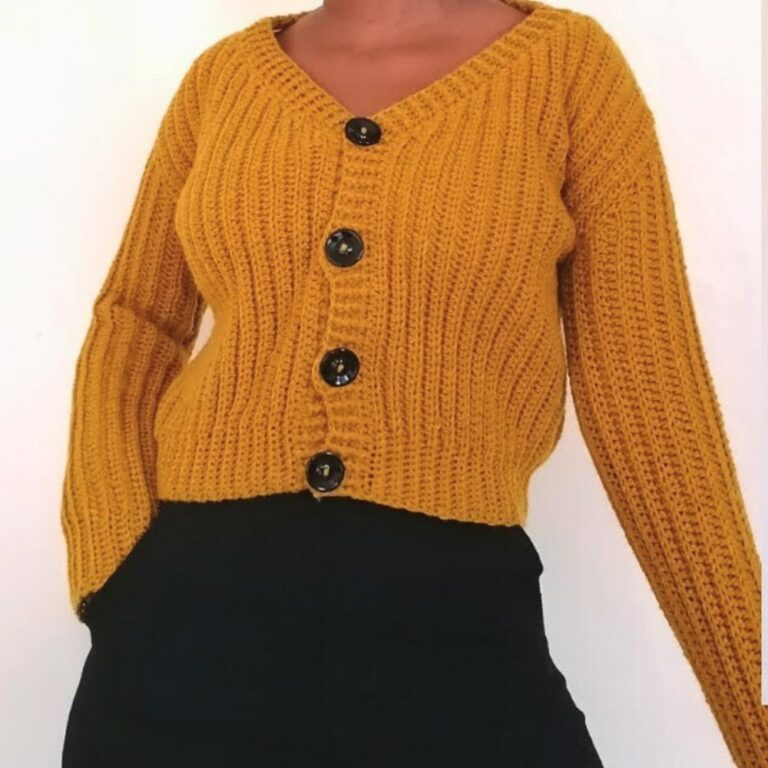
Once you have the square you want, several can be combined into blankets, cardigans, bags, or festive pouches. Changing the bow color can also shift the look, while small embroidered details such as French knots can add berry-like accents.
Step-by-Step Crochet Pattern
Build the Red Center
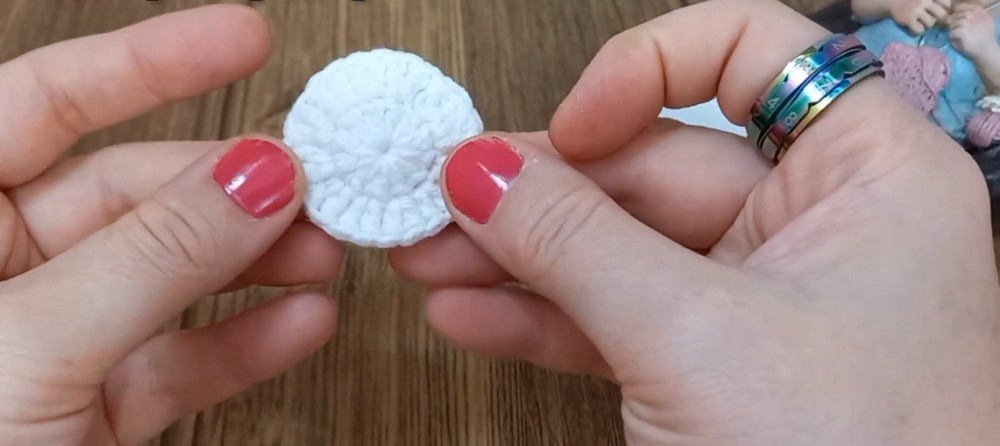
The center establishes the round foundation for the wreath. The first round creates 12 dc, and the second doubles that count to 24 dc, giving the green popcorn round enough stitches to form the foliage around the ring.
Red Yarn
Round 1: Start with a magic ring. Make 1 ch, then make 2 ch more, which counts as 1 dc for a total of 3 ch as the first dc. Make 11 dc into the magic ring. Pull the yarn tail tightly to close the circle and join with a sl st to the 3rd ch. (12 dc)
Teaching Guide: Pull the magic ring closed firmly before joining so the center does not remain unnecessarily open. The 12-dc count gives you a clear checkpoint before moving into the increase round.
Round 2: Make 3 ch, which counts as 1 dc, then make 1 dc in the same space. Make 2 dc in each of the next 11 stitches around. Join with a sl st to the 3rd ch, cut the yarn, fasten off, and hide the tail between the stitches. (24 dc)
Teaching Guide: Every stitch receives 2 dc in this round, so the stitch count doubles from 12 to 24. Before changing to green, check that the circle has expanded evenly and that the center remains closed.
Add the Wreath Texture
The green round changes the flat center into a textured wreath. Each popcorn is built from 4 dc worked into one stitch and then closed at the top, creating the raised foliage effect.
Green Yarn
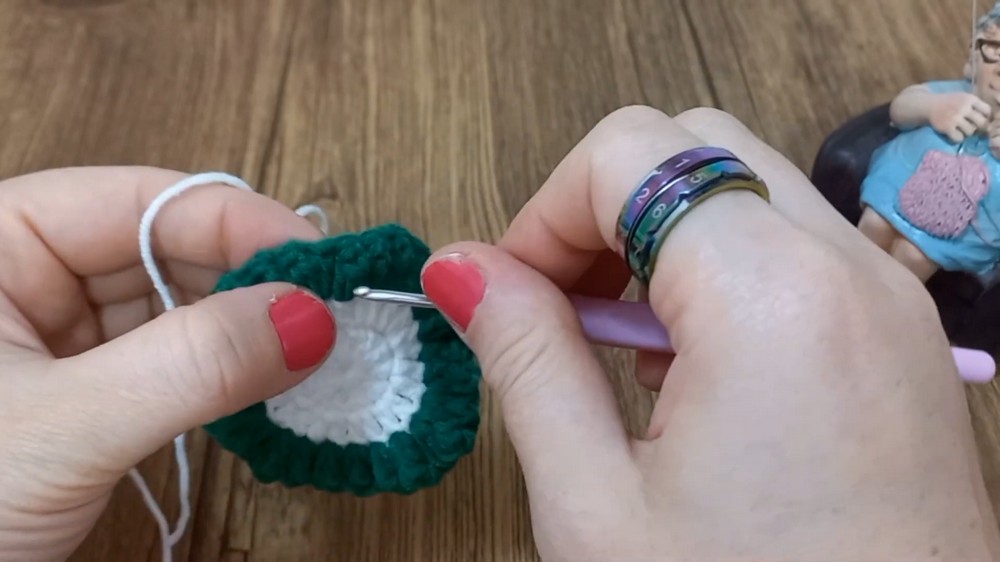
Round 3: Insert the green hook/yarn into any stitch and bring the yarn out. Make 3 ch, which counts as 1 dc, then make 3 dc in the same stitch. Bring out the hook, insert it into the first dc, insert the hook back into the active loop, pull it through to close, and make 1 ch to lock the popcorn. In the next stitch, make 1 pc using 4 dc in the stitch, remove the hook, insert it into the first dc, pull the loop through, and secure with 1 ch. Repeat the popcorn pattern around the ring, alternating spaces or working into consecutive stitches as demonstrated in the tutorial. Join with a sl st to the top chain of the first popcorn, cut the yarn, and fasten off.
Teaching Guide: The important part here is recognizing what creates one popcorn: the dc stitches are first worked together in one stitch, then the active loop is pulled through the first dc to close the group. Each finished popcorn should stand out from the red center. Keep the placement consistent as you work around so the green texture forms an even wreath rather than gathering heavily on one side.
Turn the Wreath Into a Square
The next round is where the circular wreath begins taking on four corners. The different stitch heights help create the straight sides and raised corners, so placement matters more here than simply repeating one stitch around.
Square Shaping
Round 4: Insert the hook into any stitch and make 6 ch. In the next stitch, make 1 dc; in the next stitch, 1 hdc; in the next stitch, 1 hdc; in each of the next 3 stitches, 1 sc; in each of the next 2 stitches, 1 hdc; in the next stitch work [2 dc, 2 ch, 2 dc] for the corner. Repeat the side sequence with 1 hdc in each of the next 2 spaces, 1 sc in each of the next 3 stitches, 1 hdc in each of the next 2 spaces, and [2 dc, 2 ch, 2 dc] in the corner stitch. Repeat around, make 1 dc before the starting stitches, and join with a sl st to the 3rd ch.
Teaching Guide: This round creates the basic square outline, so the corner groups are your main visual checkpoints. The [2 dc, 2 ch, 2 dc] groups should form four distinct corners, while the lower stitches shape the sides between them. If the corners are not becoming clear, check the stitch placement before continuing to the next round.
Background Yarn
Round 5: Make 6 ch, which counts as 1 tr. In the 2-ch corner space, work 2 tr. Work 1 dc in each next stitch across the side. In each corner, work [2 tr, 2 ch, 2 tr]. Repeat around, ending with 1 tr into the corner space and joining with a sl st to the 4th ch.
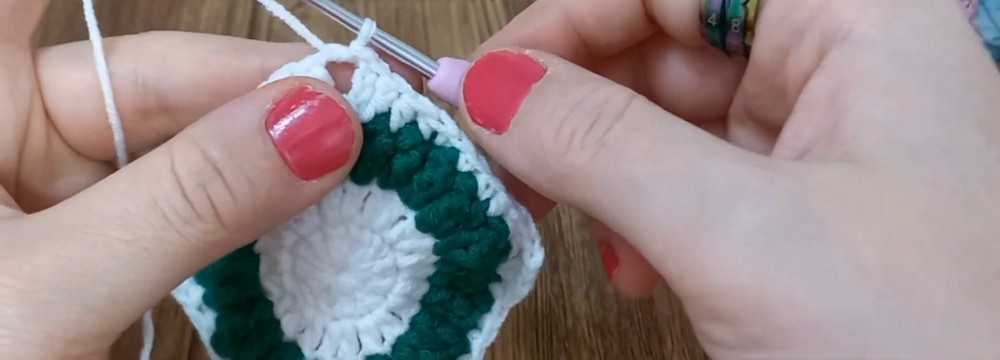
Teaching Guide: The corner spaces now become the main expansion points of the square. Keep the dc stitches across each side and reserve the [2 tr, 2 ch, 2 tr] grouping for corners. At the end of this round, the wreath should sit clearly inside a recognizable square shape.
Expand the Square if Needed
Round 6 is optional, so its purpose is simply to give the square additional size rather than being required for the basic wreath design.
Optional Expansion
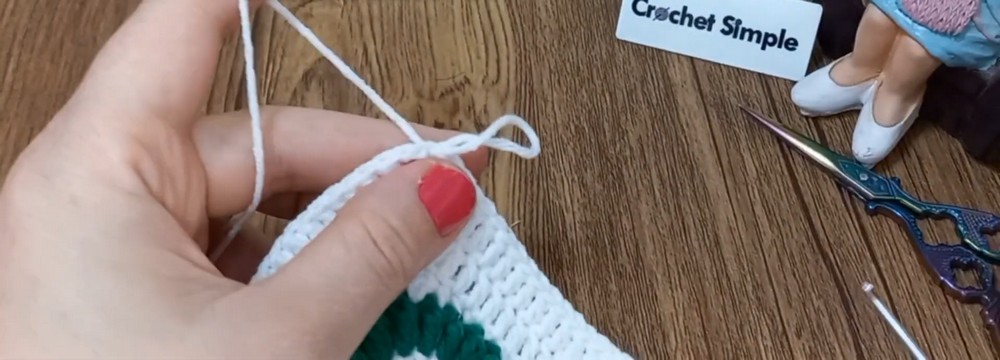
Round 6: Slip stitch across to the 2-ch corner space. Make 6 ch, which counts as 1 tr, and 2 tr in the corner. Work 1 dc in each space across. In each corner, work [2 tr, 2 ch, 2 tr]. Repeat around, join with a sl st, cut the yarn, and fasten off.
Teaching Guide: Use this round when you want a larger square. The corner formula stays the same, so each new round can continue the established square shape. If the current size already suits your intended use, you can finish without adding this optional expansion.
Make the Bow
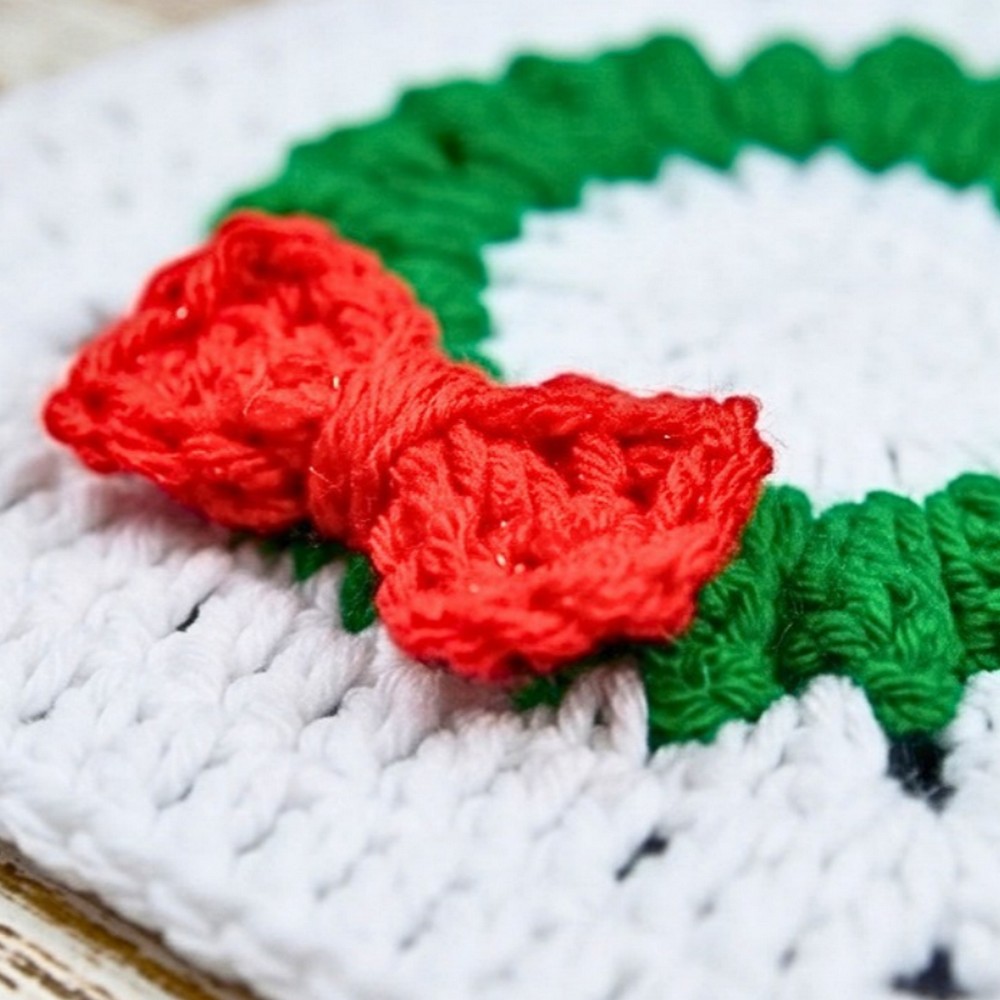
The bow is made separately as a small BLO rectangle, then gathered through its center. This keeps the bow compact and gives you a clear piece to sew onto the wreath rather than trying to shape it directly on the square.
Foundation: Make a slip knot with contrasting red yarn and chain 8.
Rows 1-8 to 10: Working in the BLO, make 1 sc in each chain across to the end. Make 1 ch, turn, and working in the BLO, make 1 sc in each chain across. Repeat this row pattern for about 8 to 10 rows to create a small rectangular fabric piece.
Teaching Guide: Keep the hook in the back loop only on each row; this creates the subtle ridged texture that helps the small rectangle fold naturally when gathered. The finished piece should be rectangular rather than square, giving enough length on both sides of the center pinch to resemble a bow.
Shape and Attach the Bow
Form the Bow
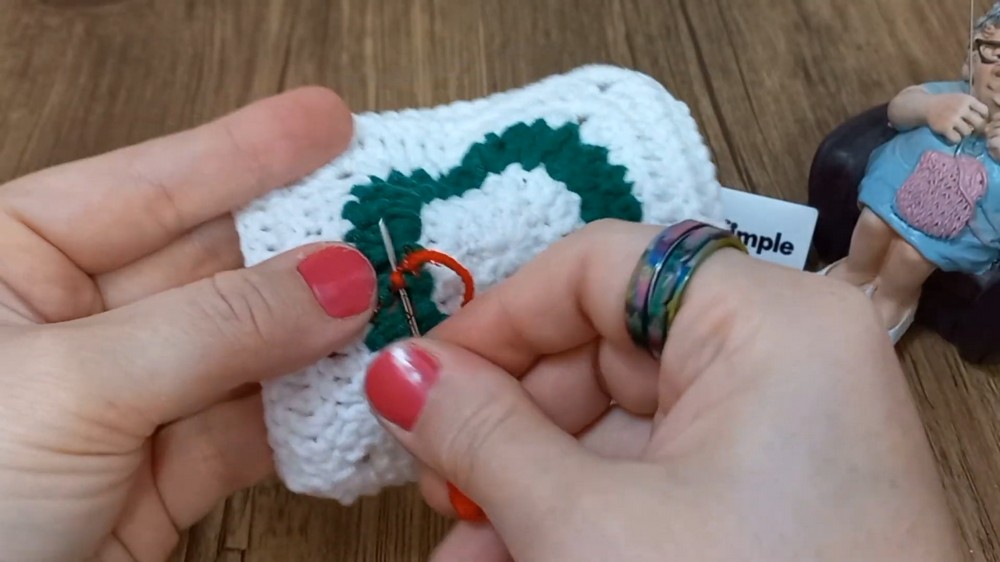
Thread the yarn needle. Insert the needle through the middle of the rectangle, wrap the yarn tail tightly around its center to pinch the fabric into a bow shape, and secure it firmly with stitches.
Teaching Guide: Pull the center firmly enough to create two visible bow loops, but keep the fabric from bunching completely flat. Adjust the two sides before securing if one loop looks noticeably larger than the other.
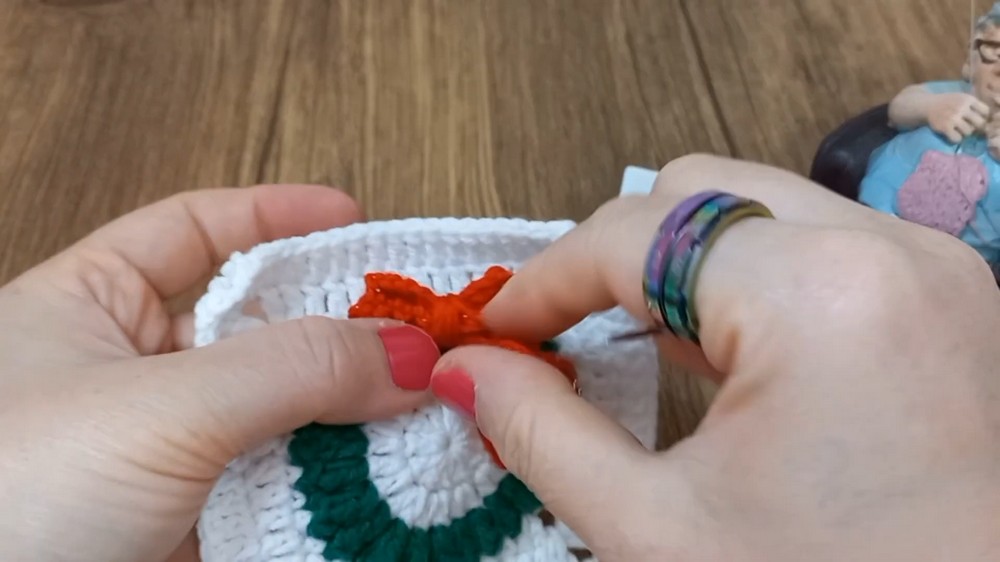
Sew It to the Wreath
Place the finished bow on top of the wreath center ring and sew it securely in place.
Teaching Guide: Center the bow over the red ring before making the final securing stitches. Checking its position first helps keep the wreath motif visually balanced and prevents the bow from covering too much of the surrounding green texture.
Finish the Square
Move the needle through the stitches to weave in all remaining yarn tails safely, then trim any excess yarn.
Teaching Guide: Check the four corners and the bow attachment once more after weaving in the ends. The finished square should have a defined four-corner shape, a raised green wreath around the red center, and a securely attached bow.
Ways to Use the Square
One finished square can work as a small festive motif, while several matching squares can become larger crochet pieces. Repeat the square for blankets, cardigans, bags, or festive pouches, and change the bow color or add small embroidered French-knot details when you want a different holiday look.