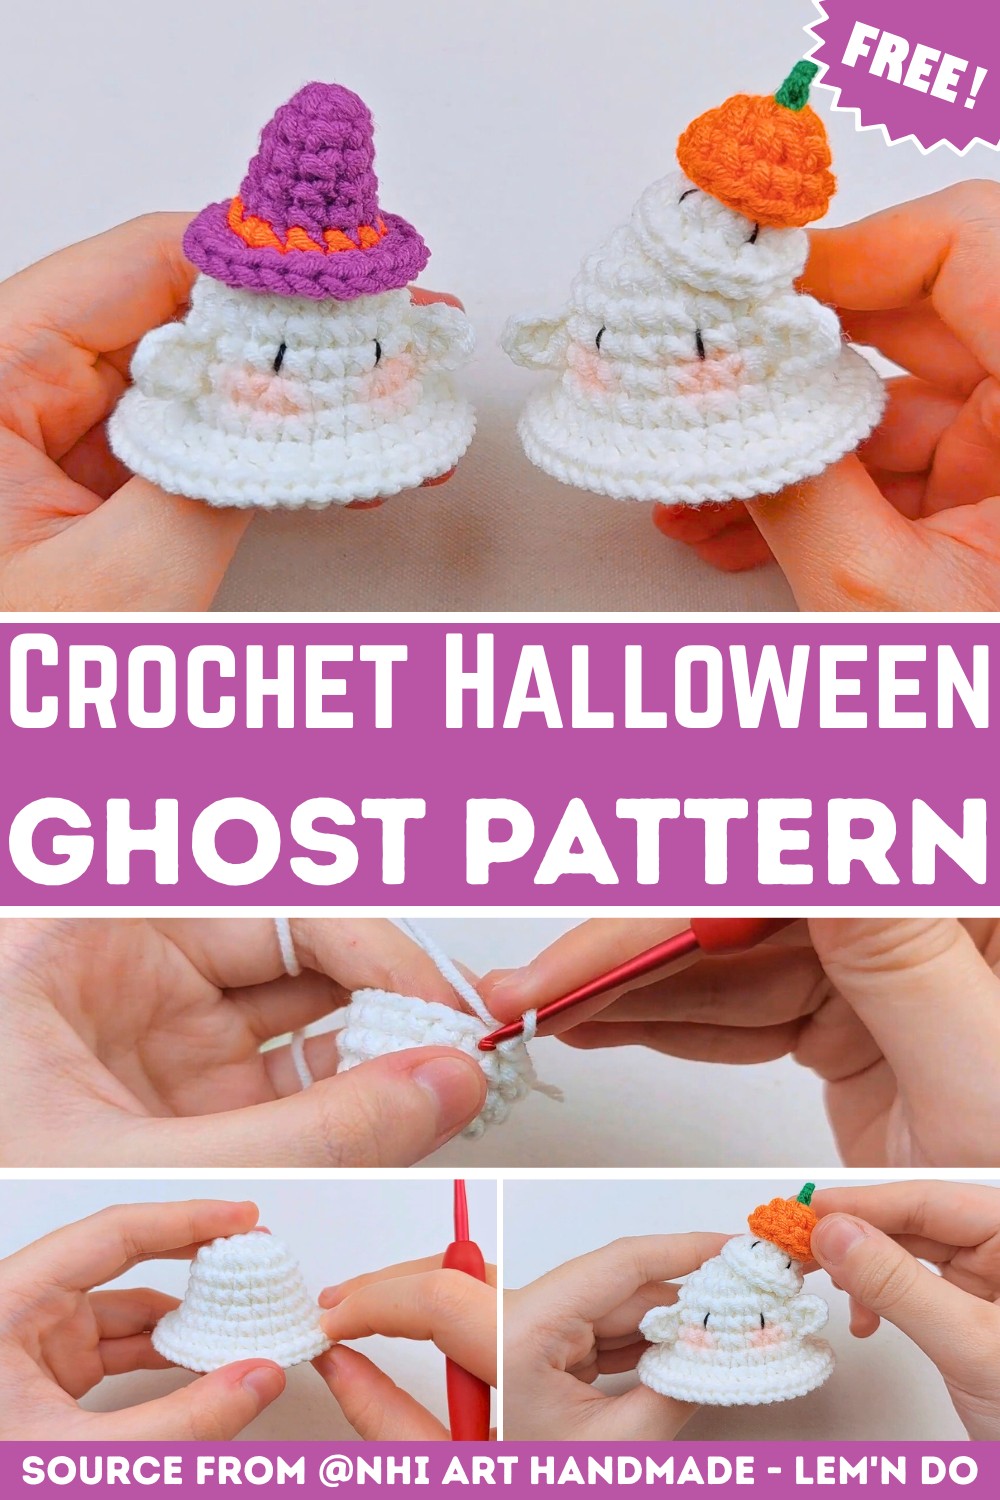
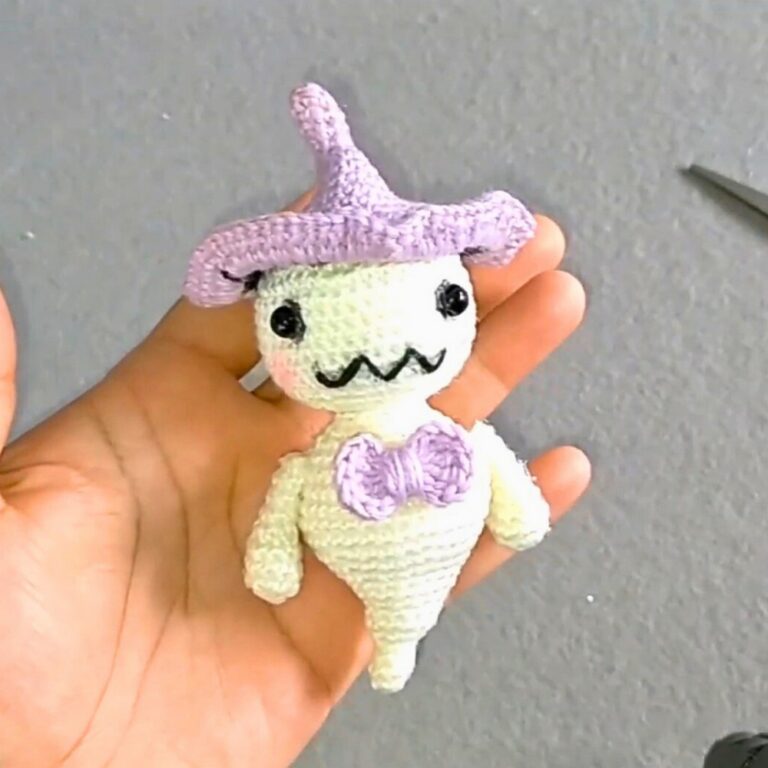
Crochet Mini Ghost Pattern for Halloween Decorations
A handmade crochet mini ghost is a charming piece that brings a lighthearted Halloween feel to your decorations. Using just a few basic stitches, this pattern gradually shapes a soft, pocket-sized ghost with a smooth, rounded finish.
It’s a quick piece that’s enjoyable to make, whether you’re decorating for the season or simply looking for a fun crochet pattern. Keep reading to follow each stage and watch this little ghost take shape.
Crochet Mini Ghost Pattern
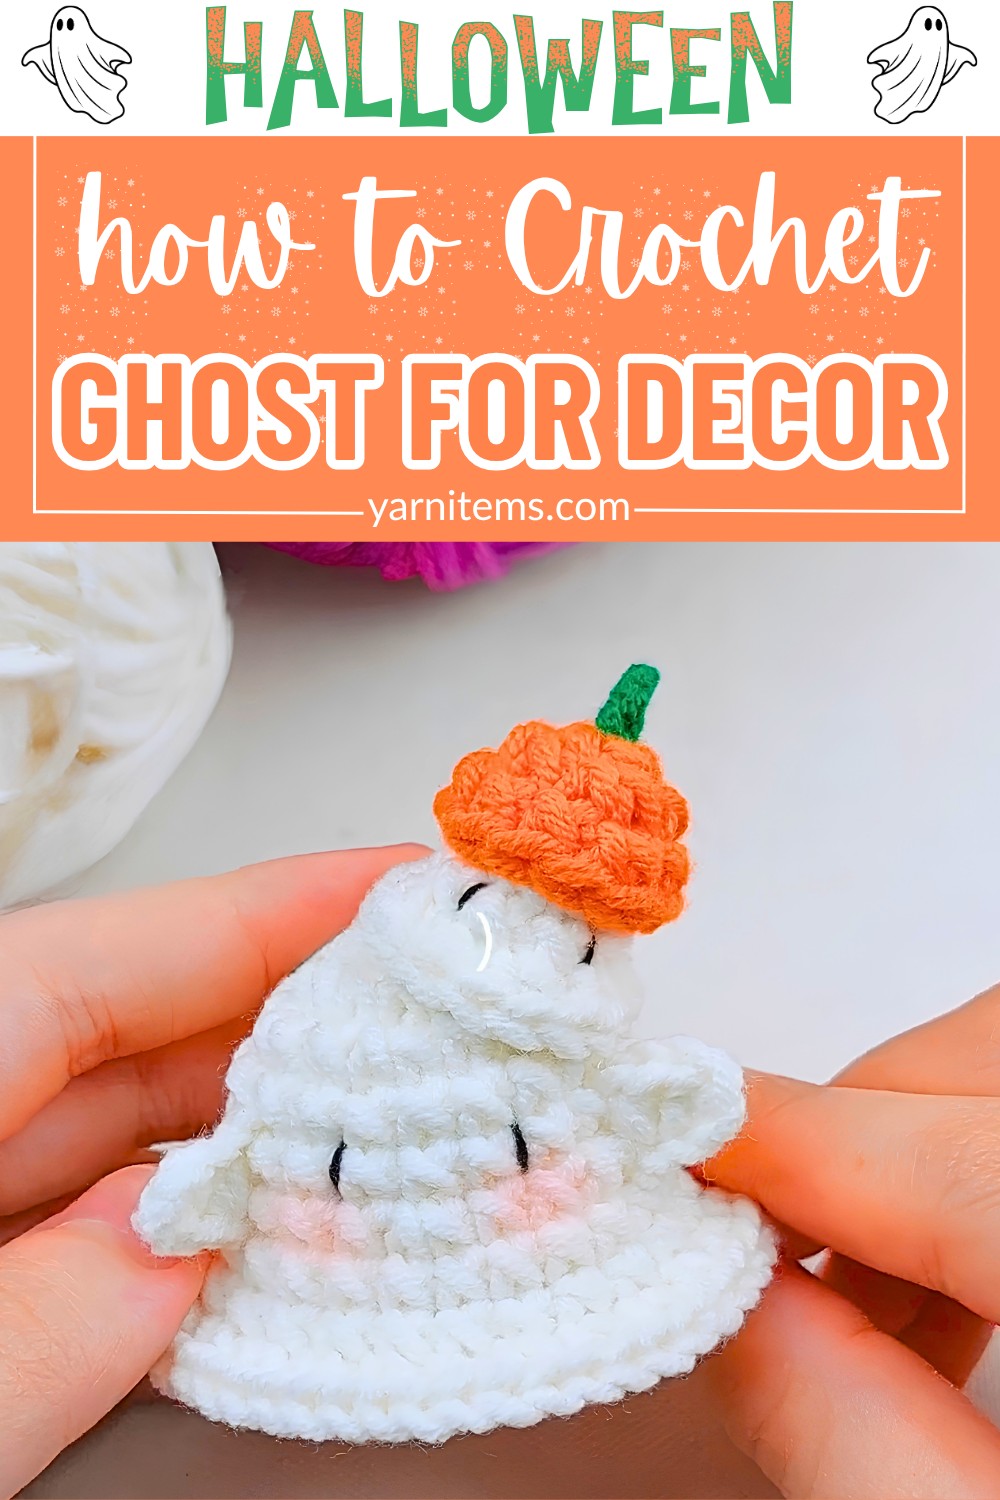
The tutorial guides you through the pattern in clear, manageable steps, from the starting rounds to the final finishing touches. With each section, the ghost gradually comes together, creating a tiny decoration that’s perfect for Halloween displays, hanging ornaments, or thoughtful handmade crochet gifts. Follow the pattern at your own pace and enjoy watching a handful of simple stitches transform into an adorable mini crochet ghost you’ll be proud to display.
Credit Nhi Art Handmade – Lem’n Do
Materials & Tools Needed
- Yarn: Milk Cotton Yarn (125g) in White, Orange, Purple, and Green.
- Crochet Hook: 2.20mm (Size 3/0)
- Eyes & Details: Black embroidery thread (or safety eyes) and pink blush for the cheeks.
- Other Tools:
- Thread clippers/scissors
- Tapestry needle
- Stitch marker
- Polyester fiberfill stuffing
Pattern Abbreviations & Terminology
- MR: Magic Ring
- ch: Chain
- sc: Single Crochet
- inc: Increase (2 single crochet stitches in the same stitch)
- T: Half Double Crochet
- sl st: Slip Stitch
- BLO: Back Loops Only
- FLO: Front Loops Only
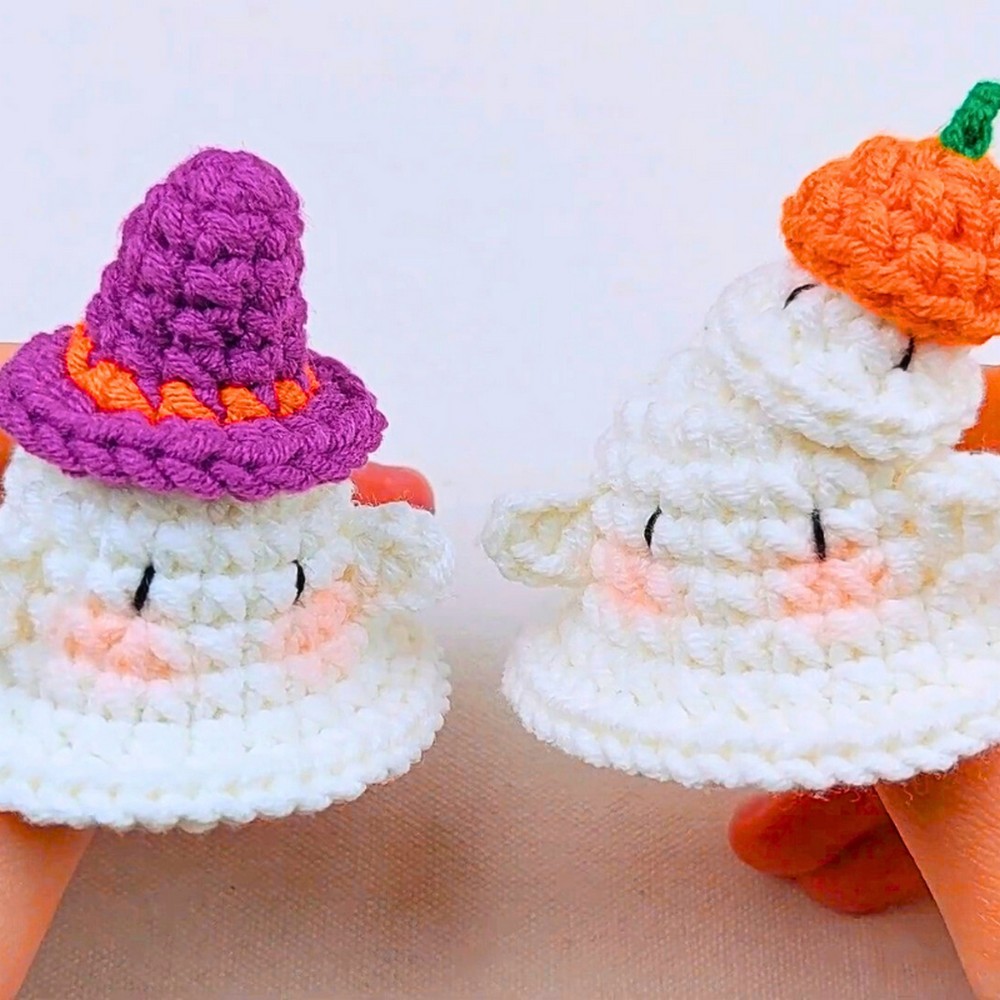
Step-by-Step Detailed Crochet Instructions
1. The Ghost Body (White Yarn)
- Round 1: MR, 6 sc into the ring. (6 sts)
- Round 2: 6 inc around. (12 sts)
- Round 3: [1 sc, 1 inc] repeat 6 times. (18 sts)
- Rounds 4–5: 18 sc around. (18 sts)
- Round 6: [2 sc, 1 inc] repeat 6 times. (24 sts)
- Rounds 7–8: 24 sc around. (24 sts)
- Round 9: 24 inc around. (48 sts)
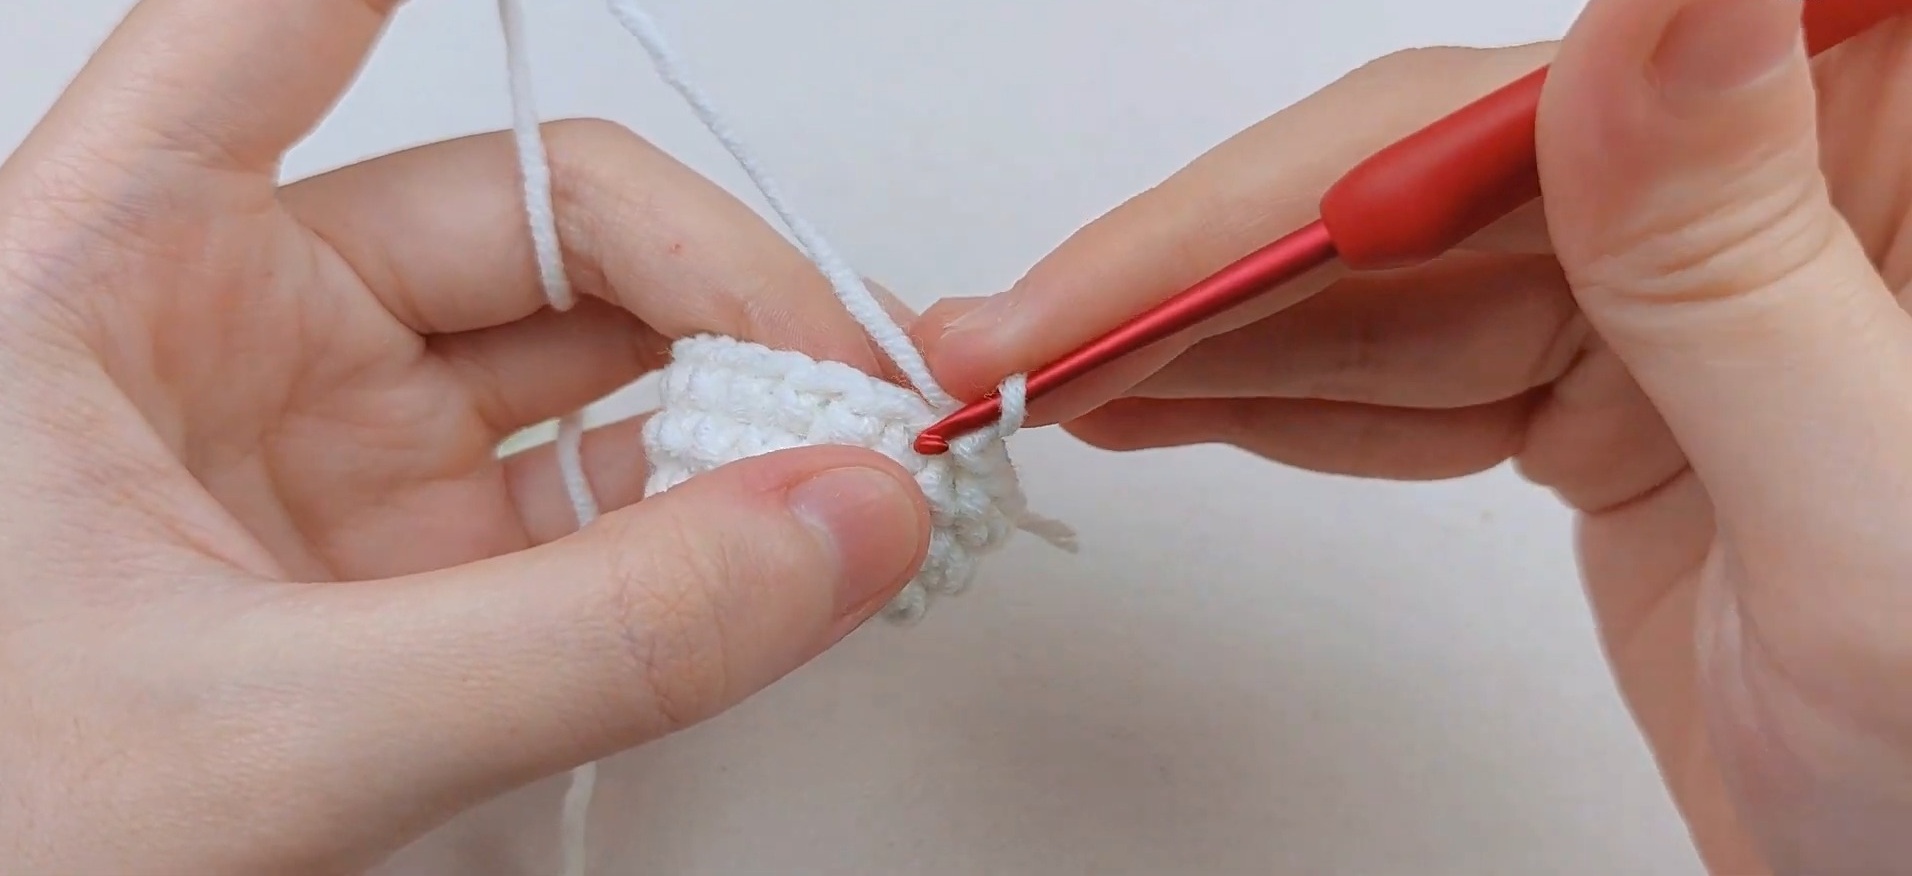
- Round 10 (Ruffle Edging): Working in the Front Loops Only (FLO), [ch 2, sl st into the next stitch] repeat all the way around to create a wavy base.
- Fasten off and weave in the ends.
Note:
If you’d like the ghost to sit flat, leave it hollow at the bottom. Otherwise, fill the body with polyester stuffing before closing or securing the base.
2. The Ghost Hands (Make 2 – White Yarn)
- ch 4.
- Starting in the second chain from the hook, work 2 T (Half Double Crochet) stitches.
- sl st into the last chain to finish.
- Fasten off, leaving a long tail for sewing.
- Attach the hands symmetrically to the sides of the ghost body around Round 6.
3. Accent Option A: The Pumpkin Hat
Hat Base (Orange Yarn):
- Round 1: MR, 4 sc into the ring. (4 sts)
- Round 2: 4 inc around. (8 sts)
- Round 3: [1 sc, 1 inc] repeat 4 times. (12 sts)
- Round 4: 12 sc around. (12 sts)
- Fasten off and sew onto the top of the ghost’s head.
Leaf/Petiole (Green Yarn):
- ch 4.
- Fasten off and use a tapestry needle to pull the green chain piece through the center top of the orange pumpkin hat to create a stem.
4. Accent Option B: The Witch Hat
- Round 1 (Purple Yarn): MR, 4 sc into the ring. (4 sts)
- Round 2: [1 sc, 1 inc] repeat 2 times. (6 sts)
- Round 3: [2 sc, 1 inc] repeat 2 times. (8 sts)
- Round 4: 8 sc around. (8 sts)
- Round 5: [3 sc, 1 inc] repeat 2 times. (10 sts)
- Round 6 (Color Change to Orange): [4 sc, 1 inc] repeat 2 times. (12 sts)
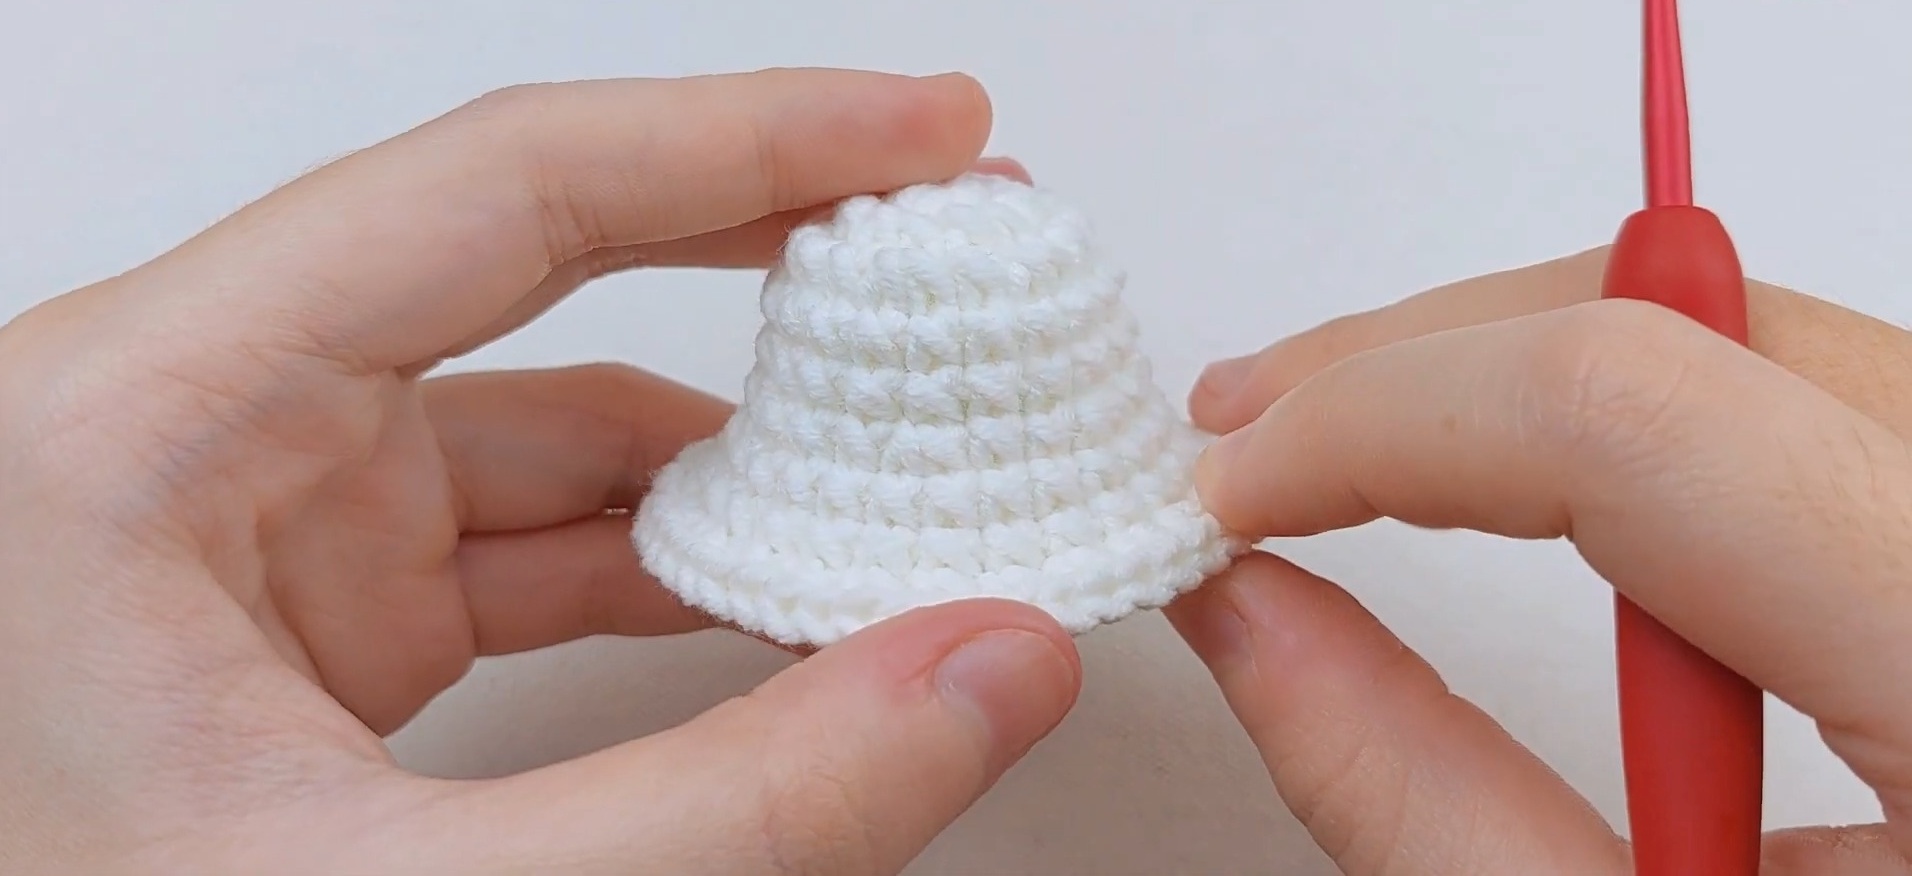
- Round 7 (Color Change back to Purple, BLO): 12 inc around, working in the Back Loops Only to form the flat brim. (24 sts)
- Round 8: 24 sc around the brim.
- Sl st to join, fasten off, and sew to the top of the ghost’s head.

Finishing & Customization Ideas
- Facial Features: Use black embroidery thread and a needle to sew two vertical lines for the ghost’s eyes between Rounds 5 and 6.
- Rosy Cheeks: Lightly apply pink powder blush with a small makeup brush or a cotton swab, just beneath the eyes.
- Display Ideas: Add a loop of thread at the top of the ghost (to hang as an ornament), or let it sit flat as festive tabletop decor.