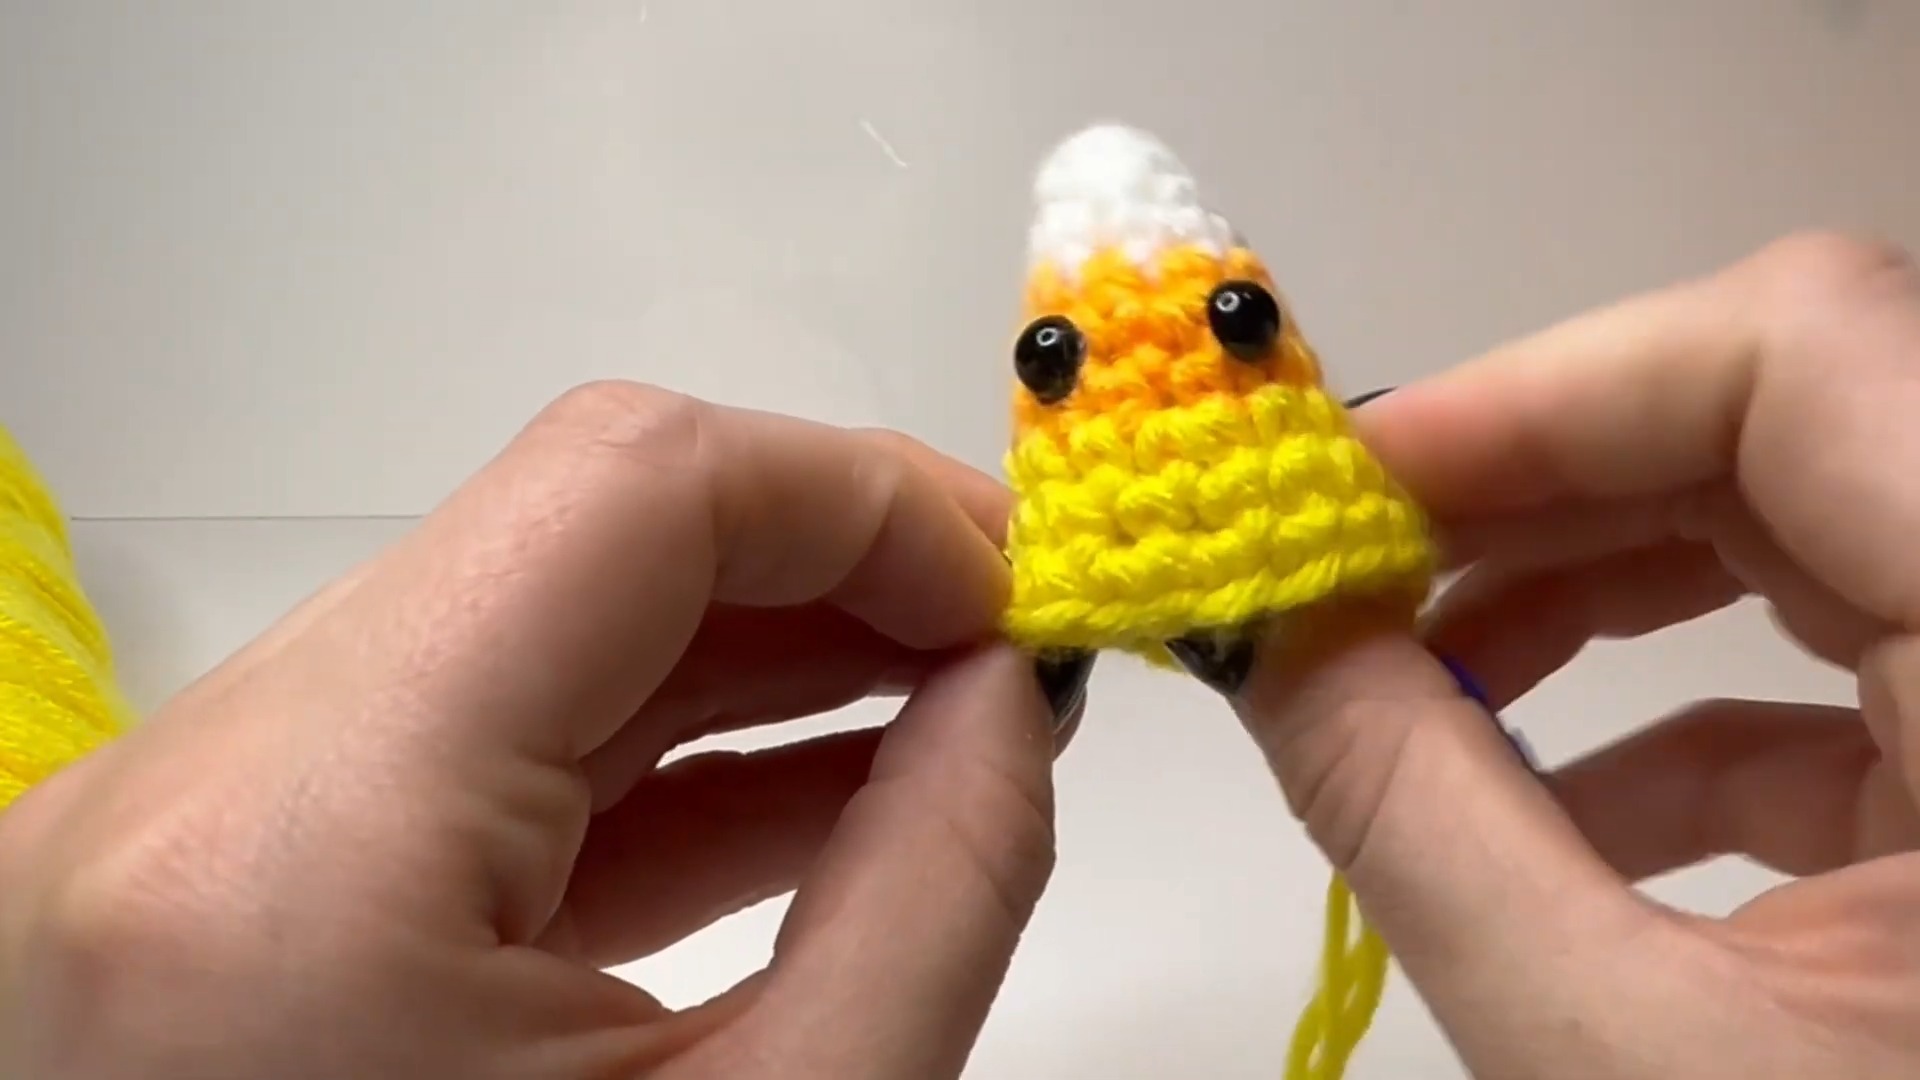
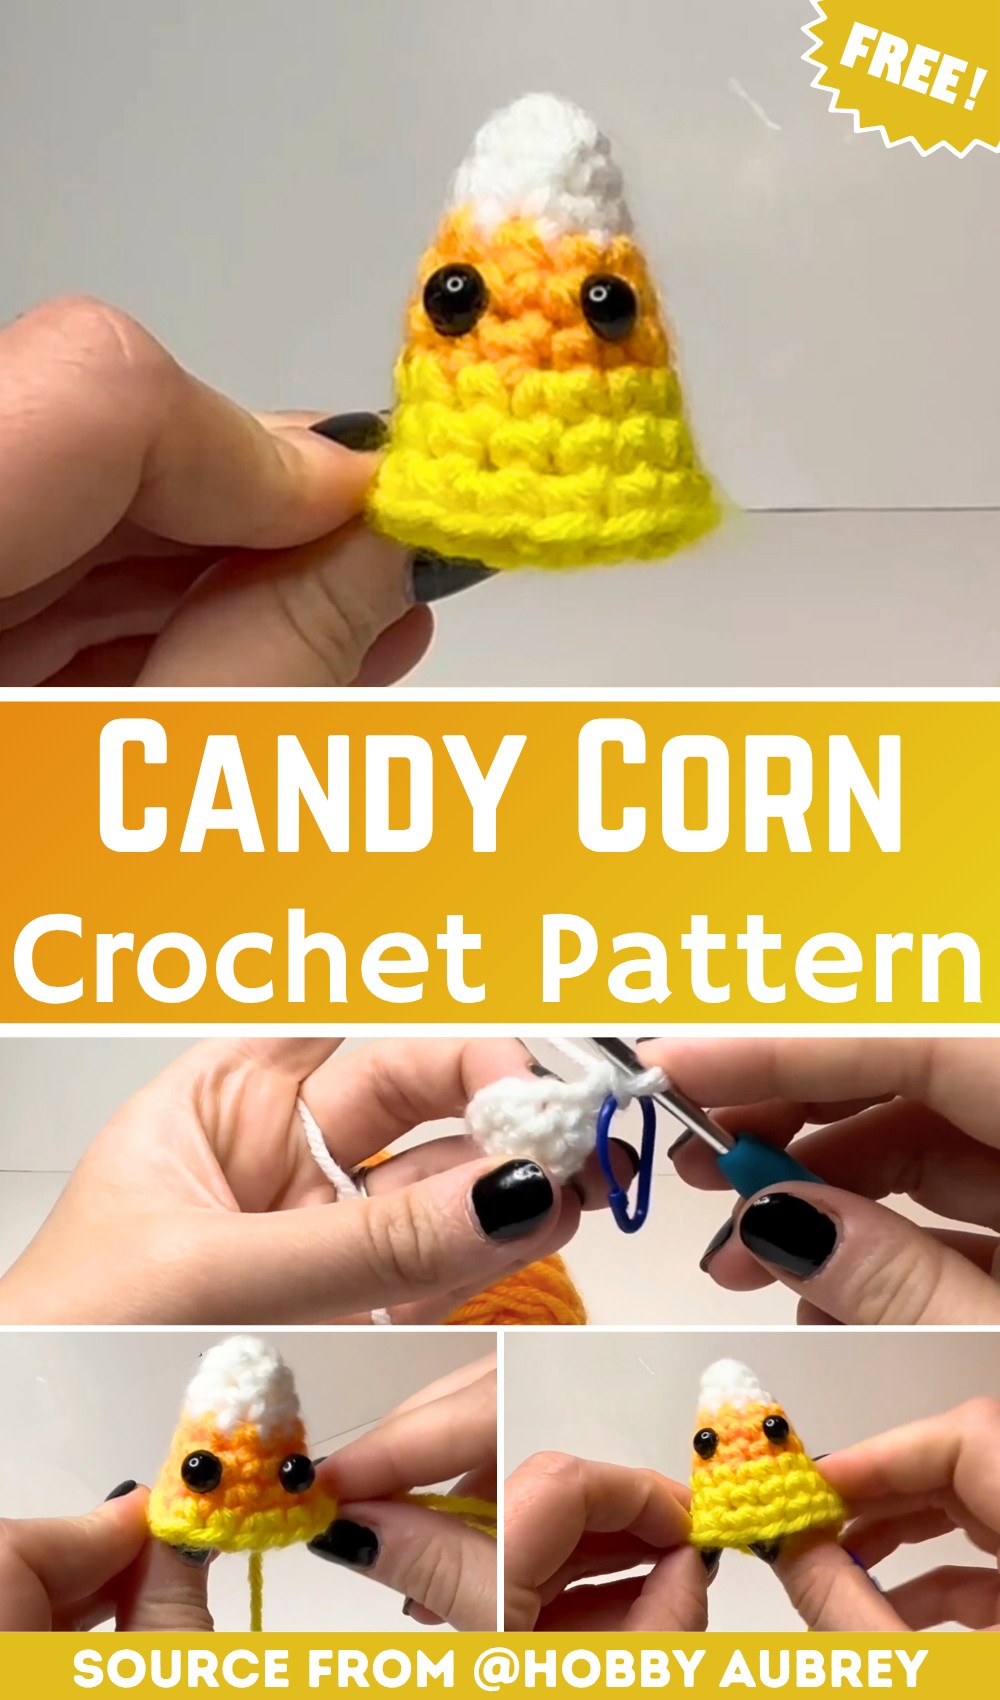
This crochet candy corn is an adorable seasonal decoration or plushie, made sweeter with the addition of little eyes and a flat base for standing on display.
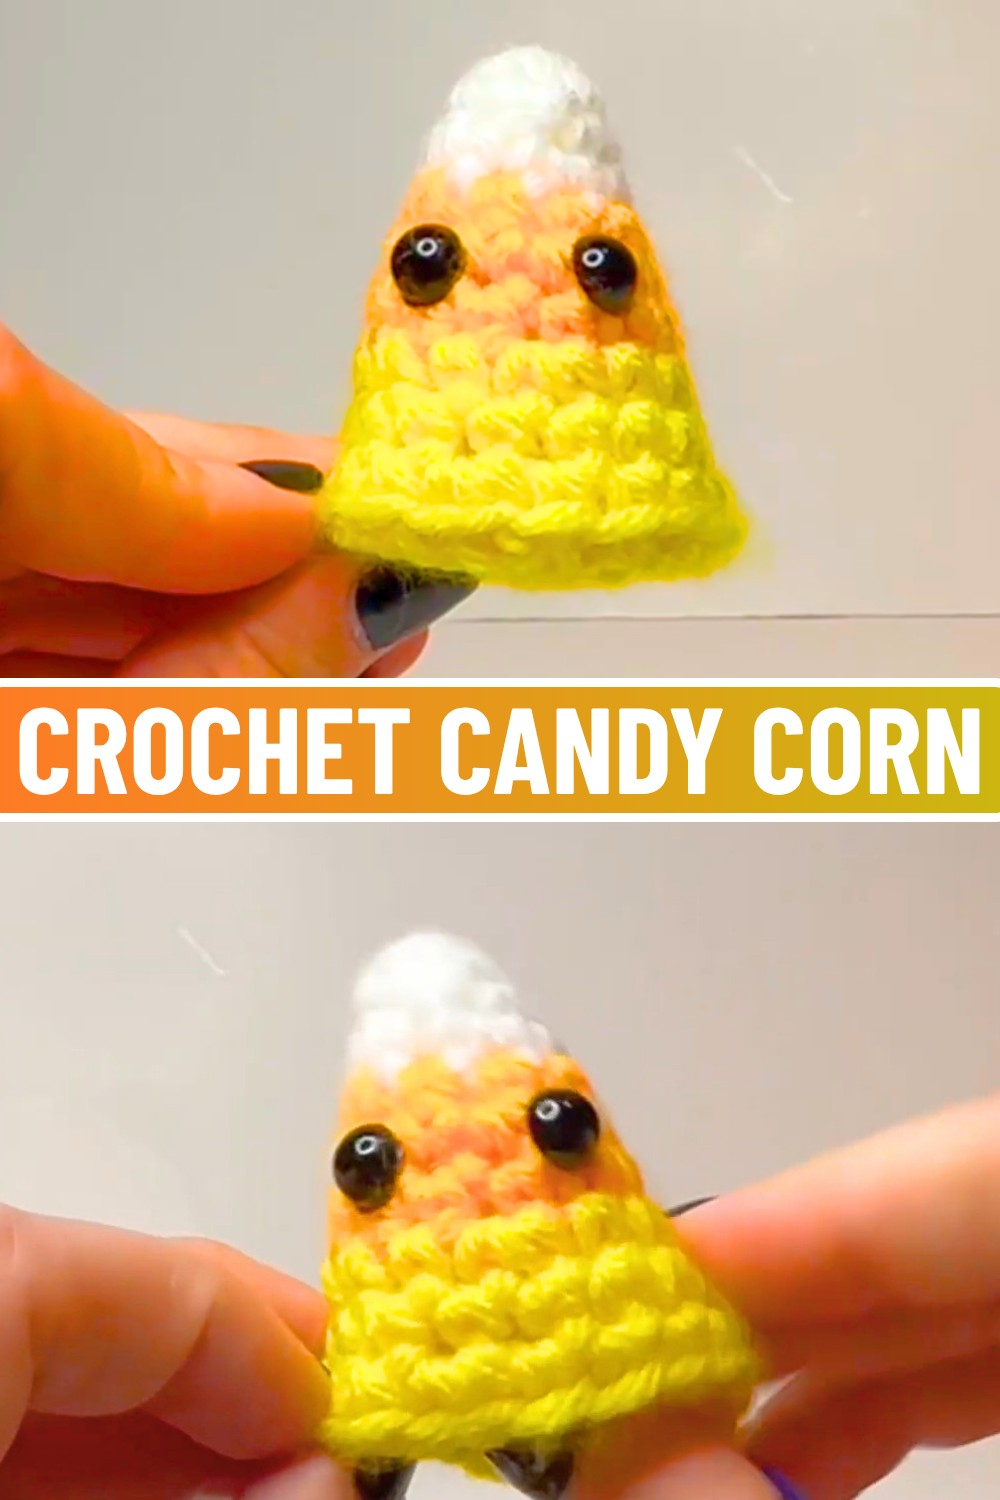
Candy corn is a classic symbol of the Halloween season, and now you can crochet your very own. With its cheerful orange, yellow, and white stripes, this adorable candy-shaped design is perfect for adding a playful touch to your fall decorations. Add some small eyes, and you’ll give the candy an extra dose of cuteness that will make anyone smile. If you use it as a seasonal decoration, a toy, or even a thoughtful handmade gift, this little candy corn is super versatile.
Simple Crochet Candy Corn Tutorial
Making this crochet candy corn is simple and enjoyable. The process begins with a magic circle, and you’ll color-change as you go to form the layers of candy corn. Beginners will love how straightforward the steps are, and experienced crocheters may appreciate the quick and satisfying result. You can finish it off by stuffing it lightly and shaping it to sit flat, so it’s ready to decorate your shelves or gifting table.
Credit Hobby Aubrey
Key Features and Construction:
- Worked in the round using a magic circle to create a seamless, cone-like shape.
- Color changes between white, orange, and yellow to mimic candy corn layers.
- Includes increasing and decreasing rows for smooth shaping and an even taper.
- Uses safety eyes for an extra touch of cuteness.
- Incorporates stuffing and a neat finishing technique for a sturdy, flat base.
This candy corn starts with a magic circle in white yarn to form the pointed top. From there, single crochet stitches are used in the round, with gradual increases to create the expanding cone shape. Each round builds on the last, forming the first solid section of white.
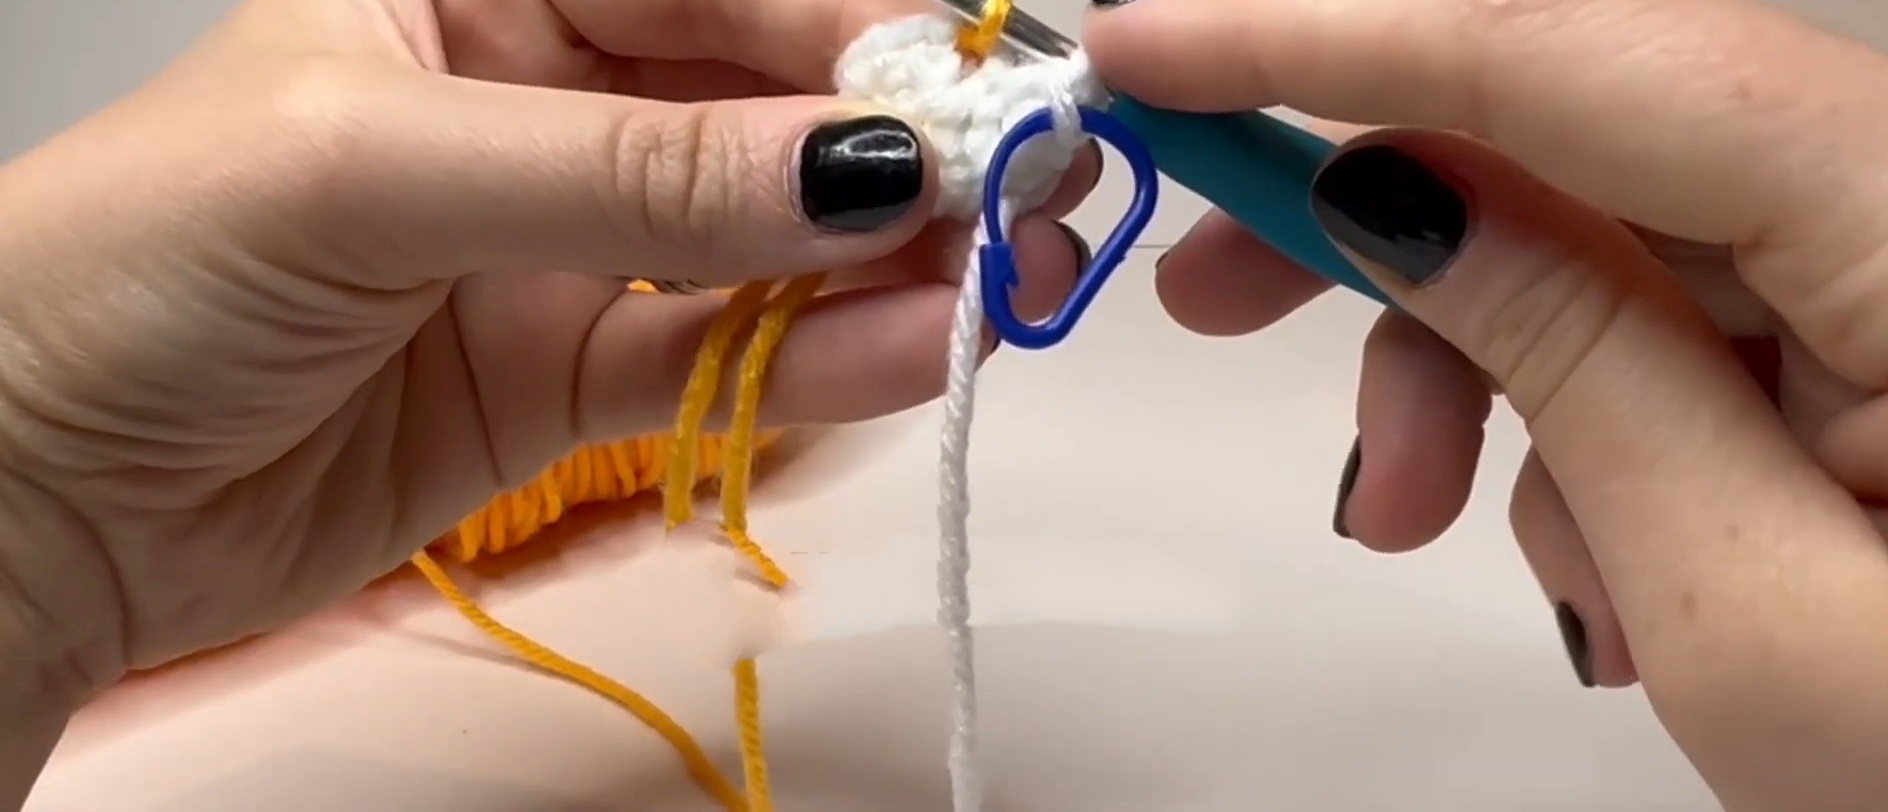
To create the iconic candy corn appearance, the pattern seamlessly transitions to orange yarn for the middle layer. The tutorial includes a simple color-changing method, with tips on working yarn tails into the stitches for a clean finish. This ensures the color transitions are secure and tidy, so no tails peek through. This middle section is worked with consistent rounds of single crochet, continuing to build the candy corn’s structure.
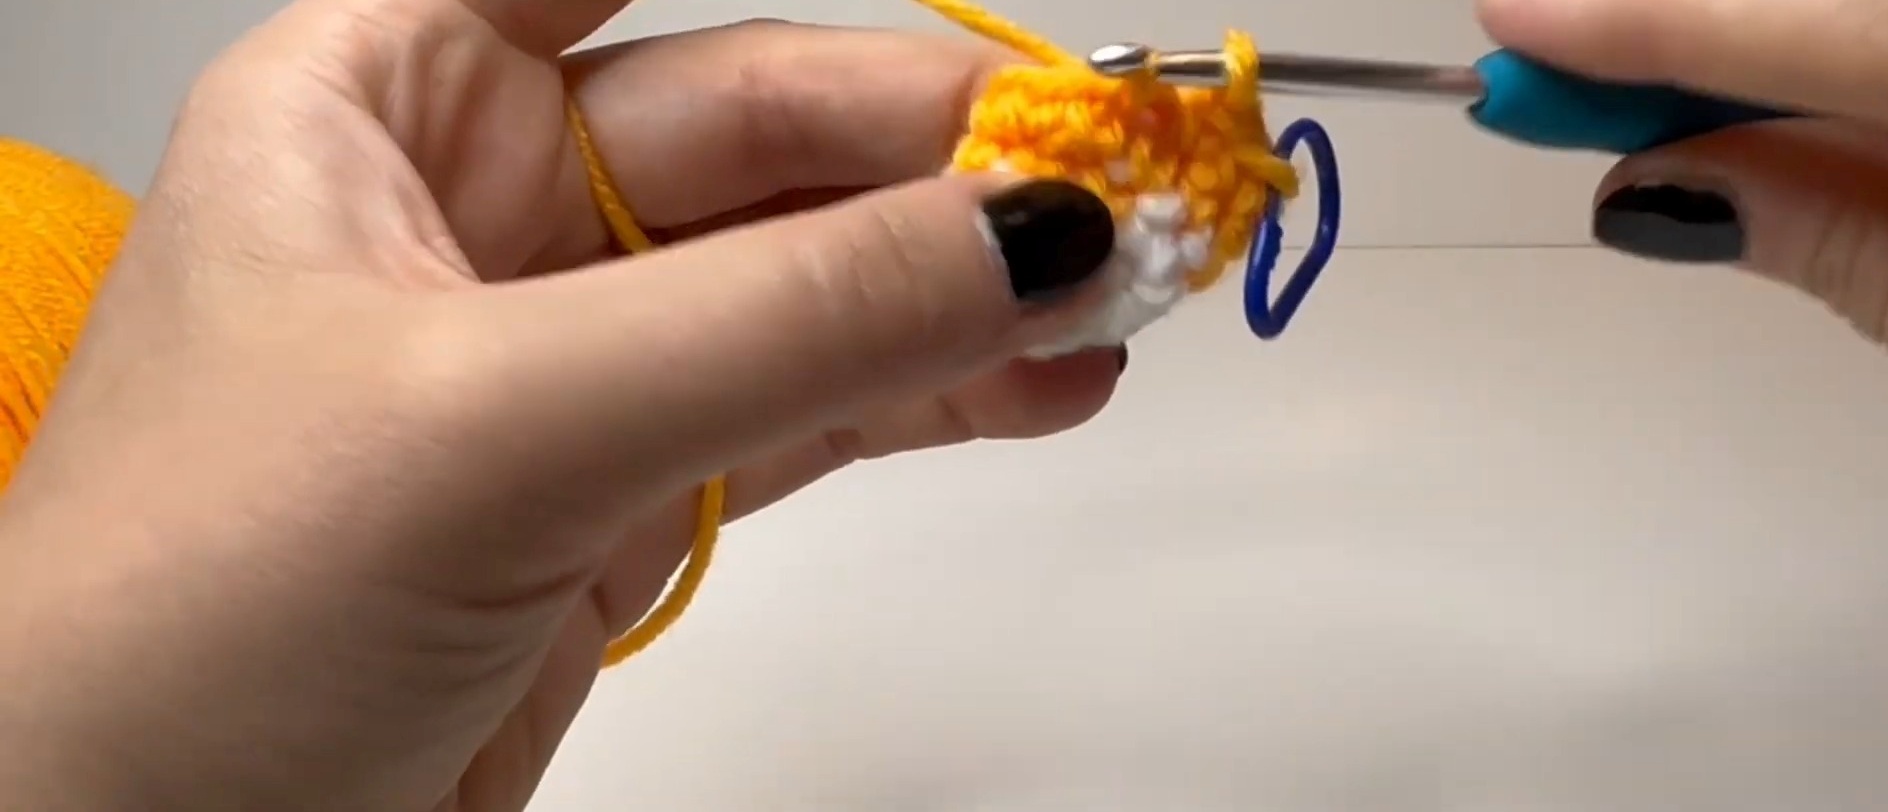
Next, the third section changes to yellow for the base. Additional increases here help expand the candy corn to its widest point, where the safety eyes are added between the completed rows to give the candy corn its charm. After this, the decreasing rounds begin, first in the back loops to create an interesting textured line and a base that sits flat. Gradual decreases continue while working normal stitches, and the pattern recommends pausing to stuff the candy corn once the structure is mostly finished. The stuffing is pushed up to round out the shape but kept minimal at the base for stability.
Finally, the magic happens with invisible decreases and a neat closing technique: weaving the remaining tail through the stitches and cinching everything tight. A few finishing touches, like trimming and pushing the base into shape, ensure the candy corn is ready to display (or play!).
Video Tutorial
Step-by-Step Pattern
Materials & Tools Needed
- Yarn: Medium (weight 4) in white, orange, and yellow
- Crochet Hook: 4mm hook
- Scissors
- Stuffing (polyfill or similar)
- Yarn Needle
- 8mm Safety Eyes with backings (or smaller if desired)
- Stitch Markers
Finished Size & Customization Ideas
- Finished Size: Approximately 2–3 inches tall (depending on the yarn tension and hook size).
- Customization Ideas:
- Add smaller or larger safety eyes for a different look.
- Use pastel shades of white, orange, and yellow for a softer candy corn aesthetic.
- Embroider details like cheeks, a mouth, or lashes for added personality.
Pattern Abbreviations & Terminology
- ch: Chain
- sc: Single Crochet
- inc: Increase (two single crochets into the same stitch)
- dec: Decrease (work stitches together)
- BLO: Back Loops Only
- Front Loops: The loops facing you when crocheting
- Magic Circle: A foundation technique for starting crochet in the round
All instructions use US crochet terminology.

Step-by-Step Detailed Instructions
Component Breakdown
The candy corn pattern is worked in continuous rounds (spiral method). Use a stitch marker to mark the beginning of your rounds.
Candy Corn Base: White Section
- Round 1
- Start with a magic circle.
- Work 6 sc into the magic circle.
- Pull the circle tight and continue to the next round.
- Total Stitches: 6
- Round 2
- Work 1 sc in each stitch around.
- Total Stitches: 6
- Round 3
- Alternate between 1 sc in the first stitch and inc in the next.
- Pattern: [sc, inc] x 3
- Total Stitches: 9
Candy Corn Middle: Orange Section
- Round 4 (Color Change to Orange)
- Switch to orange yarn for color change (work it directly into your stitches).
- Secure both yarn tails by crocheting over them.
- Work 1 sc in each stitch around.
- Trim the white yarn tail after securing it.
- Total Stitches: 9
- Round 5
- Alternate between 2 sc in the first two stitches and inc on the third stitch.
- Pattern: [sc, sc, inc] x 3
- Total Stitches: 12
- Round 6
- Work 1 sc in each stitch around.
- Total Stitches: 12
- Round 7 (Color Change to Yellow)
- Switch to yellow yarn following the same method as previously stated for color changes.
- Alternate between 3 sc in the first three stitches and inc on the fourth stitch.
- Pattern: [sc, sc, sc, inc] x 3
- Total Stitches: 15
Candy Corn Body: Final Yellow Section
- Insert Safety Eyes
- Place 8mm safety eyes between Rounds 5 and 6.
- Position them evenly, ensuring a cute, symmetrical appearance.
- Secure with their backings.
- Round 8
- Work 1 sc in each stitch around.
- Total Stitches: 15
- Round 9
- Alternate between 4 sc in the first four stitches and inc on the fifth stitch.
- Pattern: [sc, sc, sc, sc, inc] x 3
- Total Stitches: 18
- Round 10
- Decrease: Work 4 sc stitches into the BLO (Back Loops Only), followed by 1 dec.
- Pattern: [sc, sc, sc, sc (BLO), dec (BLO)] x 3
- BLO creates a flat base line for the candy corn.
- Total Stitches: 15
- Round 11
- Alternate between 3 sc and an invisible decrease. Use Front Loops for the decrease.
- Pattern: [sc, sc, sc, dec] x 3
- Total Stitches: 12
- Round 12
- Pause and stuff the candy corn with the polyfill. Gradually fill to ensure it sits flat and firm but doesn’t overstuff the base.
- Work 1 sc and 1 invisible decrease.
- Pattern: [sc, dec] x 6
- Total Stitches: 6
Finishing Touches
- Fasten Off
- Finish with a slip stitch: insert the hook into the next stitch, yarn over, and pull the loop directly through.
- Chain 1 to secure. Leave a long tail.
- Close the Opening
- Use the yarn needle to cinch closed the last stitches by weaving the tail through the final 6 stitches. Tighten and close the opening.
- Secure with a double knot and weave in the tail.
- Trim Excess Yarn
- Push the bottom flat to ensure the candy corn sits upright and adjust stuffing if needed.
Optional Customization Techniques
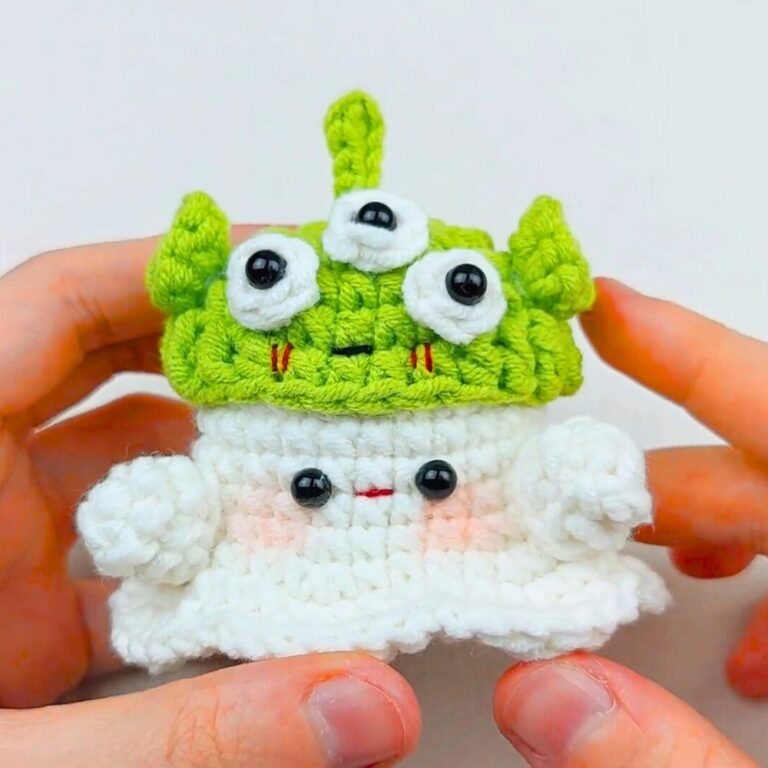
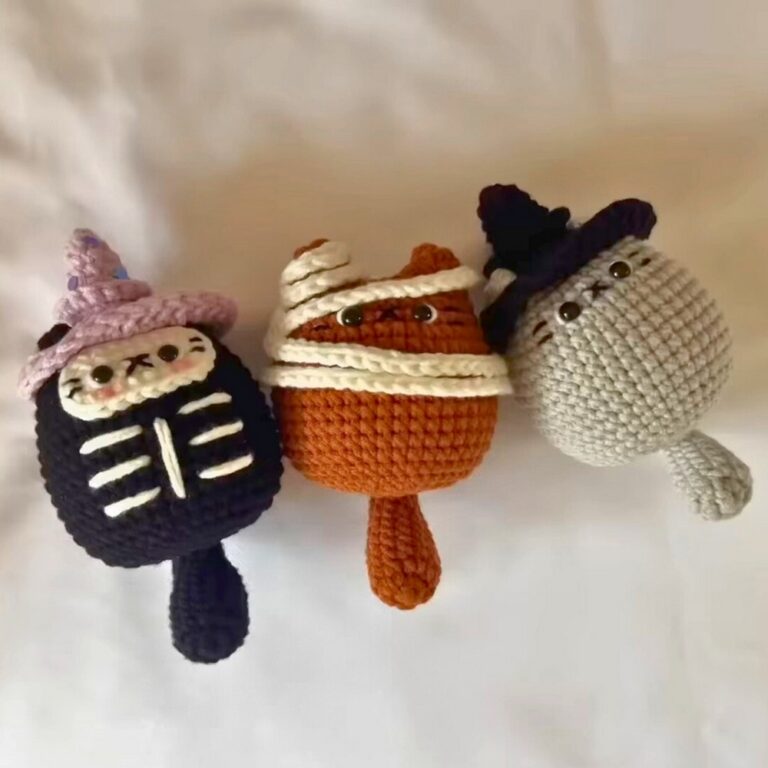
- Make more candy corns with friends by changing their sizes or colors.
- Add embroidered details like rosy cheeks for a fun finish.
Troubleshooting and Suggestions:
- Color Changes: To avoid gaps when switching colors, keep your tails snug but not overly tight. Pull them lightly into the next few stitches for a polished line.
- Flat Base: Too much stuffing at the bottom may prevent the candy corn from sitting flat. When filling, gently press the base down to test while shaping.
- Stitch Consistency: Pay attention to tension when working increases or decreases. Loose stitches may leave gaps for stuffing to peek through.
- Creative Modifications: Experiment with pastel versions for a spring-themed candy corn or add embellishments like a tiny bow, a smile, or embroidery details for Halloween flair. You can even scale up the pattern with chunkier yarn for a statement plushie!