
Crochet Mini Dog Keychain Tutorial For Halloween
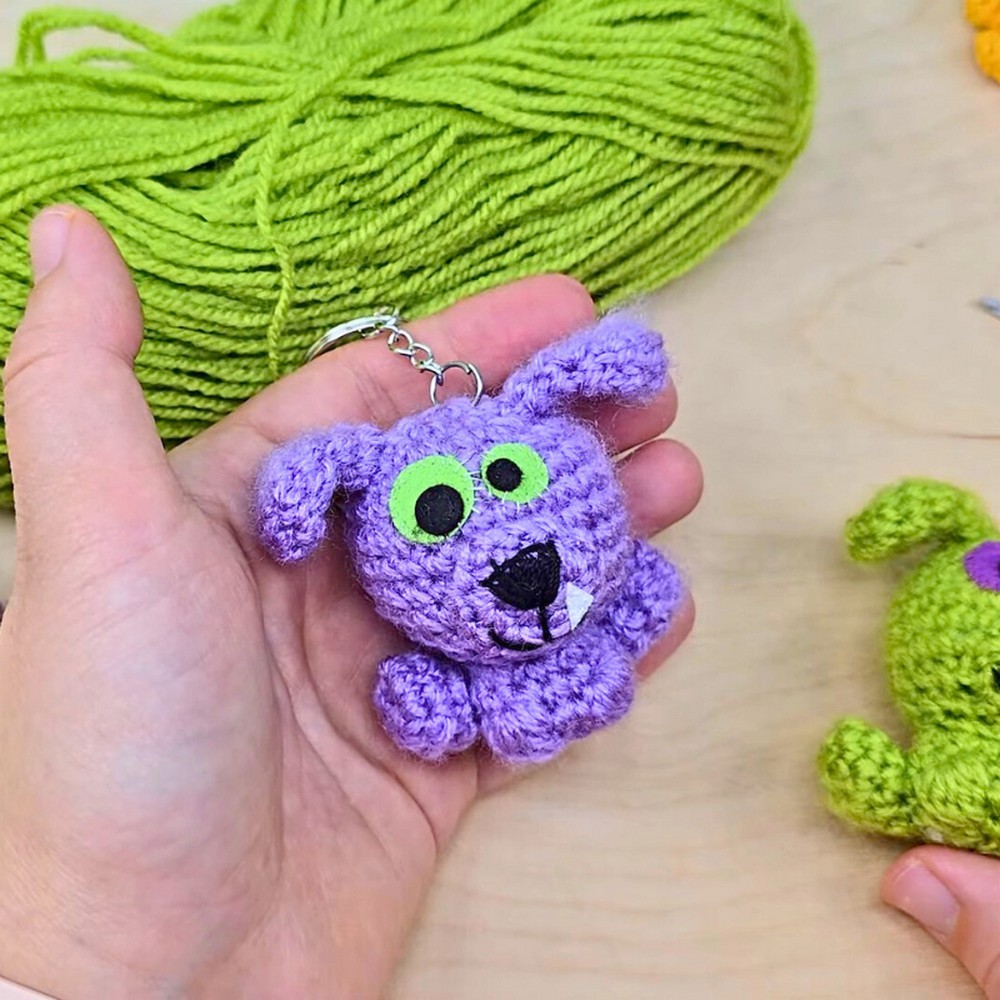
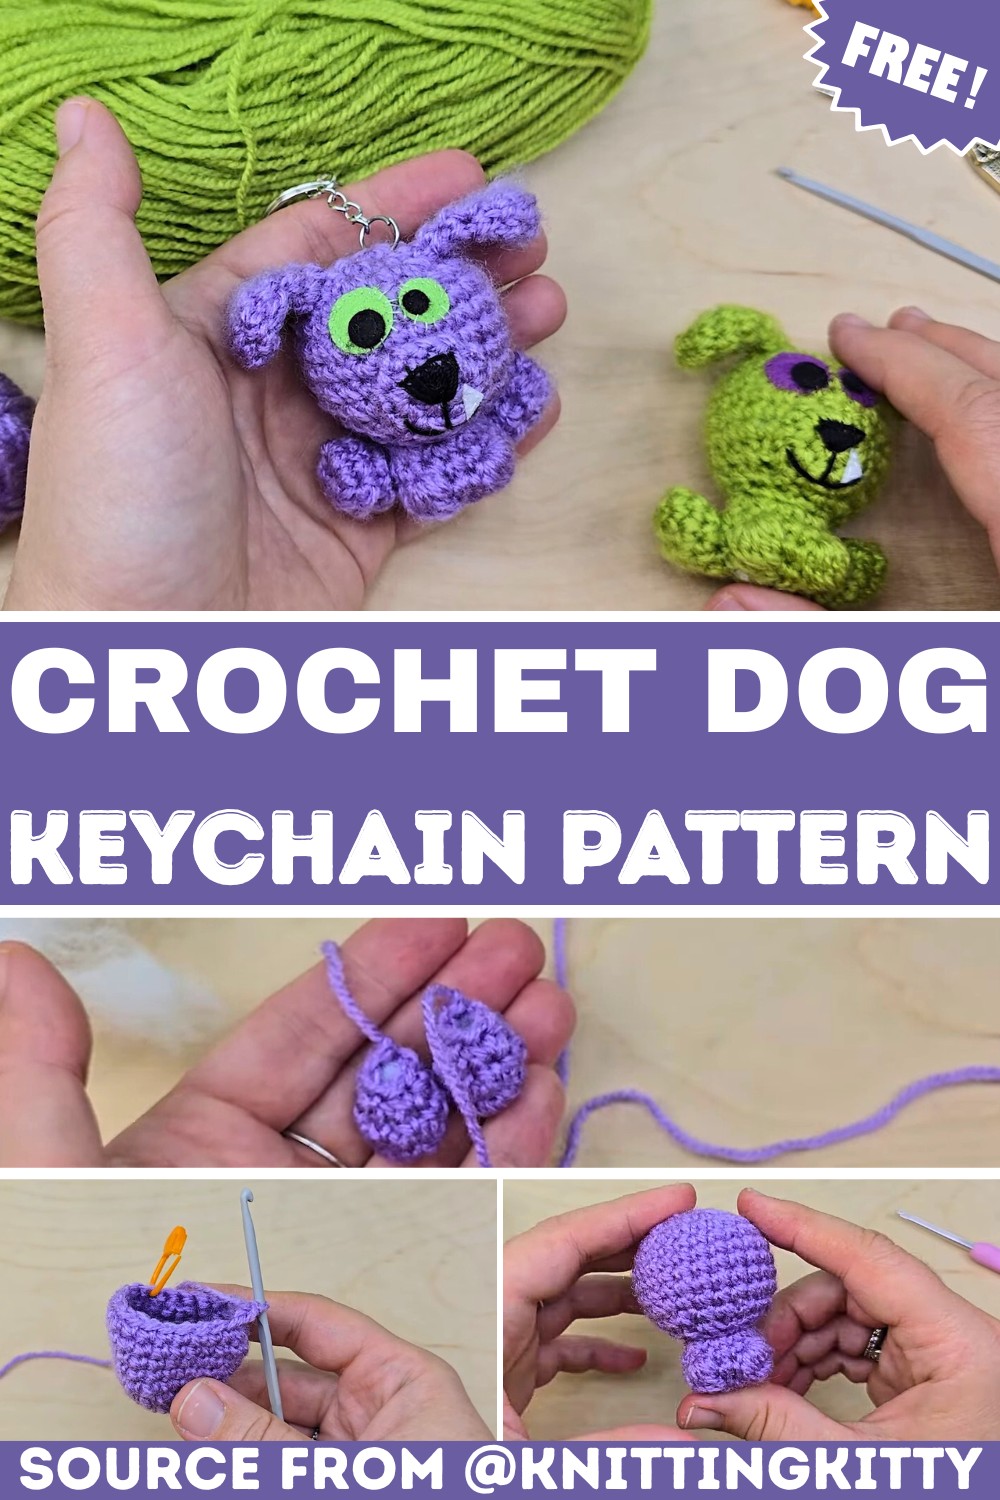
A tiny crochet Halloween dog can add a playful touch to your seasonal decorations without taking much time to make. Standing only 6 cm tall, this mini keychain combines a festive look with a compact size that fits perfectly on keys, bags, or small displays.
Keep reading to see how each crochet step shapes this charming Halloween companion from start to finish.
Crochet Halloween Dog Keychain Pattern
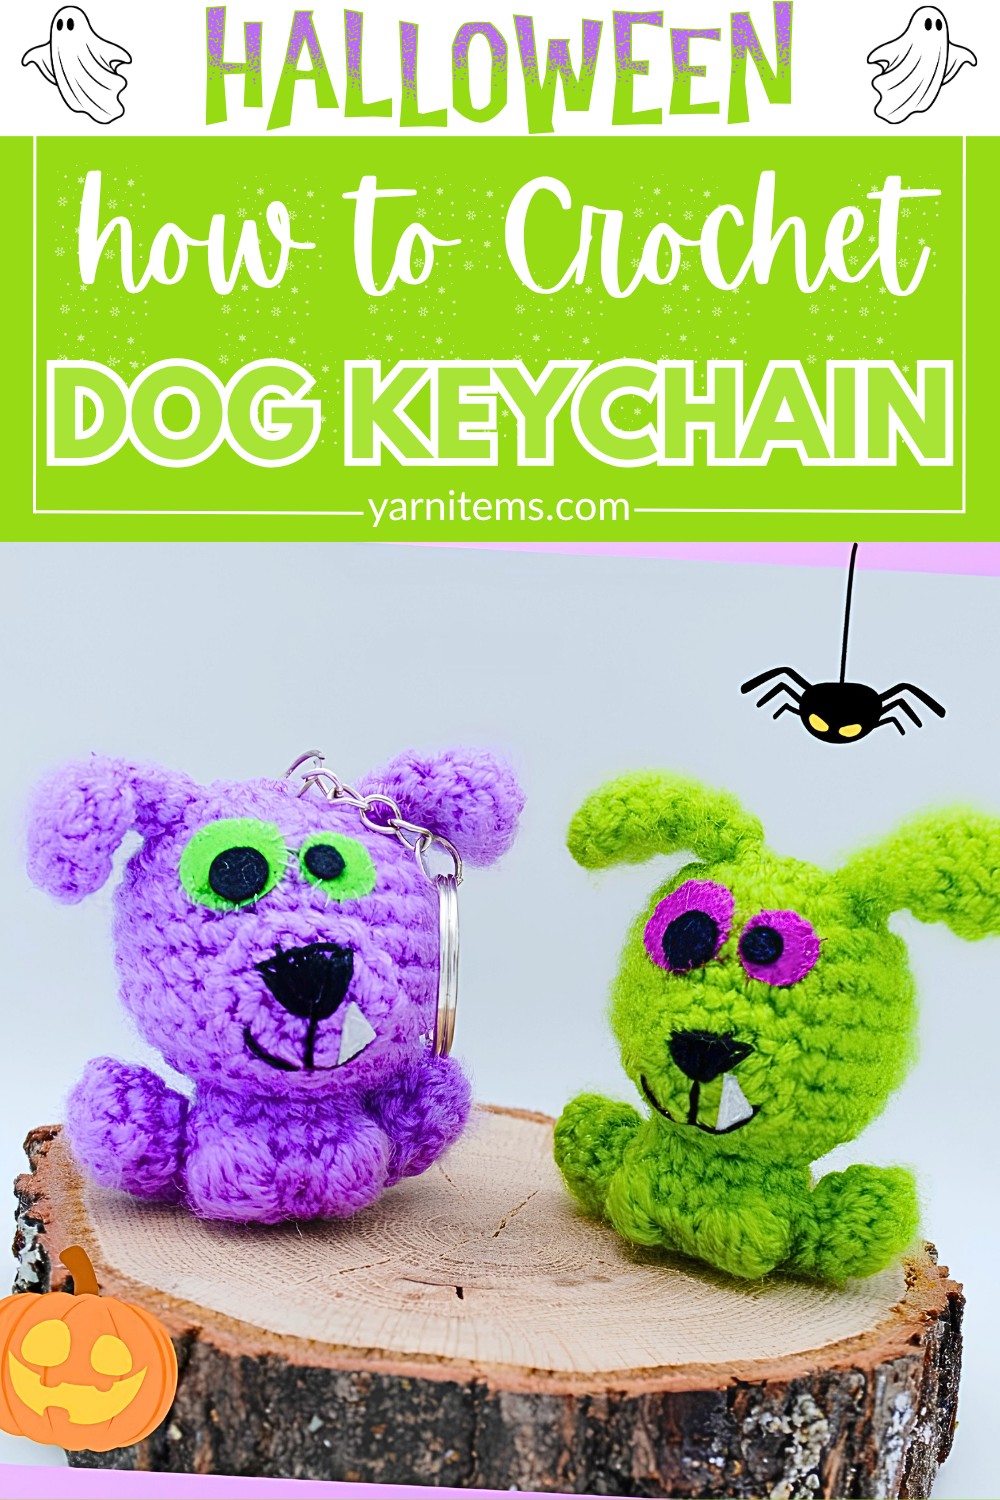
The crochet pattern uses simple stitches and a small amount of yarn, making it a great piece for using leftover scraps. As the pieces come together, small details like the embroidered nose, tiny tooth, and optional brushed texture give the little dog its playful Halloween character. Follow the tutorial to create a fun Halloween crochet keychain with a neat finish and plenty of personality.
Credit KnittingKitty
Materials & Tools Needed:
- Yarn: Medium-weight yarn in purple (or any color of your choice for customization).
- Crochet Hook: 3 mm.
- Stuffing: Small amount of polyester fiberfill for filling.
- Felt: Green, black, and white for eyes, nose, and decorative features.
- Fine Black Thread: For embroidering the nose.
- Tapestry Needle: For sewing and closing stitches.
- Scissors: To cut felt and yarn.
- Pet Comb (Optional): To add texture to the “fur.”
- Keychain Hardware (Optional): To turn it into a keychain.
Finished Size & Customization Ideas:
- Size: The finished dog is approximately 6 cm (2.36 inches) tall.
- Customization Ideas:
- Use leftover yarns in different colors for a playful effect.
- Change the eye colors (felt) to match Halloween themes such as black, orange, or glow-in-the-dark options.
- Add a small bow or charm around its neck for added decoration.
Pattern Abbreviations & Terminology:
The pattern uses US Crochet Terms:
- MR: Magic Ring
- SC: Single Crochet
- INC: Increase (2 SC in the same stitch)
- DEC: Decrease (single crochet 2 stitches together)
- CH: Chain
- SL ST: Slip Stitch
- ST: Stitch(es)
Step-by-Step Crochet Instructions
This mini dog is created in parts and assembled at the end. The body and head are made as one piece.
Head and Body (Worked as One Piece)
- Round 1: Start with a Magic Ring (MR). Work 6 SC into the ring. (6 sts)
- Round 2: Work an INC in each stitch around. (12 sts)
- Round 3: (SC 1, INC) repeat around. (18 sts)
- Round 4: (SC 2, INC) repeat around. (24 sts)
- Rounds 5-9: SC in each stitch around. (24 sts per round)
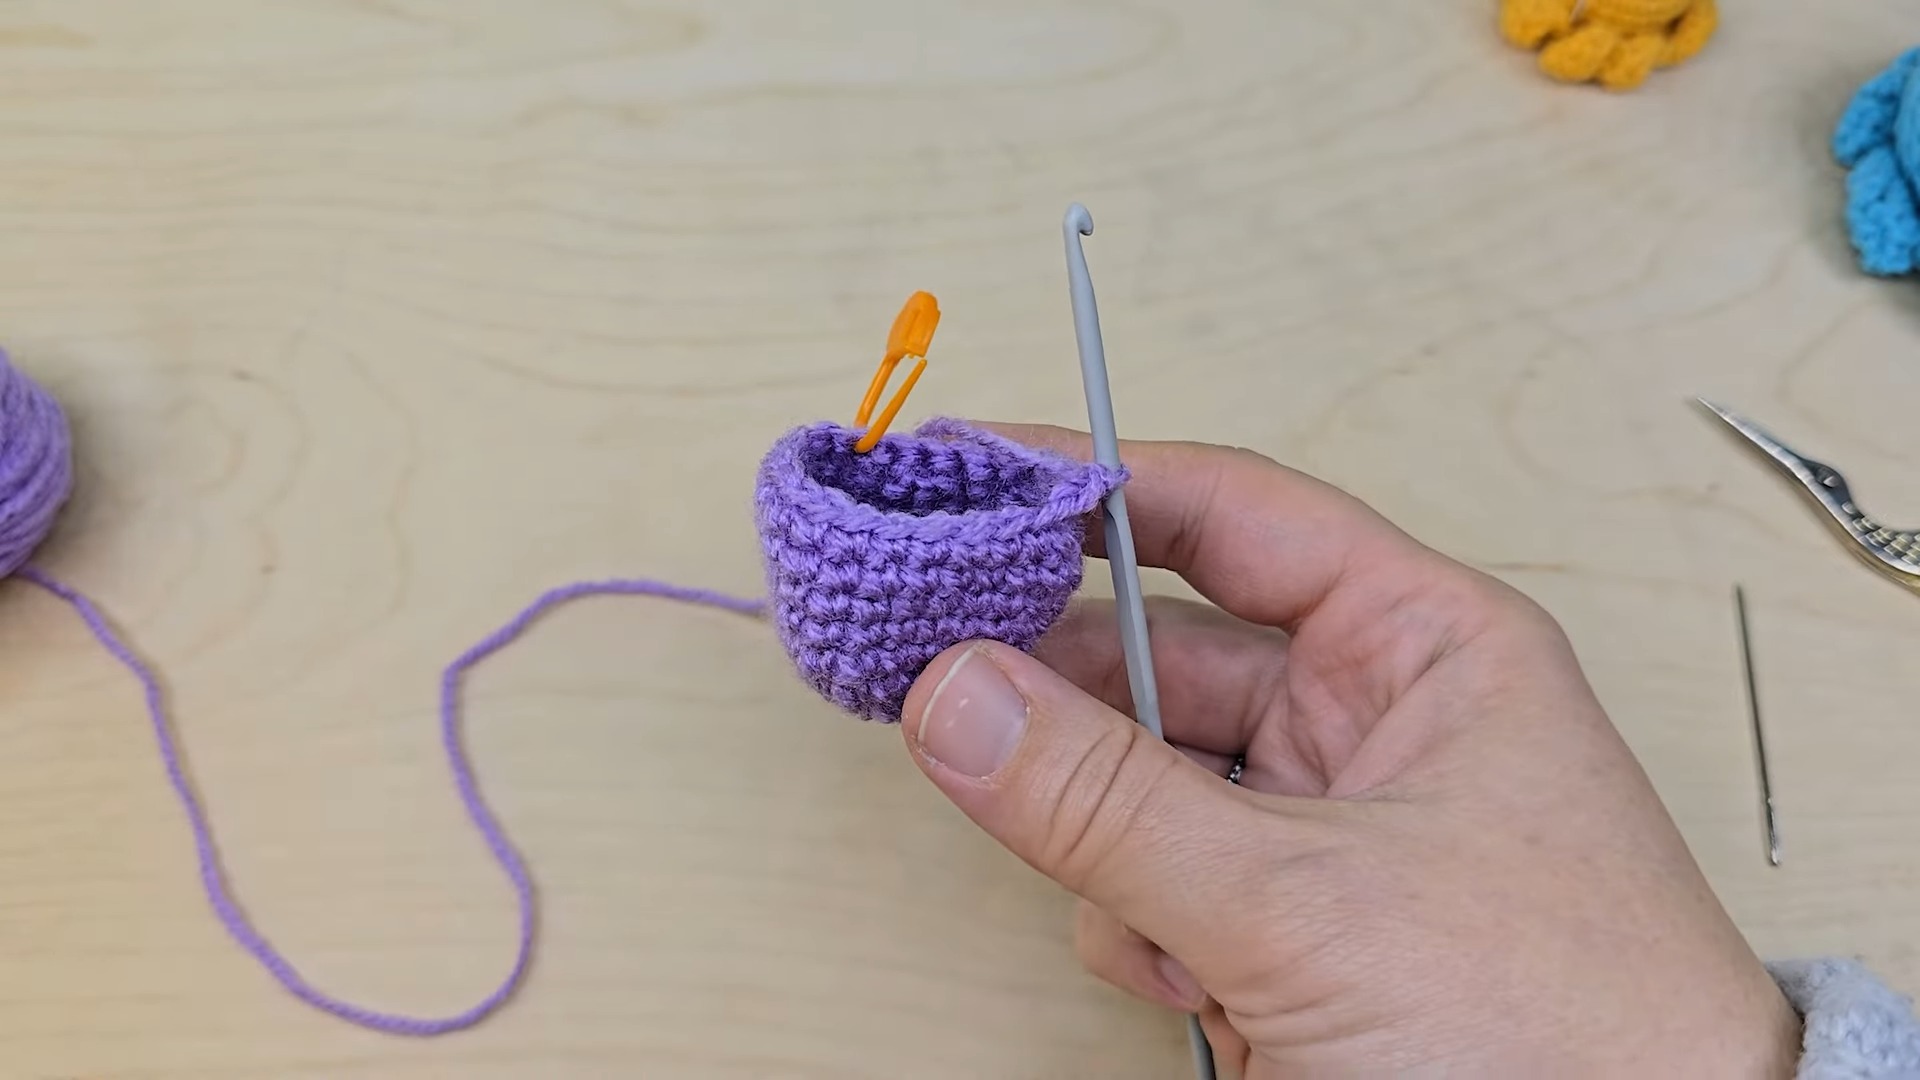
- Round 10: Begin decreasing: (SC 2, DEC) repeat around. (18 sts)
- Begin stuffing the body and head. Continue stuffing as you progress.
- Round 11: (SC 1, DEC) repeat around. (12 sts)
- Round 12: (SC 1, DEC) repeat around. (8 sts)
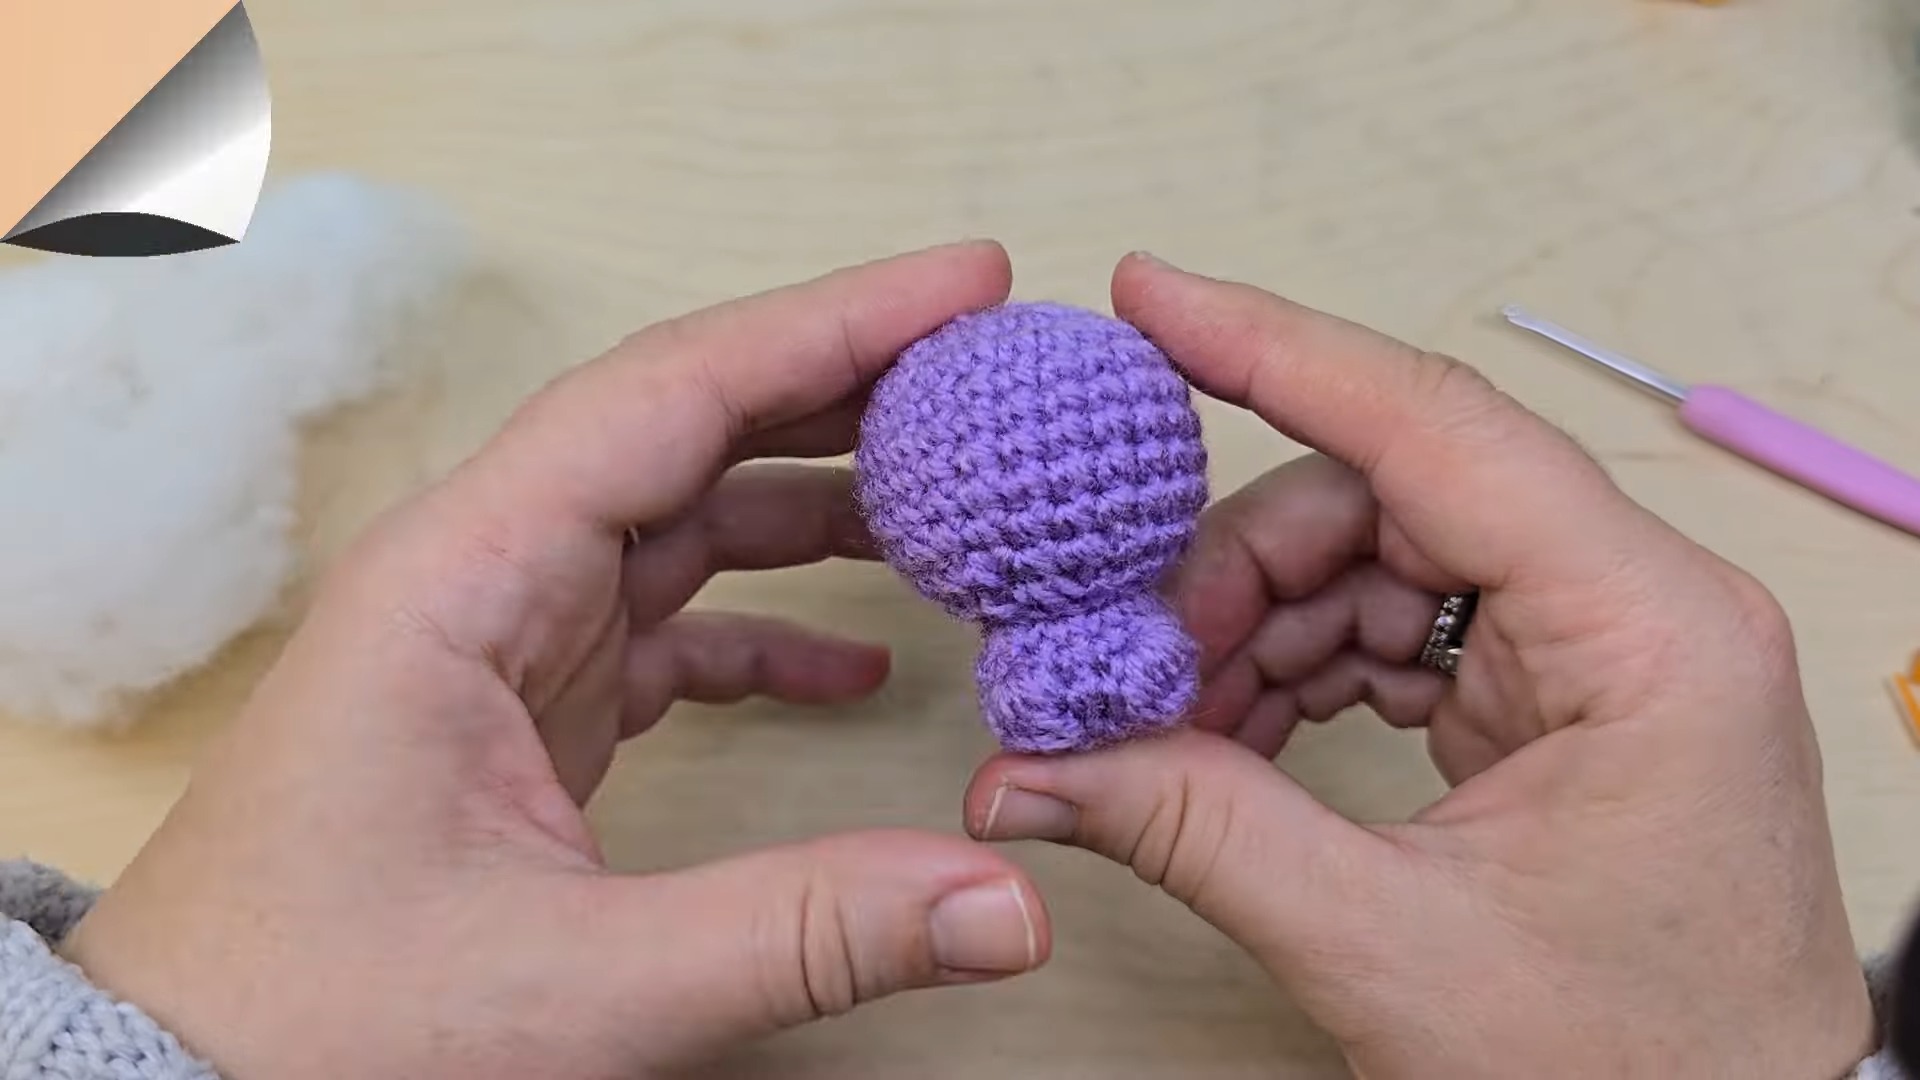
- Round 13: SC in each stitch. Begin the body section: (INC in each stitch) around. (16 sts)
- Round 14: SC in each stitch. (16 sts)
- Round 15: Add the front legs:
- SC 6.
- In the next stitch, create Pineapple Stitch (5 DCs, then pull through all loops to form the leg).
- SC 2.
- Add another Pineapple Stitch.
- SC in remaining stitches. (16 sts with 2 legs attached)
- Round 16: (SC 2, DEC) repeat around. (12 sts)
- Final Round: Work 2 DEC, then SL ST to close. Leave a long tail for sewing.
- Stuff the body fully, sew the bottom closed, and weave in the ends.
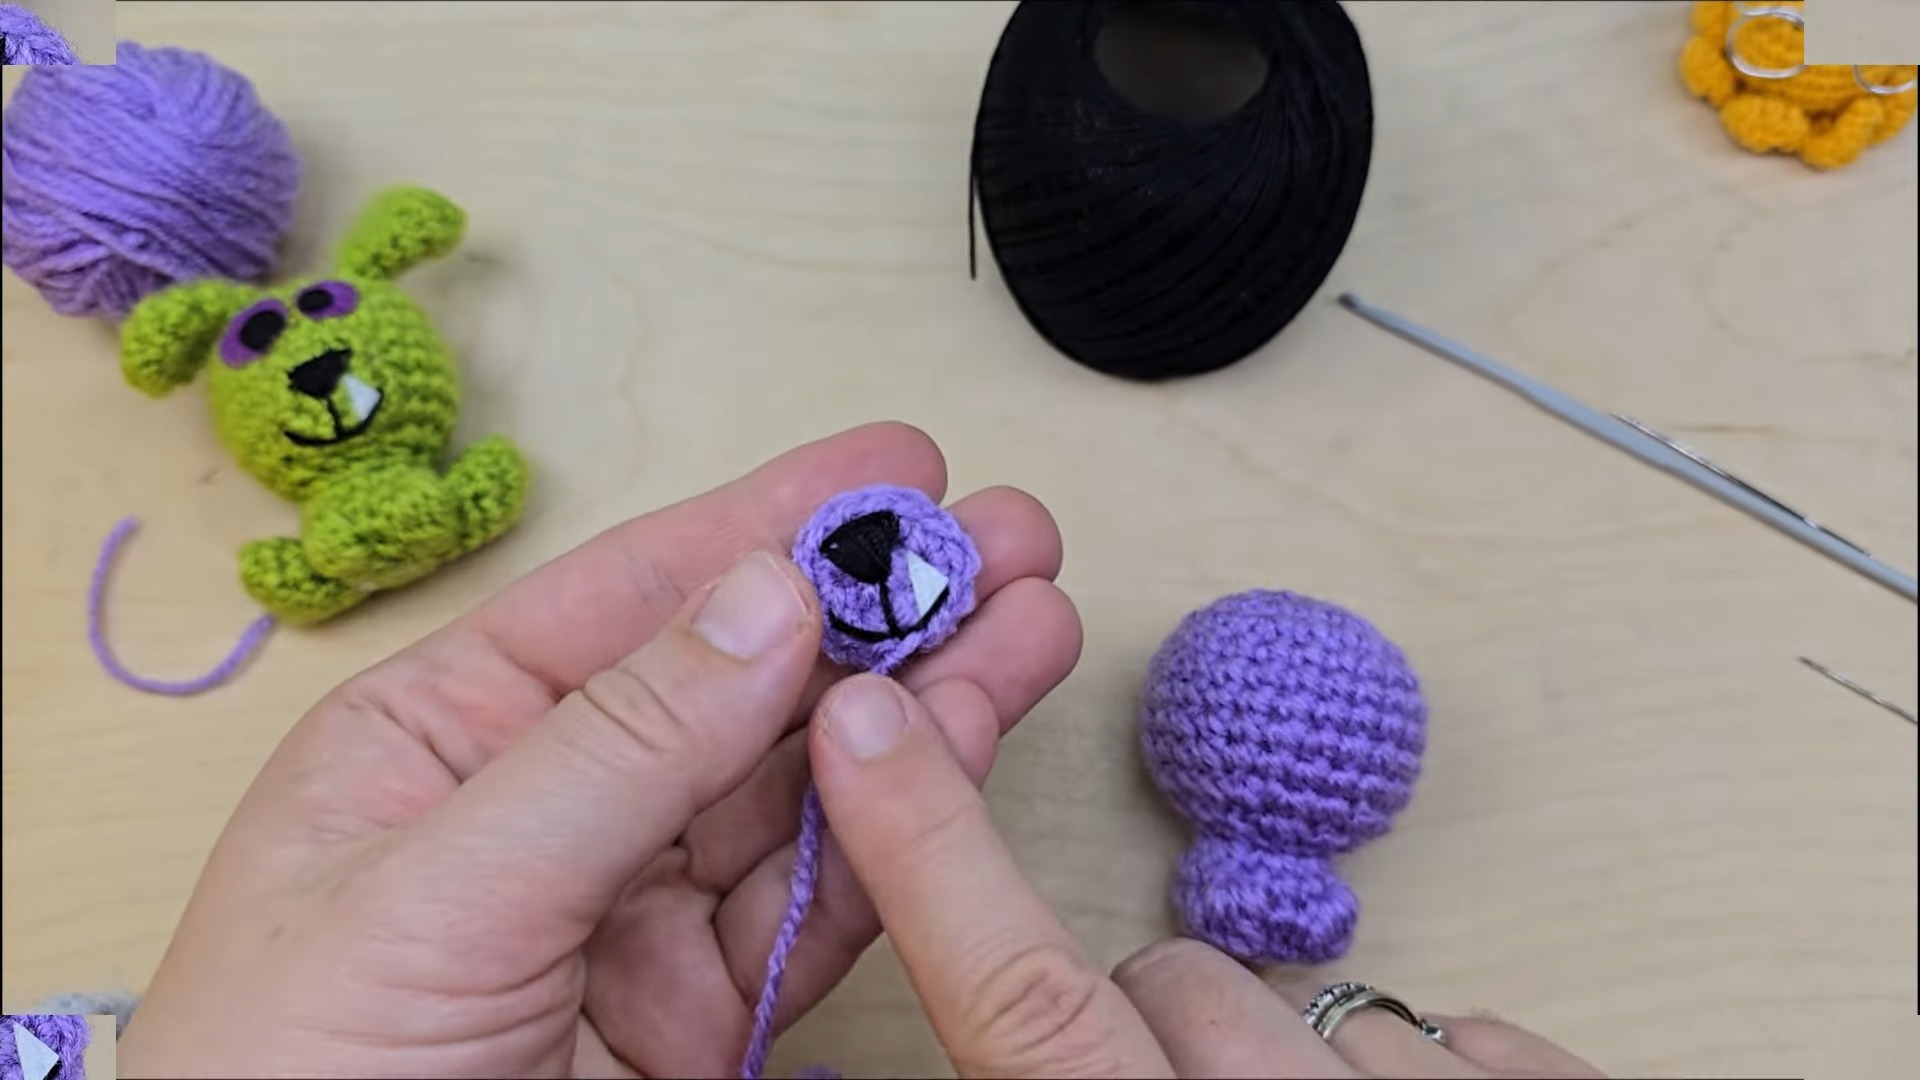
Snout
- Round 1: Create a Magic Ring and work 6 SC into it. (6 sts)
- Round 2: (INC in each stitch) around. (12 sts)
- Finish with an SL ST. Leave a long tail for sewing.
- (Optional Detail) Cut a small tooth shape from white felt. Sew or glue it to the snout.
- Embroider a small nose using black thread at the snout’s tip.
- Sew the snout onto the head, positioning it one round above the legs.
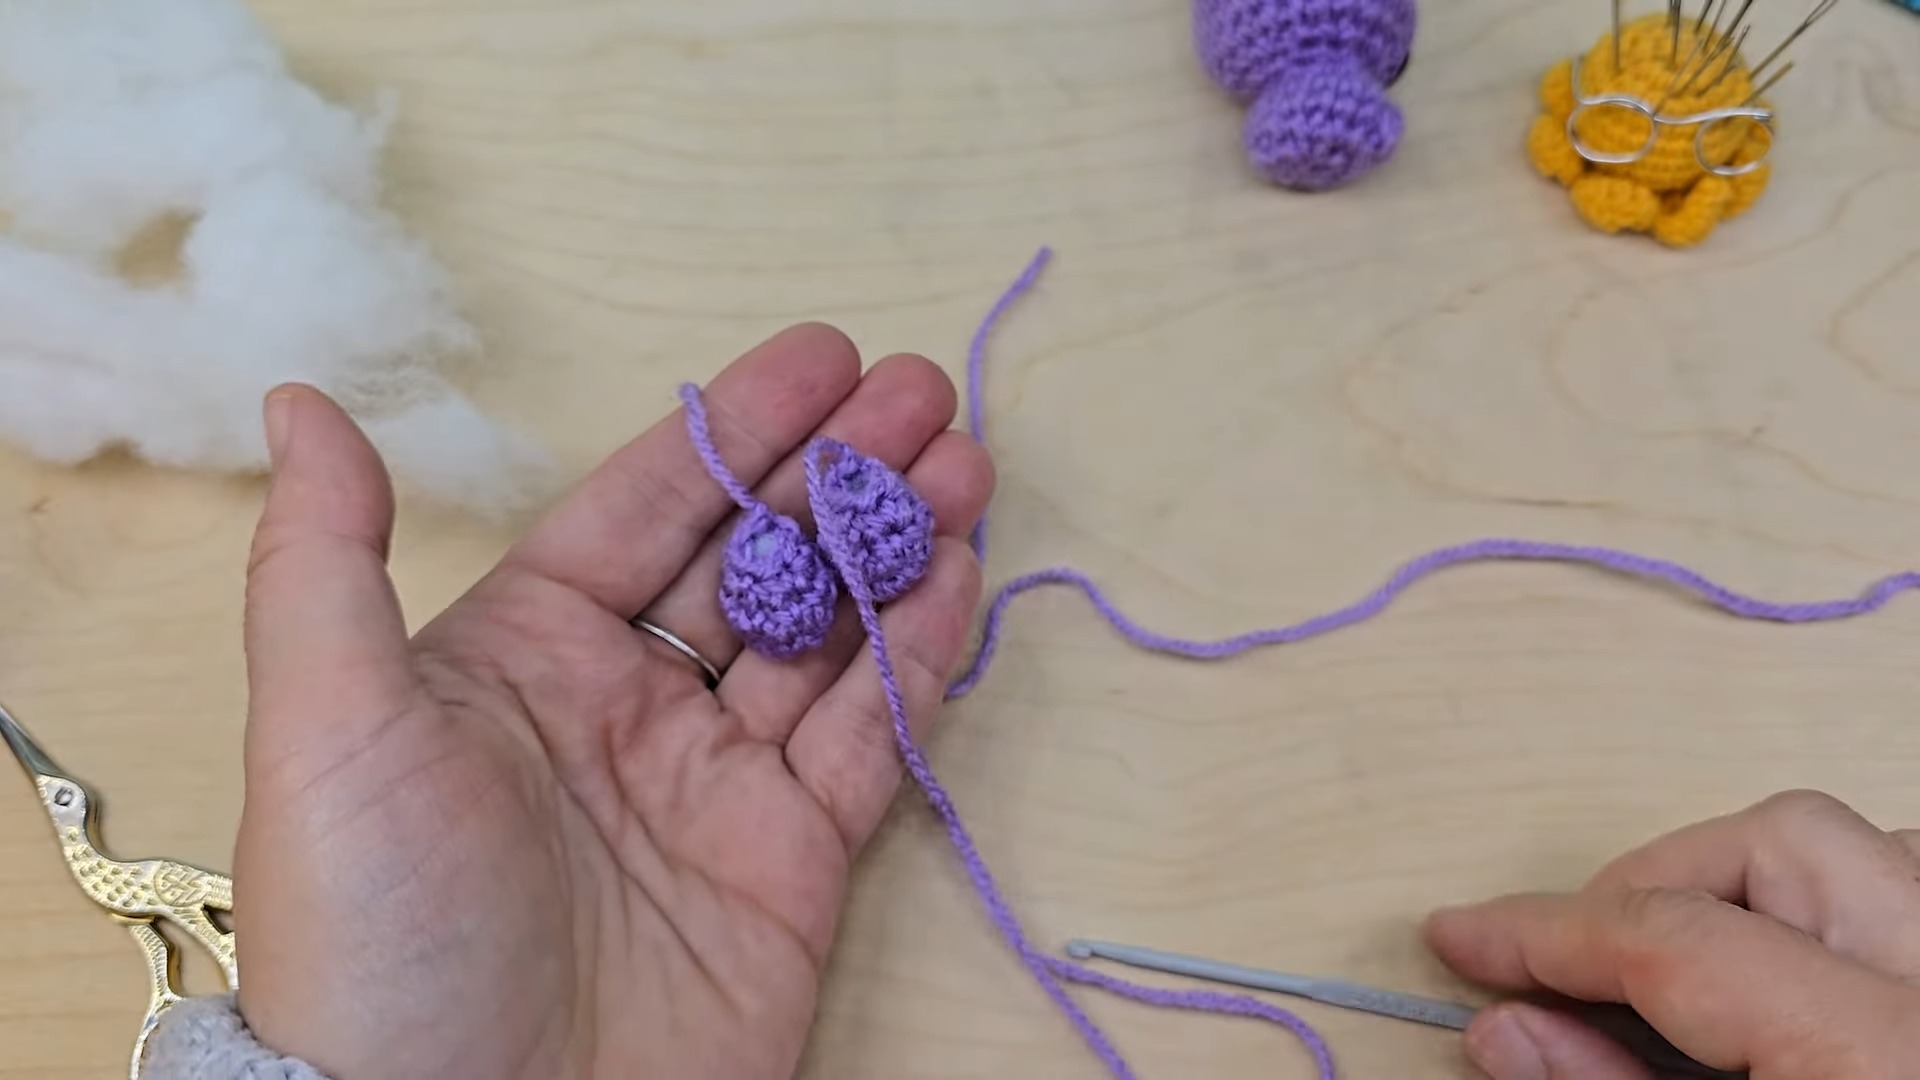
Hind Legs (Made Separately)
- Round 1: Create a Magic Ring and work 6 SC into it. (6 sts)
- Round 2: (INC in each stitch) around. (12 sts)
- Round 3: SC in the first 3 stitches, then work 3 DECs in sequence, followed by 3 SC. (9 sts)
- Round 4 (Final Round): (SC 1, DEC) repeat around. (6 sts)
- Finish with a SL ST, leave a long tail, and stuff the leg slightly.
- Sew the legs to the body, aligned with the front legs.
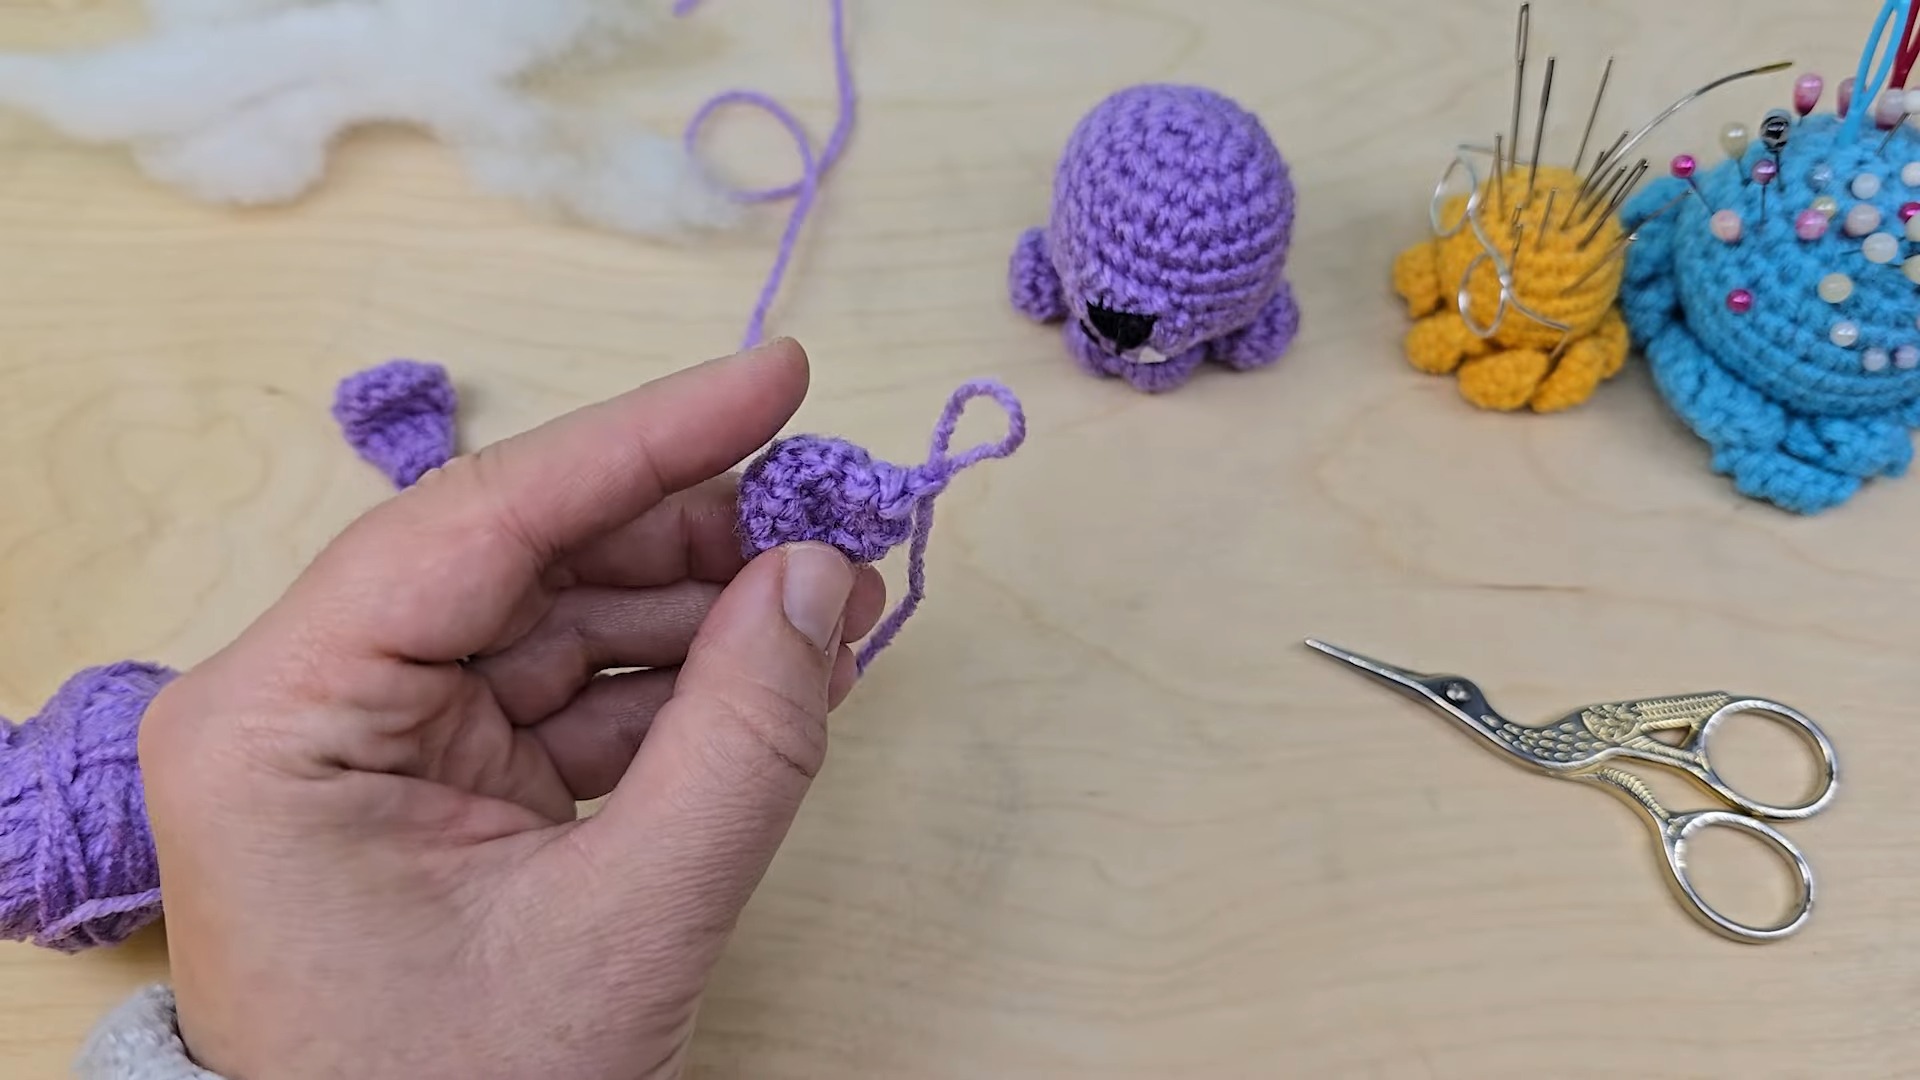
Ears
- Round 1: Create a Magic Ring and work 6 SC into it. (6 sts)
- Round 2: (INC in each stitch) around. (12 sts)
- Round 3: SC in each stitch. (12 sts)
- Round 4: SC in the first 3 sts, then work 3 DECs, followed by 3 SC. (9 sts)
- Round 5: (SC 1, DEC) repeat around. (6 sts)
- Round 6: SC in each stitch. (6 sts)
- Finish with a SL ST and leave a long tail. Position the ears evenly on the head and sew them on.
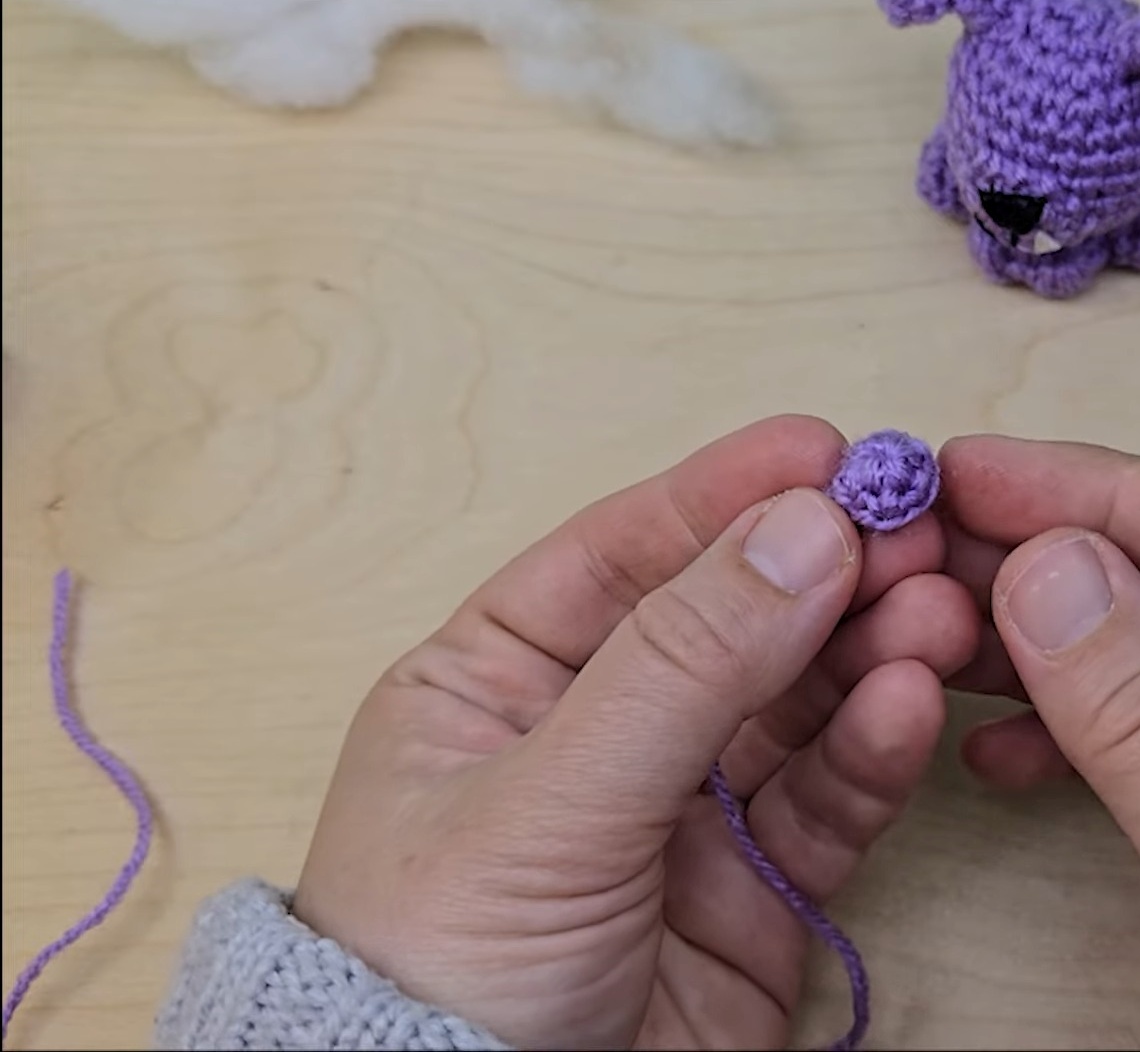
Tail
- Round 1: Create a Magic Ring and work 6 SC into it. (6 sts)
- Round 2: SC in each stitch around. (6 sts)
- Finish with an SL ST and leave a long tail for sewing.
- Attach the tail to the lower back of the body.
Eyes
- Cut 4 felt circles (2 small black circles and 2 larger green circles) to layer for the eyes.
- Use glue or sew the felt eyes above the snout.
Assembly & Finishing Touches:
- Brush the dog with a pet comb to fluff up its “fur” slightly.
- Add a keychain hook if desired, or leave it as a standalone figurine.
- Enjoy your festive Mini Halloween Dog Keychain!
Video Tutorial


