How to Crochet a Cute Bunny
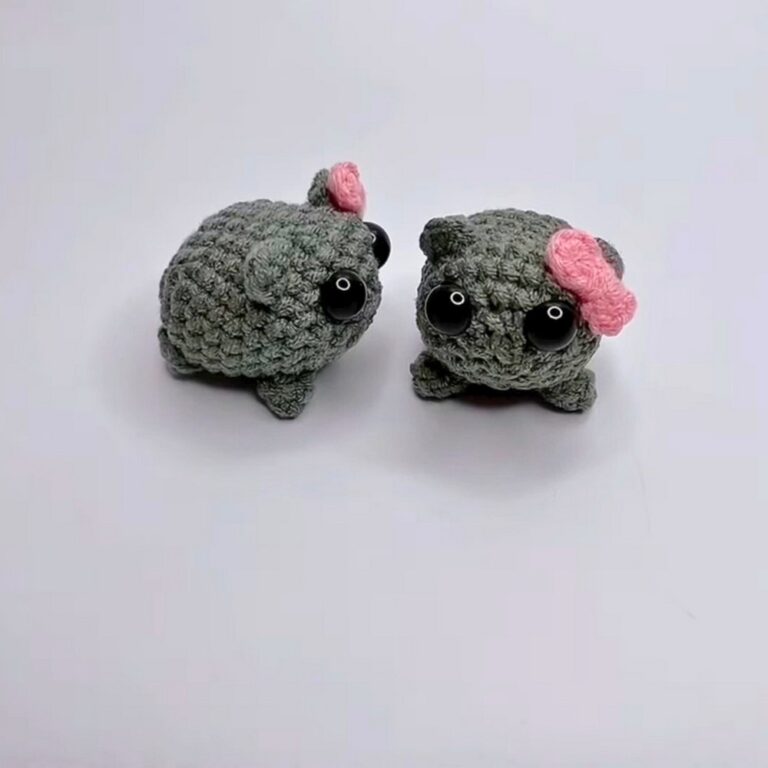
The Crochet Cute Bunny is an adorable project perfect for beginners and experts alike. This delightful bunny features a soft, cuddly body, long floppy ears, and a cute little tail.
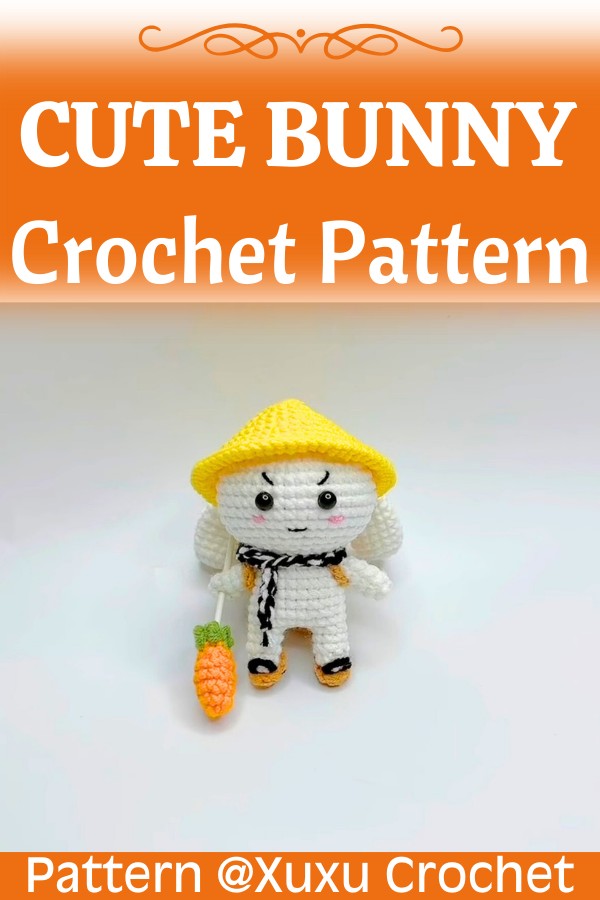
The simple design makes it easy to personalize with different colors and accessories, making it a great gift for children or a lovely addition to your home decor.
Credit Xuxu Crochet
Necessary Materials
- Yarn: Soft yarn in your chosen colors (e.g., light gray for the body, pink for the ears).
- Crochet Hook: Size suited to your yarn (commonly 3.5mm to 4mm).
- Safety Eyes: Two safety eyes of appropriate size.
- Stuffing: Polyfill or similar stuffing material.
- Tapestry Needle: For sewing pieces together and weaving in ends.
- Scissors
Key Crochet Techniques
- Magic Ring: A method to start crocheting in the round.
- Single Crochet (sc): Basic crochet stitch.
- Increase (inc): Two single crochet stitches in the same stitch.
- Decrease (dec): Single crochet two stitches together.
- Slip Stitch (sl st): A technique used to join or finish a round.
Crochet a Cute Bunny
The crochet bunny is not just a toy; it can also serve as a charming decoration piece. Its compact shape allows for easy handling, and the detailed features such as the floppy ears and little tail make it incredibly endearing. This bunny can sit comfortably on a shelf, or be carried around by little hands, making it both a practical and decorative item.

Detailed Pattern
- Head and Body:
- Magic Ring: Start with a magic ring.
- Round 1: 6 sc in the magic ring. (6)
- Round 2: 2 sc in each stitch around. (12)

-
- Round 3: (1 sc, inc) repeat around. (18)
- Round 4: (2 sc, inc) repeat around. (24)
- Round 5-10: sc in each stitch around. (24)
- Round 11: (2 sc, dec) repeat around. (18)

-
- Continue increasing and decreasing until you reach the desired size and shape for the head and body, stuffing as you go.
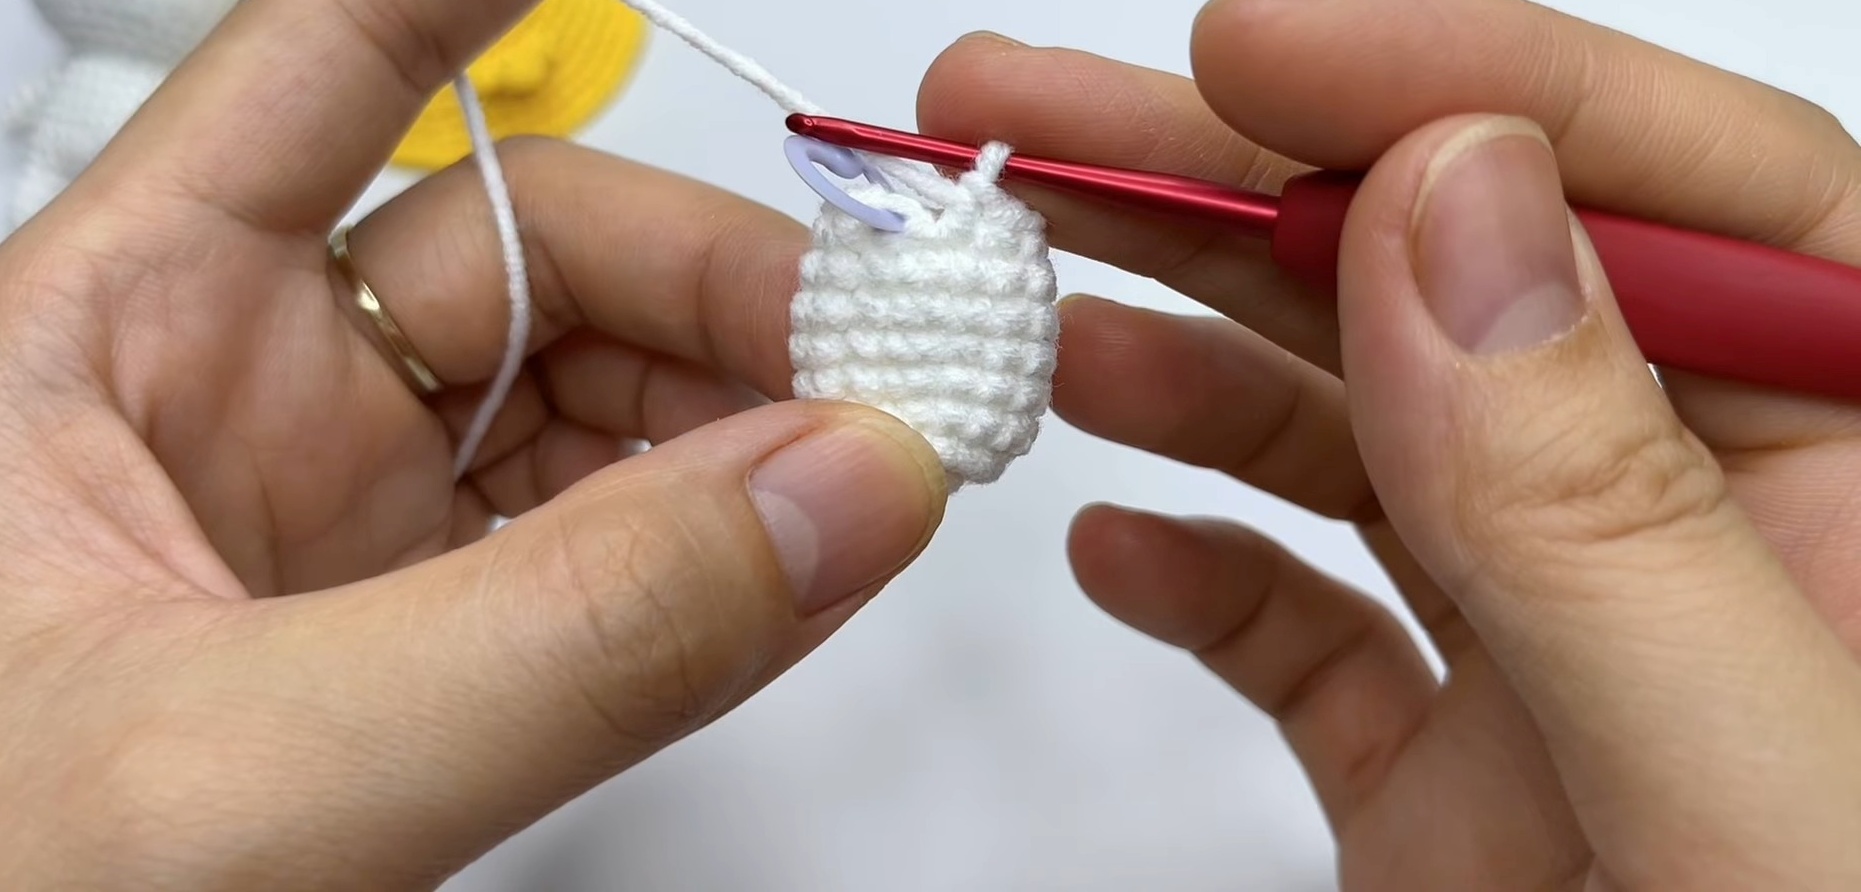
- Ears:
- Magic Ring: Start with a magic ring.
- Round 1: 6 sc in the magic ring. (6)
- Round 2-4: sc in each stitch around. (6)
- Round 5: inc, (1 sc, inc) repeat around. (9)
- Continue for desired length.
-
- Make a second ear in the same way.
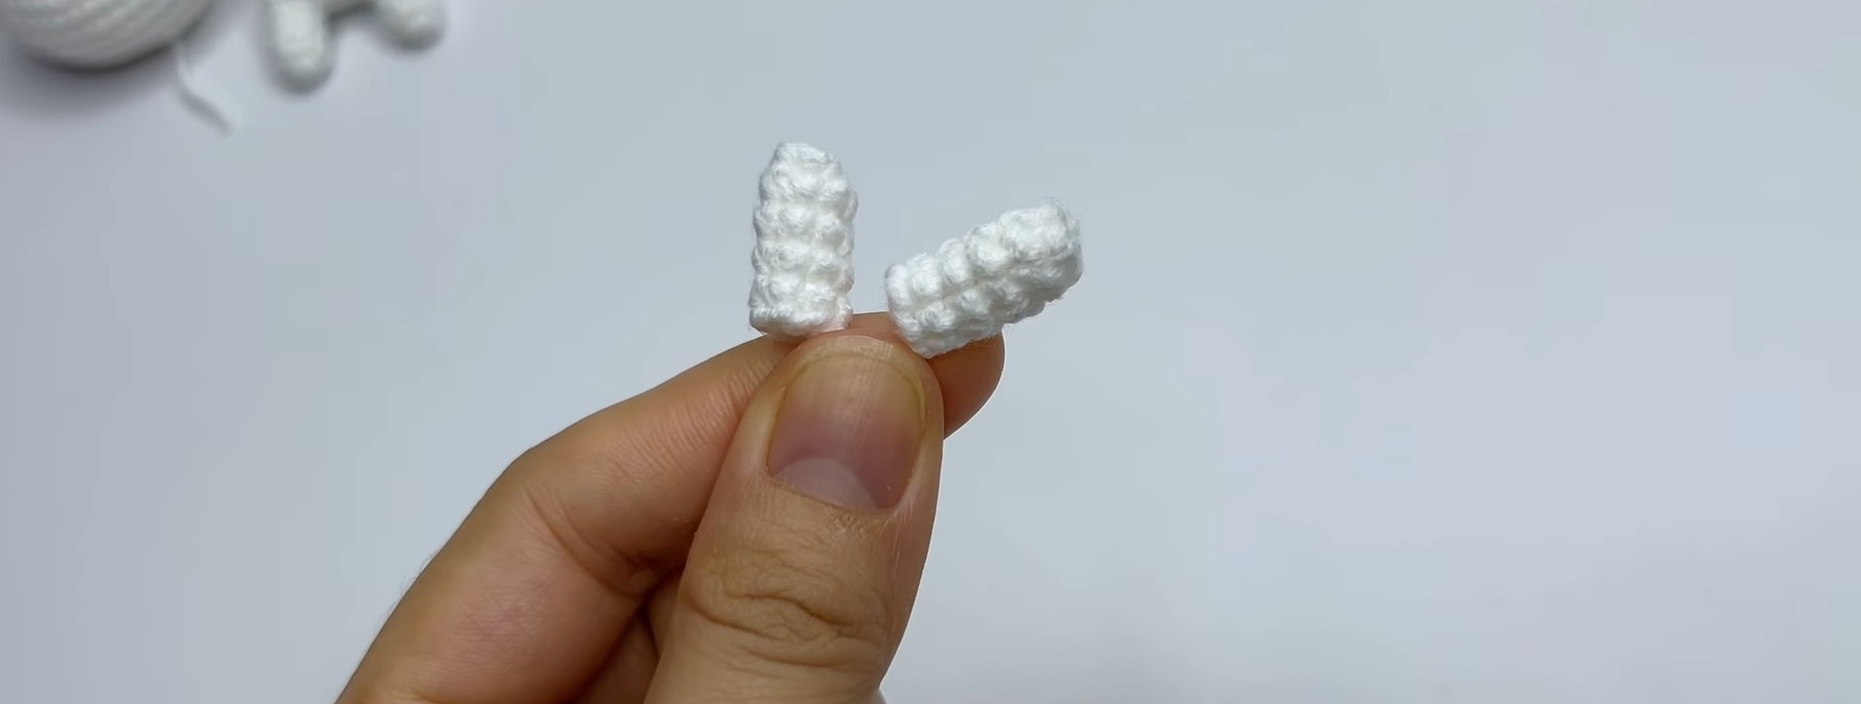
- Arms and Legs:
- Magic Ring: Start with a magic ring.
- Round 1: 6 sc in the magic ring. (6)
-
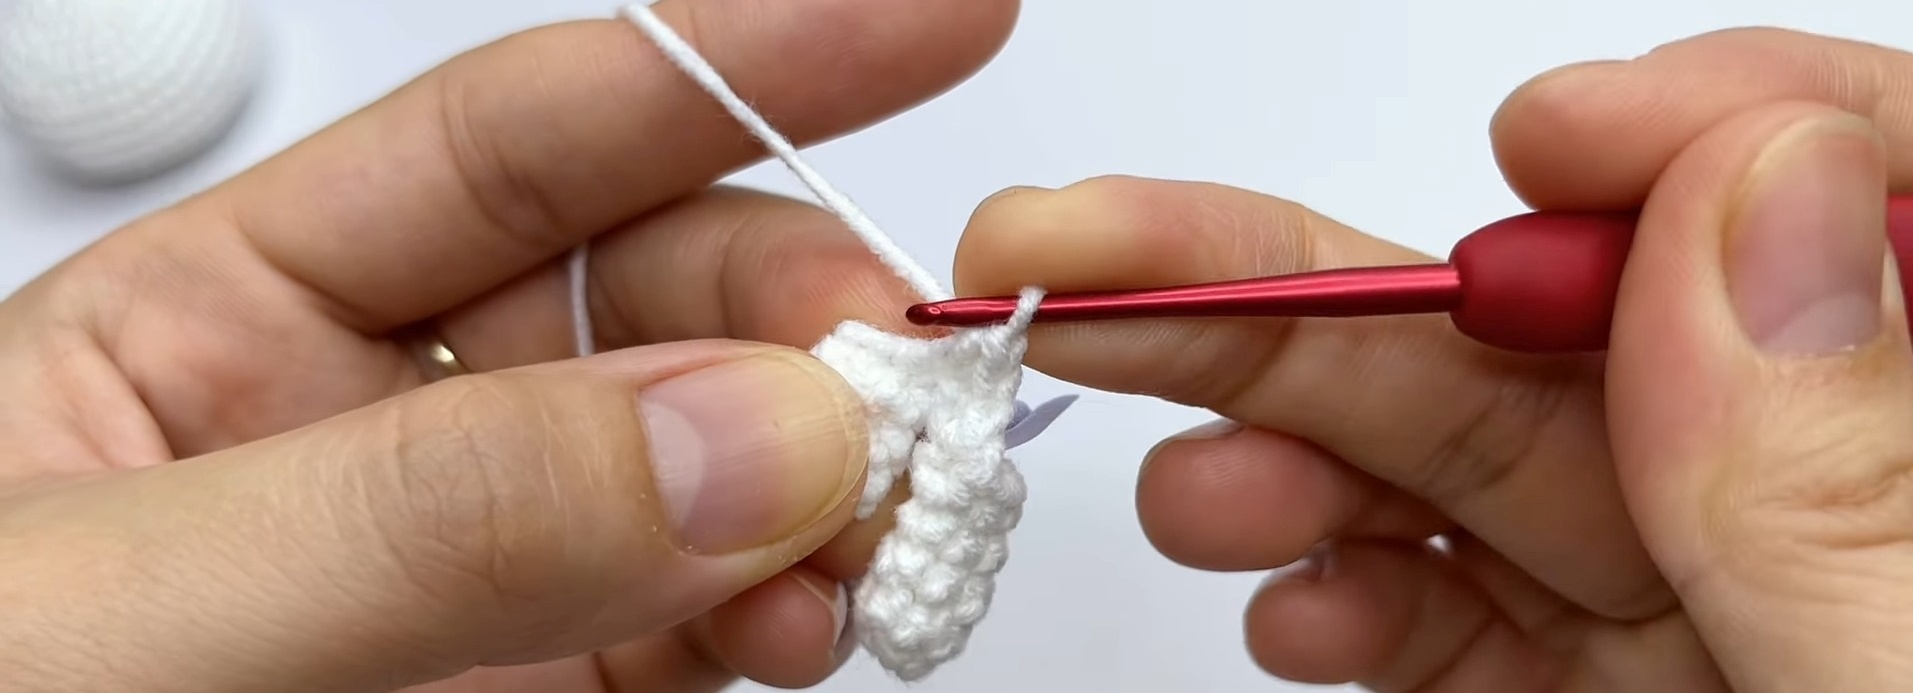
- Round 2: inc in each stitch around. (12)
- Round 3-7: sc in each stitch around. (12)
-
- Make two arms and two legs.
- Tail:
- Magic Ring: Start with a magic ring.
- Round 1: 6 sc in the magic ring. (6)
-
- Round 2: 2 sc in each stitch around. (12)
- Stuff lightly and sew onto the body.
- Assembly:
- Attach safety eyes and embroider facial features.
- Sew ears, arms, and legs to the body.
- Weave in any loose ends.

Conclusion
You now have an adorable crochet bunny to cherish or gift. This project is a fantastic way to practice fundamental crochet techniques while creating something unique and personal. Enjoy your crocheting!