Crochet Pancake Amigurumi: Cute Handmade Pattern
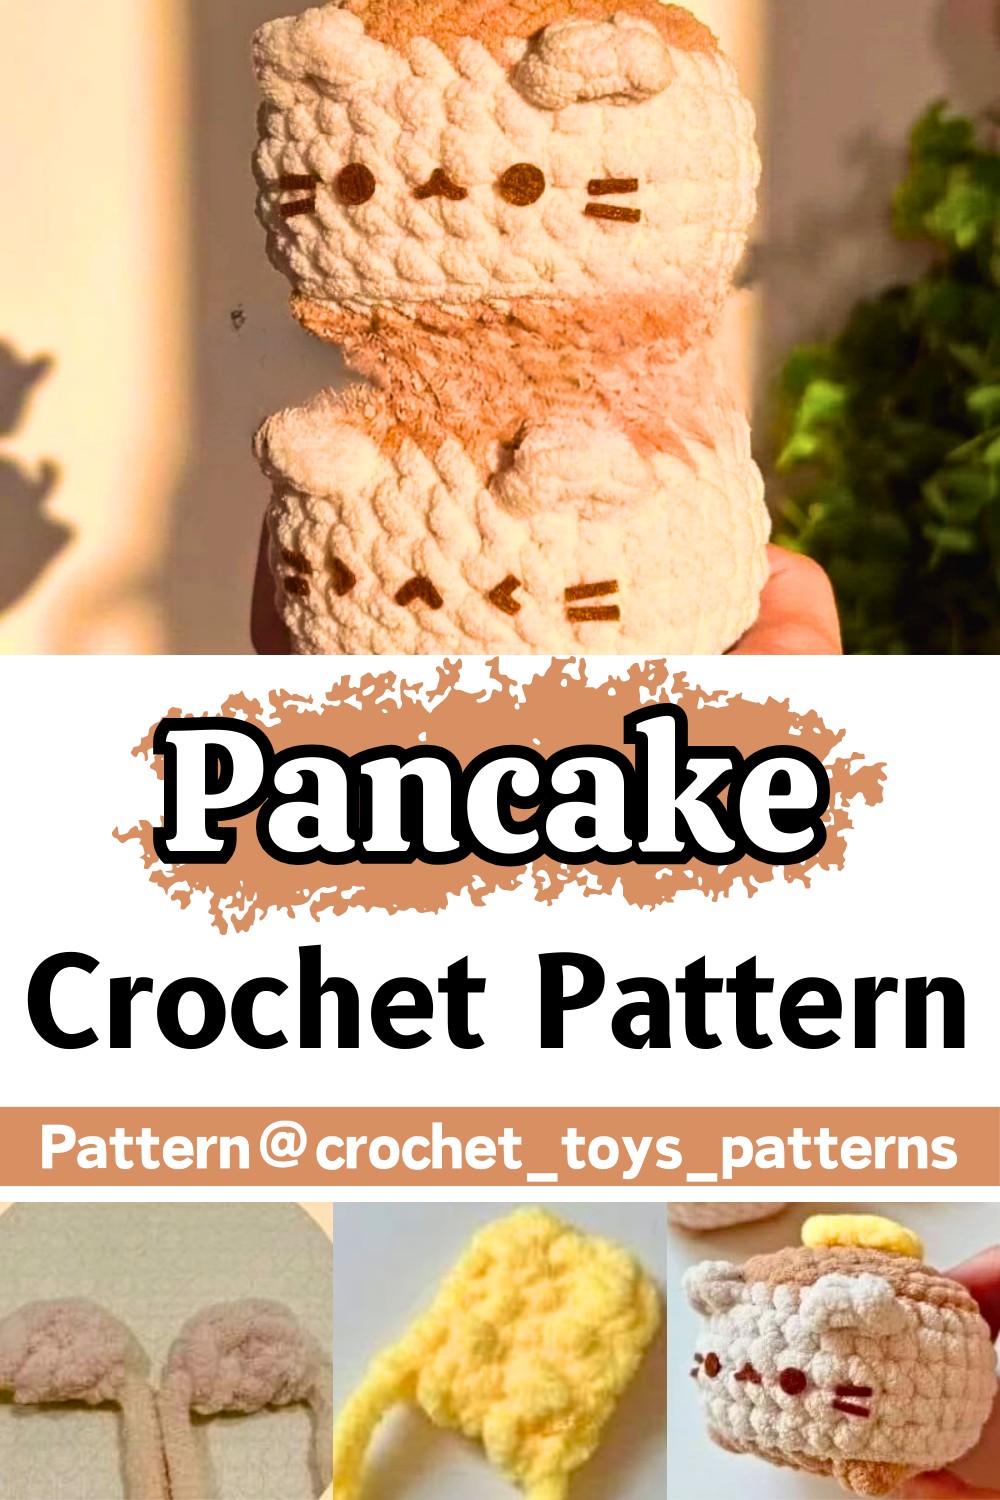
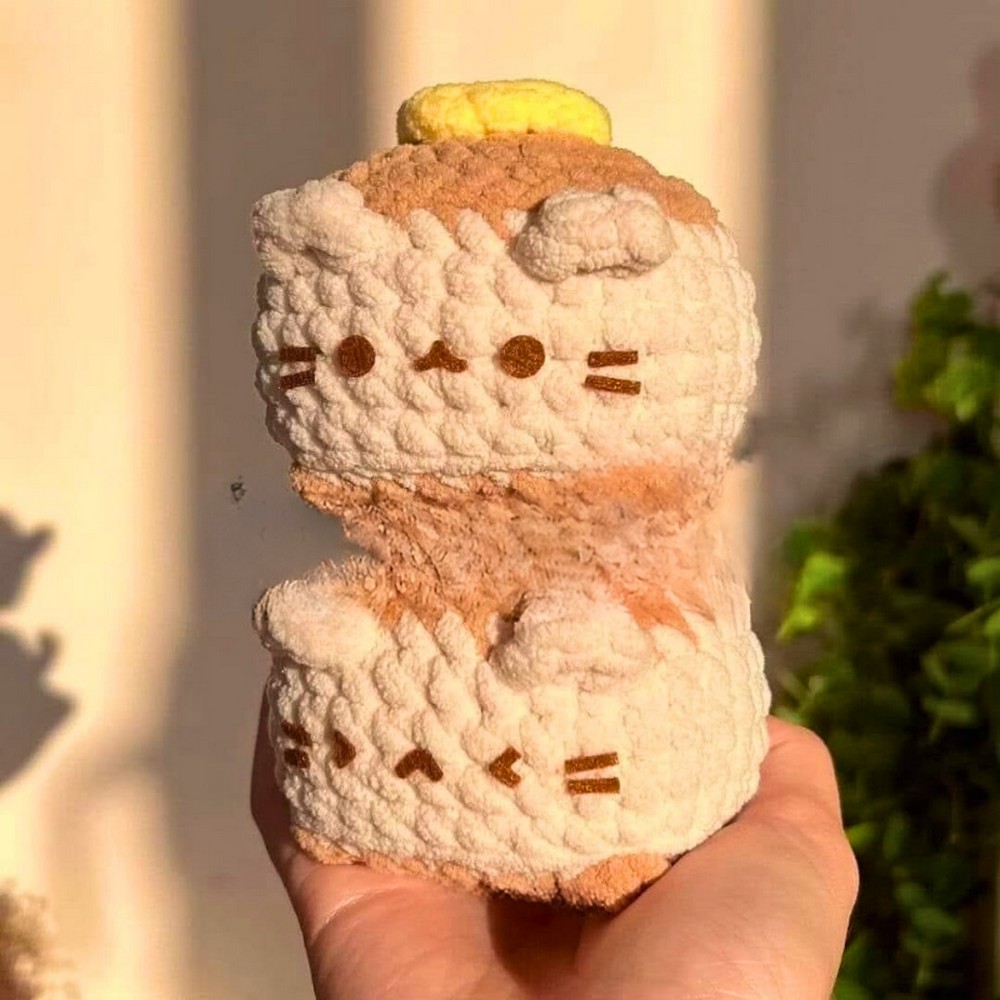
The Crochet Pancake Amigurumi Pattern is a fun and detailed project, allowing you to craft realistic pancake stacks with unique designs. Using weight 6 chunky yarn in shades of brown, cream, and yellow, along with techniques like magic rings and puff stitches, the texture mimics fluffy pancakes. The pattern includes instructions for adding playful facial expressions and a butter topping, enhancing its whimsical charm.

Customization options abound with this pattern, like experimenting with yarn colors or embellishments such as embroidered faces or felt details. You can alter the stack height, create additional toppings, or turn the pancakes into keychains, ornaments, or plush toys. The versatility makes this design perfect for kitchen décor, handmade gifts, or collectible items, combining creativity with practical charm.
Credit crochet_toys_patterns
Step-by-Step Pattern
Materials:
- weight 6 chunky yarn in brown, cream & yellow
- 5.0mm hook size
- stitch marker
- yarn needle
- felt or safety eyes embroidery thread for other face features
- Stuffing
- scissors glue
Abbreviations:
- mr = magic ring
- SC = single crochet
- sl st = slip stitch
- ch = chain
- BLO= back loop only
- inc = increase
- dec = decrease
- puff = puff st
- R = round
Pattern Instructions
Joined Rounds:
after each round, sl st into the next st and ch 1. this ch 1 does not count as the first st of the next round. continue the next round at the same st you just sl st into.
wai crochets
Body:
- Start with brown.
- R1: 8 sc in Mr (8)
- R2: 8 inc (16)
- R3: (I sc, I inc) x8 (24)
- R4: (I sc, I inc, I sc) x8 (32)
Change to cream.
- R5: In BLO, 32 sc (32)
- R6: 32 sc (32)
- R7: 32 sc, ch 6, starting from 2nd Ich from hook, sc 5 down the ch (32) The external tail is not part of the round. Just continue R8 with a sl st into the first st of R7, then ch I as usual. At the end of R8, move the tail away and sl st into the next st to continue R9.
- R8-9: 32 sc (32)
Change to brown.
- RIO: In BLO, I sc, I dec, I sc, I puff, I dec, 2 sc, I dec, I puff, I sc, I dec, 2 sc, I dec, I sc, I puff, I dec, 2 sc, I dec, I puff, I sc, I dec, I sc (24)
For the puff sts, I made mine with seven loops on the hook.
Insert safety bead eyes between R7-R8, about 4 sts apart. Use the tail behind and front paws as a reference.
Start stuffing, then stuff more along the way if needed.
- RII: (I sc, I dec) x8 (16)
- R12: 8 dec (8)
Fasten off and sew the hole closed.
Ears:
In cream, make two ears.
- RI: 3 sc in mr (3)
For the mr, do not tighten the ring so much. This keeps the half circle shape of the ear.
Fasten off and leave a tail for sewing.

Butter:
Work in rows here. At the end of each row, ch I then turn your work to continue next row.
In yellow,
- RI: ch 5, starting from 2nd ch from hook, make 4 sc. (4)
- R2-3: 4 sc €€ (4)
Fasten off and leave a tail for sewing.
Assembly:

- Sew the ears between R5- R6, about 3 sts apart from one another. Use the front paws as reference; align the ears with the paws.
- Sew the butter on top of the kitty, on RI and R2. I only sewed the corners and the middle of the butter, so that it will pop out more like a topping.
- Use felt in the colour of your choice to create the kitty’s face features (eyes, nose/mouth, whiskers). Or
- You can also embroider the face features with a thinner yarn.

In conclusion, the Crochet Pancake Amigurumi Pattern is a charming and versatile project that showcases the beauty and intricacy of crochet art. Its whimsical design and practical uses make it a wonderful addition to any collection or a thoughtful gift for loved ones. Whether for decoration or play, this amigurumi brings a touch of joy and creativity to everyday life.