How to Crochet a Pumpkin Shell Turtle Amigurumi for Autumn Gifts
When it comes to handmade creations, crochet enthusiasts are always on the lookout for fun and charming projects that stand out. The Crochet Pumpkin Shell Turtle Amigurumi is just the right blend of creativity and seasonal flair. This unique pattern transforms a basic turtle design into an adorable pumpkin-shelled companion, making it perfect for autumn decor, handmade gifting, or a whimsical soft toy.
What Makes the Pumpkin Shell Turtle Amigurumi Special?
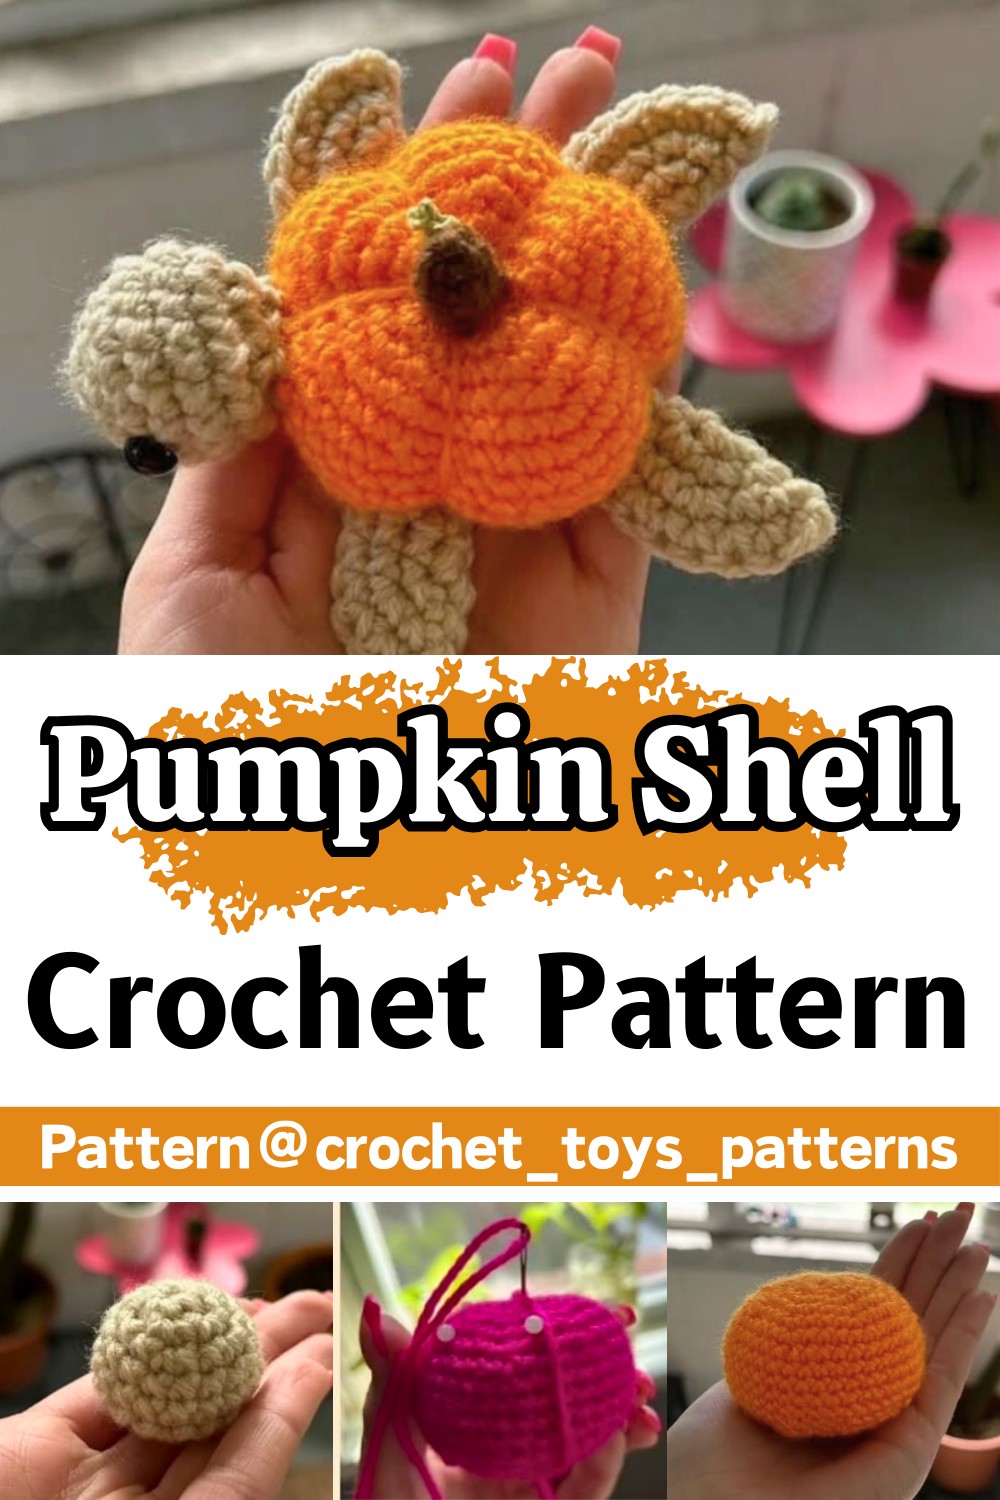
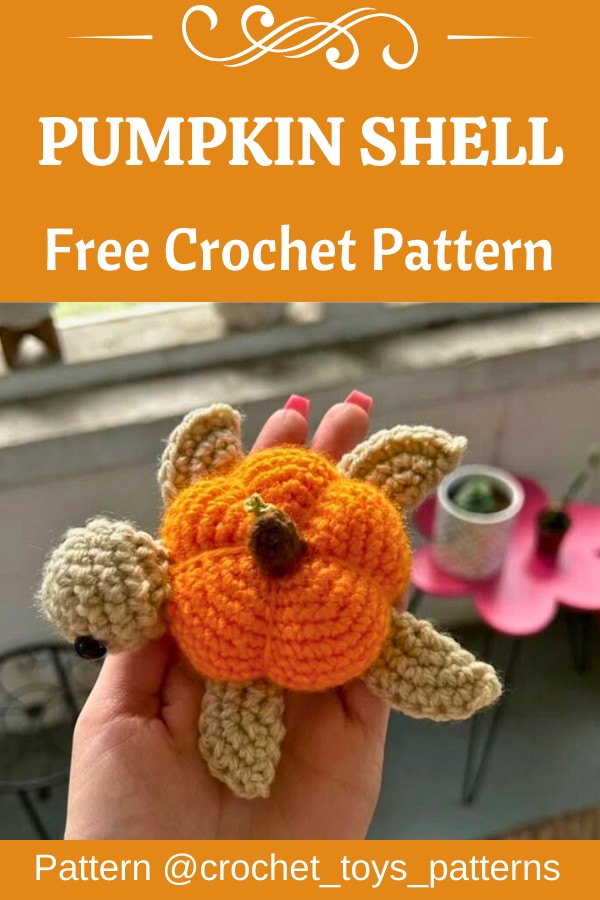
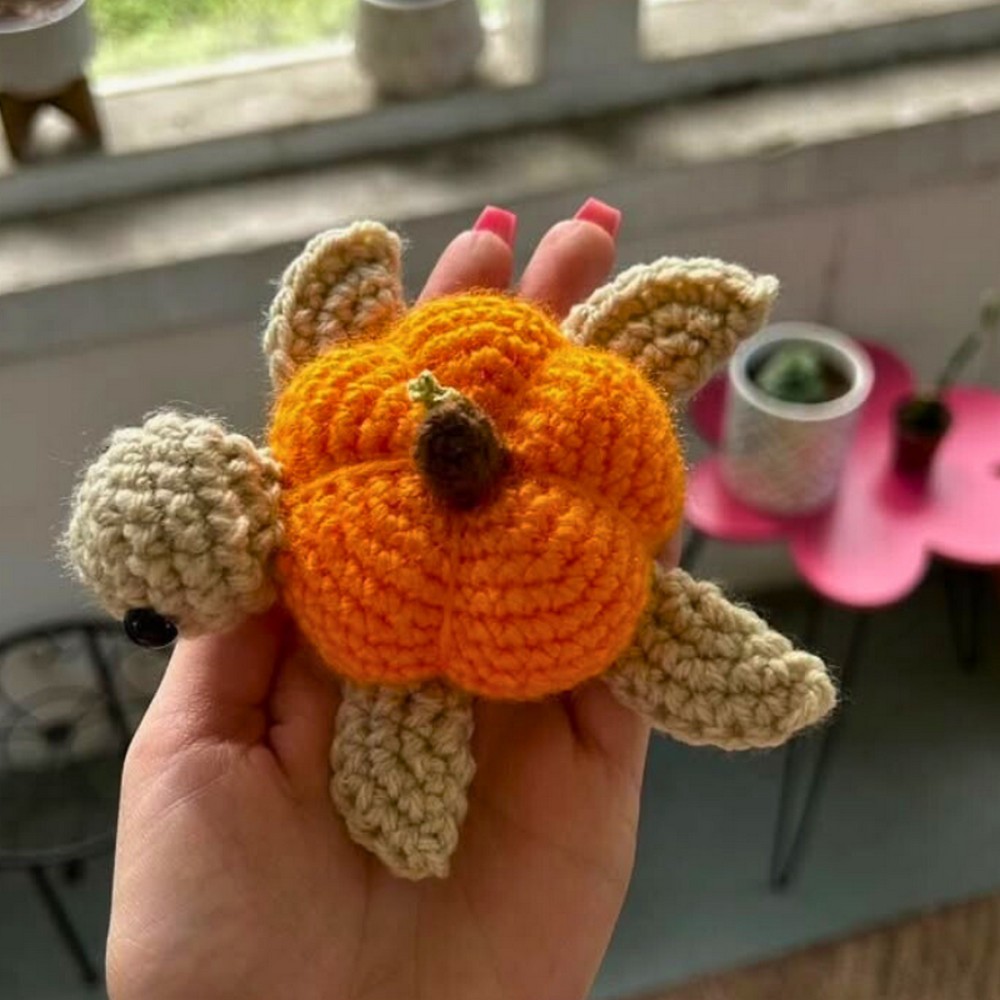
This delightful crochet project combines two lovable elements—the playful character of a tiny turtle and the warm, festive charm of a pumpkin. Picture a plump pumpkin-shaped shell made with vibrant orange yarn, topped with a cute brown stem and a delicate vine. The turtle’s body, crafted with soft beige yarn, includes tiny limbs and an adorable head with safety eyes, showcasing attention to detail and adding personality to the finished piece.
Whether you’re sprucing up your seasonal decor or creating a unique handmade gift, this pattern ensures a rewarding experience for both beginner and seasoned crocheters.
Credit crochet_toys_patterns
Step-by-Step Pattern
Materials
- Shell color yarn choice (3.5mm)
- Limb color yarn choice (3.5mm)
- 3.5mm Hook
- 2.5mm Hook
- Green Thread (2.5mm) (vine)
- Brown yarn (2.5mm) (stem)
- Yarn Needle / Tapestry Needle
- Stitch Marker (recommended)
Abbreviations
- MR= Magic Ring
- SC = Single Crochet
- INC = Increase
- DEC = Decrease
Pattern Instructions
Preferred Yarn color (3.5mm Hook)
- Round 1) Sc 8 in MR (8)
- Round 2) Sc Inc x 8 (16)
- Round 3) Sc 1, Inc x 8 (24)
- Round 4) Sc 2, Inc x 8 (32)
- Round 5) Sc 3 Inc x 8 (40)
- Round 6-12) round (40)
- Round 13) Sc 3, Dec x 8 (32)
- Round 14) Sc 2, Dec x 8 (24)
- Round 15) Sc 1, Dec x 8 (16) Stuff firmly
- Round 16) Dec x 8 (8)
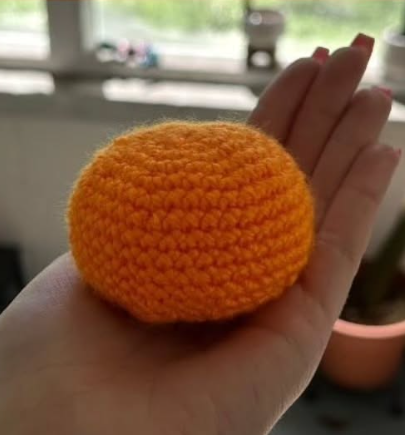
Sew hole closed, weave ends
Divide the pumpkin into 5 parts. Next, insert a long needle into the middle of the pumpkin, and take it out of the opposite side right out of the magic ring.
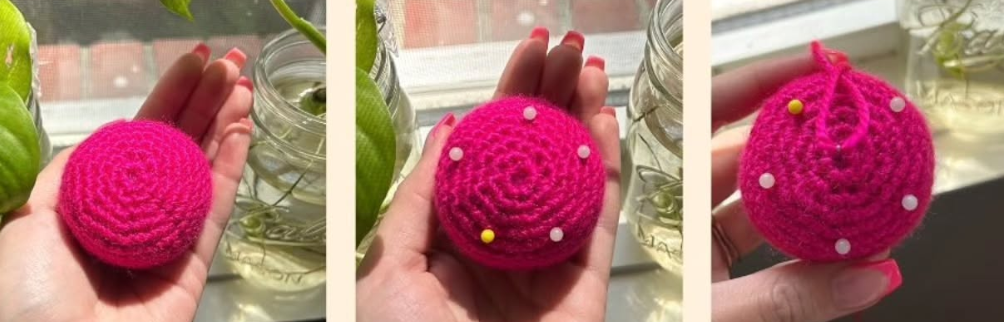
Then insert the needle in the same direction, tighten the yarn strongly. Draw the needle through the middle of the pumpkin several times to form sections.
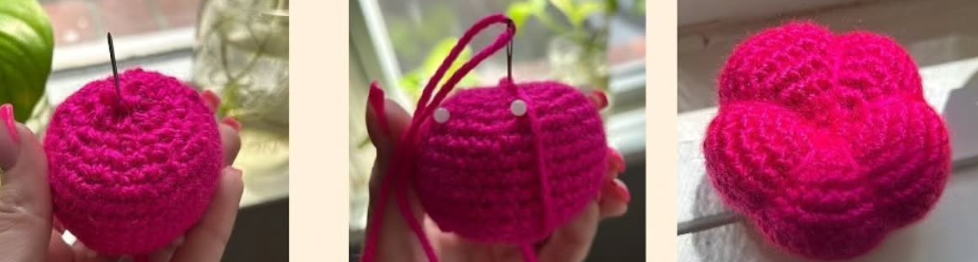
Stem & Vine
Stem (Brown) (2.5mm Hook)
- Round 1) Sc 6, in MR (6)
- Round 2-5) , Round (6)
Fasten off and sew to the middle of the pumpkin
- Vine (Green) (2.5mm hook)
- Sc 12, fasten off and sew to stem
- Sew the vine to the base of the stem
Head
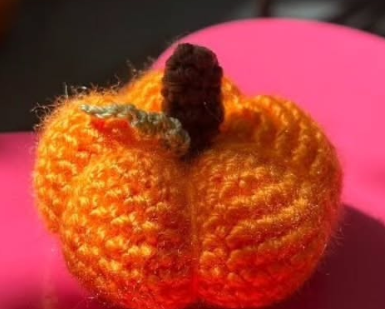
- Round 1) SC 6 in MR (6)
- Round 2) Inc x 6 (12)
- Round 3) SC, Inc x 6 (18)
- Round 4-6) Round (8)
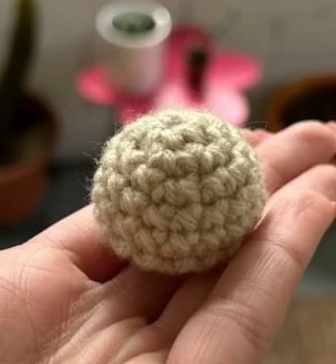
Insert Safety eyes between rows 3 & 4
- Round 8) Dec x 9 (9) Stuff
- See hole closed, weave ends
- Sew head to pumpkin body
Fins (make 4)
- Round 1) SC 6 in MR (6)
- Round 2) Inc x 6 (12)
- Round 3) SC, Inc x 6 (18)
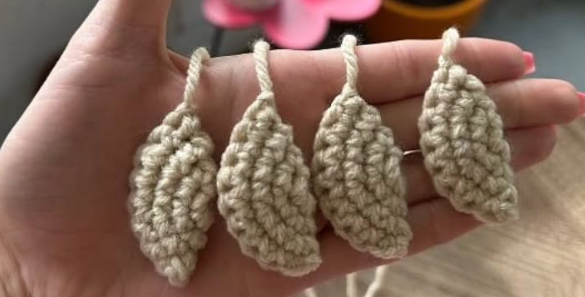
Fold the circle in half and SC into a half-circle
Sew fins underneath the body