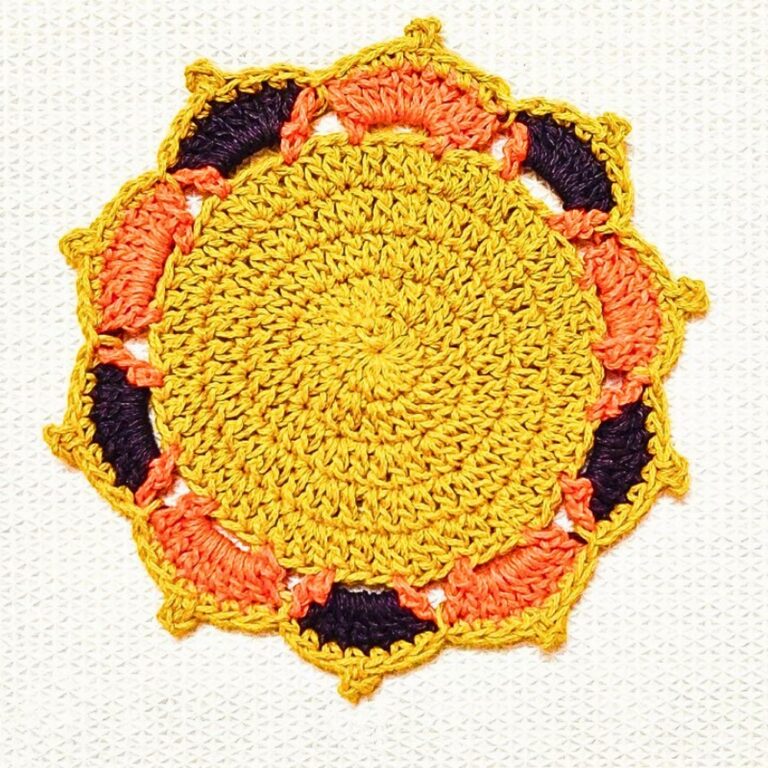
A nature-inspired crochet leaf placemat with graceful lines and textured details, perfect for adding charm to your dining space or seasonal decor.

A crochet leaf placemat is a charming piece of decor that adds a cozy, nature-inspired touch to your dining table or home space. Shaped like a beautiful leaf, it’s a unique way to make everyday meals feel special. Plus, it’s reusable, washable, and eco-friendly.
Crochet Leaf Placemat for Thanksgiving
Crochet Leaf Placemat is easy to follow, making it beginner-friendly and enjoyable for all ages. Grab your yarn and hook, and in no time, you’ll create a leaf design that’s both practical and eye-catching. You can easily customize these placemats with different colors to match your mood or your decor, making them so versatile and unique to your home.
Credit Crocheting with White Owl
Key Features and Pattern Summary:
- Material and stitch choice: Uses medium-weight yarn paired with simple and textured stitches to create leaf veins and shaping.
- Leaf shaping and structure: Worked in rounds or rows to achieve the asymmetrical curves of a leaf’s natural design.
- Textured veins: Special stitch techniques (e.g., front post stitches or ridges) bring the leaf veins to life.
- Flexible size: Can be scaled up or down depending on your desired placemat size.
- Finishing touches: Simple border to smooth the edges and maintain the clean shape.
Overview of Construction:
Starting with the stem or central spine, this pattern begins by laying the foundation for the leaf’s structure. The pattern may use chains or foundational stitches to create the starting point, which doubles as the “spine” around which the leaf’s shape grows. If you’re new to chain stitches, this step is both practical and forgiving—just make sure your tension remains consistent for that perfect central line.

The leaf’s broad curves are built through rows or rounds of stitches that increase at strategic points to mimic the natural contours of a leaf. Expect clever shaping techniques like single, half-double, or double crochet increases to form wide arcs on either side. Some patterns might even include decreases to taper certain sections, which adds to the realistic design.

Textured veins are introduced next, often using techniques like front or back post stitches, surface crochet, or slip stitches worked along certain rows. These texture-enhancing methods give the leaf its lifelike appearance. As the veins are added, the item starts to feel both artistic and functional. This part can be a little tricky, but the satisfying look is worth the effort.

The placemat concludes with a finishing border or edge designed to keep its shape intact and give it a polished appearance. Optional edging techniques, like picot or reverse single crochet, can elevate the item for formal table settings or decorative use.

Video Tutorial
Materials
To make this design, you’ll need:
- Yarn: Medium-weight cotton yarn (recommended: 100% cotton for durability)
Suggested colors:- Base of placemat: Neutral tones (e.g., beige, white, gray)
- Leaf: Green or other shades you prefer
- Hook size: 4.5 mm (or size fitting your gauge preference)
- Scissors
- Tapestry needle: For weaving in ends and assembling any pieces
- Measuring tape: To check the dimensions of your placemats
Pattern Instructions
Step 1: Foundation Placemat Base
- Start with a magic circle (MC).
- Round 1: Work 12 double crochets (dc) into the magic circle. Pull the circle tight and join with a slip stitch (sl st) into the first dc. (12 stitches)
- Round 2: Chain 2 (counts as first dc), work 2 dc into each stitch around. Join with a sl st. (24 stitches)
- Round 3: Chain 2, 1 dc into next stitch, 2 dc into the next. Repeat from * to end. Join with a sl st. (36 stitches)
- Continue adding rounds, increasing by 12 stitches per round, until the placemat reaches your desired size.
Step 2: Leaf Design
- Starting the Leaf:
- Chain 10 (the foundation for the leaf shape).
- Row 1: Work the following into the chain:
- 1 sc in the 2nd chain from hook, 1 sc in the next chain, 1 dc in the next two chains, 1 sc into each of the next three chains, sl st in the final chain.
- Row 2: Turn the chain and work down the other side to mirror the previous row:
- Sl st in the first stitch, sc into the next three stitches, 1 dc into the next two stitches, sc in the final two stitches.
- Finish with a sl st at the base to create the tip of the leaf.
- Fasten off and leave a long yarn tail for sewing.
Step 3: Attach the Leaf
- Place your finished placemat base flat. Position the leaf wherever you’d like (e.g., a corner or the center).
- Use a tapestry needle and the long tail of yarn to sew the leaf onto the base with small, neat stitches. Weave in the ends when you’re done.
Step 4: Final Touches
- Block your placemat to ensure it lies completely flat, especially if any edges are curling.
- Spray with water, gently shape the piece, and pin it in place. Let it dry fully.
- Trim any excess yarn and ensure all ends are tidy.
Pattern Question
Question: Can I adjust the size of the placemat to suit different table settings?
Answer: Yes! The pattern is versatile and can be easily adjusted by adding or reducing stitches in the base design. Just follow the same stitch pattern to maintain consistency.
Troubleshooting and Suggestions:
- Consistency with tension: Uneven tension can distort the leaf shape or make veins appear uneven. Take your time with stitches requiring extra loops (e.g., post stitches), and adjust your grip as needed.
- Shaping challenges: If your increases and decreases don’t align perfectly, it can throw off the curves. Place stitch markers at key points to track your work.
- Scaling the size: For a larger placemat, use thicker yarn and a larger hook. To create coasters instead, use lightweight yarn and scale down the stitch count.
- Creative modifications: Experiment with color changes for autumn leaves, or try multicolored yarn for a whimsical look. Add embellishments, like small embroidered flowers, to make a garden-themed series of placemats.