
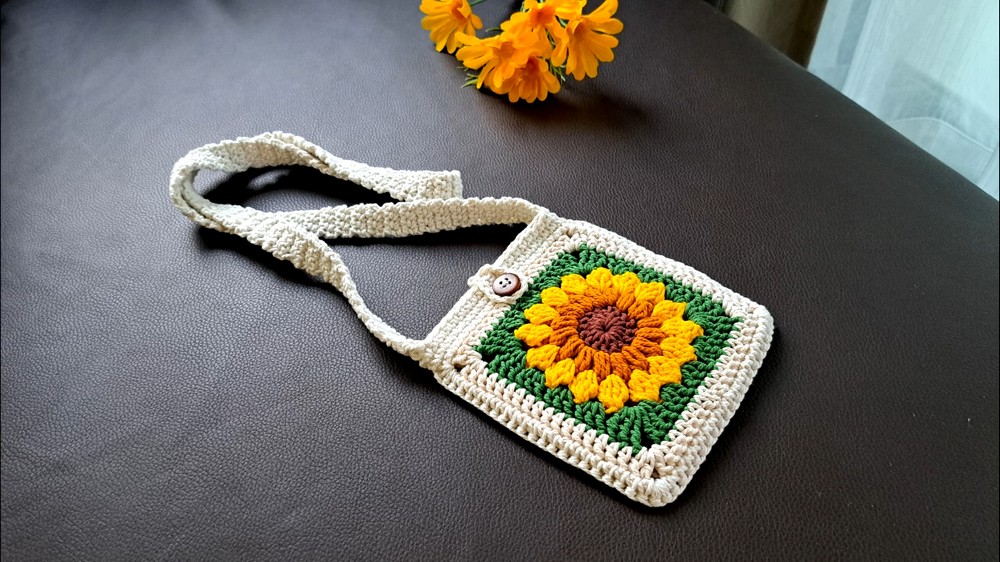
Carry a burst of sunshine with this Crochet Sunflower Bag. It’s the perfect blend of practicality and floral charm for casual outings or as a statement piece.

The Sunflower Crochet Bag is a delightful accessory that brings a touch of sunshine to your everyday life. It is perfect for carrying your essentials uniquely and cheerfully. Whether you’re heading to the market, a picnic, or just out for a stroll, this crochet bag adds happiness to your outfit.
Crochet Sunflower Bag Pattern
Making your own Sunflower Crochet Bag is not only Cheerful but also easy! With just a few simple crochet techniques, you can bring this vibrant bag to life. The process is straightforward, making it an ideal choice for beginners eager to try their hand at crocheting. You’ll see how simple loops and stitches transform into beautiful sunflower bag details that make this bag truly special.
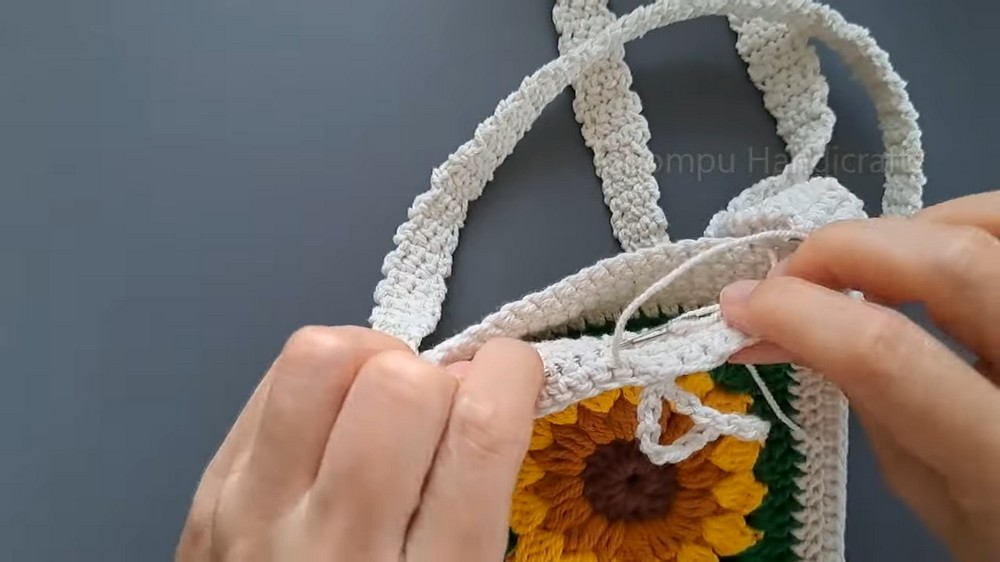
Credit Chompu Handicrafts
Key Pattern Features and Steps:
- Base Construction: The bag starts with a sturdy circular or rectangular base, often worked in single or double crochet.
- Sunflower Motif: The sunflower design is created separately as a decorative applique or crocheted directly into the bag using colorwork.
- Assembly: Panels or rounds are joined and shaped into a functional bag, often with added depth or side panels.
- Straps: Handles or straps are created separately with chains and rows or sewn directly onto the bag.
- Optional Finishing Touches: The bag can be lined with fabric for durability and accessorized with buttons, tassels, or even extra flowers!
How is this bag made?
The Crochet Sunflower Bag is as delightful to make as it is to use. The foundation is typically a solid, tight stitch base that forms the bag’s structure. This might work as a circle, oval, or rectangular shape. Using durable yarn and a well-defined stitch like single crochet ensures that the bag is both strong and stylish.
The sunflower is the star of the show! It’s often created using two colors of yarn – sunny yellow for the petals and rich brown for the center. Depending on the pattern, this motif may be worked separately and stitched onto the bag, or it could be incorporated into the design through tapestry crochet or intarsia techniques. Either way, the floral effect is bold, textured, and brimming with joyful energy.

Once the decorative details are complete, you’ll assemble the bag. For a three-dimensional design, you may join two panels (or sides) with single crochet, slip stitch, or sewing methods, creating a roomy interior. If depth isn’t needed, a flat bag style works perfectly for lightweight, casual use.

Finally, straps or handles are crocheted and attached for functionality. Depending on your personal style preference, you might go for long shoulder straps or shorter handles for a dainty touch. These can be crocheted directly into the bag or sewn on after completing the main body.
After the crochet work is completed, optional details can take the bag to the next level. A fabric lining not only adds a professional finish but strengthens the design for regular use. You can also experiment with embellishments such as tassels, beads, or even crocheted leaves to complete the sunflower-inspired look.
Video Tutorial
Required Materials:
- Yarn:
- Yellow yarn for sunflower petals (medium-weight yarn – 4).
- Brown yarn for sunflower center.
- Green yarn for leaves and square base.
- Optional: Choose multiple colors for the granny square background or matching yarn for sewing the bag edges.
- Hook Size:
- 4.0 mm or 4.5 mm crochet hook (or size recommended for your yarn).
- Additional Tools:
- Scissors.
- Tapestry needle for weaving in ends and sewing squares together.
- Stitch markers (optional for tracking rounds).
- Yarn Weight Requirements:
- Medium-weight (worsted yarn) is ideal for a sturdy but flexible bag. You can adjust based on your desired texture.
Step-by-Step Pattern
Part 1: Sunflower Center
- Begin with a magic ring using brown yarn.
- Round 1: CH 2 (counts as first DC), work 12 DC into the ring. SL ST into the top of the CH-2 to close. Tighten the magic ring. (You’ll have 12 stitches.)
- Round 2: CH 2, 2 DC into each stitch around. SL ST to close. (24 stitches total.)
Part 2: Sunflower Petals
- Join yellow yarn into any stitch.
- Petal Setup: CH 2, work (1 DC, 1 TR, 1 DC) into the same stitch. SL ST into the next stitch.
- Continue the petal sequence into each stitch around:
- (1 DC, 1 TR, 1 DC, then SL ST).
- Once all petals are complete, fasten off and weave in the ends.

Part 3: Granny Square Base
- Attach green yarn to any stitch on the edge of the flower. Make sure to anchor the yarn firmly.
- Round 1: CH 3 (counts as first DC), work 2 DC into the same spot. CH 2, then work 3 DC into the next space. Continue around the flower center, working typical granny square clusters (3 DC, CH 2) to form the square shape.
- Round 2+: Continue building the granny square by working additional rounds. Each cluster will fit into the chain spaces from the previous row, with CH 2 separating corner clusters.
Part 4: Creating the Bag
- Create multiple granny squares (typically 8 or more, depending on the bag size).
- Arrange squares in the desired pattern (e.g., front and back panels, sides, bottom). Join squares using SL ST or sewing with a tapestry needle.
- Add straps: Crochet a long strap (e.g., CH a long row to desired handle length and SC across), and sew onto the bag edges.
Pattern Question
Question: Is this pattern suitable for beginners?
Answer: Yes! While the sunflower granny square may involve a few intricate stitches, the tutorial (linked above) provides clear, step-by-step instructions, making it approachable for beginners with basic crochet skills.
Troubleshooting and Suggestions:
Common Challenges:
- Sunflower Assembly: Achieving symmetry in petals or clean edges on the motif can be tricky. Blocking the petals before attaching can help maintain their shape.
- Color Changes: If the sunflower is worked directly into the bag, ensure you carry and secure the yarn neatly to avoid tangles or gaps in the design.
- Tension Issues: The bag needs to be sturdy! Make sure your tension is consistent, particularly on the base, to avoid holes or weak spots.
Creative Modifications:
- Play with Colors: Sunflowers don’t always have to be yellow! Try red or even pastel colors for a creative twist.
- Add a Lining: Use bright, cheerful fabric for the bag lining, which complements the sunflower design and provides extra durability.
- Expand the Design: Turn your sunflower bag into a tote or crossbody by altering the strap length or shape. You could also create matching sunflower accessories, like a pouch or wallet!
- Experiment with Textures: Use textured stitches (e.g., bobbles or puff stitches) for the sunflower center to add depth and variety.


