Crochet 2-in-1 Cowl Pattern with Stretchy HDC Ribbing
Turn one stretchy crochet cowl into two cozy looks-a double neck warmer or a hood-with simple rounds and measurement-based sizing.
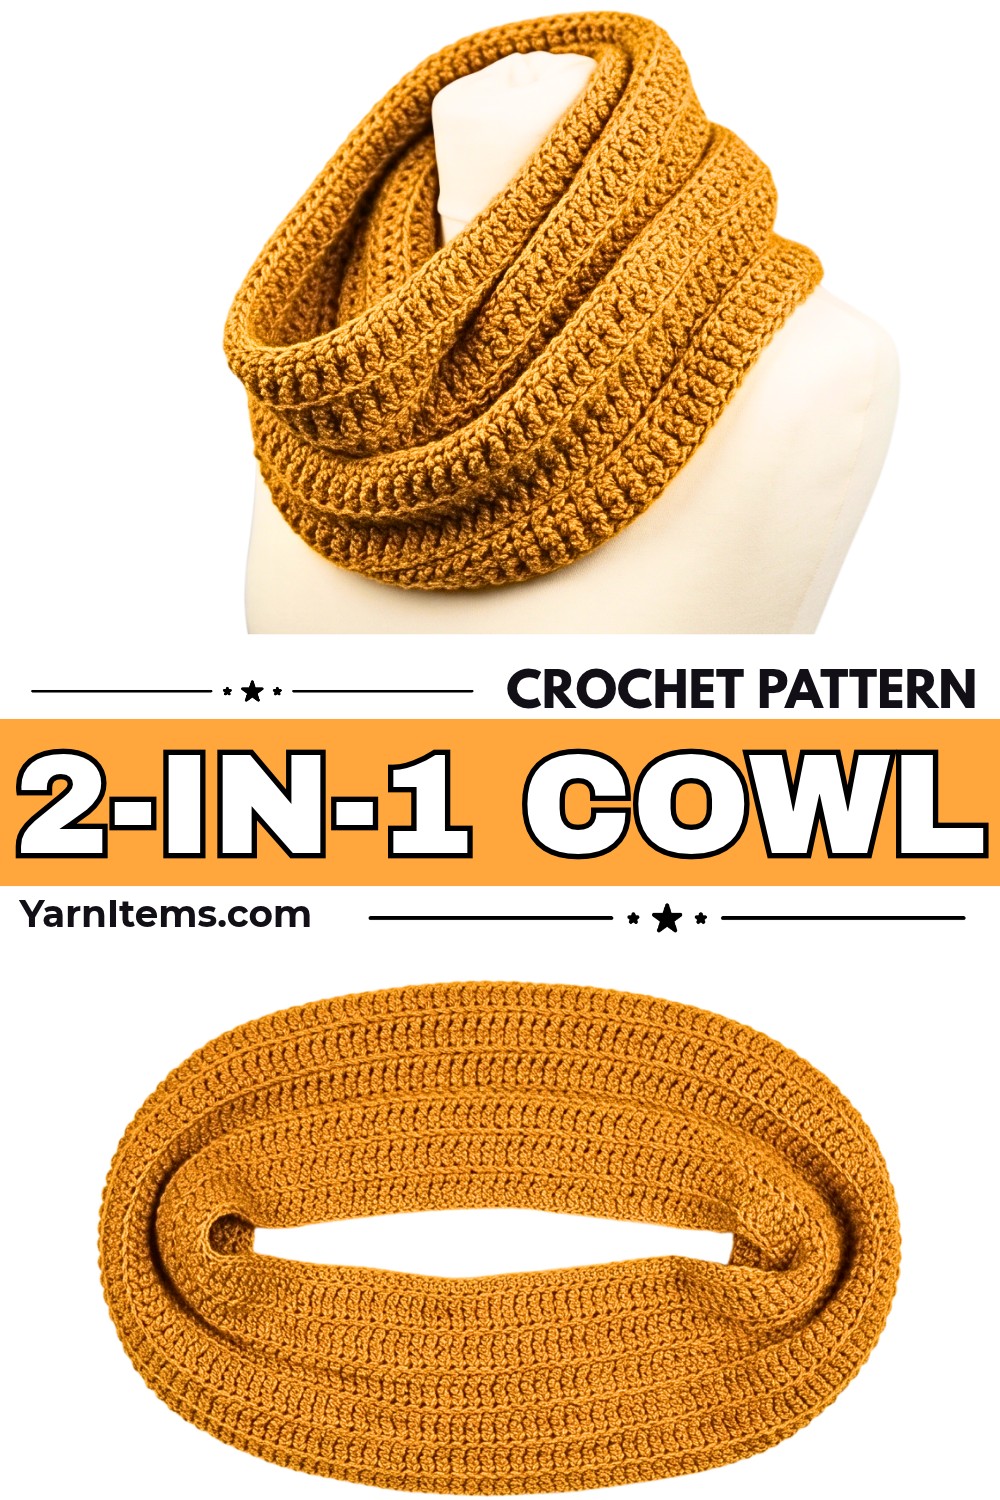
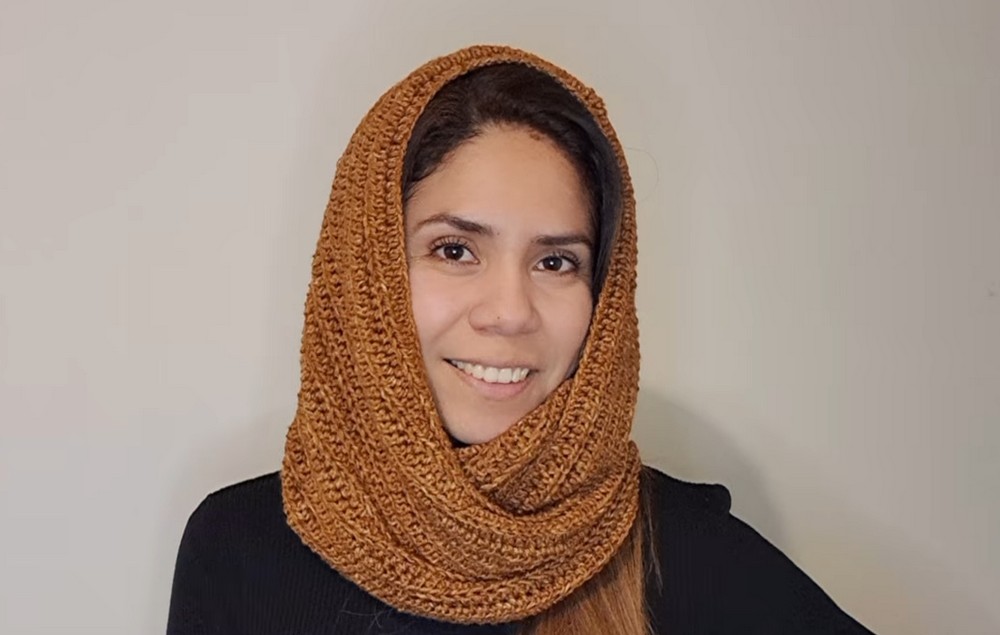
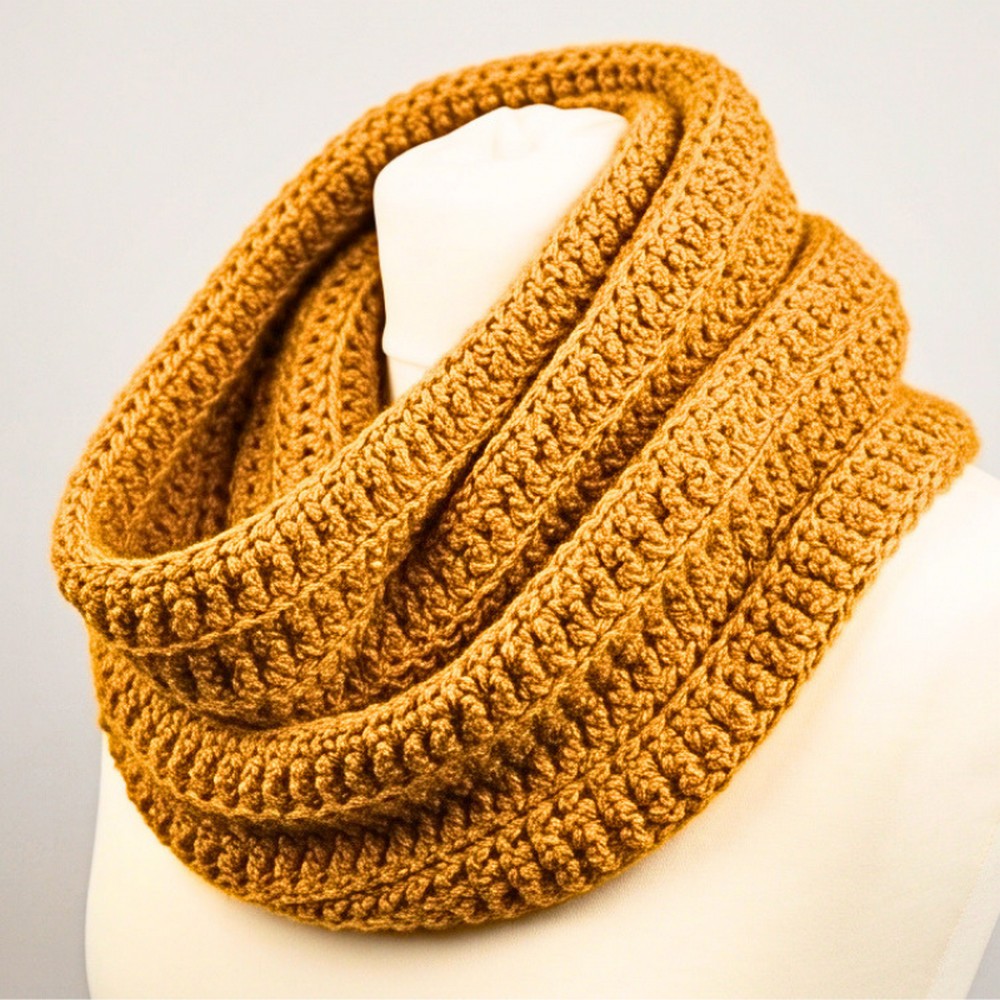
Two styling options come from one continuous circle in this versatile crochet cowl. Worked in half double crochet through the back loop, the fabric develops an elastic ribbed texture you can wrap twice around the neck or pull up over your head as a hood.
Your starting chain determines the circumference, so you can size the crochet cowl for a child, teen, or adult using a simple head-measurement formula. From there, repeat the same BLO round until the fabric reaches the desired height, turning carefully at every round to keep the join aligned.
Credit: Tejidos Joss Ropa
Materials & Tools Needed
- Yarn: Revés Derecho “Top Blue Jeans,” 100% premium acrylic, Size #3 Light / DK, approximately 2 mm thick. The tutorial uses almost 2 full skeins, approximately 200g / 450m total.
- Crochet Hook: 5.0 mm. The yarn recommends a 3.5–5.0 mm hook, but we use a 5.0 mm hook to create a looser, more draped texture.
- Yarn Needle
- Stitch Marker
- Scissors
- Measuring Tape
Finished Size & Custom Sizing
To calculate the circumference for a child, teen, or adult, first measure the person’s head circumference. Multiply that measurement by 2, then add 5 cm.
For example, with a 57.5 cm head circumference:57.5 cm × 2 = 115 cm
115 cm + 5 cm = 120 cm
For this example, the creator made 180 chains to reach the 120 cm target circumference.
The finished cowl measures approximately 27 cm high. Since the stitch has natural elasticity, stretch the cowl slightly when checking its final length.
Abbreviations
- ch = chain
- sl st = slip stitch
- hdc = half double crochet
- blo = back loop only
- st(s) = stitch(es)
Step-by-Step Crochet Instructions
Create the Foundation Circle
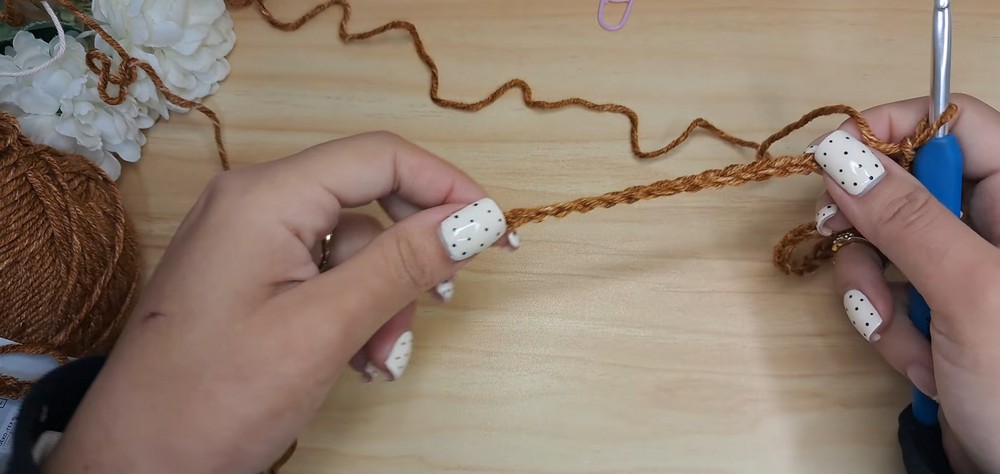
Begin with a slip knot and chain until the foundation chain reaches your calculated circumference. For the tutorial example, this is 180 chains for a 120 cm circumference.
Before joining, carefully run your fingers along the entire chain and make sure it is completely straight. Check especially for any section that has twisted over itself.
Once the chain is straight, join it to the very first chain with a sl st to form one large circle.
Teaching Guide: The Turn Matters
The most important detail in this cowl is not the stitch itself but what happens at the beginning of every round. After the first round, you must ch 1 and turn your work before continuing.
Turning changes the direction of the stitches from one round to the next. If you continue around without turning, the joining seam will gradually slant diagonally instead of staying straight.
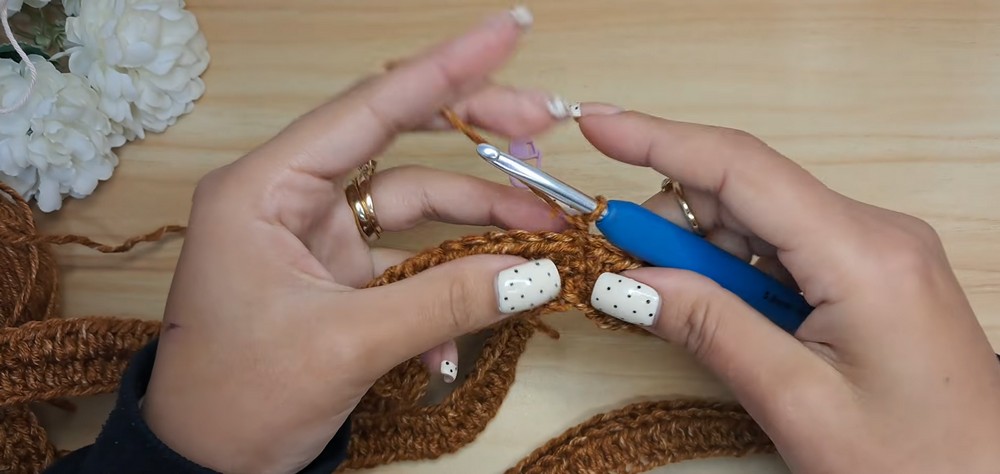
The BLO placement also deserves attention. Tilt the work slightly toward you so you can clearly see the top V of the first stitch and identify the true back loop. Work the hdc into that back loop rather than accidentally using the front loop.
At the end of each round, skip the previous round’s joining sl st and join into the first marked hdc. The stitch marker makes that first stitch much easier to locate.
Round 1: Ch 1, hdc into the same space as the ch 1, place a stitch marker in this first hdc, work 1 hdc in each ch around the entire circle, then join with a sl st into the first marked st. (180 hdc, or a stitch count matching your starting chain)
Round 2: Ch 1, turn your work, identify the true back loop of the first st, hdc in the BLO of the first st, place a stitch marker in this first st, hdc in the BLO of every st around, skip the sl st from the previous round, then join with a sl st into the first marked st.
Continue the Cowl
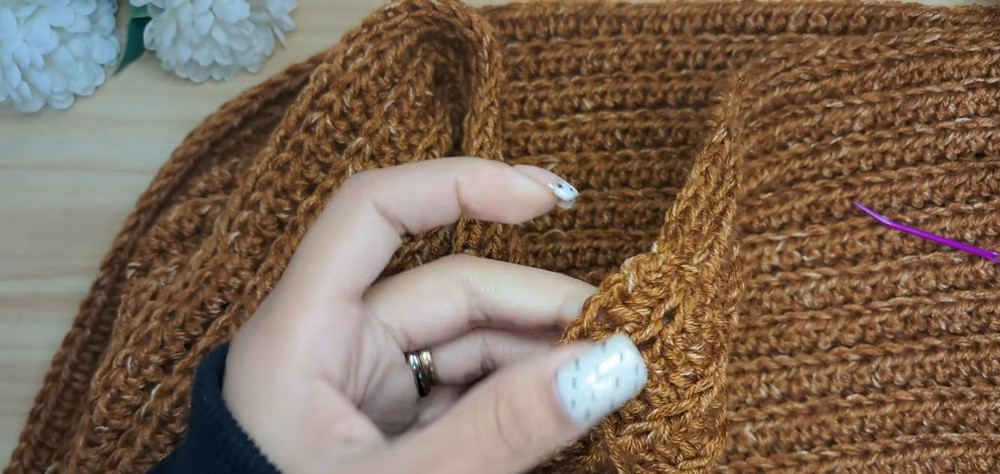
Remaining Rounds: Repeat the exact process from Round 2 until the cowl reaches approximately 27 cm in height or your desired length. Always ch 1, turn, hdc in the BLO of every st around, skip the previous round’s sl st, and join with a sl st into the first marked st at the end of the round.
Height Checkpoint
Because the BLO half double crochet fabric is elastic, do not judge the finished height only while the fabric is relaxed. When checking the measurement, stretch the cowl slightly and compare it with the desired 27 cm tutorial height.
For a different finished length, continue repeating the same Round 2 process until the measurement suits your preference. The stitch pattern itself does not change as the cowl gets taller.
Finish the Cowl
Once the desired height has been reached, make the final sl st into the first stitch of the round.
Fastening Off: Ch 1, pull the loop tight, and cut the yarn, leaving a short tail for weaving.
Weaving in the End: Thread the remaining tail onto a yarn needle and weave it forward through several stitches on the inside, or wrong side, of the cowl. For additional security, skip one stitch and weave backward, skip another stitch, then weave forward again before trimming the excess yarn.
No separate pieces need to be sewn together because the cowl is worked continuously in the round.
Two Ways to Wear It
The finished piece can be styled in two different ways.
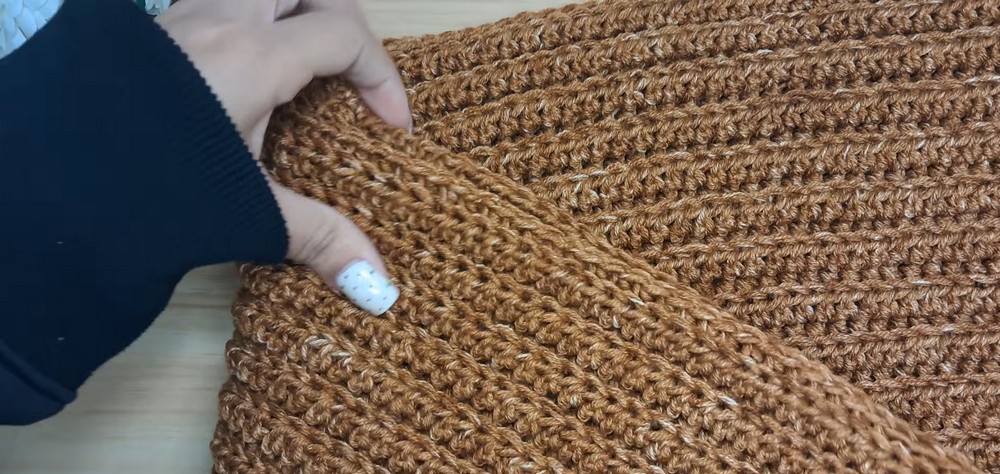
Double Cowl: Wrap the full length twice around the neck to create a chunky, layered neck warmer.
Hooded Style: Wrap it once around the neck, then pull the back layer upward over the head to turn the same cowl into a hood.
The single-color design keeps both styling options visually simple, while the stretchy texture allows the fabric to move comfortably between the two looks.