Crochet Christmas Pillow Cover With Granny Square Design
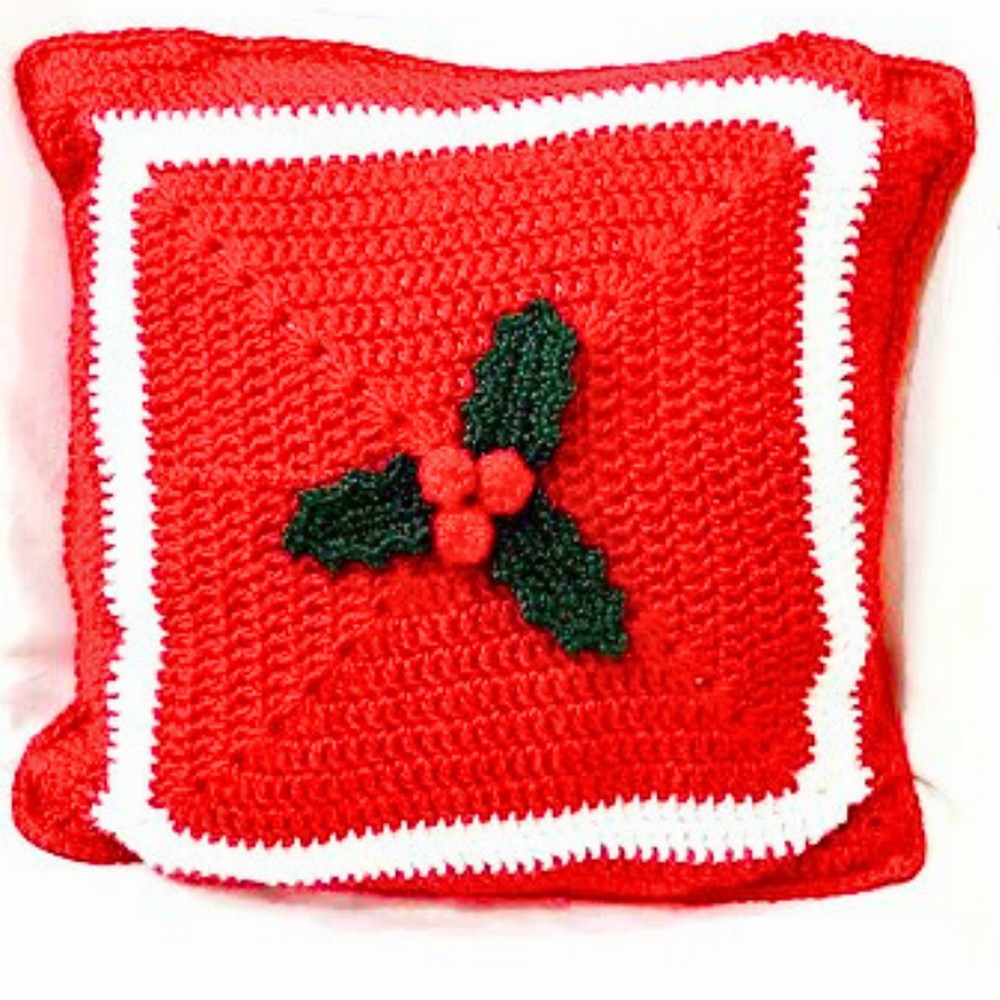
A handful of solid granny squares can become one of the most eye-catching decorations in your home when arranged in festive crochet Christmas colors. Bright red, crisp white, and rich green come together to create a pillow cover. That instantly refreshes a sofa, reading chair, or guest room without requiring a complicated design. The added holly leaves and tiny berries give it a cheerful seasonal finish.
Crochet Christmas Pillow Cover Pattern

This pattern walks you through joining the granny squares into a pillow cover that can be adjusted for different square pillow sizes. You’ll also learn how to add the simple holly embellishments that bring the holiday theme to life. Each step builds on basic crochet skills, making the piece enjoyable to follow. While keeping the finished crochet pillow looking polished and festive.
Credit Vima’s Crochet
Materials & Tools Needed
- Yarn: Oswald Paris Beauty knitted yarn (100% polyester, 4-ply yarn) in 3 colors: white, red, and green.
(Feel free to substitute yarn colors if you prefer different combinations.) - Crochet Hook Size: 5.5 mm.
- Scissors.
- Yarn Needle: With a big loop for weaving ends.
- Pillow Insert: 41 cm x 41 cm.
Finished Size & Customization Ideas
- Dimensions: The finished piece fits a 41 cm x 41 cm pillow insert.
- Customization Ideas:
- Adjust the granny squares’ number of rounds to fit a larger or smaller pillow insert.
- Change the yarn colors for different themes—e.g., gold and silver for a chic Christmas look.
Pattern Abbreviations & Terminology
US Crochet Terms Used:
- st: Stitch.
- ch: Chain.
- dc: Double crochet.
- sc: Single crochet.
- sl st: Slip stitch.
- magic ring: Adjustable loop for starting projects.
- picot: Technique involving creating loops for decorative edges.
Step-by-Step Detailed Crochet Instructions
Part 1: Solid Granny Squares
Create two identical squares following the instructions below.
Step 1: Start with a Magic Ring
- Hold the yarn in your fingers, create a loop (magic ring), and secure with ch 1.
- Ch 2 (counts as the first dc).
Step 2: Create Four Sets of Double Crochet Groups
- Into the magic ring, work the following pattern:
- 3 dc, ch 1.
Repeat this 4 times—there will be 4 groups of 3 dc, separated with ch 1.
- 3 dc, ch 1.
- Cinch the ring tightly by pulling the tail.
- Sl st into the 3rd chain of the starting ch 2 to close the round.
Step 3: Expand the Square
For Round 2:
- Ch 3 (counts as the first dc), then work 2 dc into the same stitch.
- In each ch-1 space (corner), create:
2 dc, ch 1, 2 dc (this forms a corner). - Dc in each stitch across the sides.
- Continue until you’ve created corners in all chain spaces.
Repeat the same process for Round 3. Slip stitch to finish each round.
Step 4: Build Up to 9 Rounds
- Continue working the granny square pattern by adding rounds.
- Each round alternates between dc into each st and corners worked as 2 dc, ch 1, 2 dc.
- After completing 9 rounds:
- Sl st into the starting stitch to close the final round.
- Fasten off by pulling the yarn tail through the loop.
Repeat this process to make two identical granny squares.
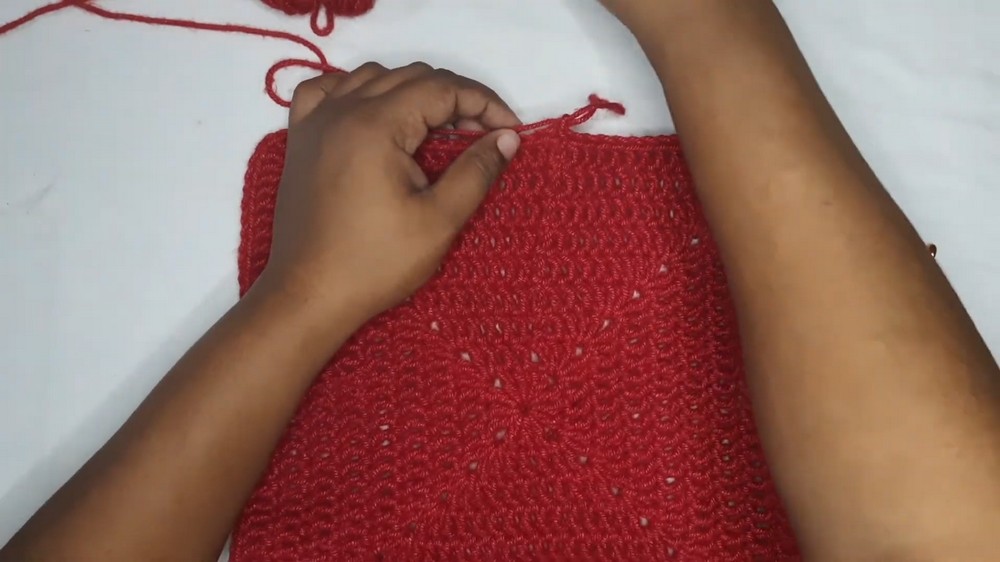
Part 2: Borders and Color Changes
- Attach white yarn to any corner of a square using a slip knot.
- Work 2 rounds in white yarn, continuing the granny square pattern (dc stitches across sides, dc clusters at corners).
- Change to red yarn and work 3 rounds for a strong border.
- Sl st and fasten off after each color change.
You should now have two completed granny squares bordered by white and red.
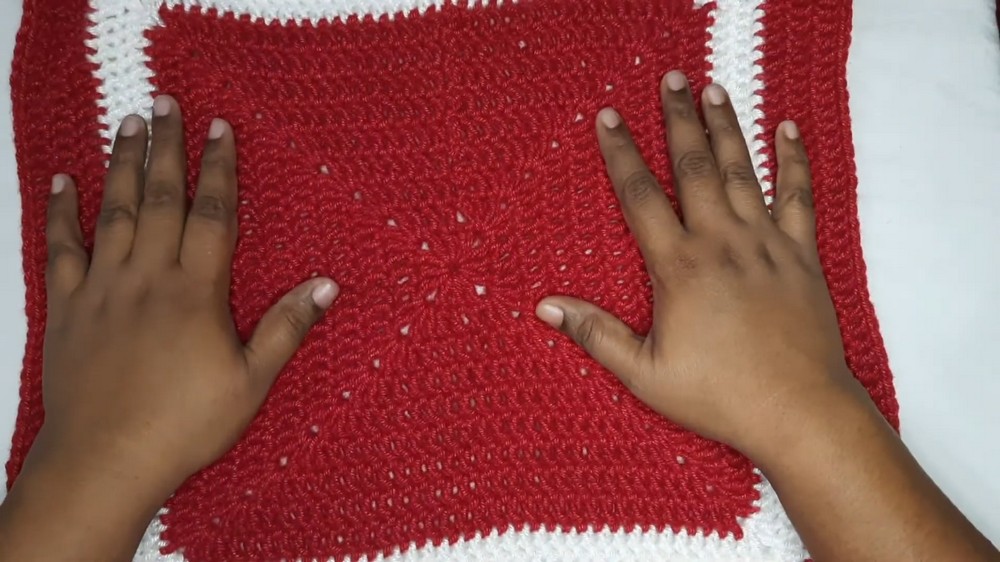
Part 3: Decorative Embellishments
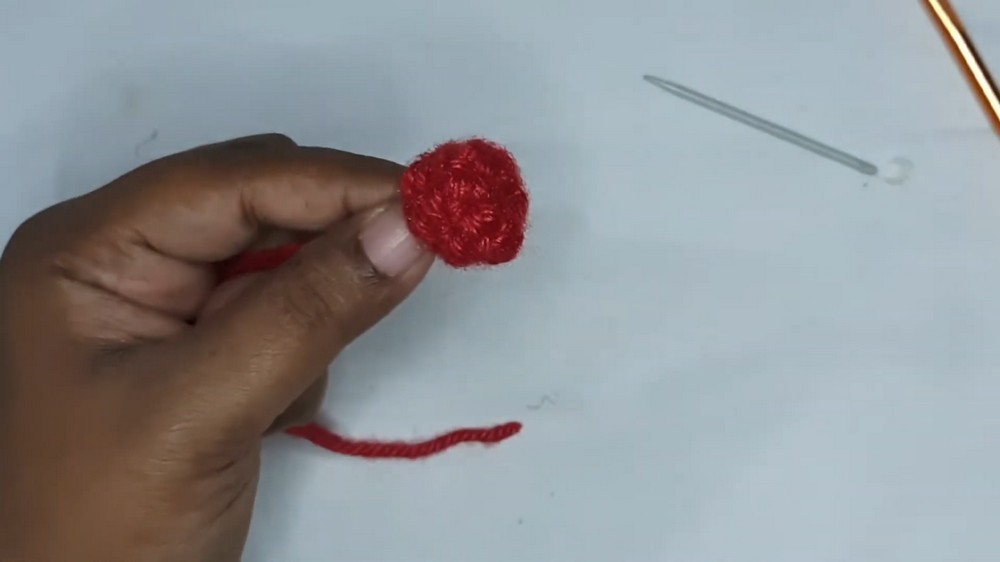
How to Create Berries (Red)
- Create a magic ring, secure with ch 1, and work 6 sc into the ring.
- Cinch the circle tight and work continuously in rounds:
- Round 2: 6 sc (no increases).
- Round 3: Decrease by working sc2tog over the next 6 stitches.
- Fasten off and leave a long tail for sewing.
- Make 3 berries total.
How to Create Leaves (Green)
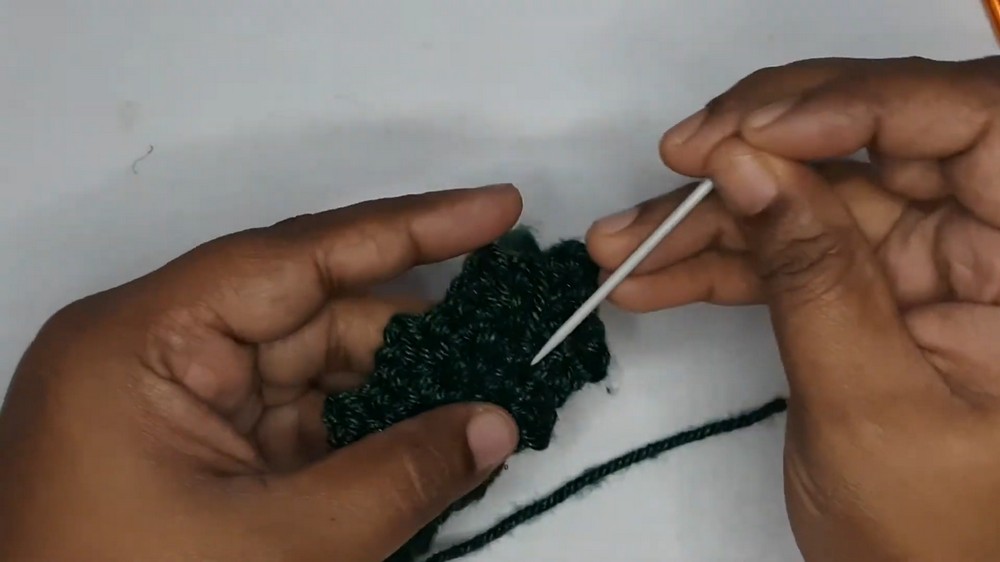
- Ch 8. Work sc into the second chain and across for the base.
- In the last chain: Work sc, ch 1, sc (to create a tip).
- Turn and work down the other side of the chain base, repeating sc stitches.
- Add picots to create a decorative edge by working:
- Sc, ch 2, sc in designated stitches.
- Finish with sl st at the end, fasten off, and weave in tails.
Create 3 leaves total.
Part 4: Attach Leaves & Berries
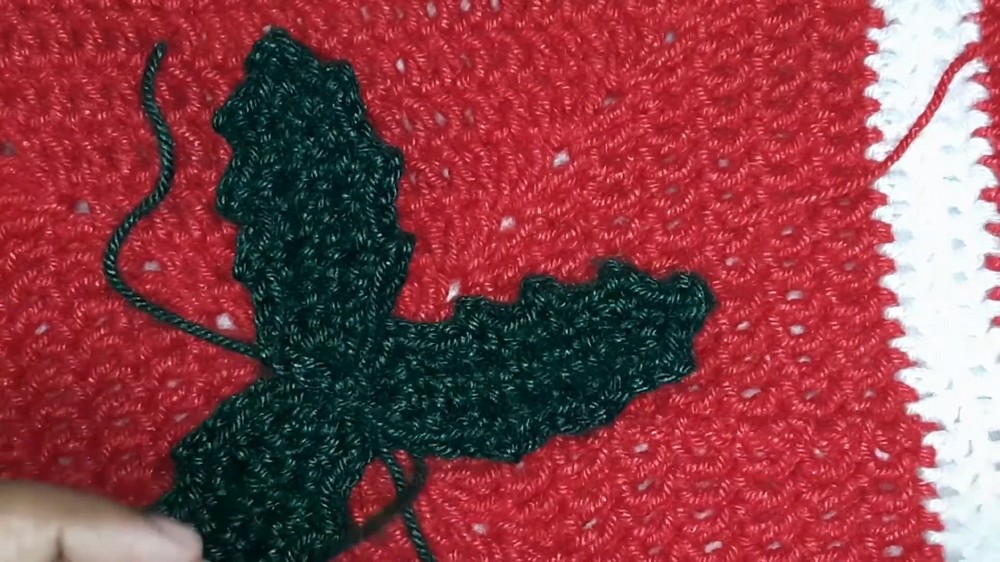
- Arrange 3 leaves at a corner of one granny square.
- Use the tails or hot glue to secure them in place.
- Stack the berries in a cluster at the center of the leaves, sewing or gluing them securely.
Repeat for the second granny square if desired.
Part 5: Joining Granny Squares
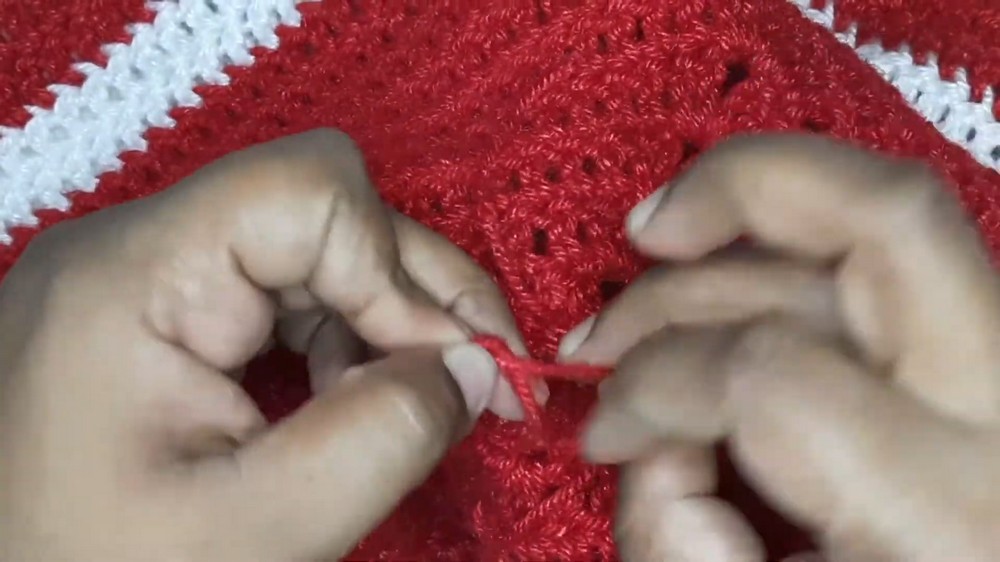
- Align the two squares with the back sides facing inward (the fronts facing outward).
- Attach red yarn to any corner and begin single crocheting through both squares:
- Work sc through the top loops of each granny.
- In each corner, work 3 sc.
- Leave one edge open to insert the pillow.
Part 6: Insert Pillow & Close
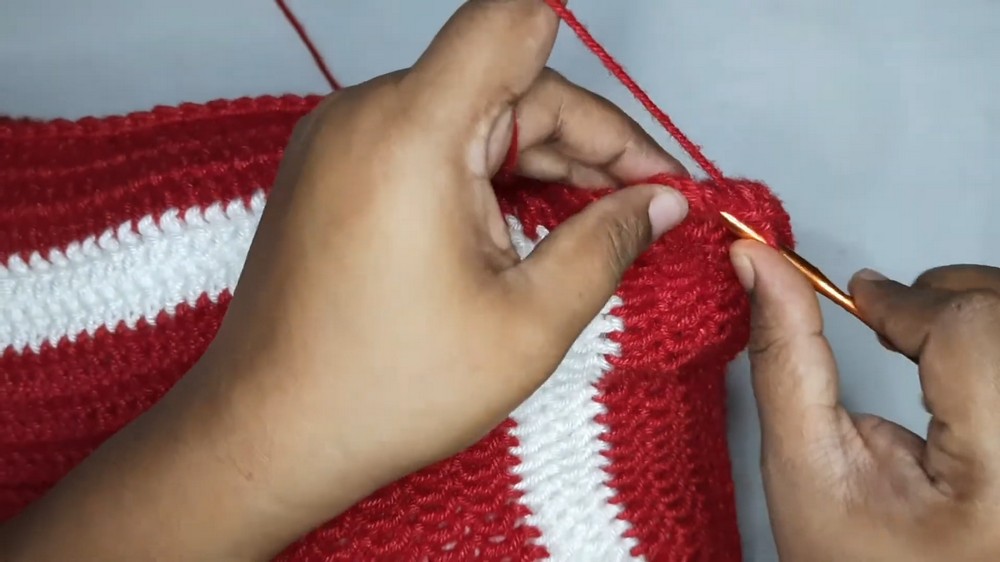
- Place the pillow insert into the open edge.
- Continue single crocheting along the open edge to close the cover.
- At the final corner, sl st to finish, chain 1, pull up the yarn tail, and fasten off.
Finishing Touches
- Weave in all loose ends.
- Ensure the pillow cover is snug and properly fitted over the insert.