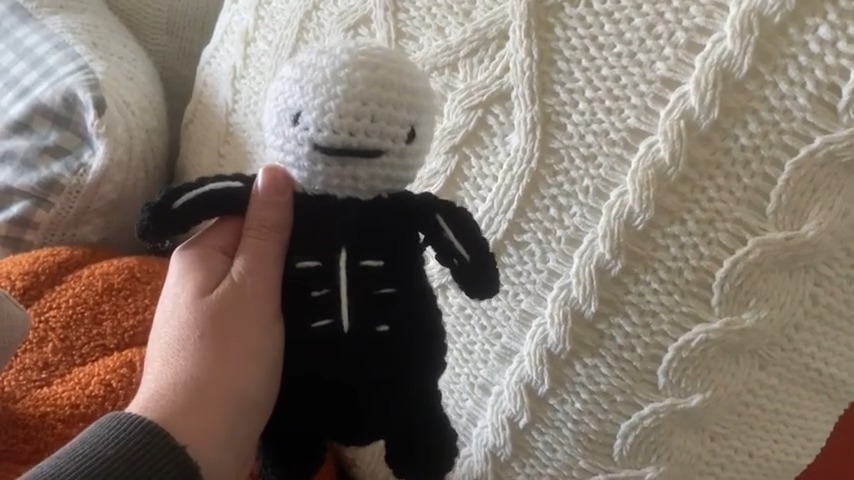
This little crochet skeleton is the perfect handmade decoration to celebrate Halloween, bringing spooky cuteness to your fall festivities.
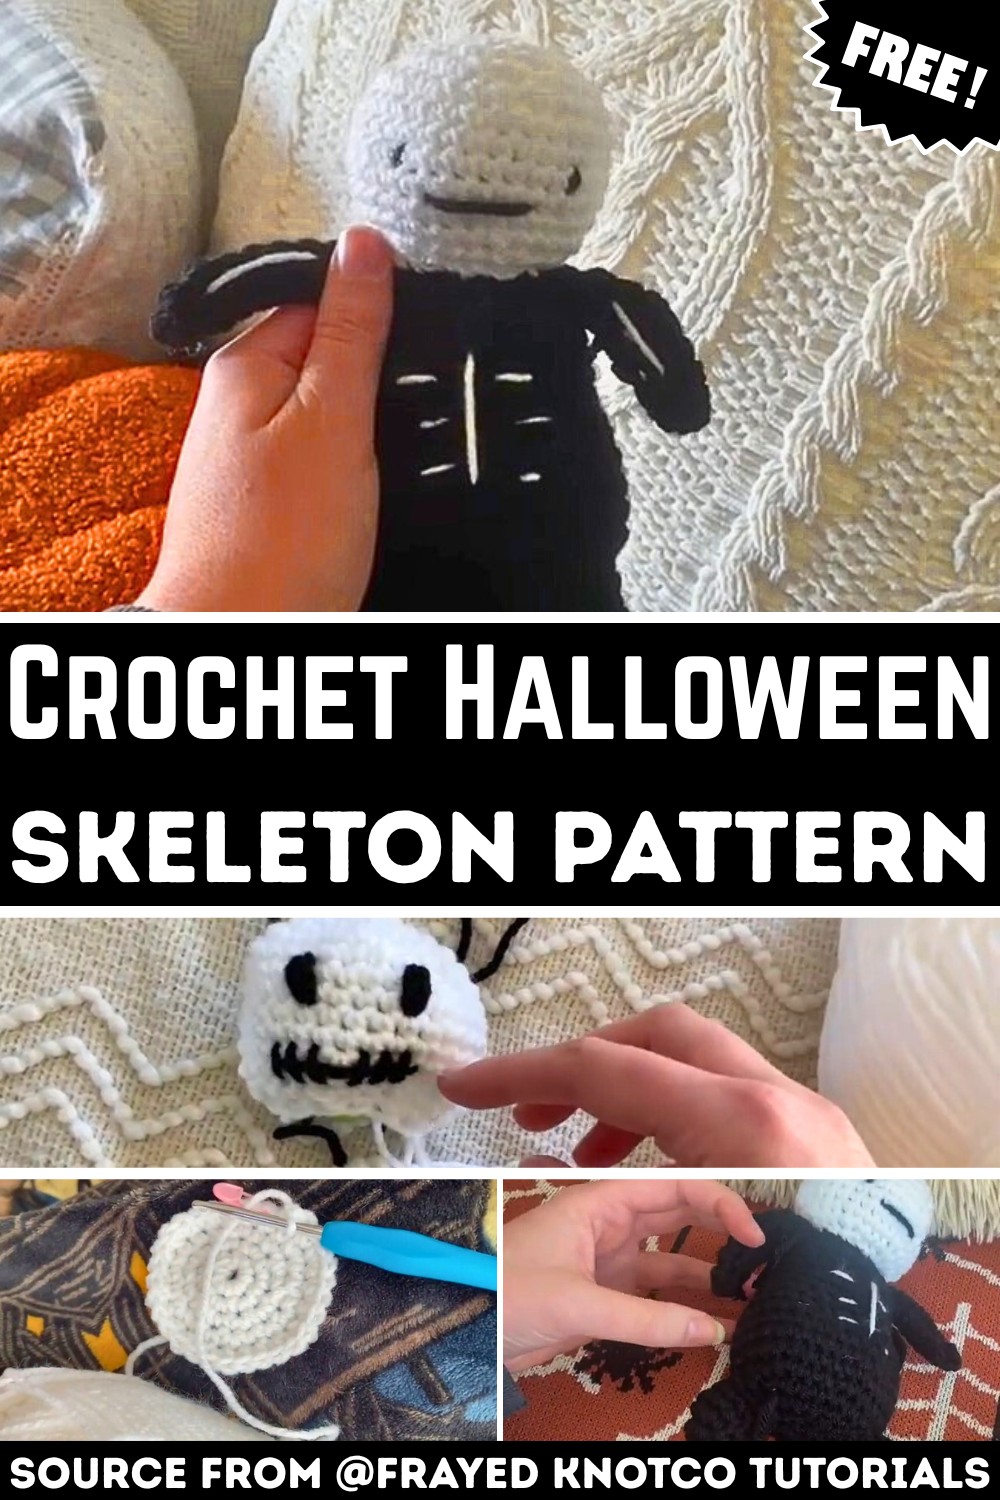
Say hello to the cutest spooky friend for Halloween – a mini crochet skeleton. If you use it as décor for the Halloween season, as a pocket-sized toy to bring to school, or as a thoughtful handmade gift for a friend who loves all things spooky, this tiny skeleton is both adorable and special. It’s perfect for adding just the right touch of festive fall vibes.
Crochet Skeleton for Halloween
To bring this crochet skeleton to life, you’ll start with the head and work through the body, arms, and legs. You can customize every detail, like the face and ribcage, to match the skeleton’s personality. Its small size makes it a quick, satisfying crochet pattern, and it’s easy to carry this cute buddy around or use it as part of your Halloween display.
Credit Frayed KnotCo Tutorials
Pattern Highlights:
- Basic Materials: Uses acrylic yarn in black and white (or other colors for creative flexibility), a 4mm crochet hook, stitch markers, and a yarn needle.
- Constructed in Parts: Head, body, arms, and legs are made separately and assembled at the end.
- Start with the Head: Created using a magic ring or chain circle, it features simple increases and decreases.
- Facial Embellishments: Features a scarecrow-inspired mouth, embroidered or safety-eyes, and a small nose to bring the skeleton to life.
- Body and Details: The body begins in a rounded shape and is adorned with embroidered ribs to resemble a ribcage.
- Limb Construction: Long, skinny arms and short, wider legs are added, with optional bone-like details.
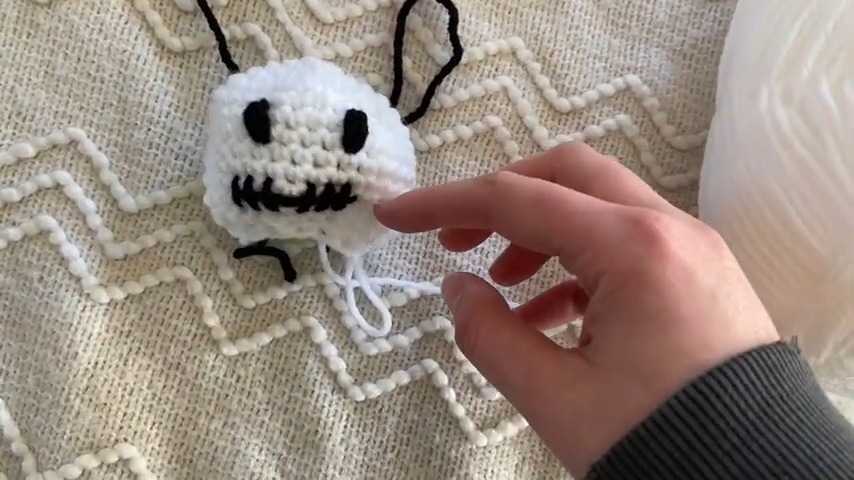
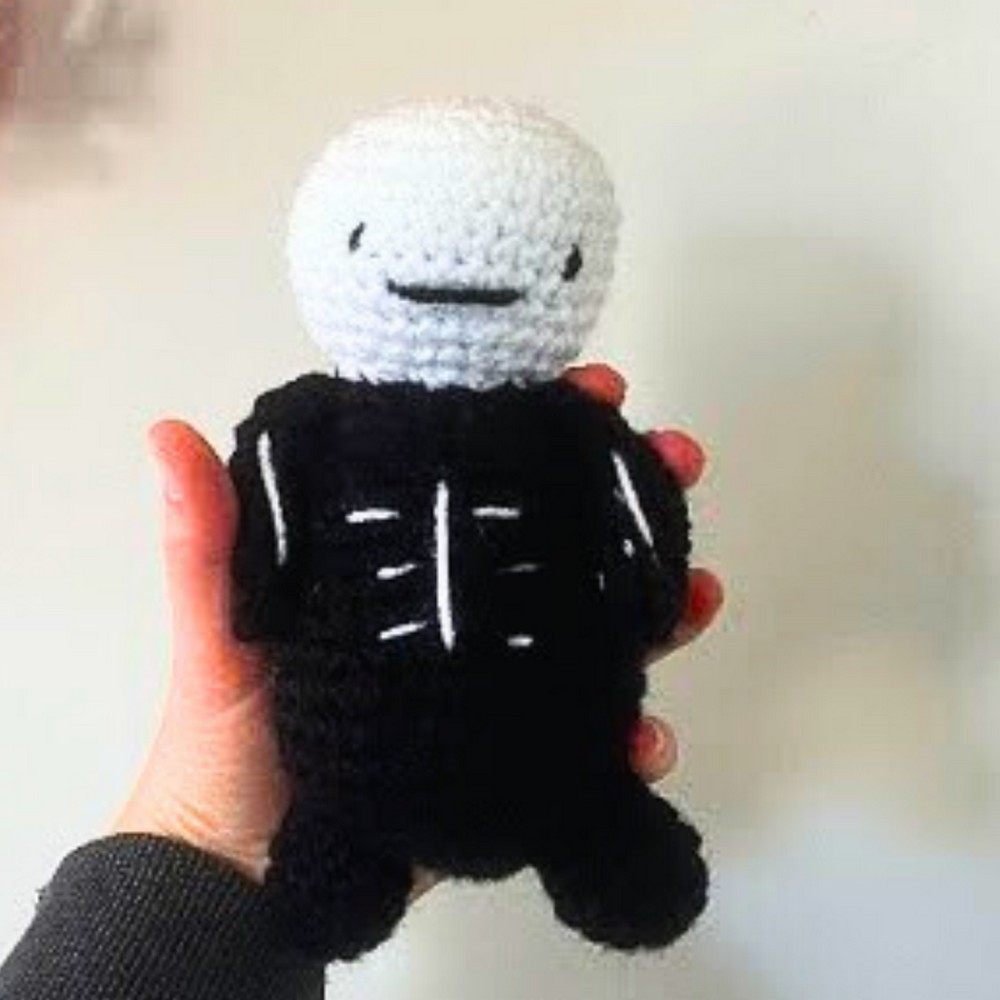
This charming little skeleton starts with a tightly constructed head, made using a magic ring (or chain-4 loop for those who prefer). The head is shaped with simple rounds of increases before transitioning to several rounds of consistent single crochet stitches to build its rounded form. The detailing on the head includes a stitched mouth (reminiscent of a stitched scarecrow), optional embroidered or safety eyes, and a small nose to give it its spooky skeleton vibe. You can play around with the facial design to give your skeleton its own personality — happy, scary, or even mischievous!
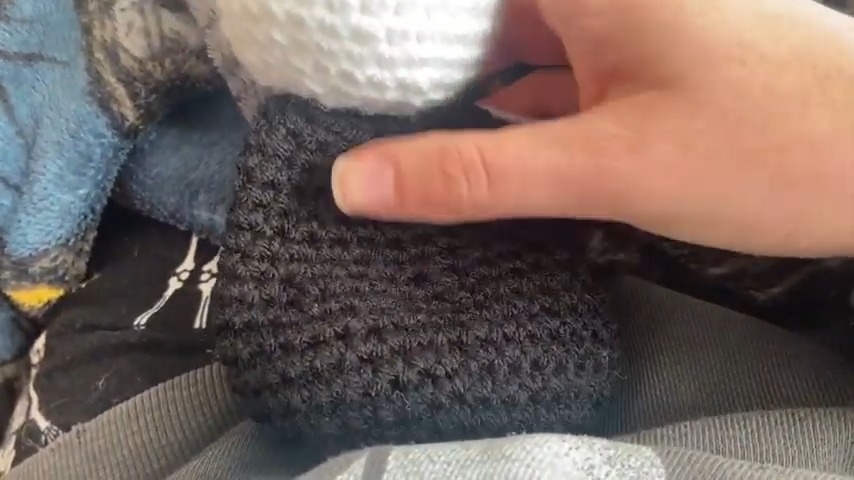
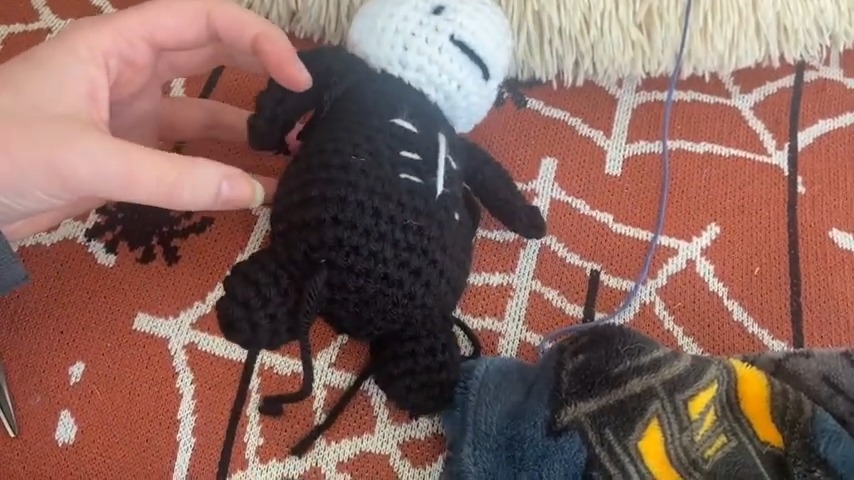
After the head is complete, the project moves to the body, which is worked from the bottom up to form a cone-like shape with a slightly wider base. The body is created with expanding and decreasing rounds. What makes this design stand out is the little ribcage detail, which is embroidered onto the front of the body with contrasting color. These ribs add an extra touch of spooky charm and let you get a bit creative with your stitches.
Once the body is stuffed and closed, it’s time to move on to the arms and legs. The arms are long and skinny, made from folded crochet strips that are seamed together, while the legs are short and stubbier, resembling little skeleton bones. To add a fun twist, the designer suggests including white embroidery on the arms and legs to mimic bone structure for a more authentic look.
Finally, all the completed pieces are sewn together, and the finishing touches are added. The designer left plenty of room for personalization, suggesting changes to limb length, facial expressions, or even creating seasonal color variants. The end result is your own unique version of a skeleton that’s ready to showcase on Halloween — or any time you’re in the spooky spirit!
Video Tutorial
Materials & Tools Needed
- Yarn: Acrylic yarn in black and white (or any colors you prefer for customization).
- Crochet Hook: 4mm hook (or adjust based on yarn weight).
- Yarn Needle/Stitching Needle: For sewing and embroidery.
- Stitch Marker: Strongly recommended for tracking rounds.
- Stuffing: Polyfill or similar stuffing material.
- Optional: Safety eyes (or embroider eyes).
Finished Size & Customization Ideas
- Default Size: The plush will be a small palm-sized design (approximately 4 to 5 inches tall, depending on your tension and yarn choice).
- Customization Ideas:
- Use neon or pastel colors for a fun twist.
- Add extra facial details (smiling mouth, button eyes, or unique stitch patterns).
- Create colored bones or ribcages by swapping yarn colors.
- Use metallic yarn for a spooky shimmering effect.
Pattern Abbreviations & Terminology
- ch: Chain
- sc: Single Crochet
- inc: Increase (2 sc in the same stitch)
- dec: Decrease (single crochet 2 stitches together)
- sl st: Slip Stitch
- st(s): Stitch(es)
- rnd: Round
- Terminology is in US crochet terms.
Step-by-Step Detailed Instructions
Head
- Start with a Magic Ring OR Chain 4 and join with a sl st to form a loop.
- Round 1: Work 6 sc into the magic ring (or center of the loop). (6 sts total)
- Round 2: Work 2 sc in each stitch around. (12 sts)
- Round 3: (1 sc, inc) repeat around. (18 sts)
- Round 4: (2 sc, inc) repeat around. (24 sts)
- Round 5: (3 sc, inc) repeat around. (30 sts)
- Rounds 6-10: Work 1 sc in each st around (no increases). (30 sts per round)
- Note: This is the “face” area and creates enough space for adding details later.
- Round 11: (3 sc, dec) repeat around. (24 sts)
- Round 12: (2 sc, dec) repeat around. (18 sts)
- Round 13: (1 sc, dec) repeat around. (12 sts)
- Round 14: (dec) around until the opening is closed. (6 sts)
- Fasten off and leave a long tail for sewing. Add stuffing before fully closing.
Face Embroidery:
- Use black or contrasting yarn:
- Add a small horizontal line for the mouth. For a skeleton-like effect, create “stitched” marks along the line.
- Eyes can be safety eyes (insert before closing the head) or embroidered as simple rounded shapes.
Body
- Start with a Magic Ring OR Chain 4 and join to form a loop.
- Round 1: Work 6 sc into the ring. (6 sts)
- Round 2: Work 2 sc in each st around. (12 sts)
- Round 3: (1 sc, inc) repeat around. (18 sts)
- Round 4: (2 sc, inc) repeat around. (24 sts)
- Round 5: (3 sc, inc) repeat around. (30 sts)
- Rounds 6-8: Work 1 sc in each st around (no increases). (30 sts per round)
- Round 9: (3 sc, dec) repeat around. (24 sts)
- Round 10: (2 sc, dec) repeat around. (18 sts)
- Rounds 11-12: Work 1 sc in each st around (no decreases). (18 sts per round)
- Round 13: (1 sc, dec) repeat around. (12 sts)
- Stuff the body before closing.
- Fasten off and leave a long tail for sewing.
Ribcage Embroidery:
- Use white yarn to embroider a straight vertical line along the chest and 2-3 horizontal lines crossing the vertical line to create the look of a ribcage.
Arms (Make 2)
- Chain 10.
- Row 1: Start from the 2nd ch from the hook, sc across. (9 sts)
- Rows 2-5: Turn, ch 1, sc across. (9 sts per row)
- Fold the rectangular strip in half lengthwise and sew along the edge to form a tube.
- Fasten off and leave enough tail for attaching to the body.
Legs (Make 2)
- Start with a Magic Ring OR Chain 4 and join to form a loop.
- Round 1: Work 6 sc into the magic ring. (6 sts)
- Round 2: Work 2 sc in each st around. (12 sts)
- Rounds 3-5: Work 1 sc in each st around (no increases). (12 sts per round)
- Fasten off and leave a long tail for attaching to the body. Add stuffing lightly.
Assembly
- Attach Head to Body:
- Use the long tail from the head to stitch it securely onto the top of the body.
- Attach Arms:
- Sew the arms to either side of the body, slightly above the ribcage detail.
- Attach Legs:
- Position legs at the bottom of the body and stitch securely.
- Final Details:
- Embroider small bone-like patterns on the arms and legs using white yarn.
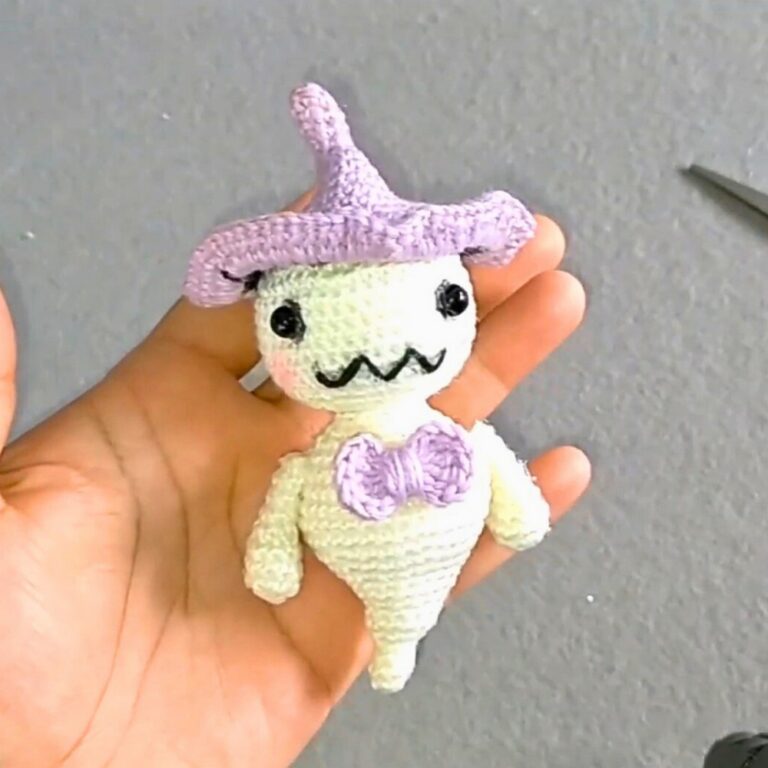
- Add extra decorative touches as desired (e.g., a scarf, bowtie, or accessories).
Tips
- Use a smaller hook size if you notice gaps between stitches when stuffing.
- Adjust the size of the skeleton by using thicker yarn and a larger hook or thinner yarn and a smaller hook.
- For a polished look, weave in and secure all loose ends.
Troubleshooting and Suggestions:
- Dealing with Gaps in Stitches: If you notice significant gaps while using acrylic yarn, consider going down a hook size or using tighter tension. Alternatively, switch to thicker yarn for a more solid look.
- Attaching Small Parts: For a clean finish when attaching the arms and legs, leave long tails and use the yarn needle to carefully secure individual stitches to the body. Stuff each piece lightly before attaching to ensure they don’t become too stiff.
- Struggling with the Ribcage Design: Place stitch markers to plan out rib placement evenly before you start embroidering, as the natural curve of crochet stitches may make spacing uneven.
- Make It Your Own: You can customize your skeleton with colorful yarn (neon greens, oranges, or purples scream Halloween!). Consider adding fun accessories, like a pumpkin to hold, a tiny bowtie, or a mini witch’s hat. You could also adjust the dimensions to make your skeleton larger or smaller based on your preference.
- Additional Use Ideas: Turn your skeleton into a keychain, ornament, or even use it as part of a spooky garland with a few extra mini skeleton friends!