Crochet Ghost Bride & Groom Tutorial – Halloween Decor
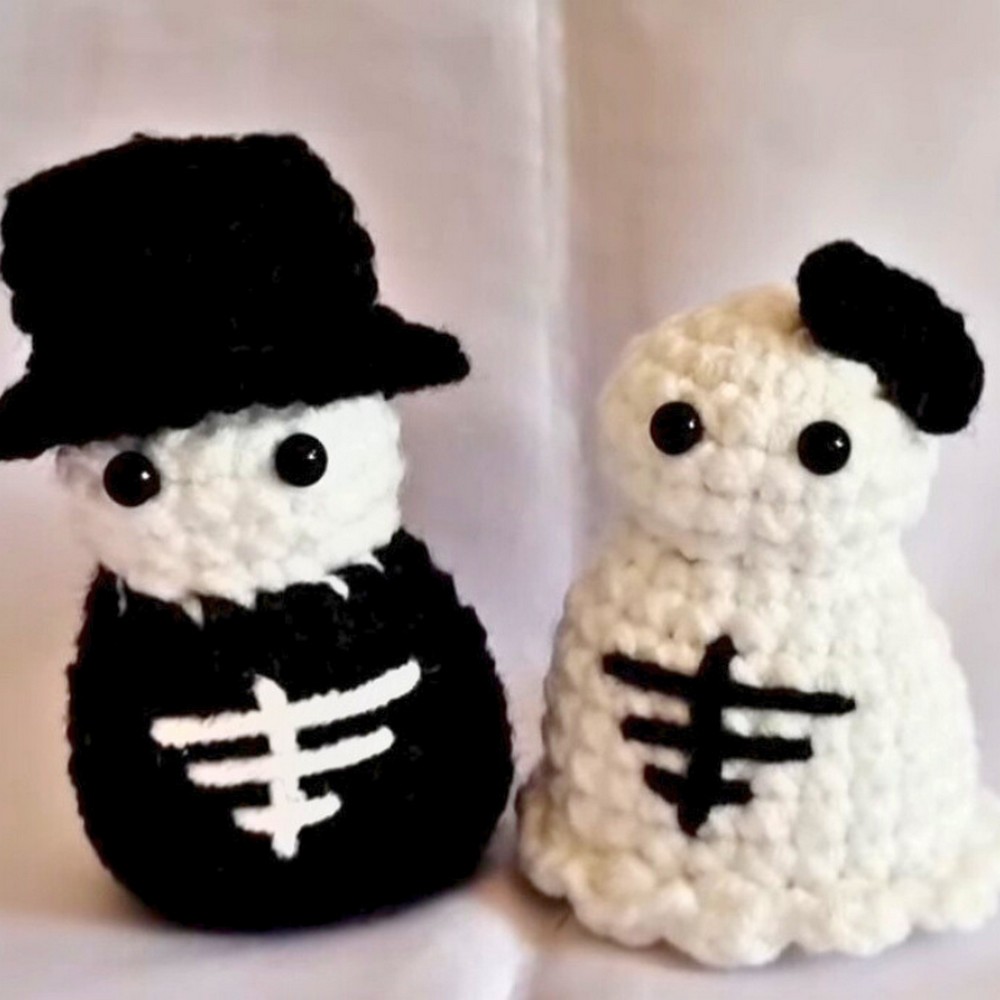
Crochet this spooky-cute ghost bride and groom pair, a heartfelt handmade addition to your Halloween decor or the perfect gift for a happily haunted couple.
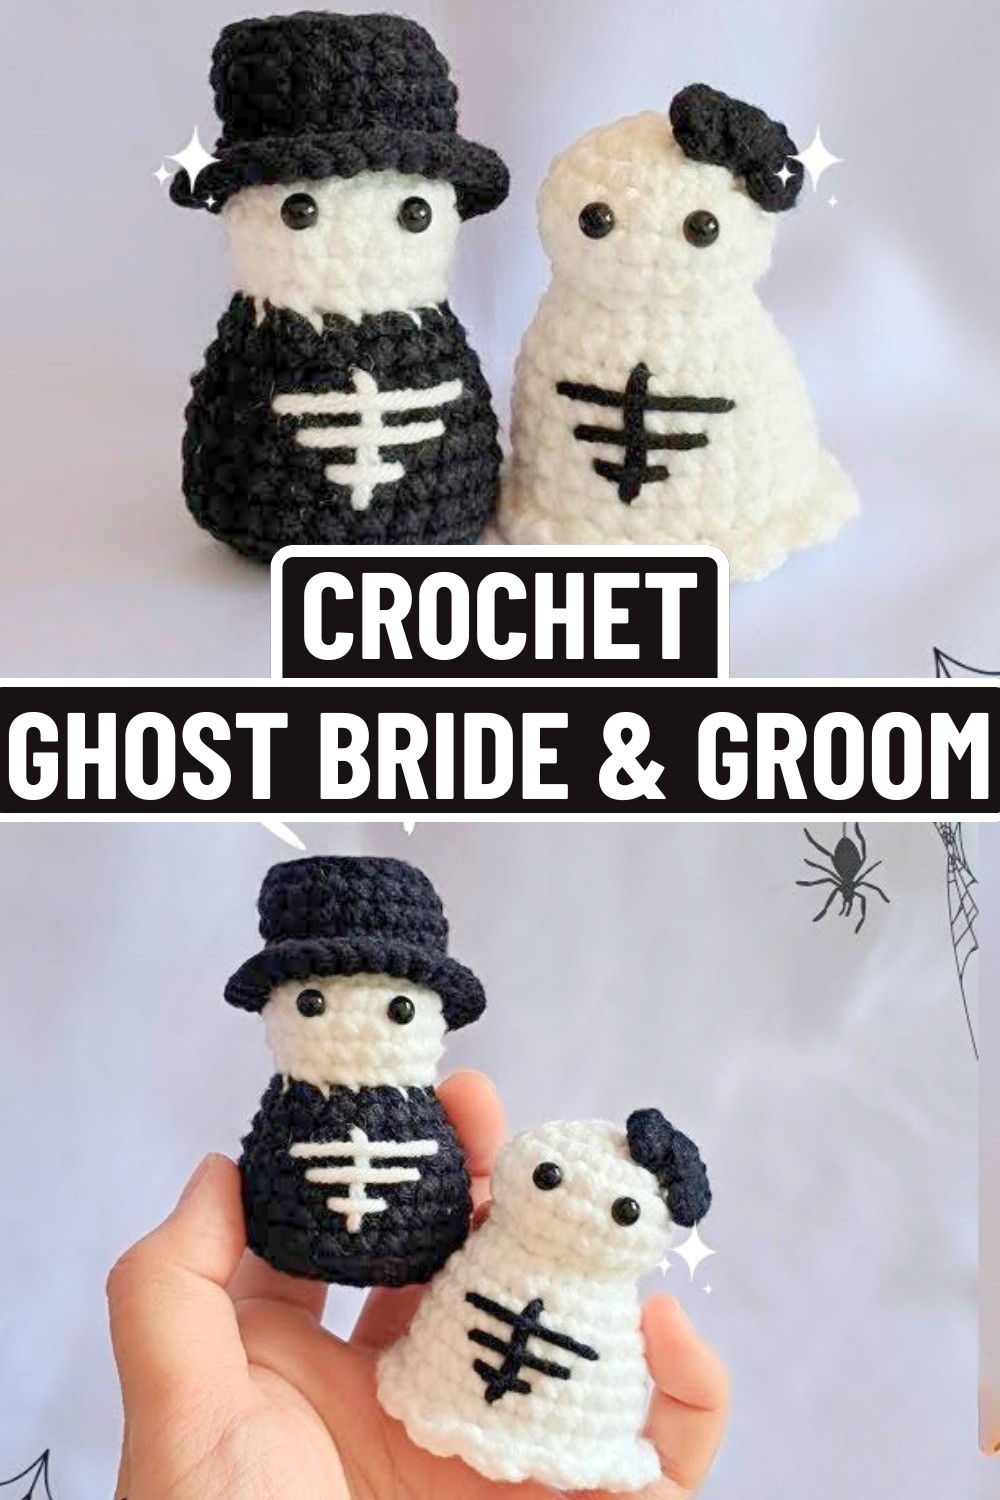
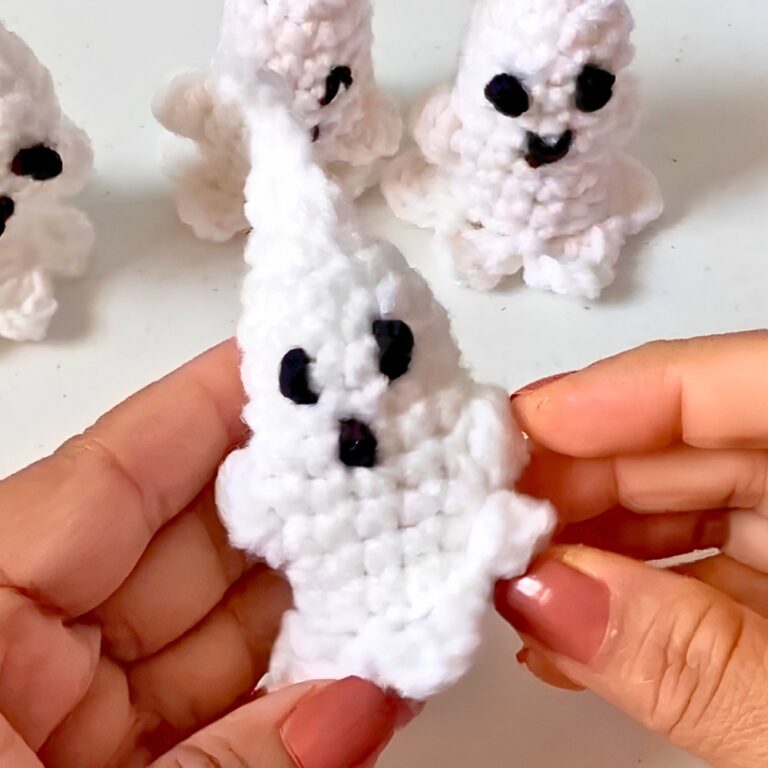
These adorable crochet ghost bride and groom characters are perfect for Halloween. They’re cute and spooky, and they’ll add charm to your decor or gift collection. If you use them as table decor, playful toys, or part of a Halloween-themed centerpiece, their unique design makes them stand out.
Crochet Ghost Bride & Groom With Simple Tutorial
Creating this crochet ghost is simpler than you think. Using basic crochet techniques like magic rings, single crochet, and simple increases and decreases, you can bring these ghosts to life. The bride gets a beautiful ruffled dress, while the groom sports a stylish hat. Safety eyes, playful bows, and stuffing bring the characters together, making them fun and vibrant for any setting. Don’t forget, you can adapt the colors to match your style.
Credit from littlespot
Key Features & Construction Steps:
- Made using amigurumi methods like working in the round, magic rings, and increasing/decreasing stitches.
- Key components include rounded heads, cylindrical bodies, and ruffles for the bride’s dress.
- Safety eyes and simple stuffing give the ghosts their soft, huggable 3D shape.
- The bride features a delicate ruffle skirt, while the groom is dressed in black for a dramatic paired look.
- Decorative touches include a dainty bow for the bride and a charming top hat for the groom.
This fun amigurumi project begins with the foundation of both ghosts: a rounded head seamlessly transitioning into a simple cylindrical body, all made using the magic ring technique and single crochet stitches, with strategic increases and decreases to create smooth shaping. These steps are simple, repetitive, and great for beginners learning the basics of working in the round.
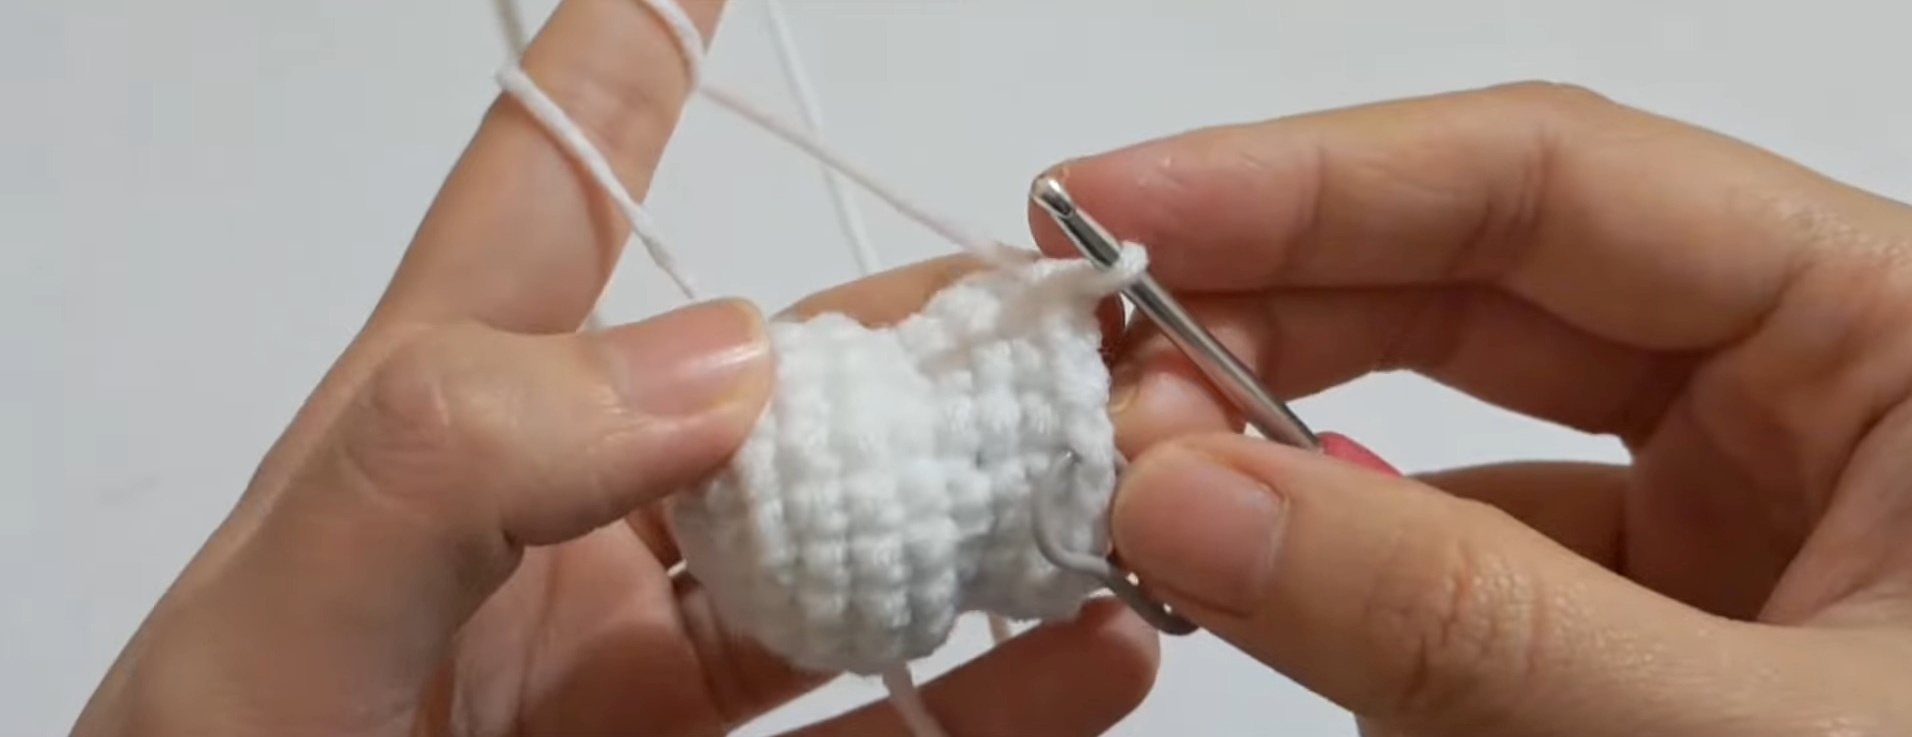
The bride and groom share the same base pattern, giving you two cohesive figures in varying designs. The bride’s body is adorned with a ruffled skirt, created by working into front loops only from a designated round. Using half-double crochet stitches combined with slip stitches, the tutorial walks you through creating this charming frill for added elegance.
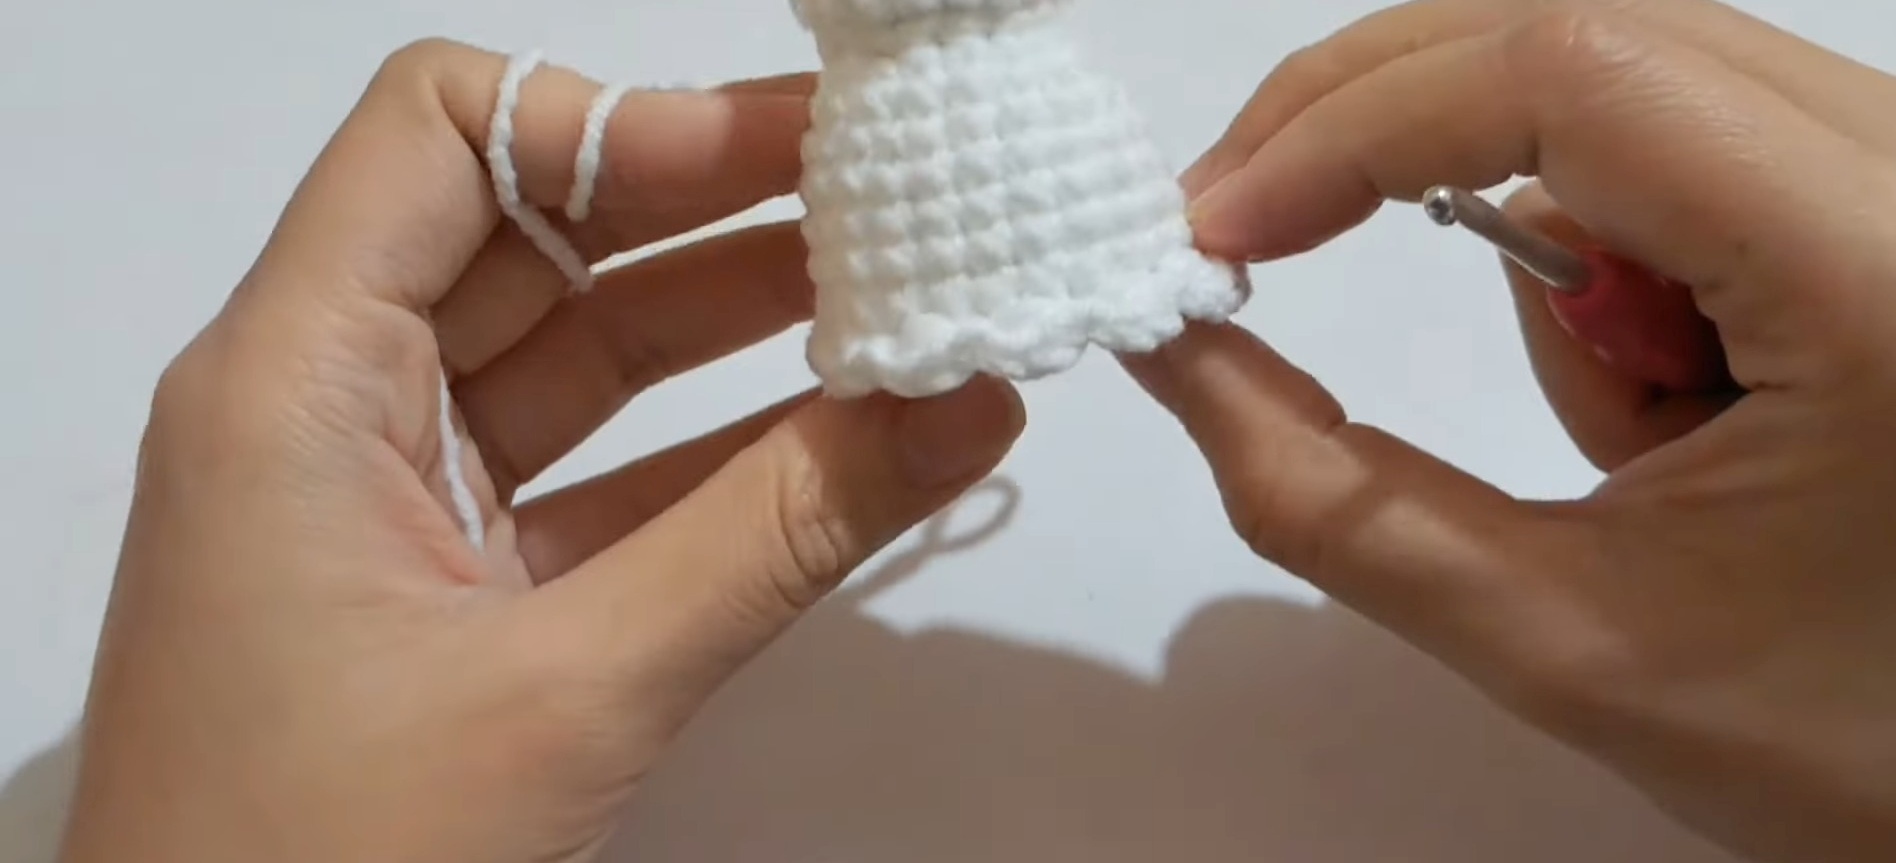
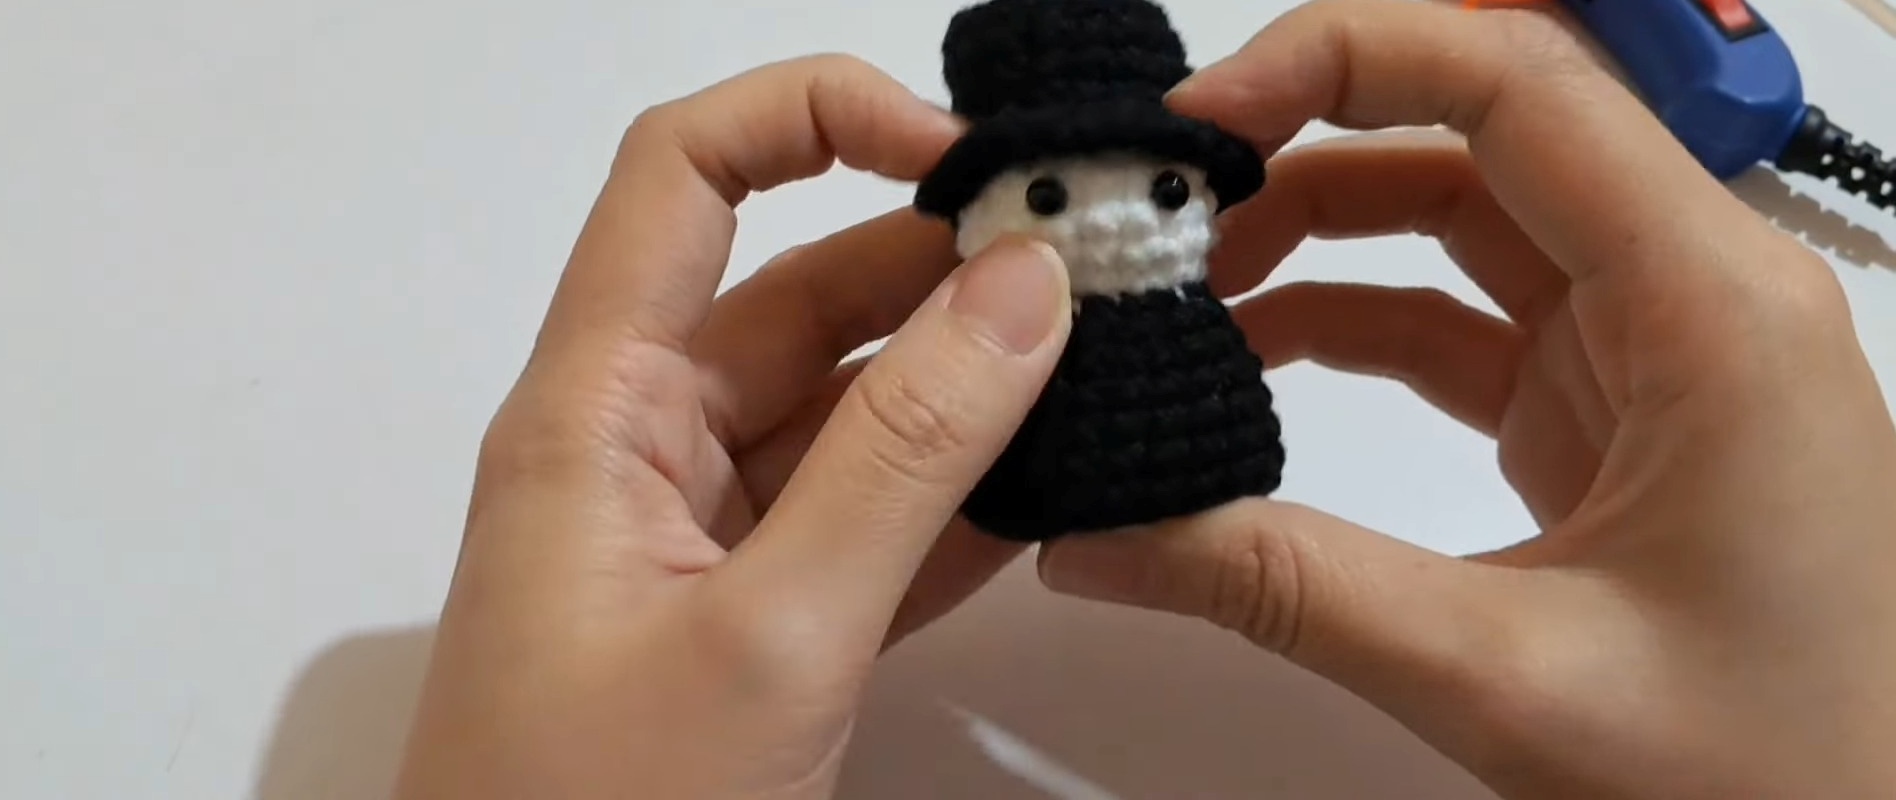
For the groom, a sleek black yarn is introduced starting at the body section, replacing the dress ruffle with a clean and polished finish. The groom’s tiny top hat adds a touch of flair, made separately using techniques like back loop single crochet for the base and precise increasing to achieve the signature shape.
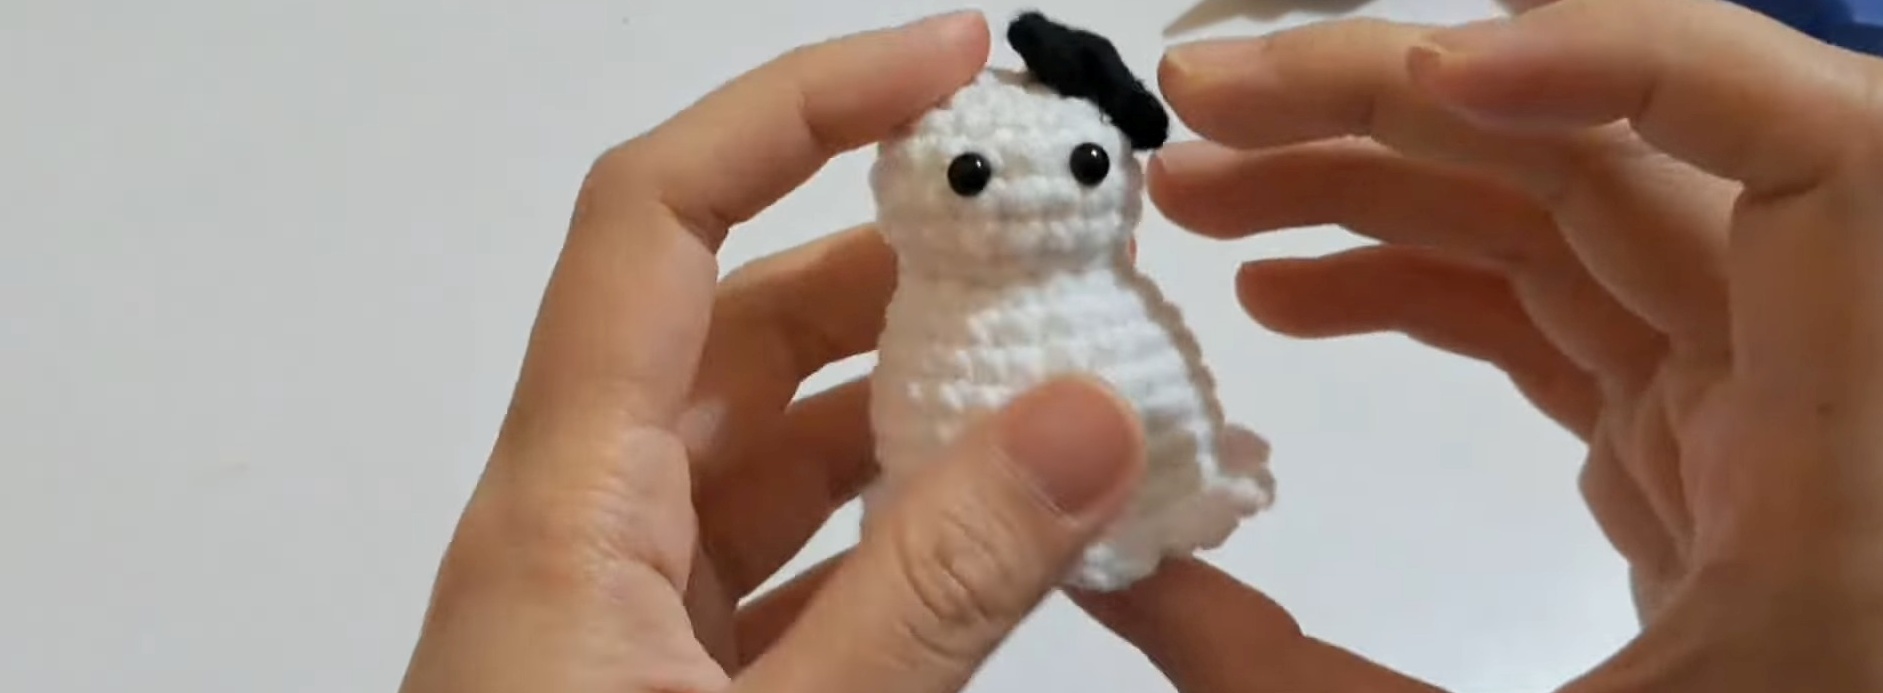
Both ghosts are brought to life with safety eyes, placed snugly between select rounds. Their accessories (a petite bow and black top hat) complete their spooky-chic wedding attire. These embellishments are fastened with either sewing or a glue gun for a seamless, professional look. Finally, a bit of stuffing ensures the figures hold their adorable, plump shapes.
Video Tutorial
Materials & Tools Needed
- Yarn: White yarn (Bride), Black yarn (Groom), and optional orange yarn for bow/hat detail.
- Hook: Crochet hook suitable for your yarn (the tutorial does not specify the size, but typically 2.5mm–3.5mm for fine yarn).
- Safety eyes: 6mm or 8mm black safety eyes.
- Fiberfill stuffing: To stuff the bride and groom.
- Glue gun or sewing needle: To attach details (optional for bow and hat details).
- Scissors: For cutting yarn.
- Stitch marker: To mark the beginning of rounds.
Finished Size
The finished ghost bride and groom size will depend on the yarn weight and hook size used. Based on the tutorial, the approximate size is expected to be around 4–5 inches tall. Customize their size by using thicker or thinner yarn and adjusting hook sizes.
Customization Ideas
- Change the ruffle dress color for a different aesthetic.
- Add embellishments like beads, flowers, or embroidery to the bride’s dress or groom’s hat.
- Use spooky colors (purple or orange) for Halloween-themed variations.
- Add small accessories like a veil for the bride or bowtie for the groom.
Pattern Abbreviations & Terminology
All instructions are written in US crochet terminology:
- MR: Magic ring
- ch: Chain
- sc: Single crochet
- inc: Increase (2 sc in one stitch)
- dec: Decrease (insert hook into the front loops of 2 stitches, yarn over, pull through both loops, yarn over, and pull through the remaining loops)
- hdc: Half double crochet
- sl st: Slip stitch
- blo: Back loop only
- flo: Front loop only
- st: Stitch
Step-by-Step Crochet Instructions
Follow these instructions, broken into detailed components for both the Bride and Groom:
HEAD AND BODY (Same for Bride & Groom)
Round 1:
Start with a magic ring.
Work 6 sc into the ring. Pull the tail yarn tight to close the ring.
Round 2:
Work [inc] x 6 (12 sts).
Round 3:
Work [sc, inc] x 6 (18 sts).
Rounds 4–6:
Work 1 sc in each st (18 sts per round).
Round 7:
Work [sc, dec] x 6 (12 sts). Insert the safety eyes between Rounds 4 and 5, spaced 2 stitches apart.
Round 8:
Use flo. Work [sc, inc] x 6 (18 sts).
Stuff the head lightly with fiberfill before continuing.
Round 9:
Work 1 sc in each st (18 sts).
Round 10:
Work [2 sc, inc] x 6 (24 sts).
Rounds 11–15:
Work 1 sc in each st (24 sts per round).
Round 16:
Use blo. Work 1 sc in each st (24 sts).
Round 17:
Work [2 sc, dec] x 6 (18 sts).
Round 18:
Work [sc, dec] x 6 (12 sts). Stuff the body fully.
Closing the bottom: Insert the hook into the flo of all remaining stitches, pull through yarn to close the hole. Fasten off, weave in ends.
BRIDE’S RUFFLE (Front Loop of Round 16)
- Begin with a slip knot and insert it into the first flo stitch of round 16.
- Work:
- ch 2, hdc in same flo, skip 1 flo, sl st into next flo.
- Repeat: [ch 2, hdc in same flo, skip 1 flo, sl st into next flo] around.
- At the end of the round, sl st into the first flo. Fasten off and weave in ends.
BOW (For Bride & Groom)
- Start with a magic ring.
- Work:
- ch 2, 2 hdc, ch 2, sl st into MR.
- Repeat [ch 2, 2 hdc, ch 2, sl st into MR].
- Pull yarn to close the ring tightly.
- Wrap yarn tightly around the center of the bow multiple times. Secure with a knot.
- Attach the bow either by sewing or glue.
GROOM’S HAT
Round 1:
Start with a magic ring. Work 6 sc into the ring.
Round 2:
Work [inc] x 6 (12 sts).
Round 3:
Work [sc, inc] x 6 (18 sts).
Round 4:
Use blo. Work 1 sc in each st (18 sts).
Rounds 5–8:
Work 1 sc in each st (18 sts per round).
Round 9:
Use flo. Work [2 sc, inc] x 6 (24 sts).
Round 10:
Work [3 sc, inc] x 6 (30 sts).
Stuff the hat lightly before cutting the yarn. Attach the hat to the groom’s head either by sewing or glue.
GROOM’S COLOR CHANGE
- The groom’s body and arms follow the same pattern as the bride, but switch to black yarn starting from Round 8.
Finishing Techniques
- Attach all additional pieces (bows, hat, etc.) using a glue gun or by sewing.
- Weave in all loose ends neatly.

Troubleshooting & Suggestions:
- Consistency with the Magic Ring: Beginners may struggle to get the magic ring tight. Ensure you pull the starting tail firmly when closing the ring to avoid gaps at the base.
- Clean Color Changes: When transitioning from white to black yarn for the groom, use the yarn under technique for a cleaner finish and weave in ends neatly to avoid visible joins.
- Uniform Ruffles: When working the bride’s ruffle, keep your tension loose but consistent to ensure the hem flows evenly.
- Customizations: Swap the white yarn for pastel shades for a ghostly spring wedding or experiment with metallic threads for the bride’s dress. Consider adding a veil to the bride by attaching a small tulle piece or creating a bow tie for the groom.
- Alternate Uses: These ghosts could also be adapted into keychains, ornaments, or decorative toppers for a spooky-themed wedding cake!