Crochet Jumbo Slug with a Witch Hat – Cute and Beginner-Friendly
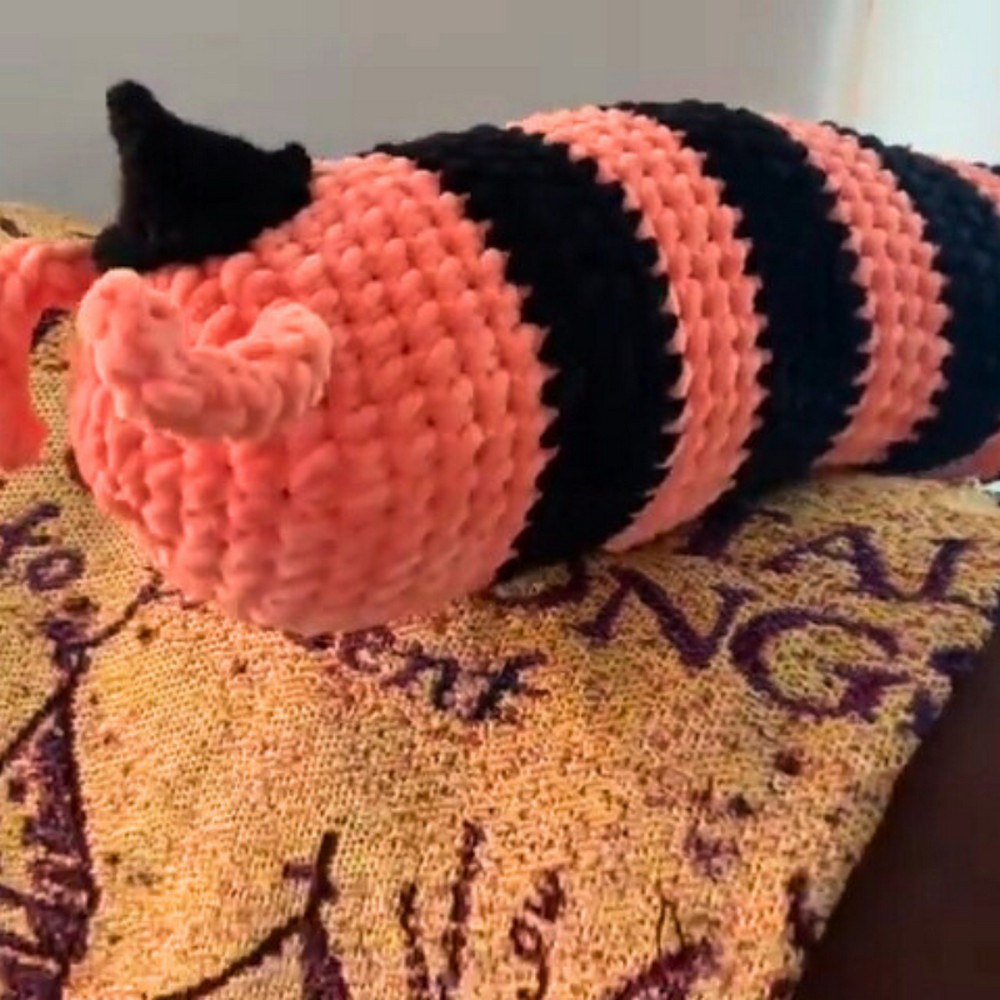
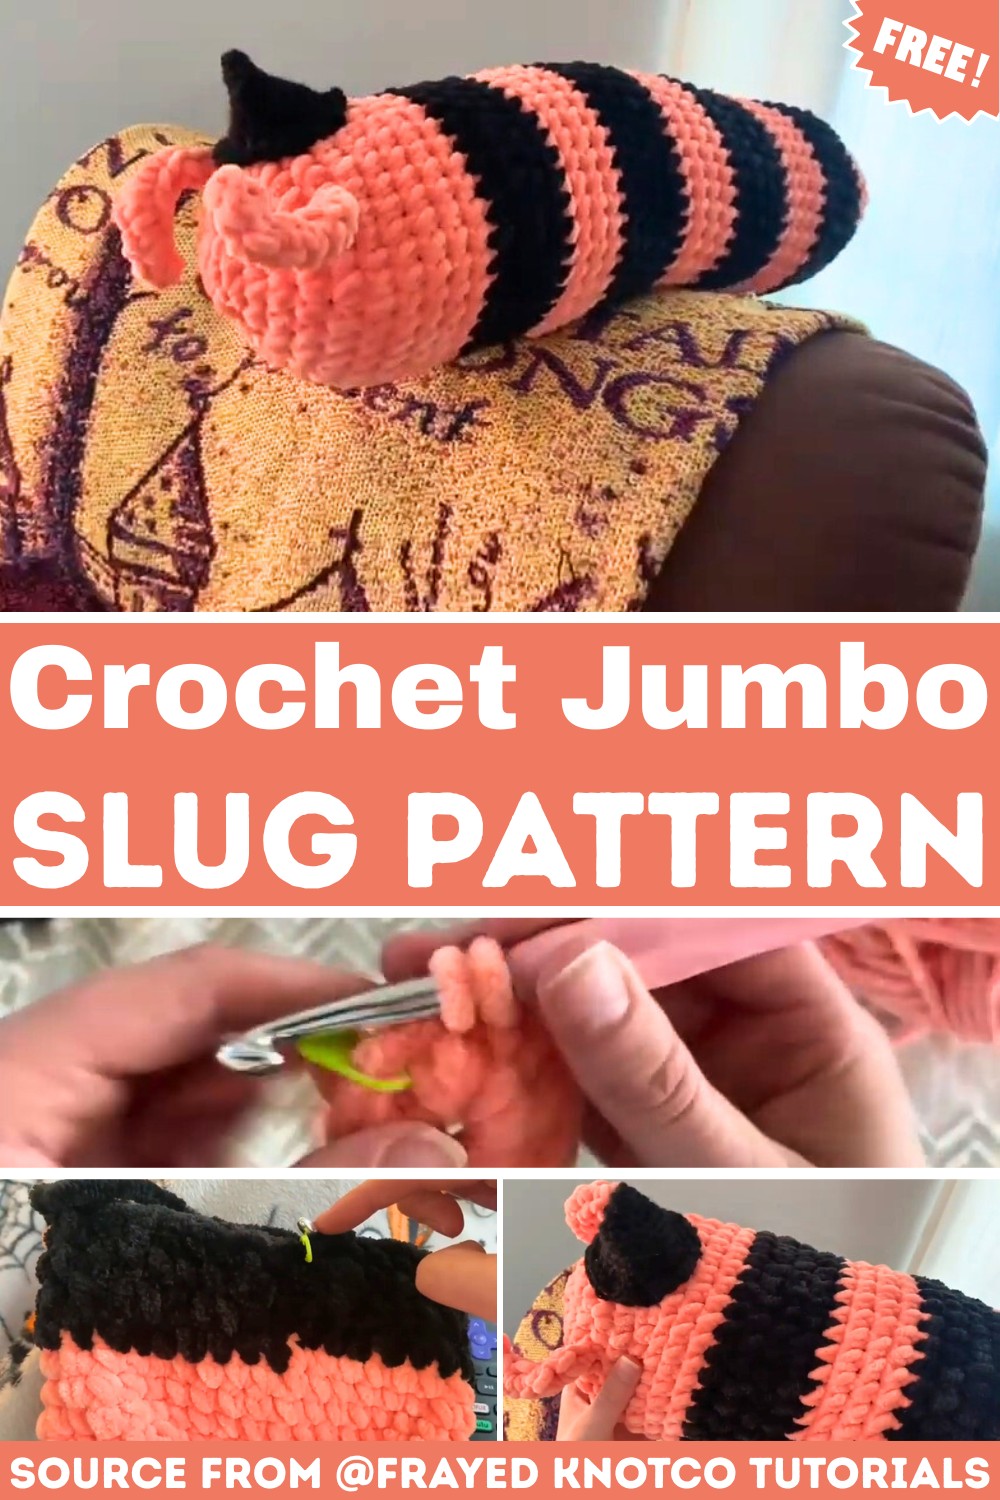
This whimsical crochet jumbo slug plushie, complete with a festive striped body and a pointy witch hat, is a playful and cozy Halloween pattern that’s perfect for decorating or snuggling.
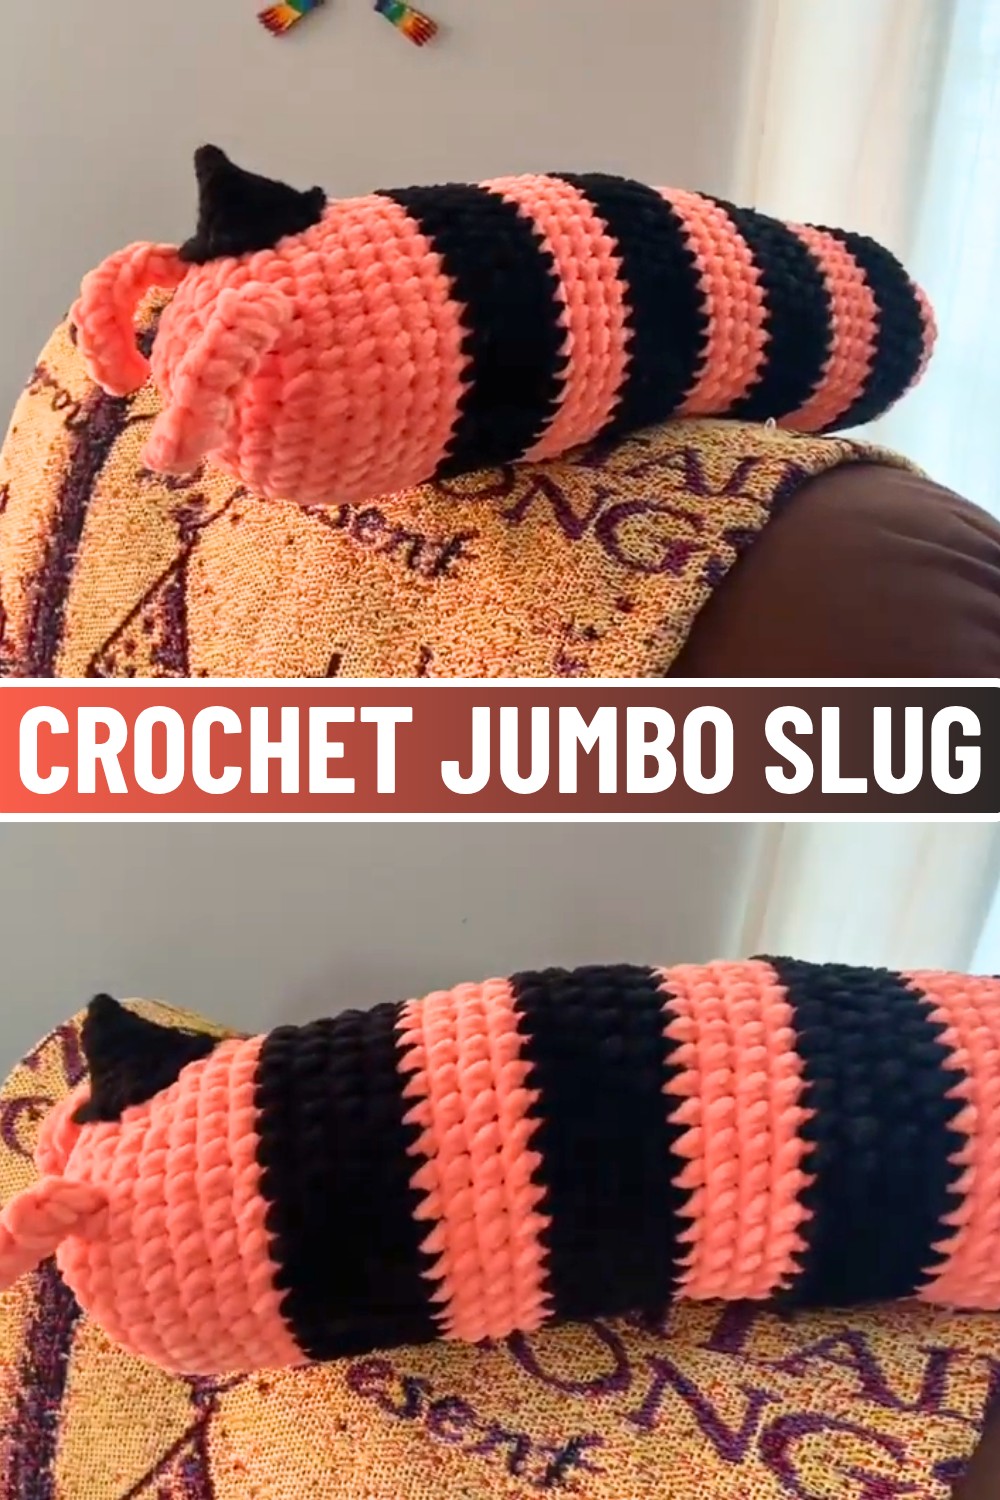
A jumbo crochet slug is a big, squishy, and adorable creation that’s perfect as a playful decoration, a unique gift, or even a cozy companion. With its rounded body, bold stripes, and charming little tentacles, this slug is both eye-catching and fun. Adding a tiny witch hat gives it a fun Halloween twist, making it even more special.
Crochet Jumbo Slug with a Witch Hat
If you’re a beginner in Crochet Field, don’t worry. This Slug Pattern uses simple techniques and is great for building your skills. You’ll learn how to work with stripes, switch colors smoothly, and create little details like tentacles and the witch hat – all without over-complicating things. Plus, this cuddly slug is made with fluffy yarn for a soft, huggable finish. Pick your favorite colors to match your style or make it festive for any holiday.
Credit Frayed KnotCo Tutorials
Key Features and Pattern Summary
- Construction: The slug is crocheted in continuous rounds, featuring a cylindrical body shaped with simple increases and decreases, and finished off with a pointed tail.
- Color Stripes: Alternates between two yarn shades (e.g., orange and black) to give the slug a stylish striped look that enhances its Halloween theme.
- Tentacles: Easy chain loops and short rows are used to crochet the slug’s adorable “tentacles” (antennae), giving it a distinct, slug-like charm.
- Witch Hat: Made using acrylic yarn and worked in single crochet stitches, this tiny witch hat includes an optional brim for an extra touch of detail.
- Materials: Bulky Sweet Snuggles and Sweet Snuggles Light yarns are used for the slug, while black acrylic yarn is recommended for the witch hat. Stitch markers, stuffing, and a yarn needle complete the supply list.
The jumbo slug begins with the magic ring technique (or an alternative chain loop method, if preferred), worked in a peachy-orange or orange yarn for the body. The slug is built up by crocheting in the round, increasing the stitch count through consistent rounds to create a wide cylindrical shape. Precise placement of a stitch marker helps keep track of your progress, ensuring smooth transitions. Once the desired circumference is reached, the slug’s body is elongated by maintaining even stitch counts over several rounds, and the color changes are introduced to create bold and playful stripes.
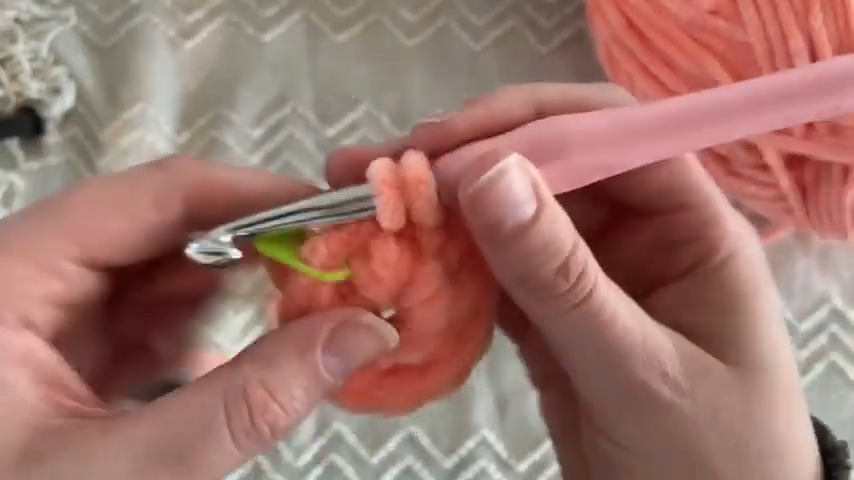
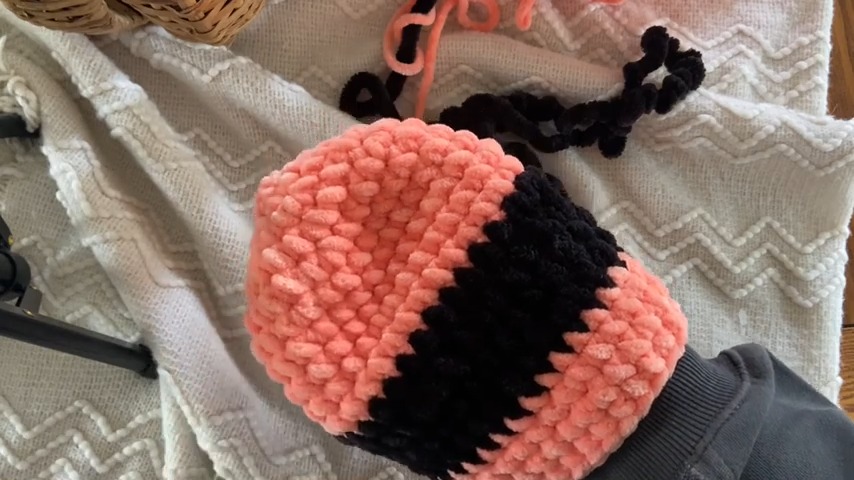
The yarn is never cut during the color changes—simply carry the unused strand along the inside of the pattern and switch back when needed. This technique keeps the stripes clean and seamless. Feel free to experiment with the width and order of the stripes to make your slug unique, whether it’s a festive Halloween decoration or just a cheerful friend for your space.
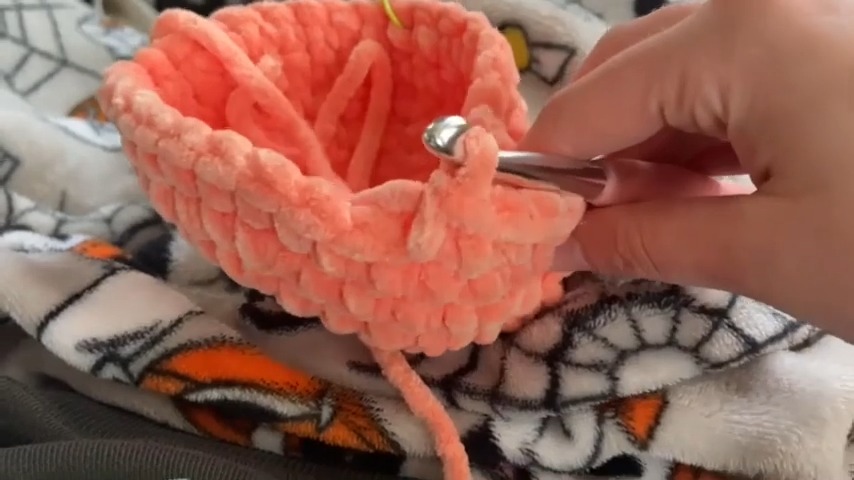
After the body is complete, decreases help taper the shape and form the slug’s distinctive tail. It’s important to periodically fill the plush with stuffing as you work, ensuring a soft but firm finish before closing off the end.
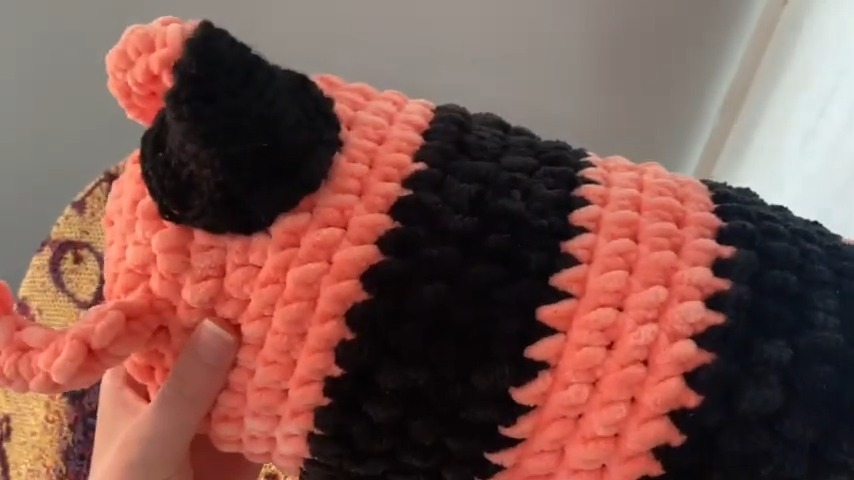
The tentacles, or “antennae,” are created separately using chain stitches and short rows, then sewn securely to the top of the slug’s head. To complete the spooky-yet-cute vibe, the witch hat is made in single crochet stitches, worked up in continuous rounds beginning with a pointed cone shape. The option to flip the hat inside out creates a clean brim, and additional decorative touches like a buckle can be added for extra charm. Finally, the hat is positioned and sewn onto the slug, slightly tilted to one side for a playful, jaunty look.
Video Tutorial
Materials & Tools Needed
- Yarn:
- Premier Yarns Sweet Snuggles (Peach Pink — color code SK25).
- Sweet Snuggles Light in Black for stripes.
- Black acrylic yarn (for the witch hat).
- Hooks:
- 8 mm crochet hook (preferred for thicker yarns).
- Optional: 6 mm crochet hook (if using lighter yarn).
- Additional Tools:
- Stitch marker.
- Crochet needle or tapestry needle (for weaving ends and attaching parts).
- Stuffing: Polyester fiberfill for stuffing the slug.
Finished Size
- The slug size will vary based on the number of rounds and the yarn used, but it is designed to be “jumbo-sized.” Customize the stripe count and the slug’s dimensions for different looks — add more rounds for a larger slug, or fewer for a smaller version.
Customization Ideas
- Colors: Use any color combination for the slug stripes to fit seasonal themes (e.g., orange and black for Halloween, pastel colors for spring, etc.).
- Accessories: Add creative extras like googly eyes, embroidery for a smiling face, or additional accessories such as scarves or decorative hats (e.g., pumpkins instead of witch hats).
- Tentacles: Adjust the length of the slug’s tentacle chains for a whimsical or realistic look.
Pattern Abbreviations & Terminology
- ch: Chain
- sc: Single Crochet
- inc: Increase (2 stitches in the same stitch)
- dec: Decrease (combine 2 stitches into 1)
- st: Stitch
- sl st: Slip stitch
- yarn over (yo): Wrap the yarn over the hook.
- Magic Ring: Adjustable loop used to begin crocheting in the round.
- Pattern uses US crochet terminology.
Step-by-Step Crochet Instructions
Body of the Slug
- Begin the Base:
- Start with Peach Pink yarn.
- Option 1: Start with a magic ring.
- Option 2: If the magic ring is difficult, chain 4 and join with a slip stitch to form a ring.
- Round 1: Create 6 sc into the ring. Use a stitch marker to mark the first stitch.
- Round 2 — Increase:
- Place 2 sc into each stitch. Total: 12 stitches.
- Round 3 — Pattern Expansion:
- Start working a repeat pattern of 2 sc into the first st, followed by 1 sc into the next. Continue this pattern around the circle: (2 sc, 1 sc).
- Total: 18 stitches.
- Round 4:
- Work (2 sc, 2 sc). Total: 24 stitches.
- Round 5:
- Work (2 sc, 3 sc). Total: 30 stitches.
- Round 6:
- Work (2 sc, 4 sc). Total: 36 stitches. At this point, the base will stop expanding, and the slug will take on a tube shape.
- Rounds 7 to 12 — Maintain the Shape:
- Work 36 sc stitches in each round. Do not increase. Use Peach Pink yarn.
- Color Change to Black:
- After finishing the Peach Pink rounds, work 36 sc in Black yarn for 4 rounds. Avoid cutting the Peach Pink yarn — keep it attached for future color changes.
- Stripes:
- Alternate between 4 rounds of Peach Pink and 4 rounds of Black until the slug reaches the desired striped length. The user in the tutorial created 3 sets of peach-orange and black stripes.
Head and Tail Shaping
- Round 1 — Create a Rounded Head:
- With Peach Pink yarn, work 2 rounds of 36 sc. This will create the rounded “head” before tapering.
- Decreasing for the Tail:
- Round 1 — Decrease: (dec, 4 sc). Repeat around. Total: 30 stitches.
- Round 2 — Decrease: (dec, 3 sc). Repeat around. Total: 24 stitches.
- Begin stuffing the slug firmly with polyester fiberfill.
- Continue Decreasing:
- Round 3 — Decrease: (dec, 2 sc). Repeat around. Total: 18 stitches.
- Round 4 — Decrease: (dec, 1 sc). Repeat around. Total: 12 stitches.
- Final Round: Continue decreasing (dec only) until the tail forms a small point. Weave the end in tightly using a tapestry needle to close the opening.
Tentacles
- Use Peach Pink yarn.
- Chain 10.
- Work 2 rows of 9 sc (skip the first chain). This forms the base of the tentacle.
- Cut the yarn and weave the ends using the tapestry needle.
- Attach the tentacles to the top of the slug’s head by sewing them securely. Ensure they align symmetrically.
Optional Witch Hat
- Start the Cone:
- Use black acrylic yarn and a 5 mm hook.
- Option 1: Create a magic ring.
- Option 2: Chain 4 and join with sl st to form a ring. Crochet 4 sc into the ring.
- Round 1 — Increase: Place 2 sc in each st. Total: 8 stitches.
- Expand the Cone:
- Continue working in rounds, making the following pattern:
- Round 2: (2 sc, 1 sc). Total: 12 stitches.
- Round 3: (2 sc, 2 sc). Total: 16 stitches.
- Add additional rounds, increasing the number of single stitches between increases by 1 each round, until desired height is reached.
- Continue working in rounds, making the following pattern:
- Form the Brim:
- For the brim, go into both loops of the stitch (instead of just the bottom loop like before).
- Crochet 1 sc into each stitch around for 1-2 rounds.
- Optional: Add a decorative detail, such as a buckle (e.g., using yellow yarn).
- Finishing:
- Attach the witch hat slightly off-center on the slug’s head using a tapestry needle.
Assembly
- Position the tentacles symmetrically at the top of the slug’s head and sew them securely.
- Attach the witch hat. You can tilt it for a whimsical look.
- Add any additional desired decorations (e.g., embroidery, googly eyes).
Finishing
- Weave in all ends securely.
- Adjust the tentacles (if curled, they will straighten over time).
- Ensure all parts are firmly attached.
Troubleshooting & Suggestions
- Managing Color Changes: To ensure clean transitions between orange and black, don’t cut the yarn—carry it along the inside of the slug while crocheting and switch seamlessly. Use a stitch marker to stay on track, especially with darker-colored yarns.
- Even Edges: Consistently marking the first stitch of each round is key to achieving a symmetrical shape and avoiding wonky edges.
- Hook Size Considerations: If you’re using two different yarn weights (e.g., Sweet Snuggles vs. Sweet Snuggles Light), adjust your hook size accordingly. A smaller hook can help tighten stitches for a neater finish.
- Possible Modifications: Consider switching up the colors for a more personalized look—how about soft pastels for a springtime vibe or bold neon for a playful twist? You could also decorate the witch hat with embroidered stars, a crescent moon, or even a tiny pom-pom.
- Alternate Ideas: Transform this pattern into a cozy caterpillar by making multiple slugs in different sizes and attaching them together, or use the slug design to create a small slug keychain by scaling down with thinner yarn and smaller hooks.