Crochet Pie Bag Charm Pattern With Unique and Easy Design
A tiny pie might not satisfy your sweet tooth, but it can make your favorite bag far more charming. This crochet pie bag charm captures the look of a freshly baked fruit pie with its woven crust and colorful filling.
Creating a playful accessory that’s hard to overlook. Small enough to carry anywhere yet full of personality, it’s a fun piece for anyone who enjoys food-inspired crochet. The pattern below shows how each piece comes together into a miniature pie you’ll be proud to display.
Crochet Pie Bag Charm Pattern
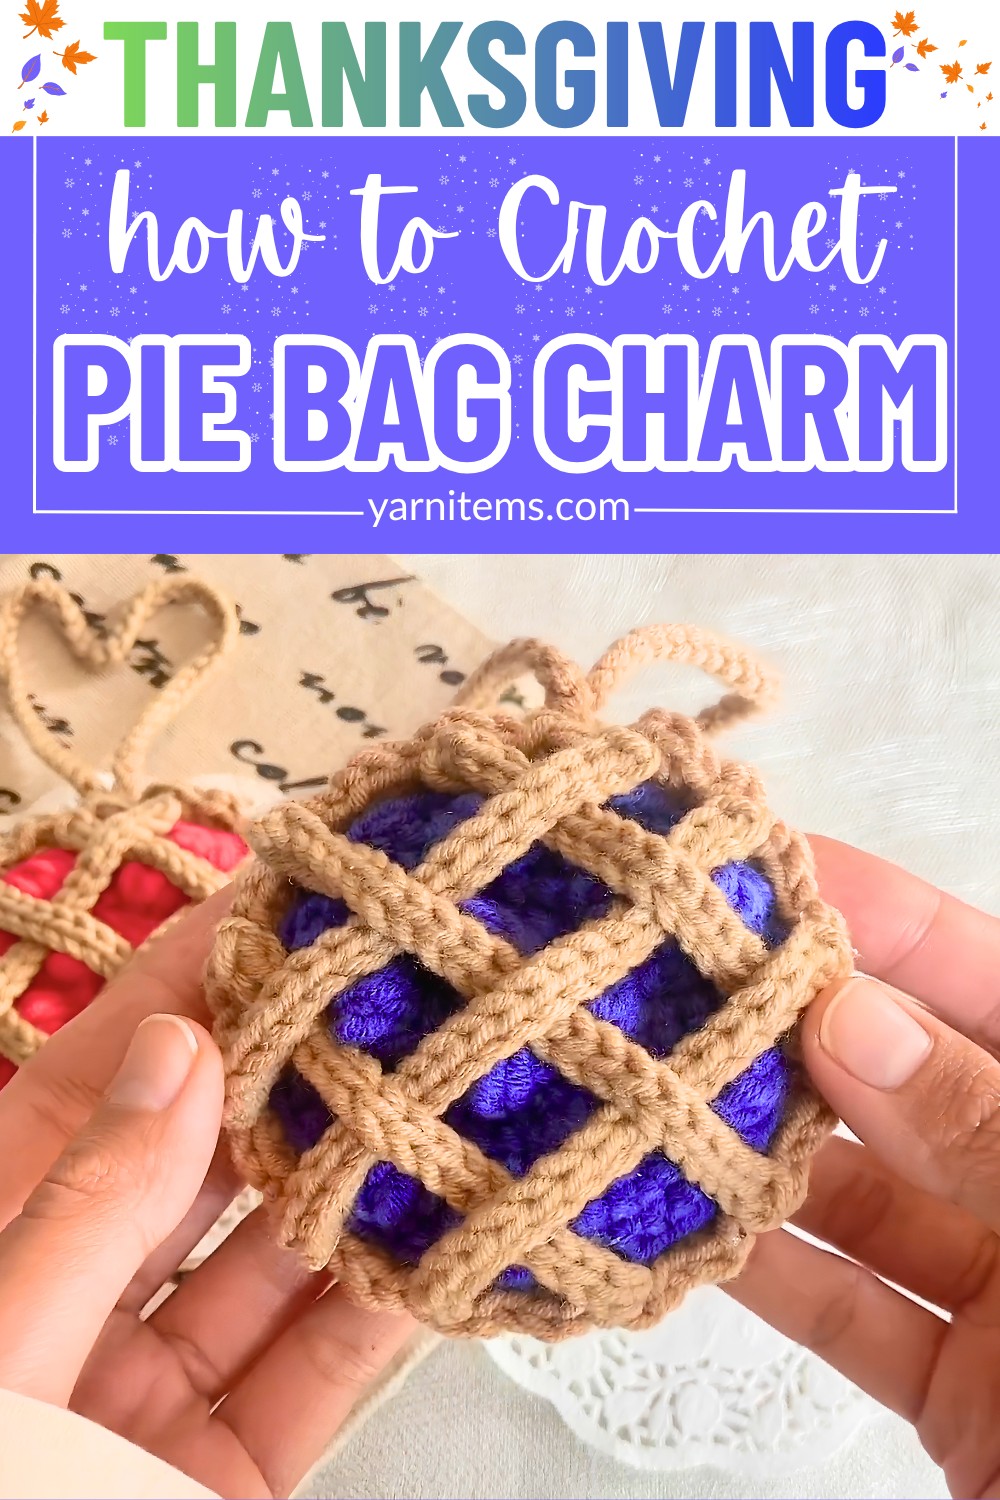
From shaping the crust to adding the signature lattice top and hanging loop. Every crochet step builds this little charm with simple techniques. The instructions are easy to follow, making the piece enjoyable for confident beginners as well as experienced crocheters looking for a quick make. Keep scrolling to see how a few basic stitches transform into an adorable pie charm that’s ready to brighten any bag, keychain, or handmade gift.
Credit Kukkacrochet By Putri
Beginner-Friendly Crochet Pie Charm
This versatile pie charm can be used as:
- A bag accessory
- A festive ornament
- A mini coin pouch
Materials Needed
- Yarn: 5-ply Milk Cotton Yarn
- Crust color: Beige/Light Brown
- Filling color:
- Red for Strawberry
- Blue for Blueberry
- Crochet Hook: 3.0mm or 3.5mm
- Notions:
- Stitch markers
- Tapestry needle
- Scissors
- Fabric glue (optional for securing ends)
Finished Size & Customization Ideas
- Size: Approximately 3–3.5 inches in diameter (depending on tension and hook size).
- Customization:
- Change the filling color:
- Orange for Pumpkin Pie
- Dark Red for Cherry Pie
- Green/Brown for Apple Pie
- Extra functionality:
- Add a zipper or button closure to create a mini pouch!
- Change the filling color:

Abbreviations & Terminology (US Terms)
-
MR: Magic Ring
-
ch: Chain
-
st / sts: Stitch / Stitches
-
sc: Single Crochet
-
dc: Double Crochet
-
inc: Increase (2 single crochet stitches into the same stitch)
-
FLO: Front Loop Only
-
BLO: Back Loop Only
-
sl st: Slip Stitch
-
Mini Bubble/Bobble: A textured stitch used to simulate the bumpy fruit filling.
Step-by-Step Instructions
1. Front Crust Piece (With Ruffled Border)
- Round 1:
- Start with an MR or ch 2 and work 6 sc into the ring. Mark stitches if working continuously. (6 sts)
- Round 2:
- Work 6 inc. (12 sts)
- Rounds 3–7:
- Increase gradually:
- Round 3: [1 sc, 1 inc] repeat x 6 (18 sts)
- Round 4: [2 sc, 1 inc] repeat x 6 (24 sts)
- Round 5: [3 sc, 1 inc] repeat x 6 (30 sts)
- Round 6: [4 sc, 1 inc] repeat x 6 (36 sts)
- Round 7: [5 sc, 1 inc] repeat x 6 (42 sts)
- Increase gradually:
- Ruffle Edging (FLO):
- Using only Front Loops, work: [1 sc, 1 dc, 1 sc] across every front loop to create ruffled edges.
- Sl st into the first ruffle to finish.
- Inner Edge Finishing (BLO):
- Attach yarn to Back Loops of Round 7. Sl st in each back loop to clean up the base.

2. Back Crust Piece (With Hanging Strap)
- Rounds 1–7: Repeat the same pattern as the Front Crust (up to 42 sts).
- Strap Loop:
- At the end of Round 7, ch 50 or desired length for a loop.
- Sl st back into starting point. Fasten off, leaving a tail for assembly.
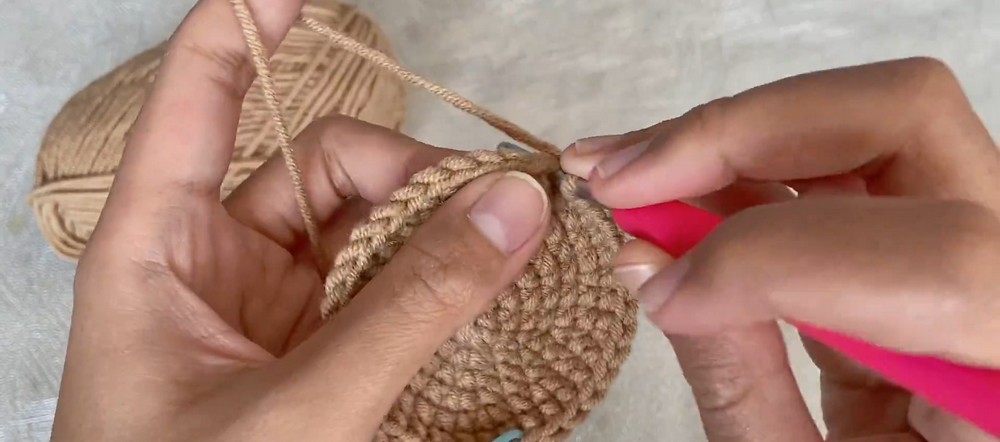
3. Bumpy Fruit Filling (Berry Top)
- Round 1:
- Using filling color (Red or Blue), start with an MR and work 6 sc into the ring. (6 sts)
- Round 2:
- Work 6 inc. (12 sts)
- Rounds 3–7:
- Expand circle size:
- Round 3: [1 sc, 1 inc] repeat x 6 (18 sts)
- Round 4 (Textured Bumps): [1 Bubble st, 1 sc in same st] with increases to reach 24 sts.
- Round 5: [3 sc, 1 inc] repeat around (30 sts)
- Round 6: [4 sc, 1 inc] repeat around (36 sts)
- Round 7: [5 sc, 1 inc] repeat x 6 (42 sts)
- Expand circle size:
- Border Transition:
- Switch to crust yarn at the end of Round 7 and fasten off.

4. Assembly & Finishing
Sewing the Filling:
- Center berry filling onto Front Crust.
- Using crust yarn, sew edges down. Tip: Insert needle through upper crust loops for seamless stitching.
Joining Front & Back Pieces:
- Align Front and Back Crusts.
- Whipstitch/slip stitch across the perimeter:
- Leave top open for coin pouch.
- Fully stitch for stuffed charm.
- Secure and hide yarn tails.