Easy Crochet Granny Square Sweater for Beginners
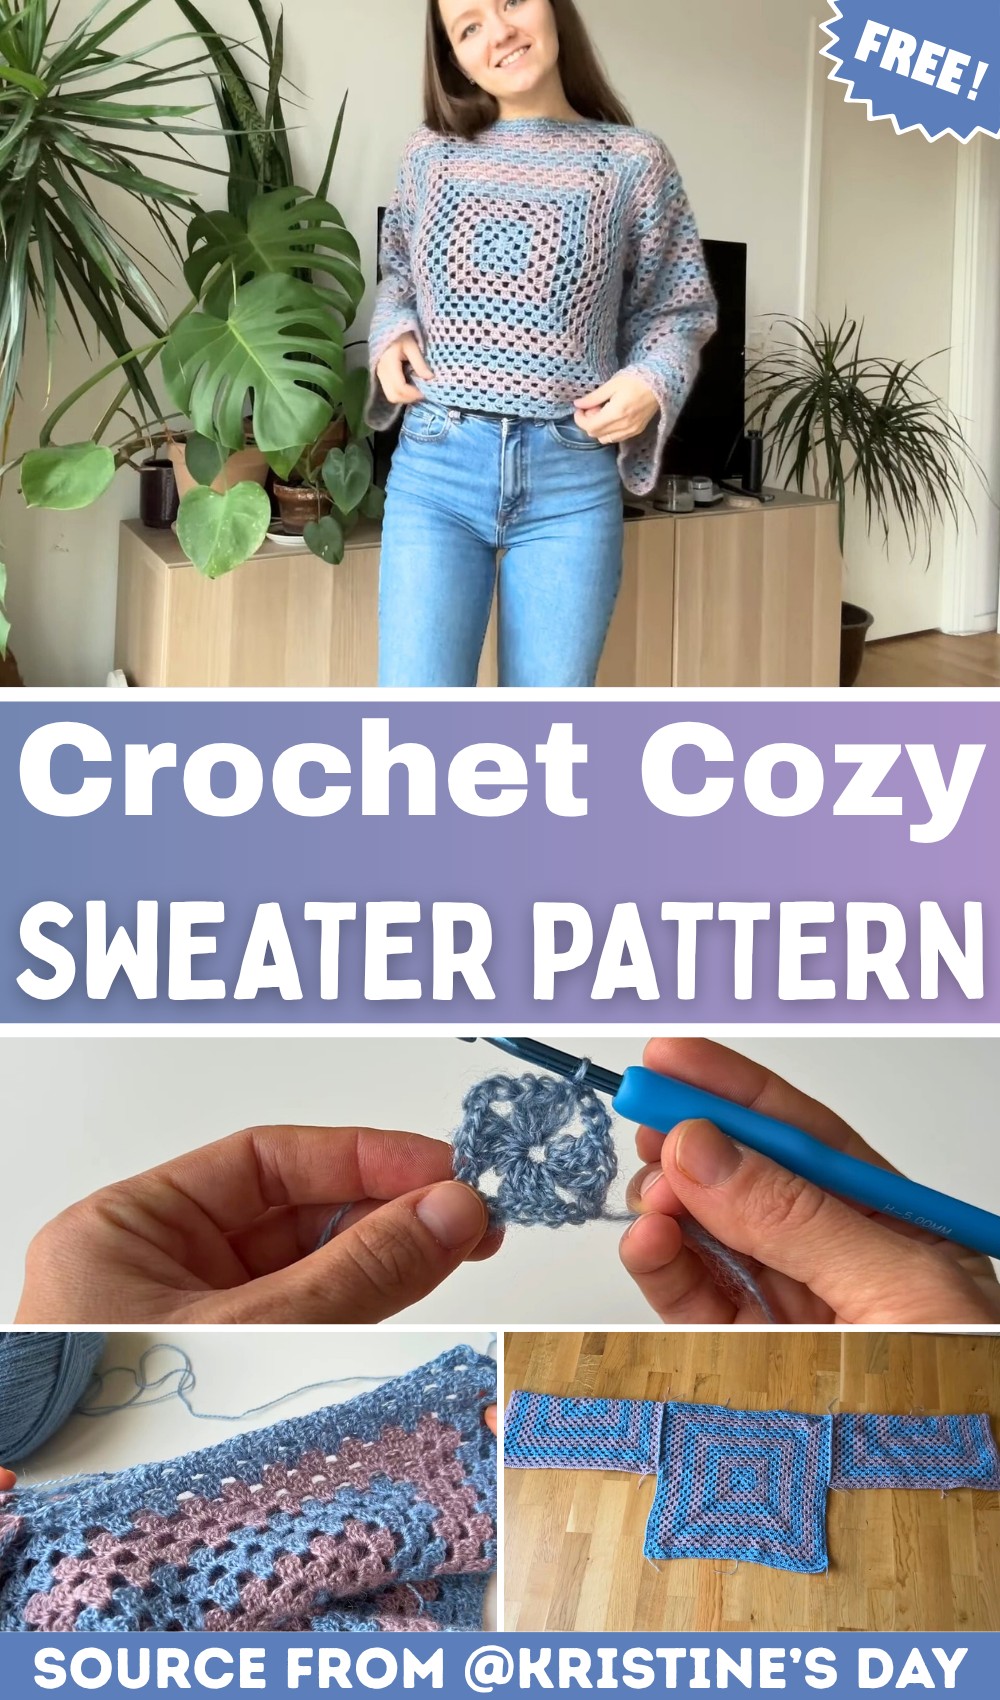
Nothing feels more satisfying than turning simple granny squares into a cozy sweater with timeless charm. This colorful crochet piece blends classic crochet style with everyday comfort in a way that always stands out.
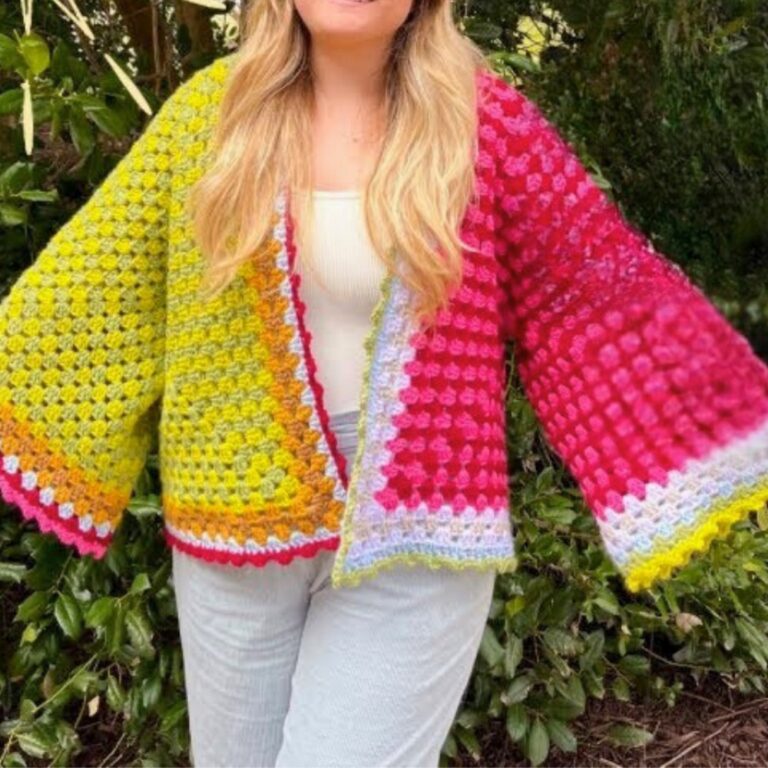
Large squares join together neatly, creating a soft and eye-catching design that is easy to personalize. Every color choice gives the finished crochet piece its own unique personality and handmade appeal.
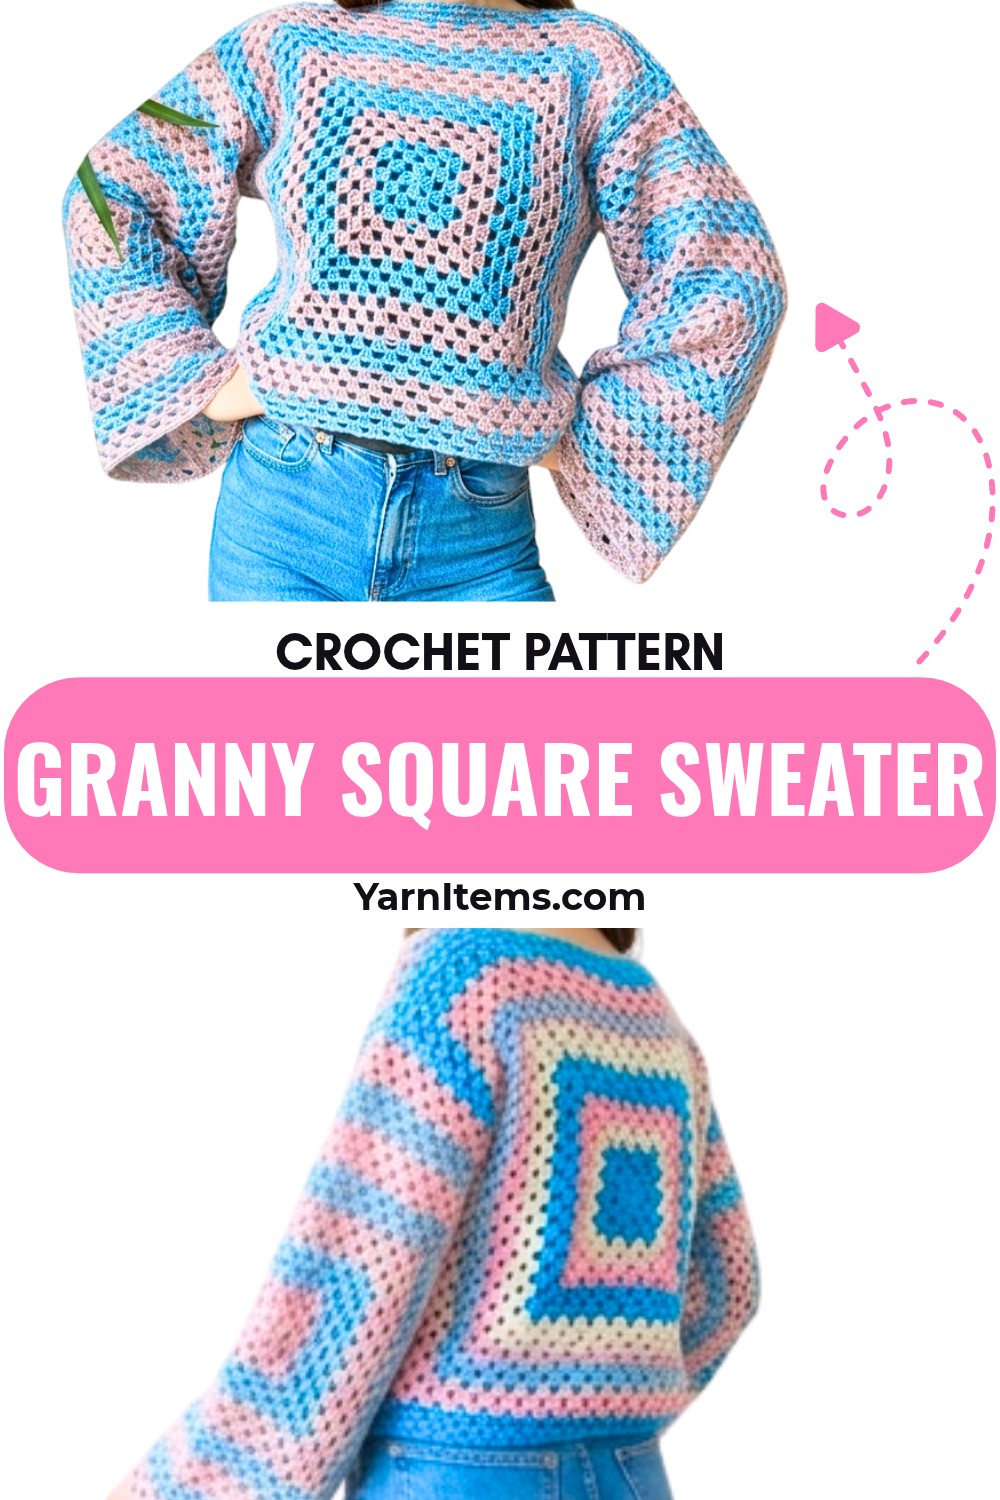
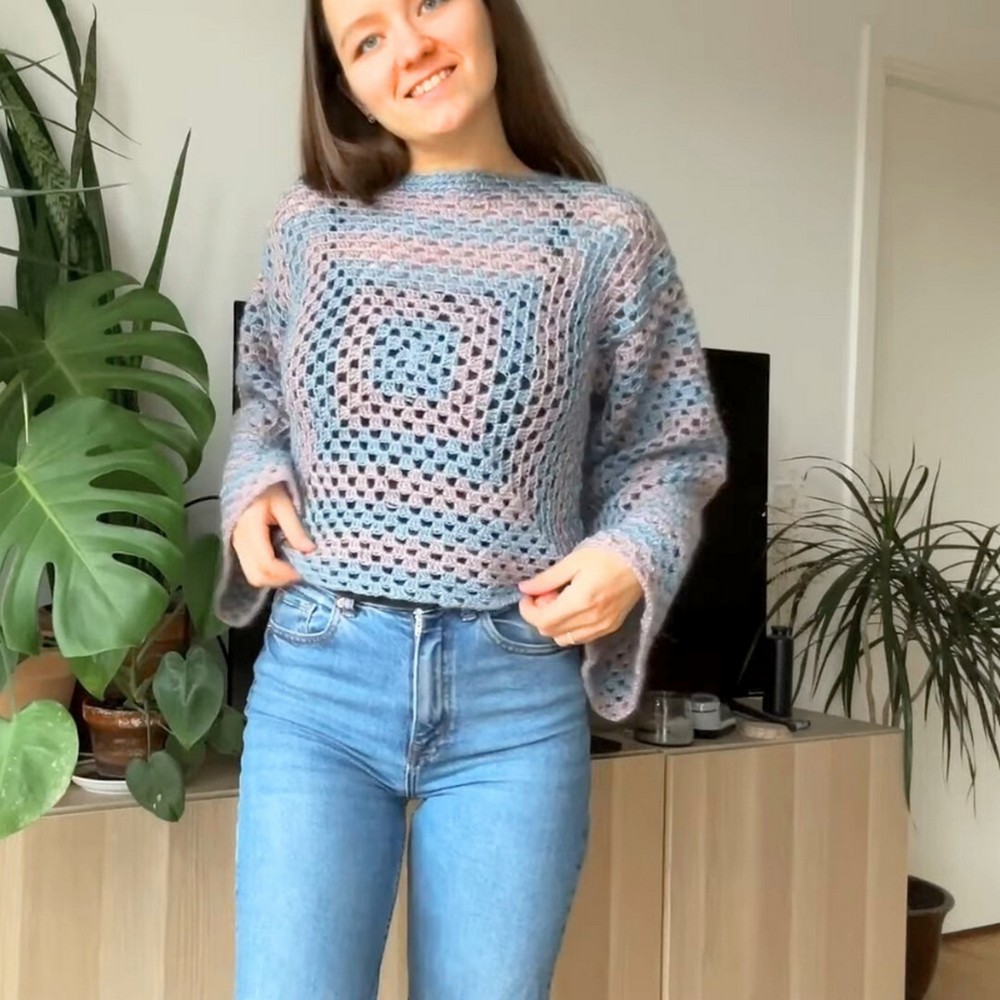
One simple detail transforms this crochet sweater into something you’ll enjoy wearing throughout the cooler months. Its comfortable fit makes it perfect for layering while still feeling light and relaxed. You can adjust the size, sleeve length, or color layout to create an item that matches your personal style. Stitching the squares together is calm, enjoyable, and rewarding, making every step feel just as special as the finished crochet piece.
Credit by Kristine
Materials & Tools Needed
- Yarn: Two colors of yarn, approximately 2 rolls of 100g each (depending on sweater size). Adjust based on yarn type and size of squares.
- Example yarn requires a 4mm crochet hook, but the tutorial uses a 5mm hook for ease.
- Feel free to mix and match colors and yarn types.
- Crochet Hook: Size 5mm.
- Scissors.
- Tapestry/Darning Needle (optional): For weaving in loose ends (if not using a crochet hook).
Finished Size & Customization Ideas
- Finished Size:
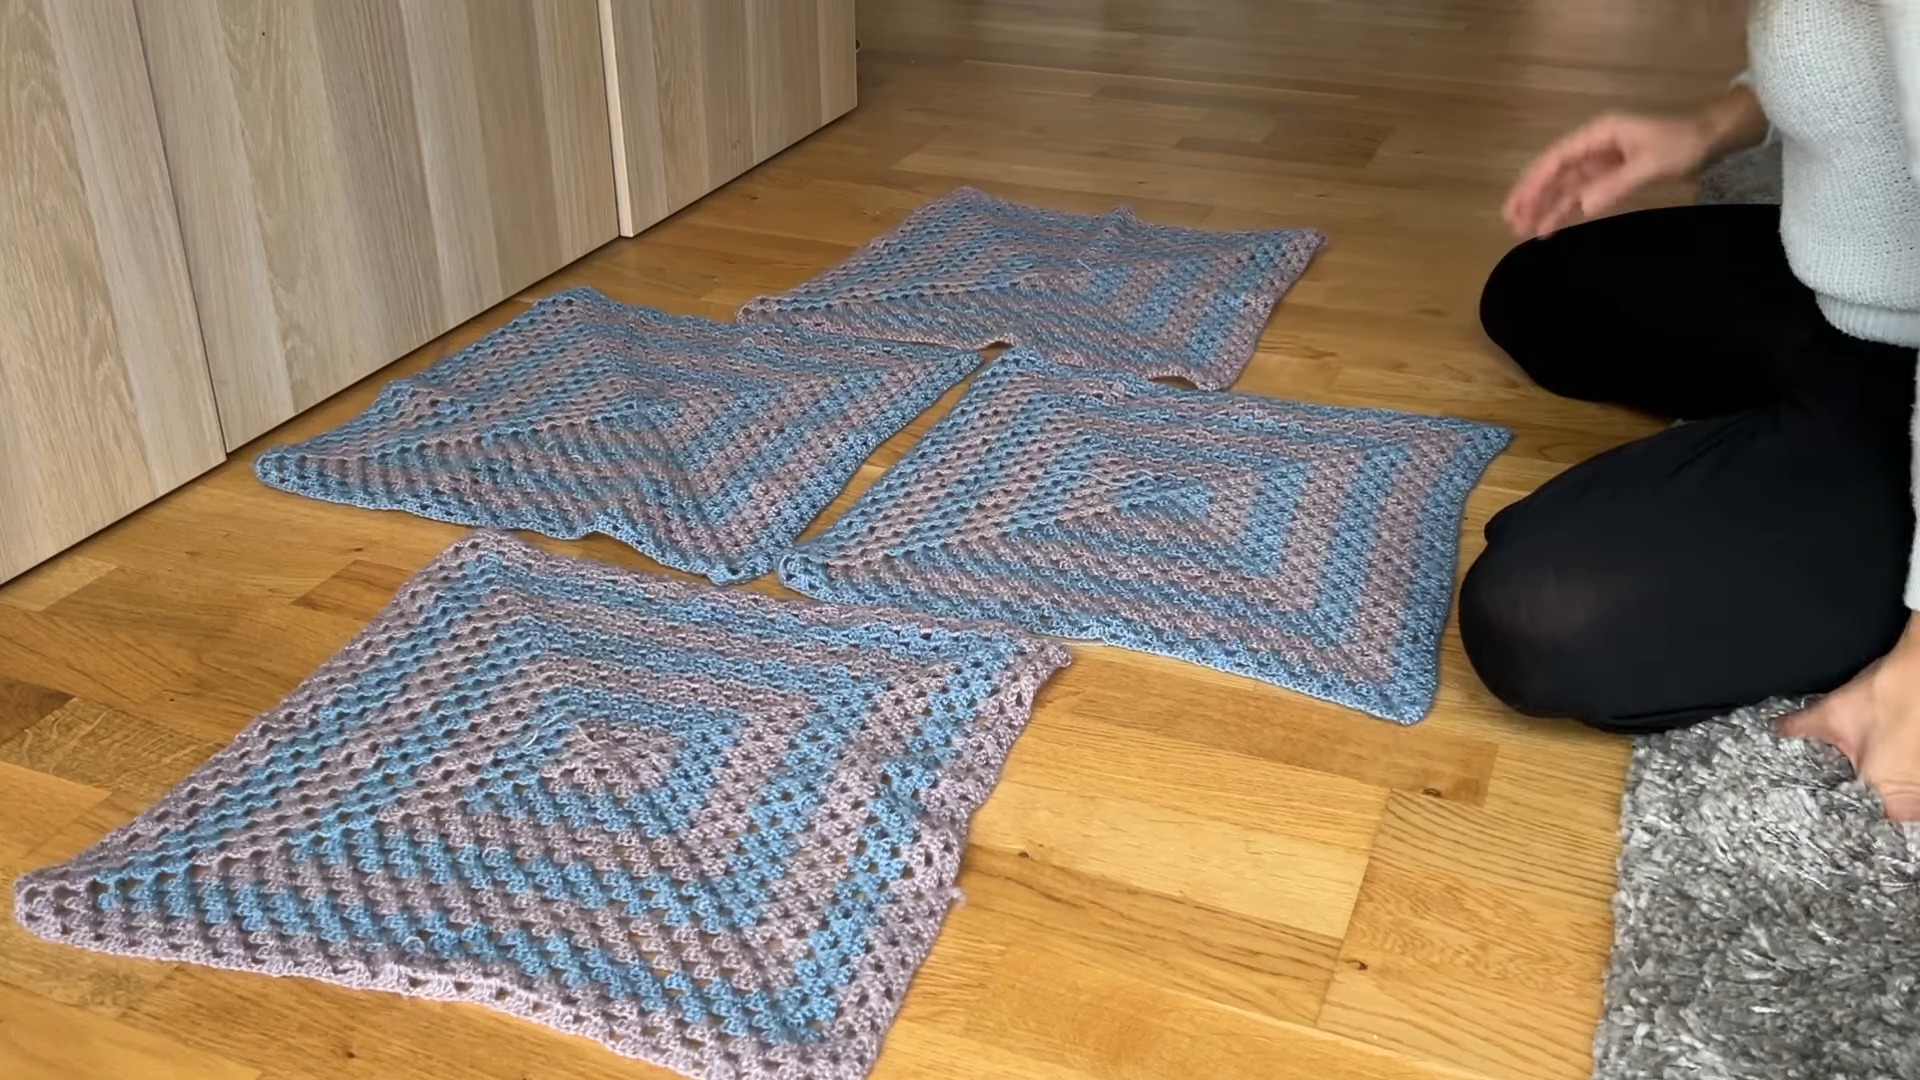
- The sweater is composed of four large granny squares: two for the front and back panels, and two for the sleeves.
- Customize the size of your squares as needed. Aim for each square to cover the desired width of your torso or sleeve.
- Customization Ideas:
- Adjust sizing by adding more rounds to the squares.
- Experiment with different color combinations for each square or for alternating rows.
- Extend the bottom or sleeves by adding extra granny square rows after final assembly.
Pattern Note
- Gauge is not strict, making this ideal for beginners.
- Switch colors every three rounds, or as desired, to achieve a color-block effect.
- The video uses slip stitches to join panels, but sewing with a needle is also an option.
Pattern Abbreviations & Terminology
- ch = Chain.
- dc = Double Crochet.
- sl st = Slip Stitch.
- magic ring = A loop formed at the start of a round, adjustable to close tightly.
- rnd = Round.
Tips Before You Start
- Adjust the speed of the video tutorial if needed, especially for complex stitches or assembly steps.
- Use the same yarn color during panel assembly to hide connection points.
- Lay out all squares before assembly to ensure symmetry between front/back and sleeves.
Step-by-Step Detailed Crochet Instructions
Step 1: Making the First Granny Square
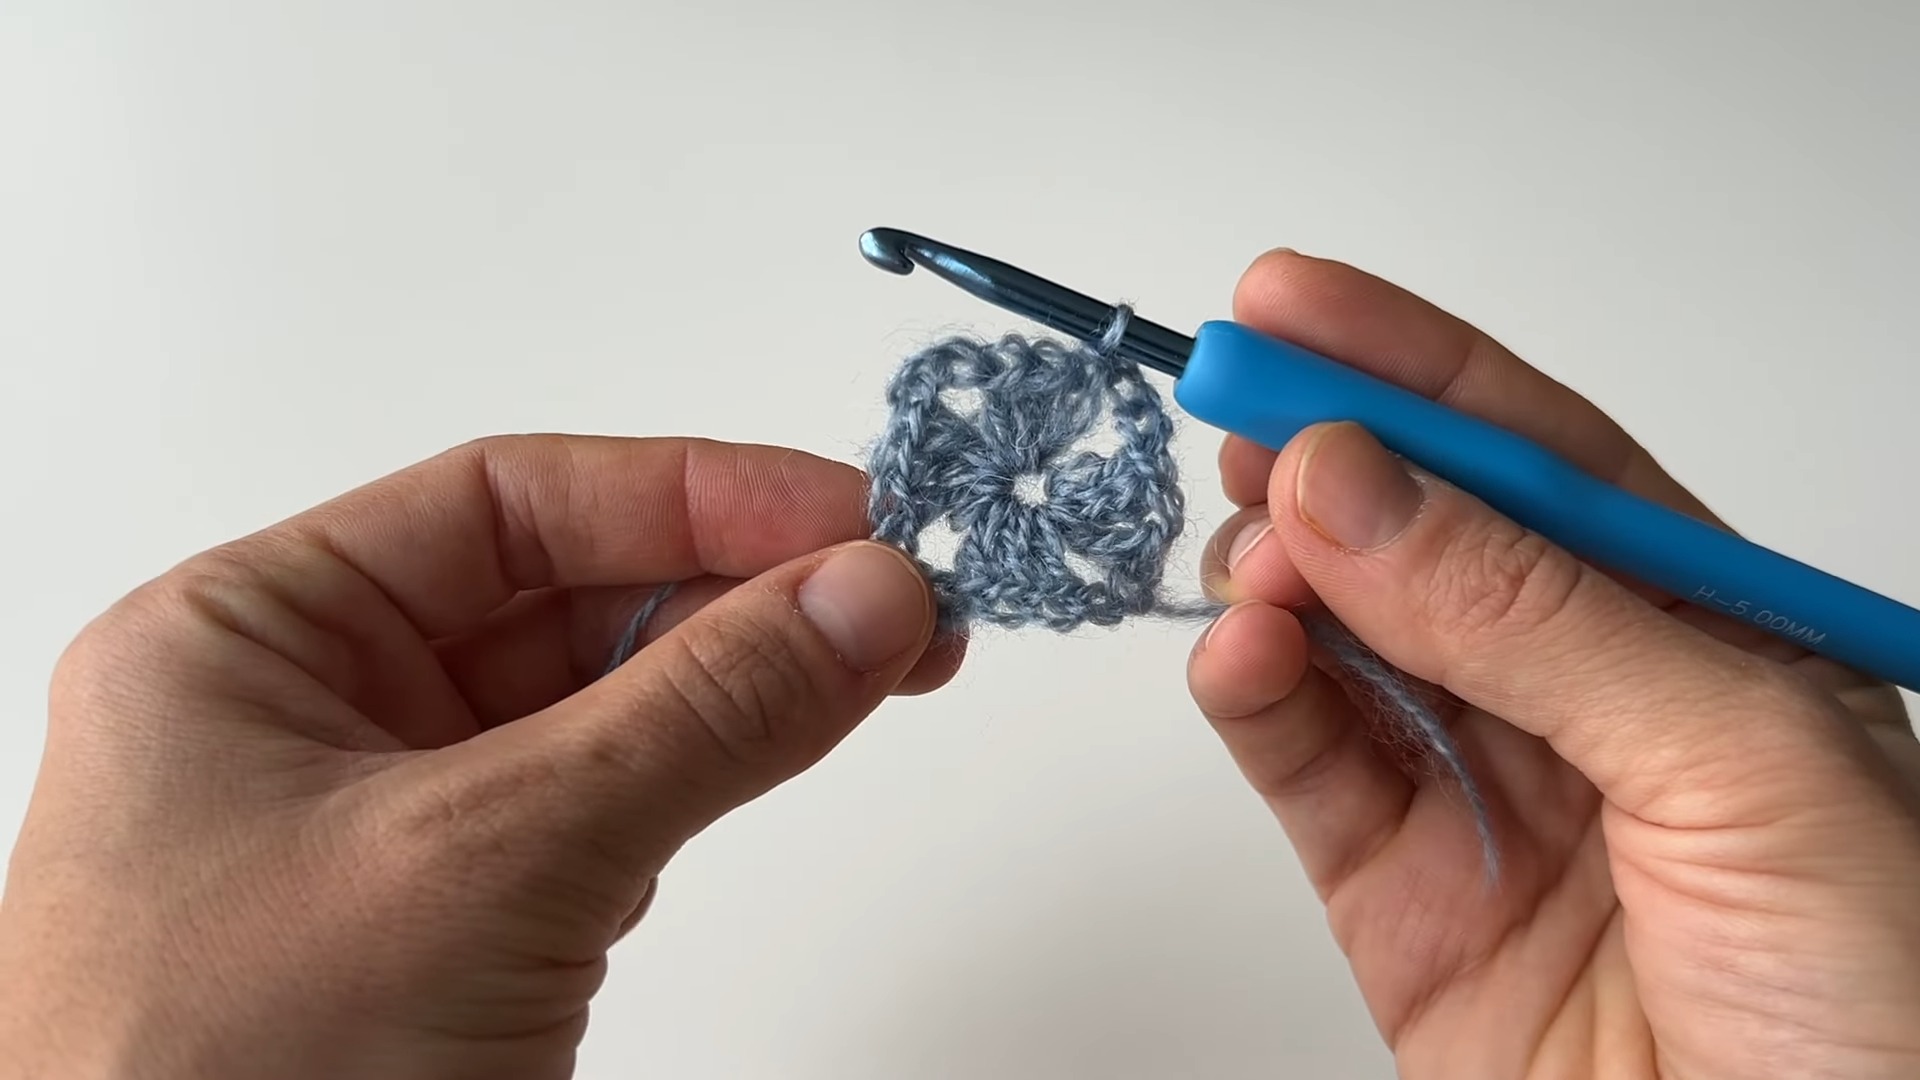
- Magic Ring:
- Wrap yarn around your fingers to form an X shape.
- Insert the crochet hook under the first yarn strand and pull up the second strand to form a loop. Tighten to secure the ring.
- Chain 3 (counts as 1 dc).
- Round 1:
- Stitch Pattern: Work 3 dc, ch 3 (corner), repeat 3 dc, ch 3 until you have 4 sets of 3 dc, separated by ch 3 spaces.
- Pull the loose yarn end to tighten the ring.
- Join the round: Sl st into the top of the 3rd chain from the start.
- Round 2:
- Start with ch 4 (counts as a dc + ch space).
- In each corner:
- Work 3 dc, ch 3, 3 dc into the same corner space.
- For side spaces between corners:
- Ch 1, then work 3 dc inside the space.
- Continue this pattern until all sides and corners are completed.
- Join the round with sl st into the top of the 3rd chain.
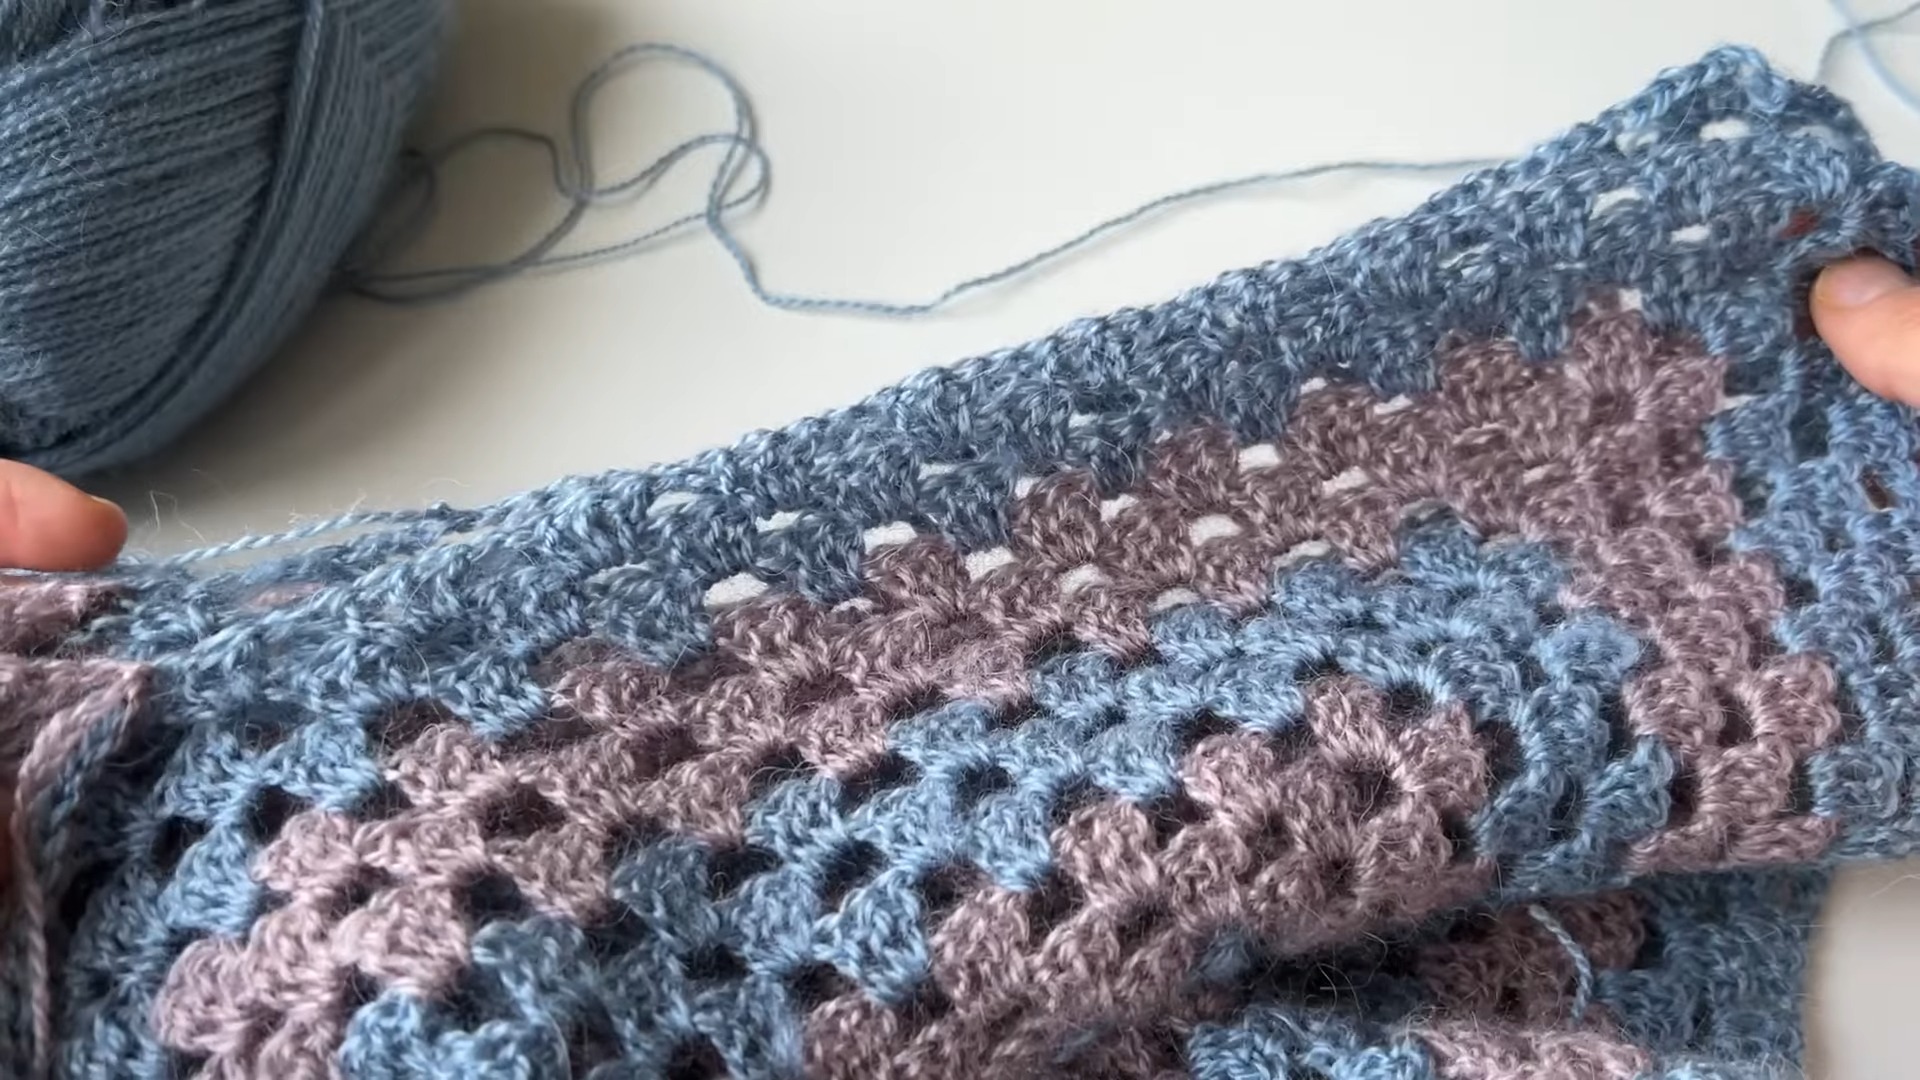
- Round 3 and Beyond:
- The corner pattern stays the same: 3 dc, ch 3, 3 dc in the same space.
- For edge spaces (between corners): Work 3 dc, then ch 1 before the next set of stitches.
- Repeat for as many rounds as needed for the square size.
- The tutorial switches colors after every three rounds:
- Fasten off yarn and attach new color using a secure knot.
Step 2: Repeat and Create Four Granny Squares
- Crochet three additional squares following the same pattern.
- Ensure all four squares are equal in size.
Final Assembly
Step 1: Layout
- Lay out squares:
- Two squares for the front and back panels.
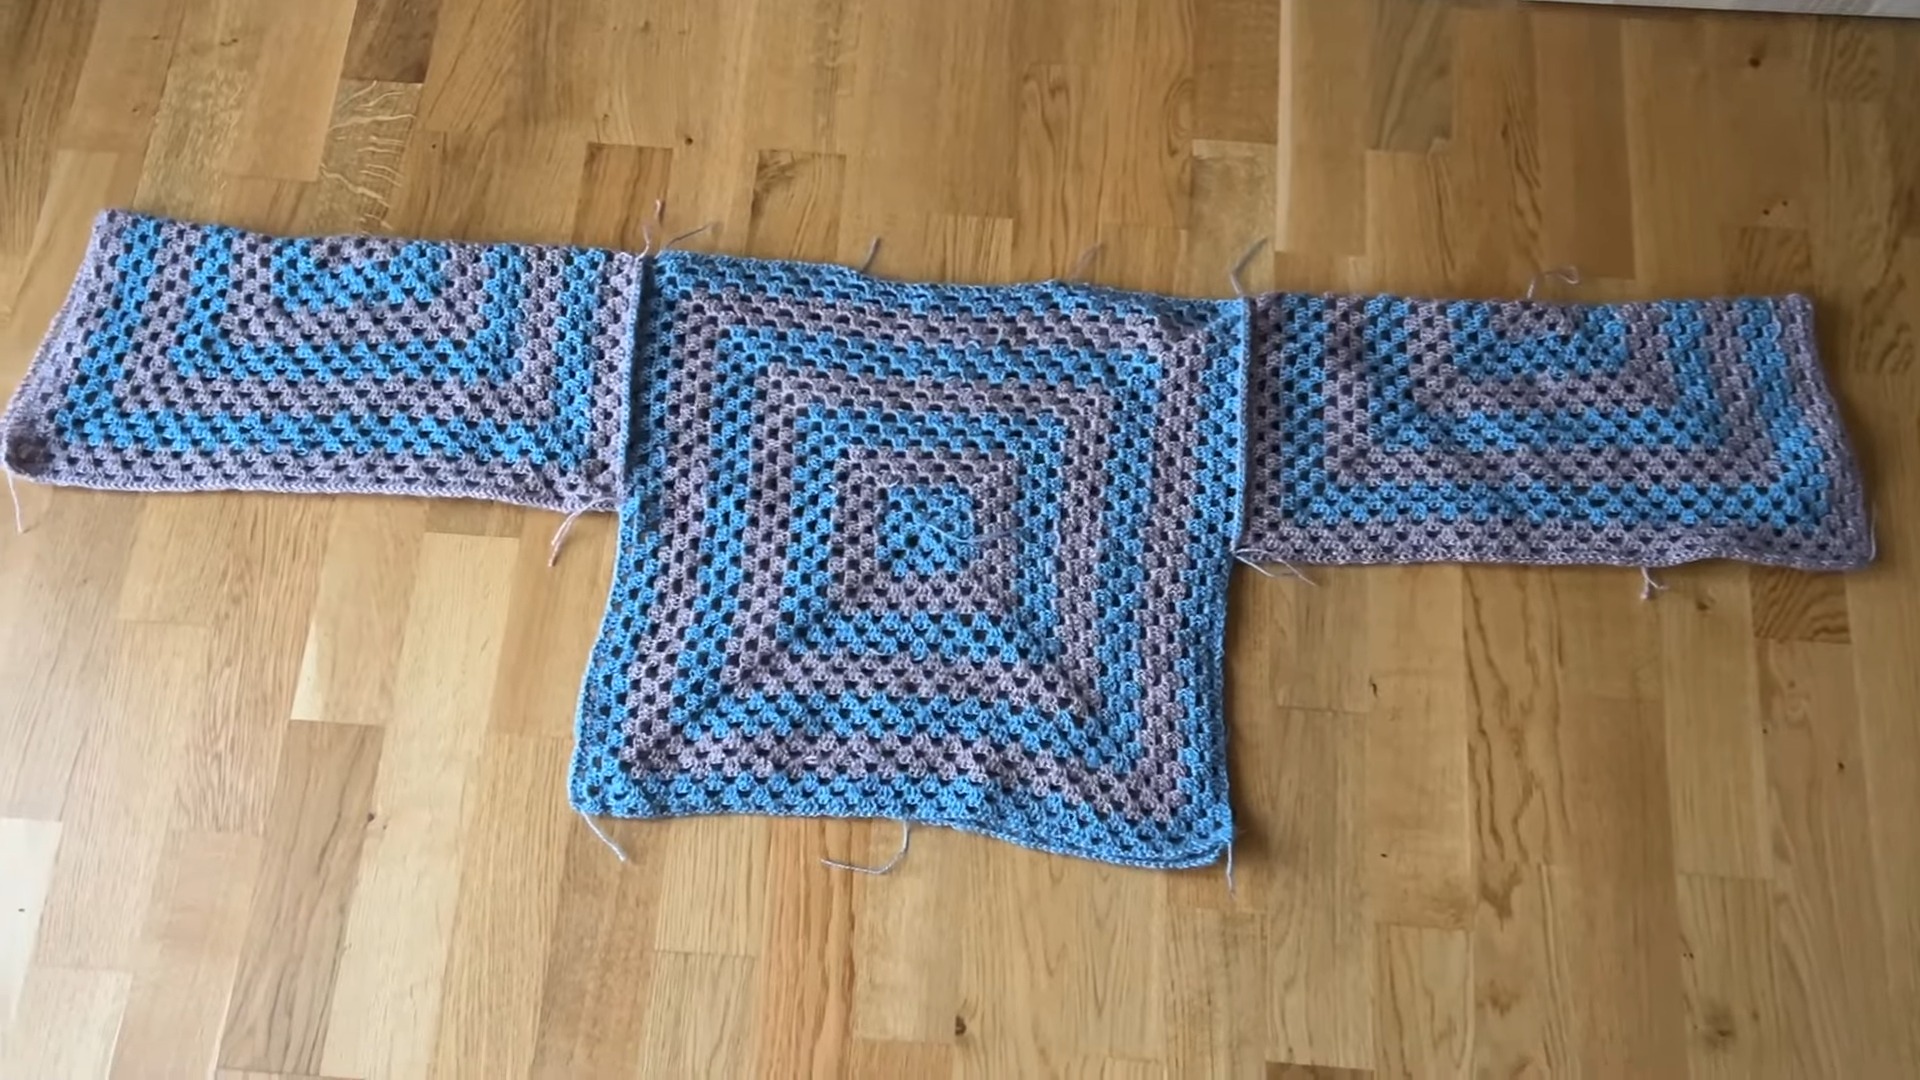
- Two squares for the sleeves, placed at the midpoint of the front/back panels.
Step 2: Joining Panels
- Slip Stitch Method:
- Place panels inside out with the right side facing inward.
- Start at the corner of the squares.
- Insert the hook through both panels’ corners.
- Pull yarn through both loops and the working yarn; sl st to join.
- Continue joining squares by aligning stitches evenly.
- Fasten off when each seam is complete.
- Assembly Order:
- Connect shoulders first (top edges of front and back squares).
- Attach sleeves to front/back panels at their midpoints.
- Fold and close sides of the sweater by slip stitching along the:
- Bottom of the sleeves.
- Side edges of front/back panels.
Conclusion
- Finishing Touches:
- Turn the sweater right side out.
- Weave in loose ends using a crochet hook or darning needle.
- Optionally add extra rounds on the sweater’s bottom edge or sleeve ends for longer length.
- Wear your finished granny square sweater!
- Adjust sizing as needed during assembly.
- Experiment with colors and extensions to make the design uniquely yours.