How to Crochet Small Gingerbread Man Garland Pattern
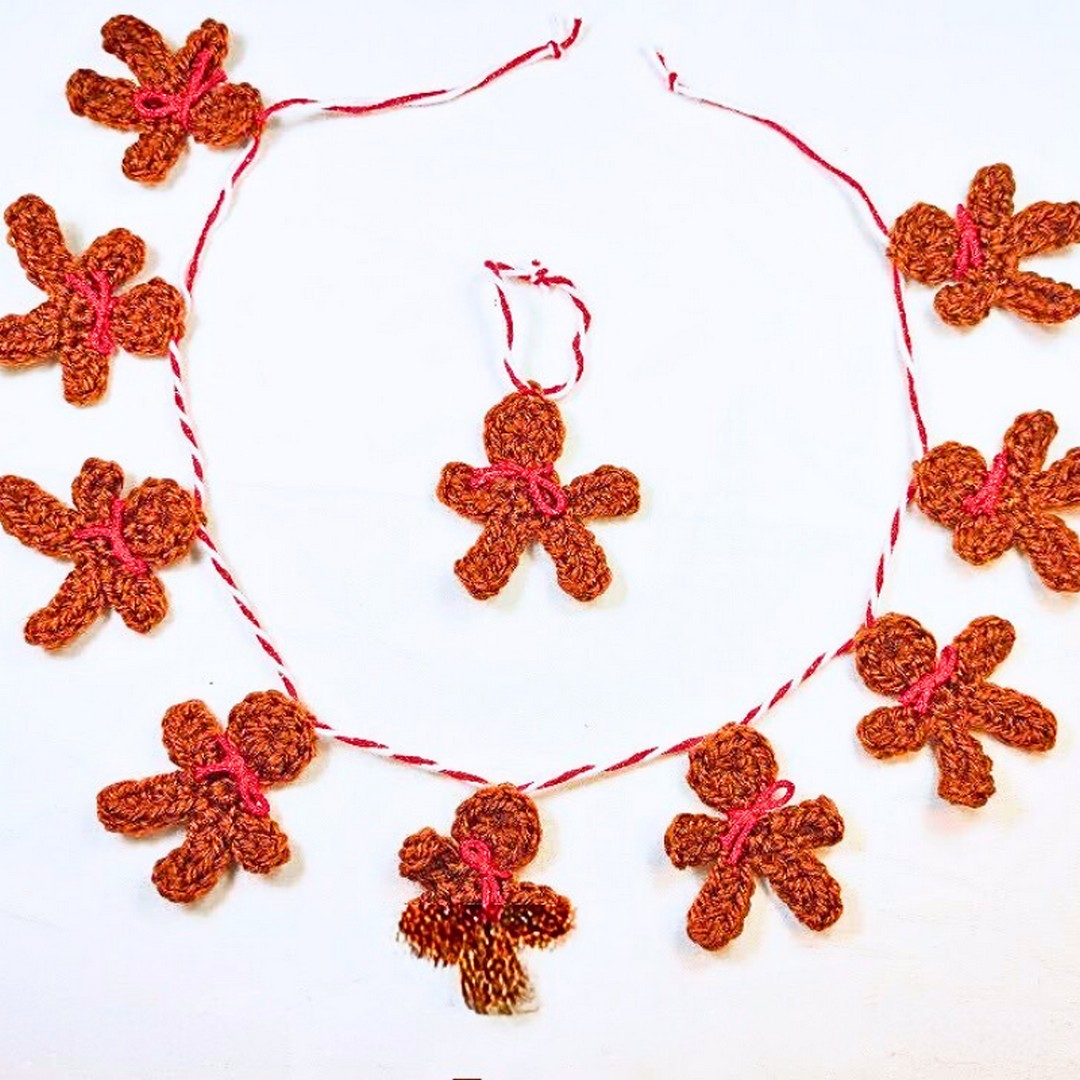
A string of tiny crochet gingerbread men can instantly make a room feel ready for Christmas. Their cheerful shape and playful size make them just as lovely hanging across a mantel as they are decorating a tree, wreath, or gift package.
This pattern shows how to create each miniature gingerbread figure with simple stitches. Making it easy to build a crochet garland that feels truly handmade.
Free Crochet a Gingerbread Man Garland
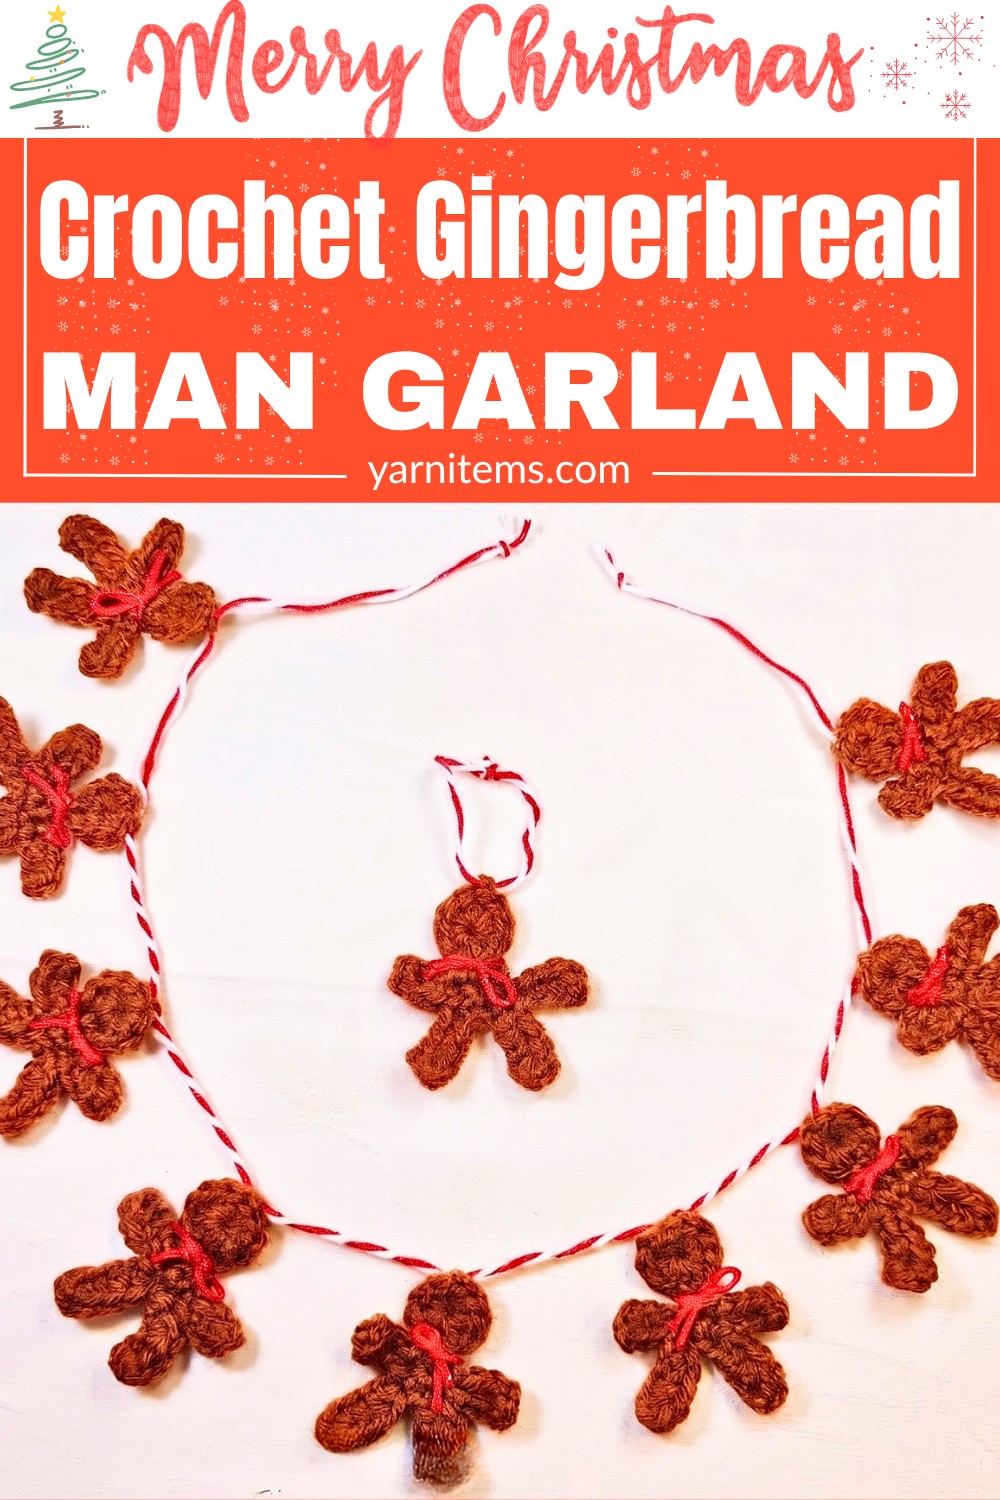
Each crochet gingerbread man comes together in just a few easy steps, making this a fun piece to enjoy whenever you have a little crafting time. You can keep every figure matching or give each one its own personality with scarves, bows, or embroidered details. Keep reading for the full crochet pattern and see how these tiny festive characters can become one of your favorite handmade holiday decorations.
Credit Ravella Design
Materials & Tools Needed
- Yarns:
- Brown acrylic yarn (for the base of the gingerbread man)
- White cotton yarn (for the decorative rope)
- Red glittering/sparkling yarn (for the scarf)
- Hook: 5 mm crochet hook (or size suitable for your yarn)
- Tapestry/Darning Needle: For weaving in ends and finishing
- Scissors
Finished Size & Customization Ideas
- Size: Approximately a small palm-sized gingerbread figurine (approx. 2-3 inches depending on tension/yarn used).
- Customization Ideas:
- Add beads or embroidery for buttons using different colors.
- Make a longer rope to turn this project into a garland.
- Use the figurine as a keychain, bag charm, or Christmas ornament.
- Sew it onto blankets, gloves, or other wintertime accessories.
Pattern Abbreviations & Terminology
- ch: Chain
- sc: Single crochet
- hdc: Half double crochet
- sl st: Slip stitch
- magic ring: Magic circle/ring (used for starting rounds)
Note: Pattern uses U.S. crochet terminology.
Step-by-Step Detailed Crochet Instructions
Gingerbread Man Body
- Start with the Head:
- Use brown yarn.
- Create a magic ring.
- Work 9 hdc into the magic ring.
- Pull the magic ring tight to close.
- Slip stitch into the first hdc to join the round.
- Cut the yarn, pull the tail through the final stitch.
- Secure with a knot.
- Set the head aside.
- Create the Body:
- Use brown yarn.
- Create a magic ring.
- Work 4 sc into the ring.
- Pull the magic ring tight to close.
- Do not cut the yarn; this is where you will attach the head and continue crocheting.
- Join the Head and Body:
- Lay the body piece (4 sc circle) and the head (9 hdc circle) together.
- Align where the stitches meet.
- Insert your hook through the last stitch of the body.
- Then through a stitch of the head.
- Yarn over and pull through both layers to secure the two parts together.
- Slip stitch into the next body stitch and continue joining along the edge for a neat finish.
- Finish by securing the yarn with a slip stitch. Pull the tail through.
Arms
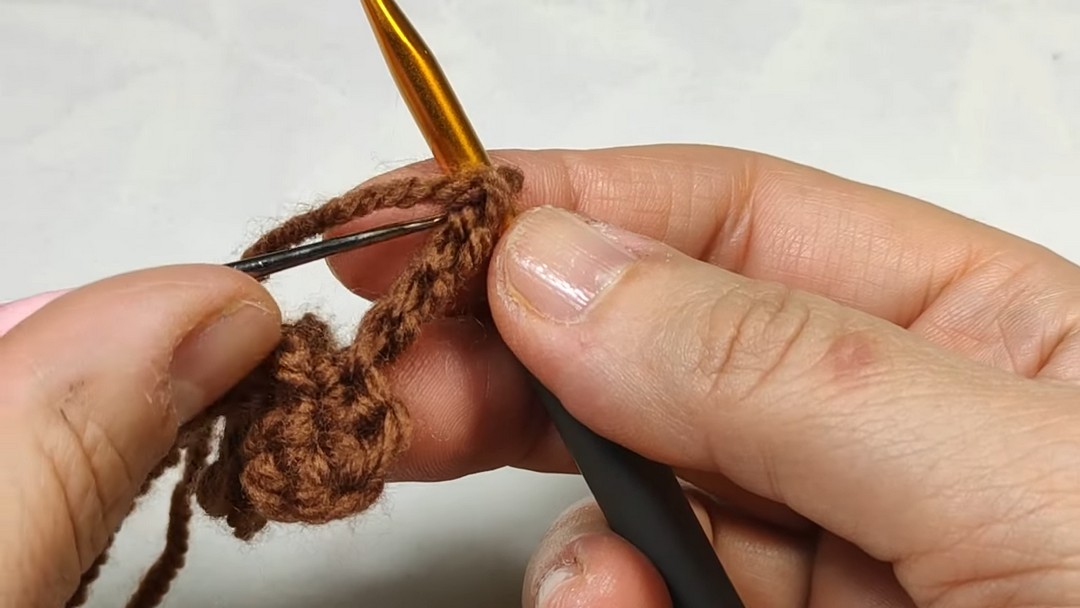
- First Arm:
- Attach brown yarn to the shoulder (the side of the head-body join).
- Chain 4 (keep chains loose).
- Turn to the back side of the chain stitches to work into the back loops for stability.
- Skip the first chain, hdc into each of the next 3 back loops.
- Slip stitch back into the body to attach the arm.
- Second Arm:
- Repeat the same steps directly across from the first arm on the opposite shoulder.
Legs
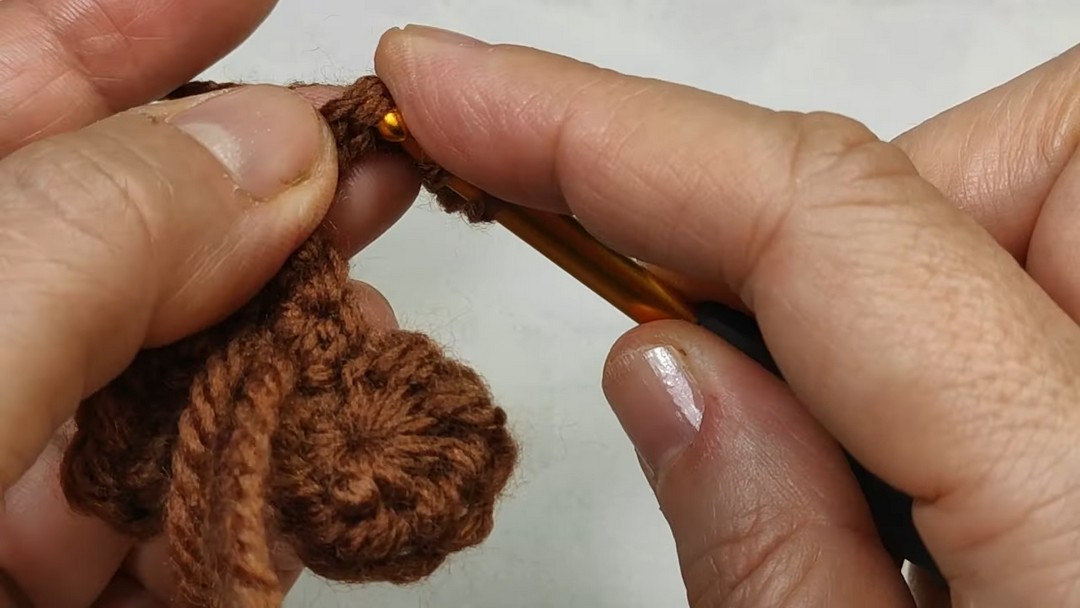
- First Leg:
- Attach brown yarn at the bottom of the body.
- Chain 5 (keep chains loose).
- Turn to work into the back loops of the chains.
- Skip the first chain, hdc into the next 4 back loops.
- Slip stitch into the next available stitch on the body to secure the leg.
- Second Leg:
- Repeat the same steps directly next to the first leg.
Finishing the Body
- Slip stitch around any remaining areas to secure edges and prevent unraveling.
- Cut excess yarn and weave ends into the back of the work with a tapestry needle.

Add a Scarf
- Use red glitter/sparkling yarn.
- Cut a short length of yarn (approx. 3–4 inches, depending on your preference).
- Wrap the scarf around the neck area (where the head and body join).
- Tie the scarf and trim the ends as desired.
Finishing Techniques
- Tidying Ends: Use a small crochet hook or tapestry needle to weave in leftover ends securely into the back of the gingerbread man.
- Shaping: Gently stretch or adjust each part of the gingerbread man (arms, legs, head) to achieve the desired shape.
- Use as Decoration:
- For a garland: String several gingerbread men onto a long rope made with the white cotton yarn.
- For ornaments: Attach a loop made of the white or red yarn to hang on a tree.

Tips
- Keep stitches loose, especially when working into chains, as the 5 mm hook can make tight loops harder to handle.
- Use contrasting yarn colors to make your gingerbread men even more festive.