Crochet Pusheen Amigurumi Pattern – Cute & Customizable Guide
Transform your yarn into an adorable Pusheen the Cat amigurumi, complete with her signature round body, whiskers, and striped tail. The step-by-step pattern ensures a smooth process, whether you’re adding felt face details or carefully sewing whiskers. Use soft chenille yarn for the perfect plush texture or experiment with other materials for a unique finish suited to your style.
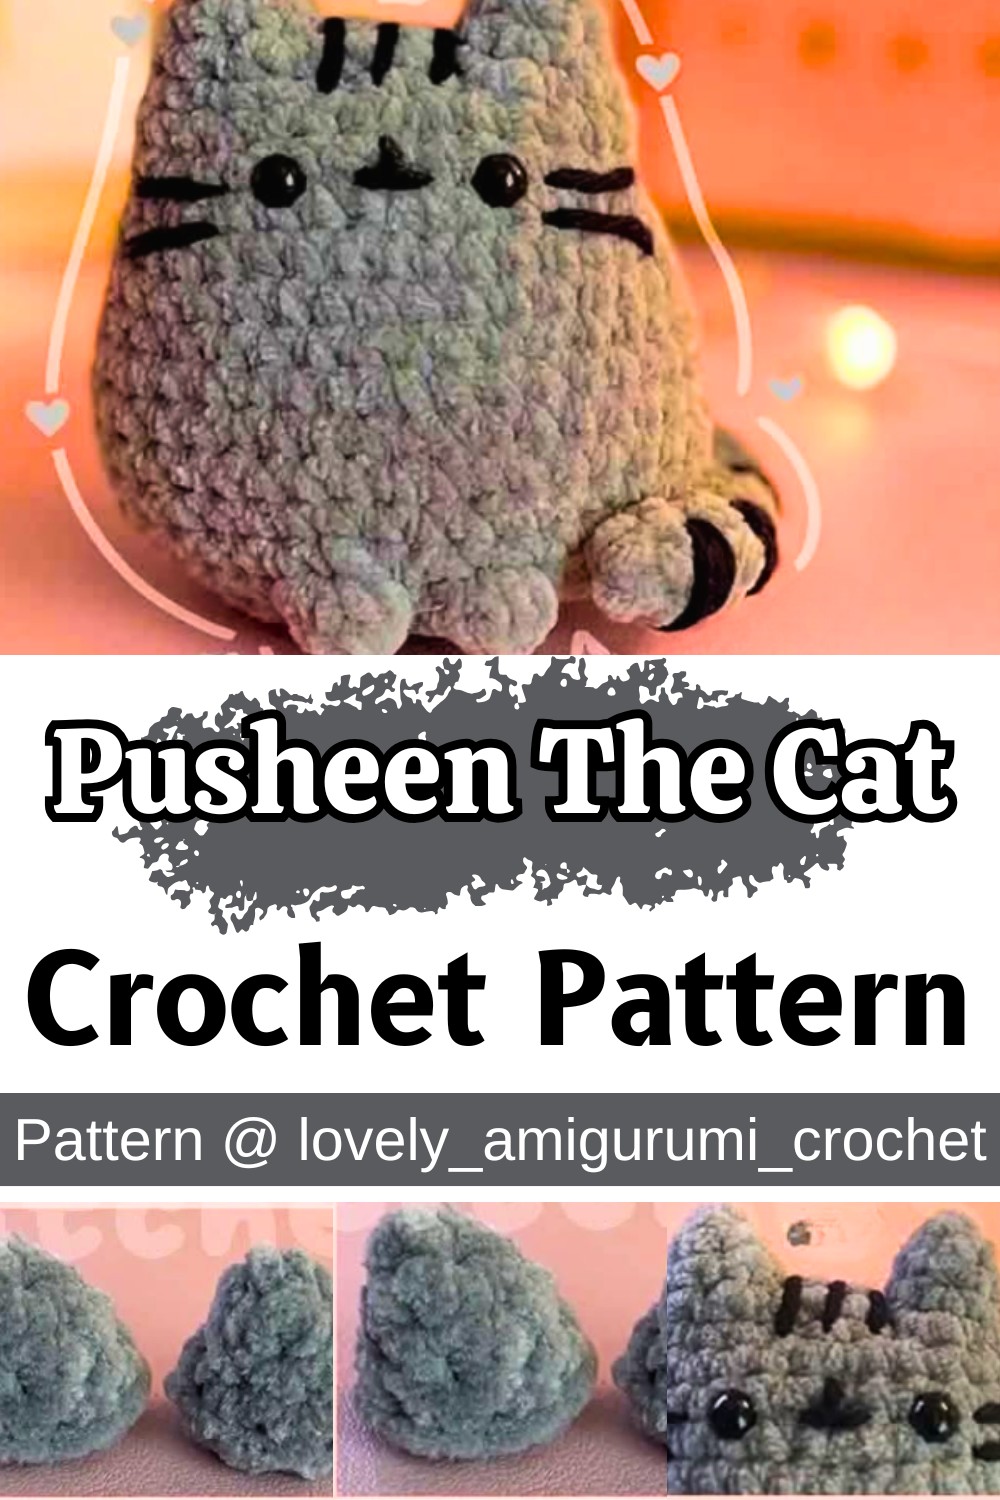
Bring your creativity to life by customizing Pusheen’s design. Add tiny accessories like a crocheted bow, hat, or even seasonal themes like a scarf for winter. Change up the colors for a whimsical or themed look, or adjust the stuffing level to make Pusheen more squishable. This versatile pattern is ideal for gifting, decorating shelves, or creating a personalized collectible that reflects your flair!
Credit: lovely_amigurumi_crochet
Step-by-Step Pattern
Abbreviations
- R- row
- ch- chain
- MR- magic ring
- SC- single crochet
- inc -increase
- dec- decrease
- fo- finish off
- sslt- slip stitch
- bbl-bobble stitch
Materials
- -yarn of your choice (gray. black, I used skinny chenille from Michaels)
- -hook (appropriate size for yarn, I used a 3mm) -sewing needle
- -glue (alternative to sewing) -stuffing
- -safety eyes li used 6mm
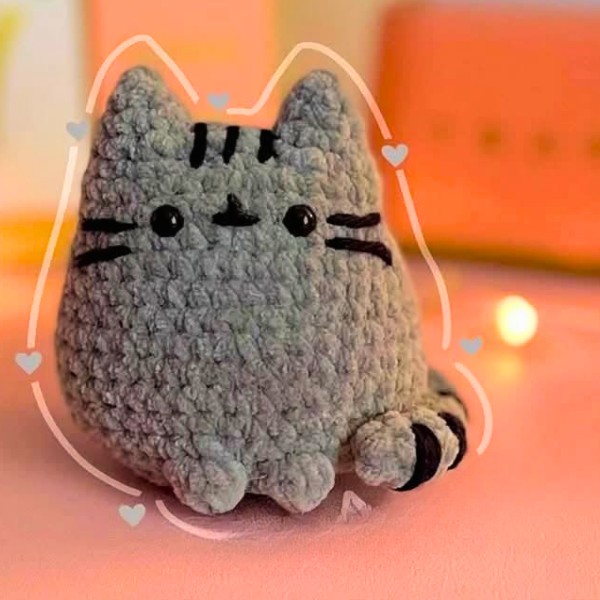
Pattern Instructions
Head/Body
- R1: 8sc in MR {8}
- R2: Insert your hook from the inside of the first ear, and then into the first stitch of the MR. (photo A) Pull your yarn through both the MR & the ear, make a sc. Repeat one more time in the next stitch. 2sc, connect the second ear in the next 2 stitches the same way you connected the first, 2sc {8}
NOTE: Ignore the stitches we used to connect the ears, we will only be working in the unworked stitches*
- R3: (inc x6 around the first ear, 2sc in the MR) x2 {28}
- R4: (1380, inc) x2 (30) Stit photo BC
- R5: sc around {30}
- R6: (4sc, inc) x6 {36}
- R7-9: sc around (3 rows) {36}
- R10: (5sc, inc) x6 {42}
- R11-13: sc around (3 rows) {42}
- R14: (5sc, dec) x6 {36}
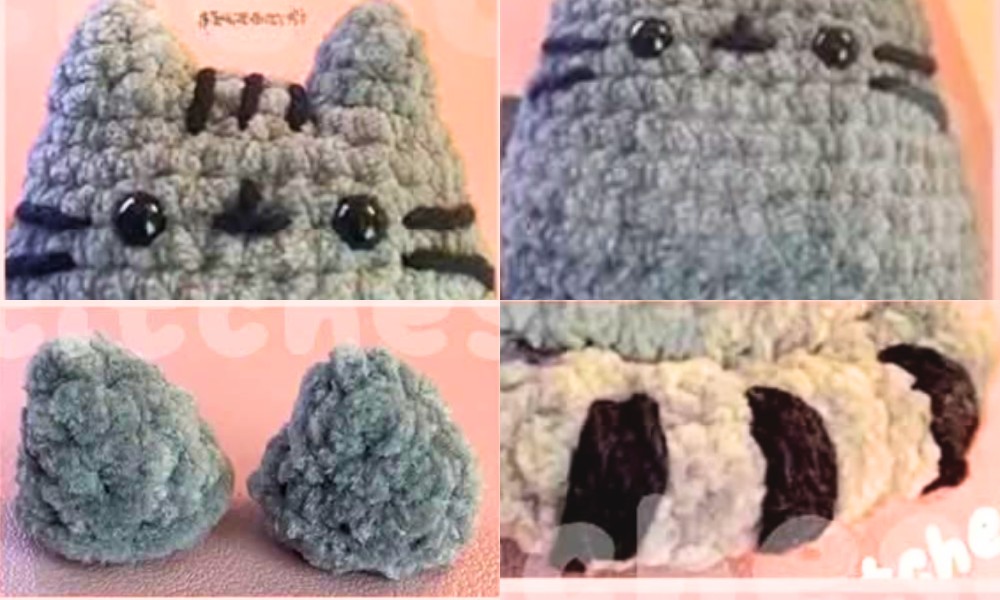
Place eyes onto rows 4-5, about 6 stitches apart Sew an upsidedown T for the mouth between the eyes Sew whiskers in black or dark gray yarn onto rows 5 & 6 Sew 3 lines in black or dark gray between the ears black or dark gray between the Use felt cutouts or sew two black lines on pusheens back Stuff ears & body, be sure not tooverstuff the bottom so pusheen can sit flat
NOTE: You may need to adjust the placement of your bbl depending on your yarn tension, your bbl should be lined up with the face (photo B)*
- R15: 18sc, bbl, 2sc, bbl, 14sc {36}
- R16: (4sc, dec) x6 {30}
- R17: (3sc, dec) x6 {24}
- R18: (1sc, dec) x8 {16}
- R19: dec x8 {8}
Finish stuffing
FO & sew hole closed
Tail Assembly
Take your tail piece and sew or glue it along the right or left side of pusheen between rows 13-14 with the black stripes facing out
Ears
4sc in MR (4) Stitchesco
R1: {4}
R2: (1sc, inc) x2 {6} •R3: (2sc, inc) x2 {8} •R4: sc around {8}
Cut yarn & FO, repeat R1-4 to make the second ear
Tail
R1: 5sc in MR {5}
R2-9: sc around (8 rows) {5}
Depending on the yarn you use, you may need to stuff the tail. I did not stuff it Close the tail with 2sc, leave a tail for sewing, or hide tails if using glue Sew 3 black stripes onto the outer part of tail Set aside for later