
Crochet Cake Box Amigurumi Pattern with Strawberries and Candle
Here’s a sweet crochet cake box with a creamy layer, strawberries, and a tiny candle, turning a cute dessert design into a handy trinket holder.
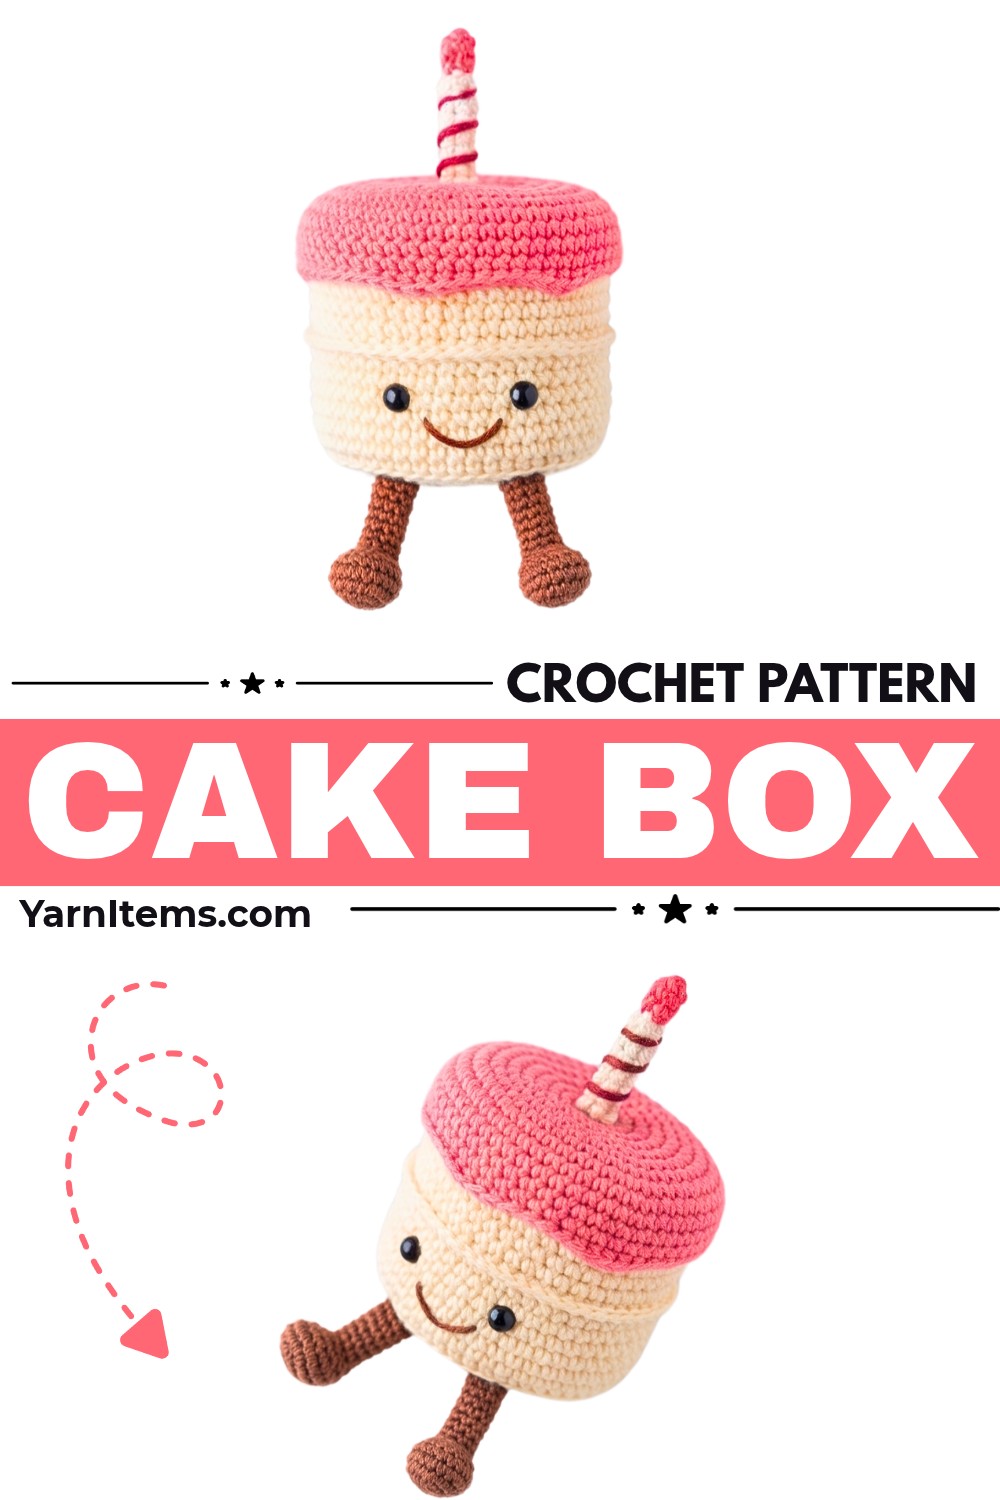
Dessert-inspired crochet gets even more playful when the cake becomes a little lidded box. This design combines a round cake base with a cream filling band, tiny legs, a smiling face, and a decorated lid topped with strawberries and a candle.
Starting with the circular cake base and lid, you’ll work through the small decorative crochet pieces before bringing everything together. The tutorial also shows where the facial details sit, how to secure the cream layer, and how optional plastic mesh can help the finished crochet box hold its cylindrical shape.
Credit Crochet with ice
Materials & Tools Needed
- Yarn: Size 4 medium/worsted weight in:
- Main cake color, such as beige or pink
- Cream or white for the filling
- Red for strawberries
- White for the candle
- Red for the candle swirl
- Yellow or orange for the flame
- Black for the embroidered mouth
- Crochet Hook: 3.5 mm
- Safety Eyes
- Tapestry or yarn needle
- Scissors
- Plastic mesh fabric: Optional, for an internal lining
- Fabric glue: Optional, if you prefer gluing some lid decorations rather than sewing them
Finished Size & Customization
The finished size depends on your yarn and tension, but the design creates a small, functional lidded box suitable for jewelry, trinkets, or other small accessories.
For extra firmness, add plastic mesh inside the cake base walls. You can also change the cake color to create a different flavor-inspired look, such as brown for a chocolate cake.

Pattern Abbreviations
- MR: Magic Ring / Magic Circle
- CH: Chain
- SC: Single Crochet
- DC: Double Crochet
- HDC: Half Double Crochet
- INC: Single Crochet Increase
- DEC: Single Crochet Decrease
- DC INC: Double Crochet Increase
- FLO: Front Loop Only
- SL ST: Slip Stitch
- FO: Fasten Off
Crochet Cake Base
Use your Main Cake Color. Join each round with a slip stitch into the first stitch.
Round 1: Create a magic circle, work 6 SC into the MR, pull tight to close, SL ST into the first SC. (6 sts)
Round 2: CH 2, work 6 DC INC. SL ST into the first DC. (12 sts)
Round 3: CH 2, work 12 DC INC. SL ST into the first DC. (24 sts)
Round 4: CH 2, repeat (1 DC, 1 DC INC) around. SL ST into the first DC. (36 sts)
Round 5: CH 2, repeat (2 DC, 1 DC INC) around. SL ST into the first DC. (48 sts)
Round 6: CH 2, work DC into the FLO around. SL ST into the first DC. (48 sts)
Round 7: CH 2, DC around. SL ST into the first DC. (48 sts)
Rounds 8–14: CH 2, DC around. SL ST into the first DC. Repeat for 7 total rounds. (48 sts)
The FLO round creates the transition that helps the circular base turn upward into the cake’s walls. From Round 7 onward, keep your stitches even so the sides rise without obvious rippling.
Cut the yarn, FO, and weave in the ends.

Cream Filling Layer
Use Cream or White yarn.
Step 1: Create a slip knot.
Step 2: CH 60.
Fasten off, leaving a yarn tail at each end. This long chain becomes the visible cream band around the outside of the cake.
Cake Lid
Return to the Main Cake Color. Like the base, each round is joined with a SL ST into the first stitch.
Round 1: Create a magic circle, work 6 SC into the MR, close the circle, and SL ST into the first SC. (6 sts)
Round 2: CH 2, work 6 DC INC. SL ST into the first DC. (12 sts)
Round 3: CH 2, work 12 DC INC around. SL ST into the first DC. (24 sts)
Round 4: CH 2, repeat (1 DC, 1 DC INC) 12 times. SL ST into the first DC. (36 sts)
Round 5: CH 2, repeat (2 DC, 1 DC INC) around. SL ST into the first DC. (48 sts)
Round 6: CH 2, work DC into the FLO around. SL ST into the first DC. (48 sts)
Round 7: CH 2, DC around. SL ST into the first DC. (48 sts)
Fasten off and weave in the ends.
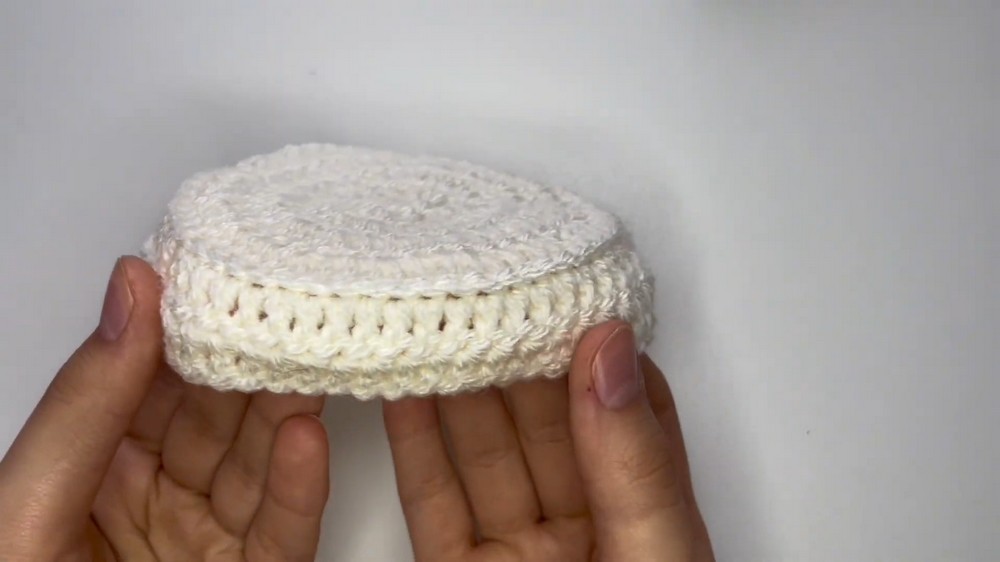
Lid check: Before decorating, place the lid over the cake base to make sure the two circular pieces sit together as expected. The decorative pieces are easier to position before anything is attached permanently.
Legs – Make 2
Use Main Cake Color.
Round 1: CH 4, starting in the 2nd ch from the hook, work 2 SC, place 4 SC into the last chain, turn your work to crochet along the opposite side of the chain, work 1 SC, then 3 SC into the last chain. (10 sts)
Round 2: Repeat (4 SC, 1 INC) 2 times. (12 sts)
Round 3: Repeat (4 SC, 1 DEC) 2 times. (10 sts)
Round 4: Repeat (3 SC, 1 DEC) 2 times. (8 sts)
Round 5: Repeat (2 SC, 1 DEC) 2 times. (6 sts)
Rounds 6–11: SC around for 6 total rounds. (6 sts)
Fasten off and leave a tail for sewing.

Strawberries – Make 4
Use Red yarn.
Round 1: Create a magic circle, work 5 SC into the MR, and close the circle. (5 sts)
Round 2: 5 INC. (10 sts)
Rounds 3–4: SC around for 2 total rounds. (10 sts)
Round 5: Repeat (1 SC, 1 DEC) 3 times, then 1 SC. (7 sts)
Round 6: 3 SC, 1 DEC, 1 SC, SL ST. (5 sts)
Fasten off and leave a tail for assembly.

Candle
Use White yarn.
Round 1: Create a magic circle, work 6 SC into the MR, and close the circle. (6 sts)
Rounds 2–13: SC around for 12 total rounds. (6 sts)
Fasten off and leave a tail.
Flame
Use Yellow or Orange yarn.
Row 1: Create a slip knot, CH 4, SL ST into the 2nd chain from the hook, 1 HDC into the next chain, and 1 DC into the last chain.
CH 1, FO, and tightly tie the loose ends together.

Assemble the Cake Box
Give the Cake Its Face
Place the safety eyes on the front of the cake base between Rounds 7 and 8, leaving exactly 6 stitches between the eyes. Check their height before securing them so the face remains centered.
Using black yarn or thread, embroider a small friendly smile directly between the eyes.
Add the Cream Band
Take the CH 60 Cream Filling and wrap it around the outside of the cake base. Position it between Rounds 9 and 10, then tie the two ends securely at the back.
Keep the chain lying evenly around the cake rather than twisting it. This helps the cream layer read as a neat filling stripe when the box is viewed from the front.
Attach the Legs
Sew the two completed legs onto Round 6 of the cake base. Center them underneath the eyes so the face and feet line up vertically.
Before sewing them down completely, check that both legs are sitting at the same height.

Add Optional Internal Structure
For a firmer box, cut plastic mesh fabric to fit inside the walls of the cake base. Place it inside so the crochet sides have additional support and can maintain a more cylindrical shape.
This step is optional; the crochet piece can be used without the mesh.
Finish the Candle
Wrap a strand of Red yarn diagonally around the White candle to create the candy-swirl effect. Secure the yarn ends so the spiral stays in place.
Attach the completed flame directly to the top of the candle.
Decorate the Lid
Center the finished candle on the top of the Cake Lid. Sew it securely with a yarn needle, or use fabric glue if that is your preferred attachment method.
Next, arrange the four strawberries evenly around the candle and secure each one in place.
Decoration check: Look at the lid from above before permanently attaching the strawberries. Even spacing around the candle makes the finished cake top look much more balanced.

Final Fit Check
Place the decorated lid onto the cake base and check that it sits neatly without disturbing the cream band. Make sure the eyes and smile remain centered on the front and that the legs are positioned directly underneath.
With the decorations secured, the finished piece works as a small trinket box for jewelry, accessories, or other tiny keepsakes while still keeping its playful cake-and-strawberry appearance.




One Comment